Storage Room Success: 7 Pro Tips to Organize Your Space!
This post may contain affiliate links · This blog generates income via ads
Do you have a terribly messy and unorganized storage room like I did? Follow along with me as I clean up my own messy storage unit and pass on these 7 simple and practical storage room organization tips I learned along the way! They are easy to do, and they’ll help you tidy and organize your own room in a snap. If you’ve ever wondered, “how do I start organizing?” listen up because I’m going to tell you right now.
I have been a DIY & decor blogger and YouTuber for quite some time now, and in all my years of experience, I’ve definitely amassed a large amount of decor! Between decorating my own home seasonally and helping friends and family make over rooms in their homes, I keep a lot of items on hand for staging. You never know when a throw blanket or beautiful pillow will be exactly what a space needs, right?
How do I keep my storage room organized?
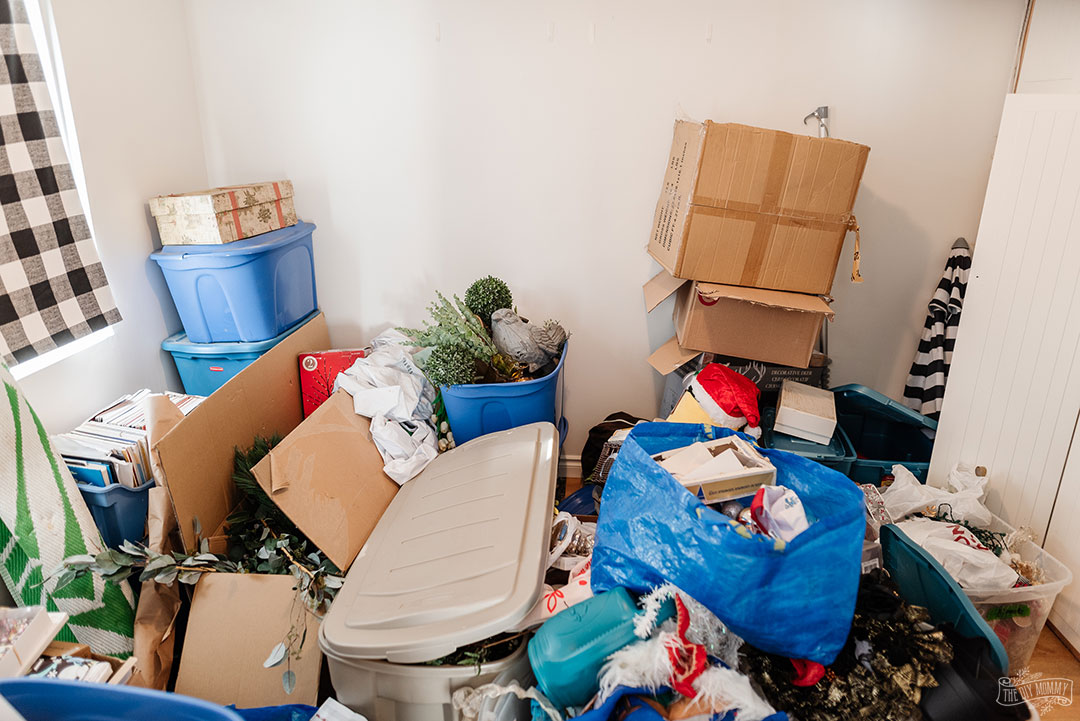
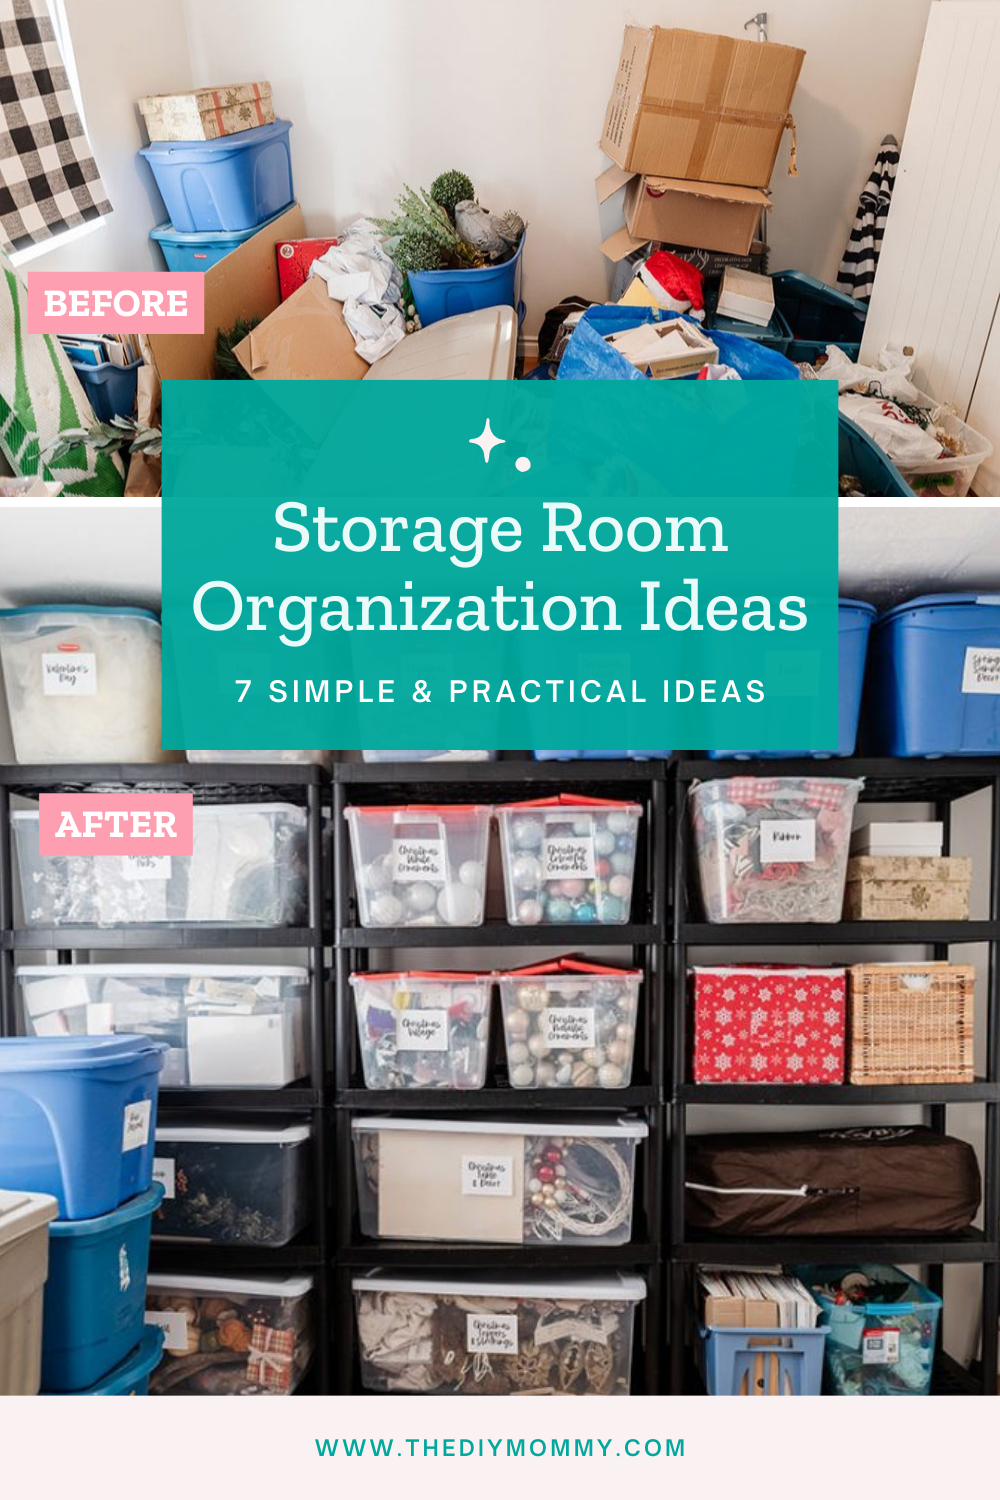
I’m often asked where I store all of my decor, but I’ve never wanted to share my space because it was a complete disaster. So much stuff everywhere with no rhyme or reason. Yikes! This is what the storage area in my work studio looked like before. You can learn more about my little studio by reading this post. It was a garage that we lived in for seven years until we built our current home, and now I use it for work. It’s the perfect space for crafting and making tutorials and instructional videos.
I know that I put this off longer than I should have because I just didn’t know where to start. After all, how do you get organized when you are overwhelmed? I decided the only way to do it was to just start. Determined to organize this space, I wanted to make all of my everyday and seasonal decorations easier to access throughout the year. I also just wanted this extra storage space to LOOK better!
I also knew organizing this room would make my job so much easier and more enjoyable. As I went along I learned some things that make the whole process easier that I want to pass along to you. So here are my best storage ideas that you can use for your own seasonal decor storage or other themed items that take up a lot of space in your life right now. Together, we can do this!
Watch my YouTube video below to get my storage room organization tips:
Disclosure: This post contains affiliate links. When you purchase an item via these links, I receive a small commission at no extra cost to you.
1: Keep any original packaging that makes sense
This was front of my mind as I went along, particularly because the bulk of what I was organizing were holiday decorations! I like to keep the original packaging for oddly shaped decor and breakables like Christmas ornaments. This is often the best way to store them, and it’s a great way to use what you already have too!
2: Invest in smart storage solutions
Original packaging is not always the best option, however! If you don’t have the original packaging or if you feel it’s too bulky or just not practical, buying smart storage items can be a good idea too. I love this ornament box and Christmas tree bag from Amazon! The box helps me save space by eliminating a lot of small ornament cardboard boxes. Everything looks better when it’s in a box or bag, so my Christmas tree looks way less messy this way and it’s easier to move around too.
Something to remember as we get started: smart storage solutions will only be smart if they truly work for you. So while it is tempting to go out and buy a collection of clear bins, shelving unit products, and those wire basket storage systems you’ve had your eye on for forever, don’t do it yet! Organize your stuff FIRST, so that you can clearly see what you are left with once you purge broken items or things that no longer work for your space or style. Getting rid of household clutter before you start organizing will make your job much easier.
Which brings us to the next tip!
3: Organize in a way that makes sense for YOU
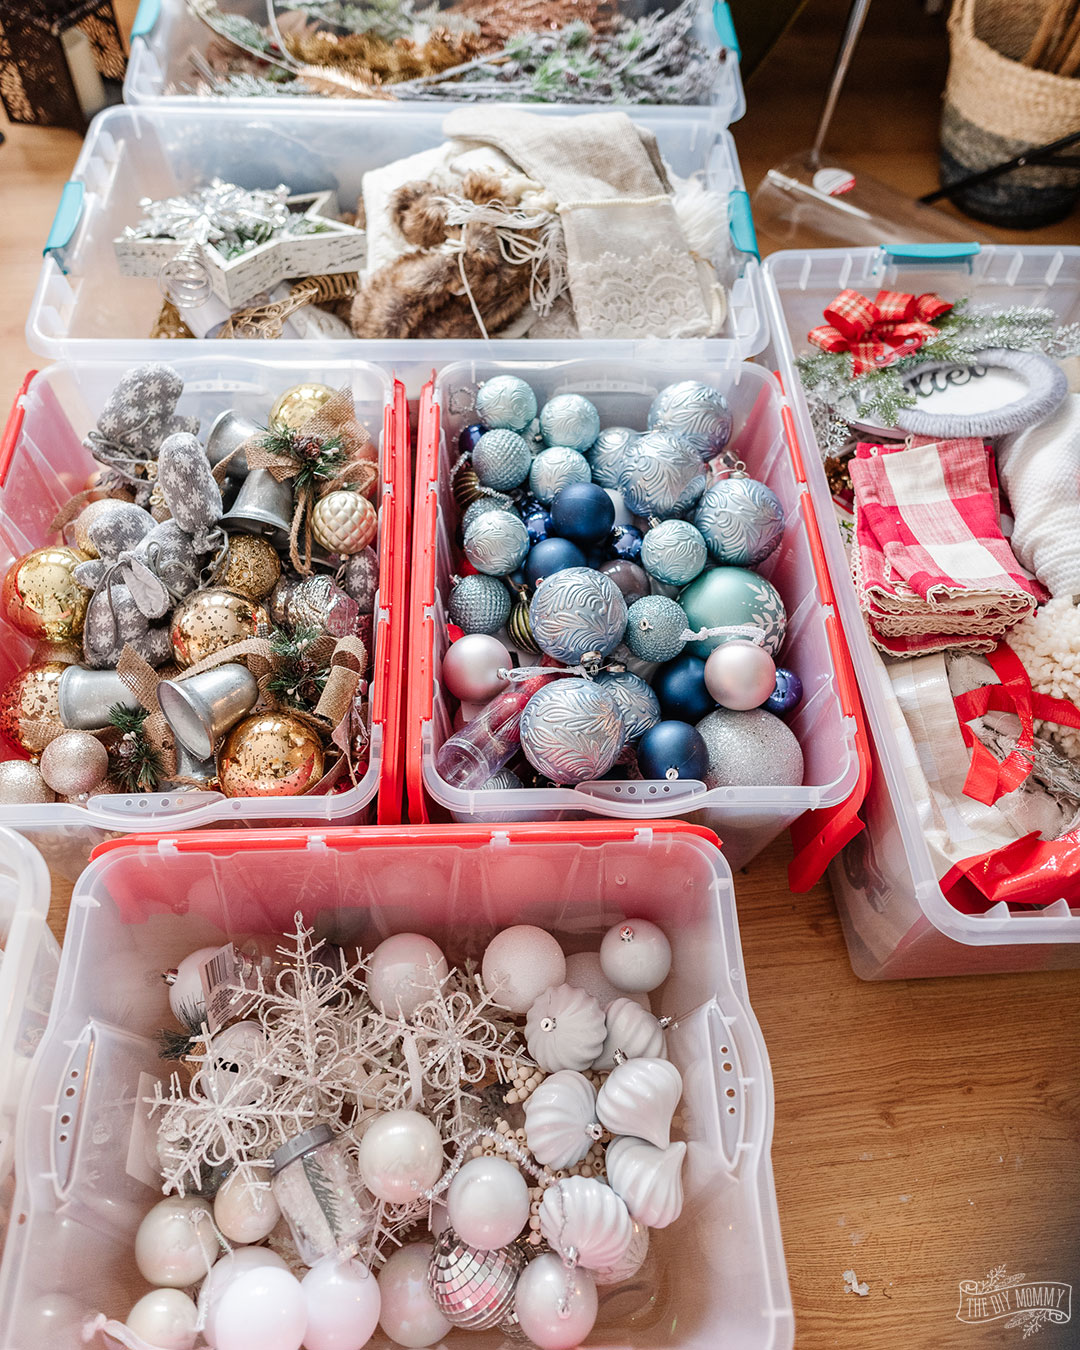
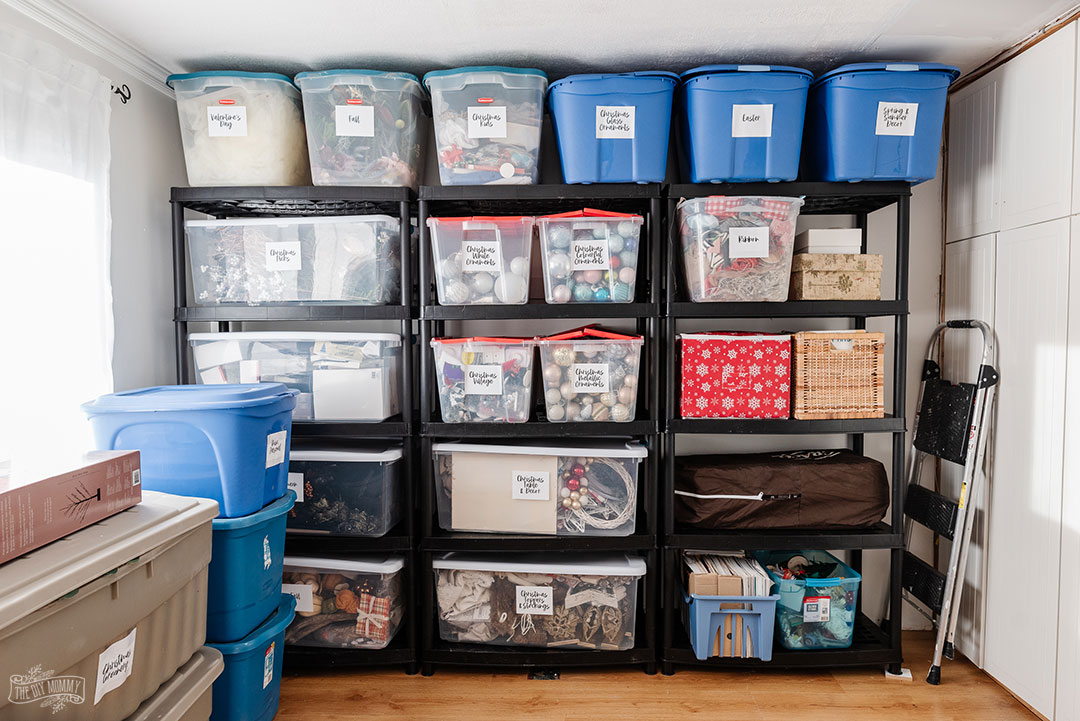
Not all organization strategies work for all people, so it’s important to choose an organization method that works well for YOU. If you’re not a natural organizer, you might like to keep things very simple like I do. I put all of my non-breakable Christmas decorations loosely in bins according to type and colour. If you’re more of a detailed organizer, you might want to take this further with dividers, smaller bins inside of larger bins, etc. I like to keep my organizing really simple because I know that will help me keep it looking good long term.
4: Buy shelving to take advantage of vertical space
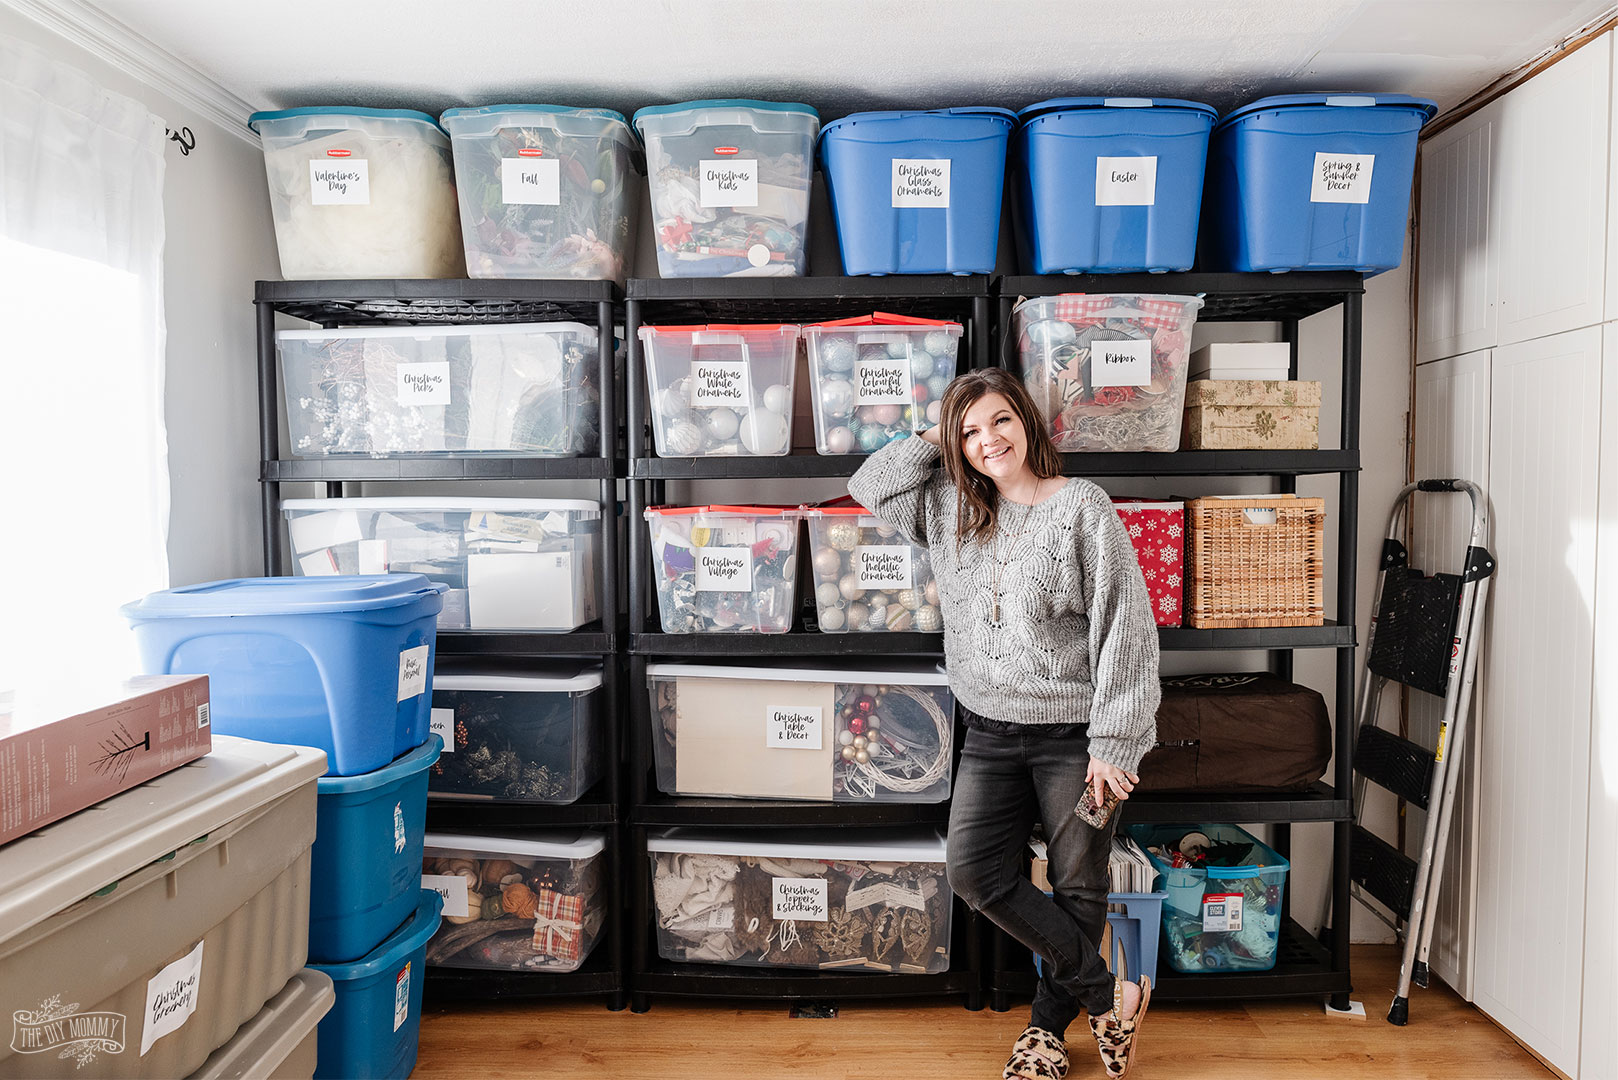
I talk about the benefits of utilizing vertical storage constantly, I know! But it’s even more valuable than ever in a storage room, which in most homes is a smaller area where using every square inch of available space is necessary. You can save so much floor space by going up with your storage instead of out. What a difference the addition of vertical open shelving made in my storage room! I no longer have an untidy stack of bins that is very difficult to access. I really like these plastic resin shelves from Home Depot Canada for their sturdiness and for how easy they are to assemble. They are lightweight but very strong, and can easily support anything I want to store on them.
Don’t forget to anchor your shelving units safely to the wall. Chances are they are going to be holding a lot of large, heavy items, and the last thing you want is for them to tip over while you are reaching for something. I used trim and wood screws to ensure my shelves won’t go anywhere. If your shelves come with their own anchor system, be sure to use it. If not, watch the video for a quick tutorial on how to do this the way I did.
How do I organize my room with storage bins?
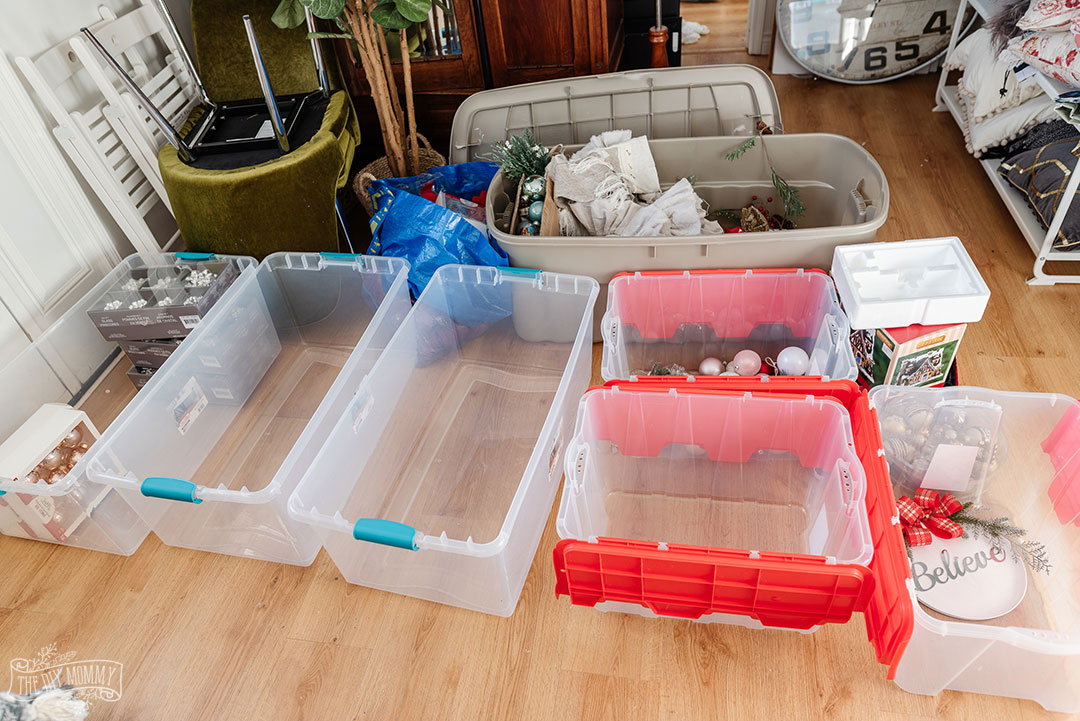
Once the storage shelves were in, it was time to fill them with bins! I like a large plastic bin instead of many small ones, because I don’t like to create too many different categories. As long as items for the same season and colour are in the same place, I don’t worry too much about sorting further. So my advice is to purchase some large bins and fill them with like items rather than many smaller bins. But that is what works for me! Remember that one of the key elements of a storage system that works is to make sure it works for YOU. If you like smaller bins that allow you to micro-organize your things, do that instead.
5: Measure, measure, measure!
What not to do when organizing? Assume that bins will fit on shelves just because you want them to! This tip was learned the hard way. I purchased these beautiful clear plastic bins to go with my new shelving and discovered after I fell in love with them that they don’t quite fit perfectly on the shelf. Having them on a slight angle to make it work doesn’t bother me as much as it might other people. I told you I am not a natural organizer!
So, make sure you know the exact dimensions of your storage room AND your shelf height so that you can add perfectly-sized storage solutions for the square footage of your space. Make sure you know your ceiling height and how wide and high the inside of your shelves are, and purchase items accordingly. It’s also a good idea to try your empty bins in the space you want to use them before you fill them up so you can more easily return them if you decide they aren’t quite right for the space.
6: Fold and store any textiles vertically
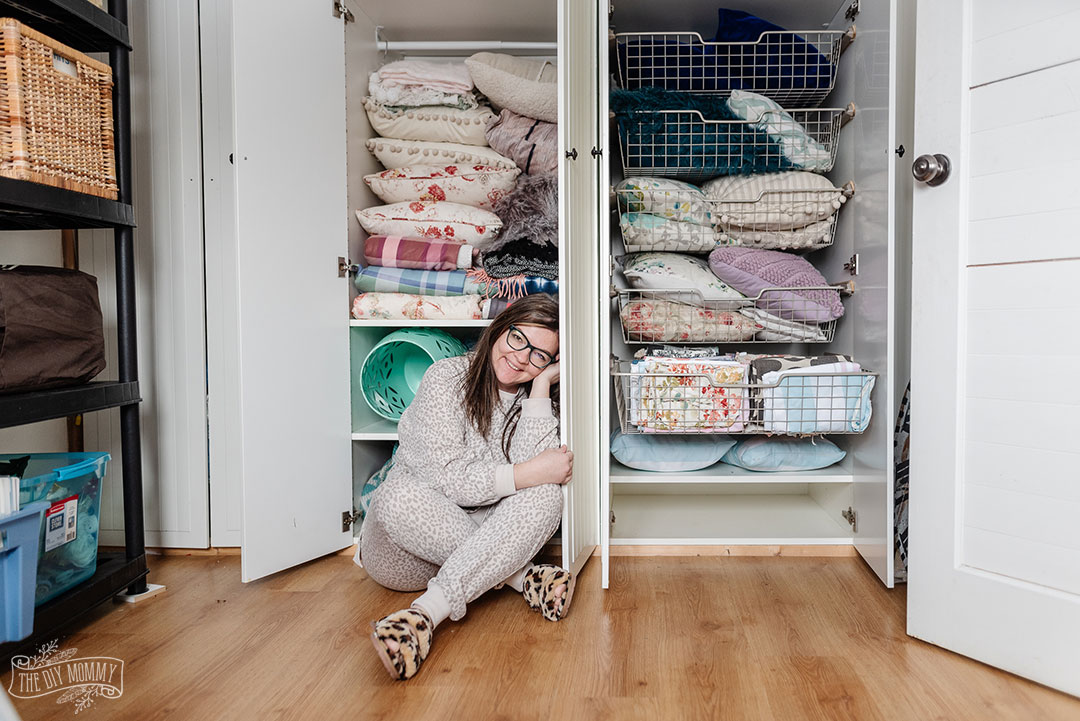
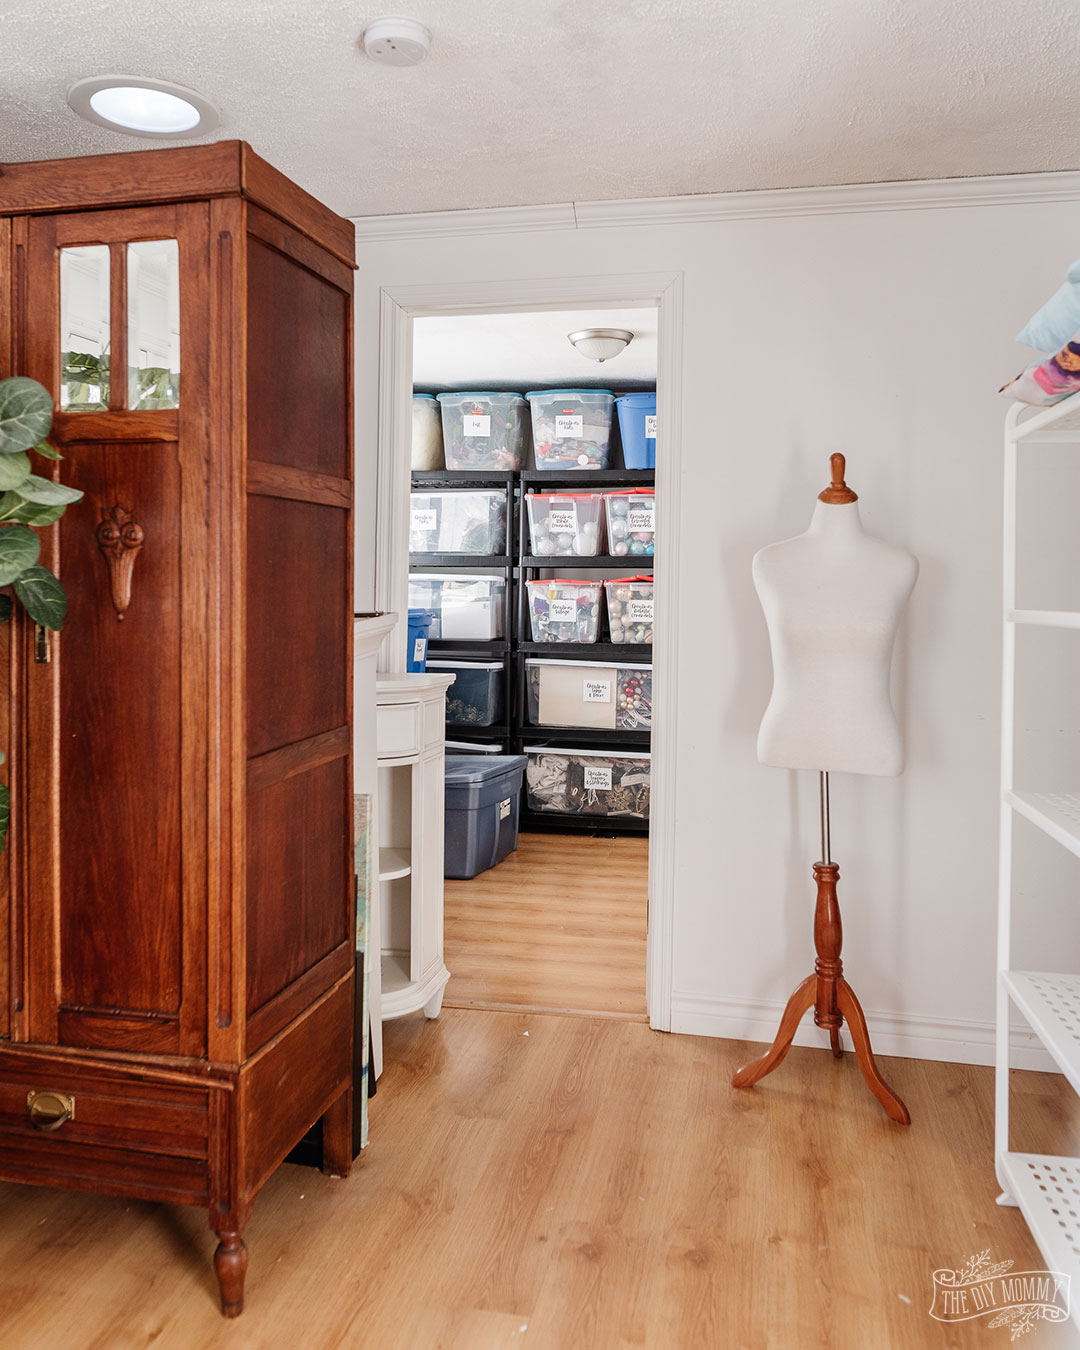
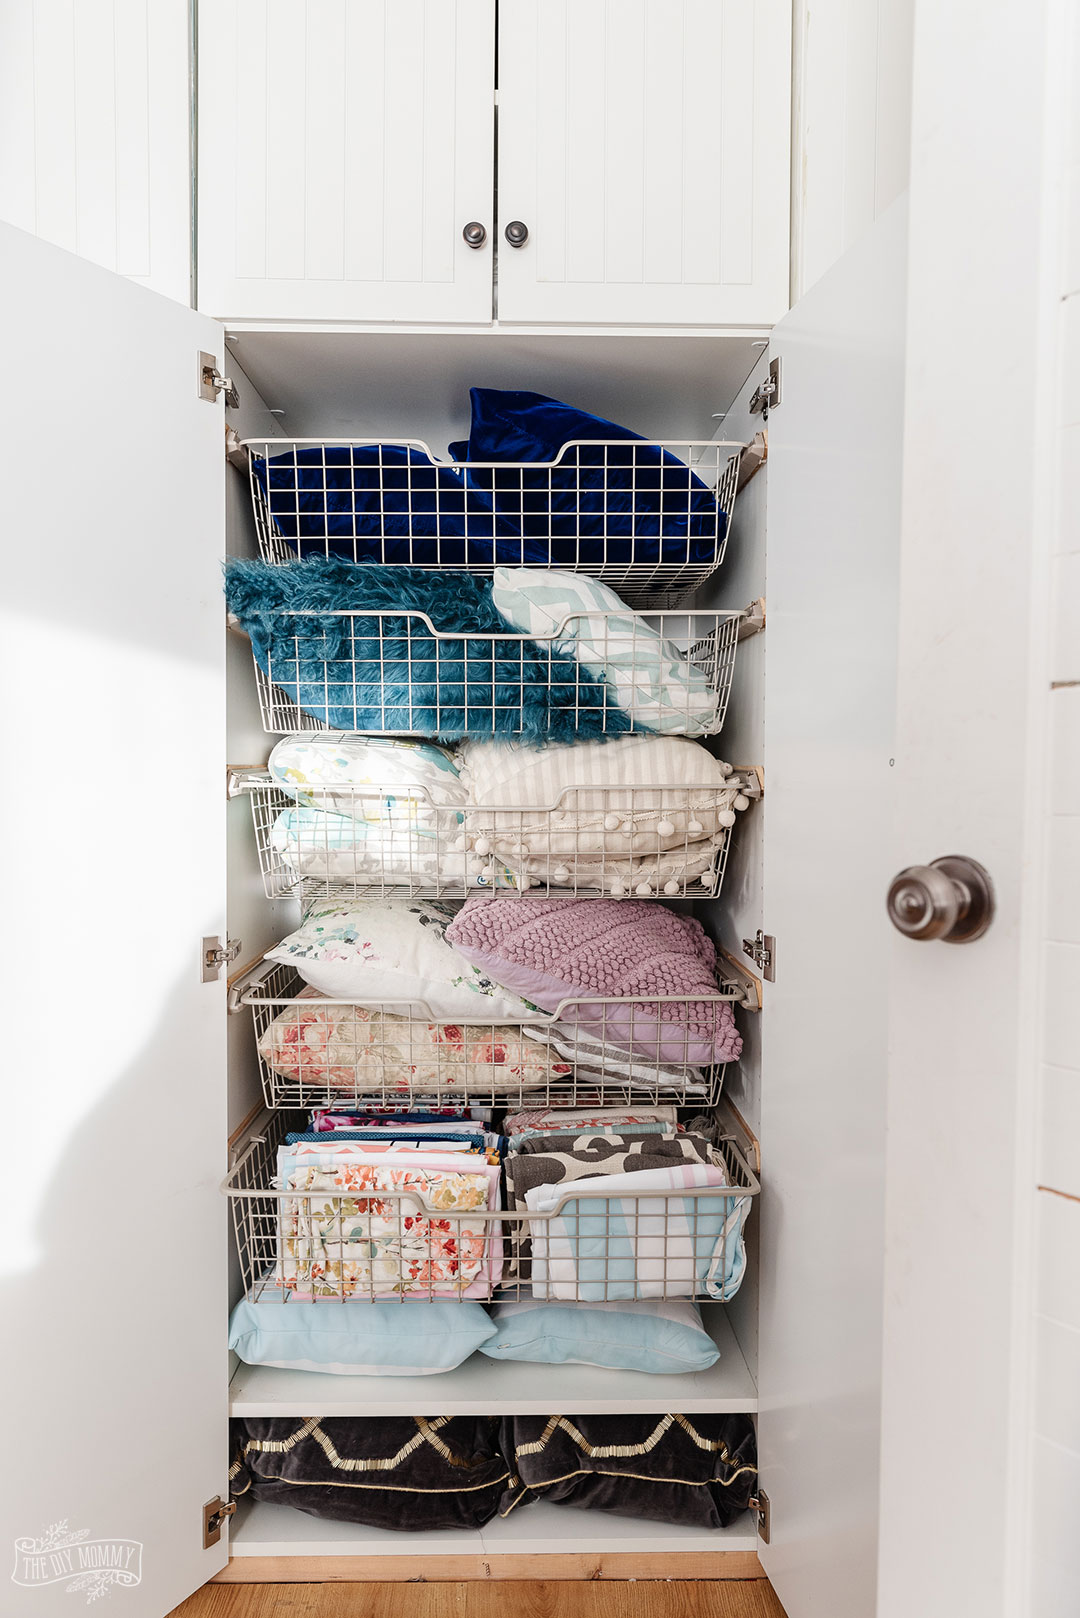
Not all my storage tips are bin and shelf related! In the same storage area as my new shelves is a pre-existing set of IKEA kitchen cupboards. This room was actually our primary bedroom when we lived in this little house, and we installed this system as closet space. There are lots of pullout IKEA baskets inside, which I still find very useful.
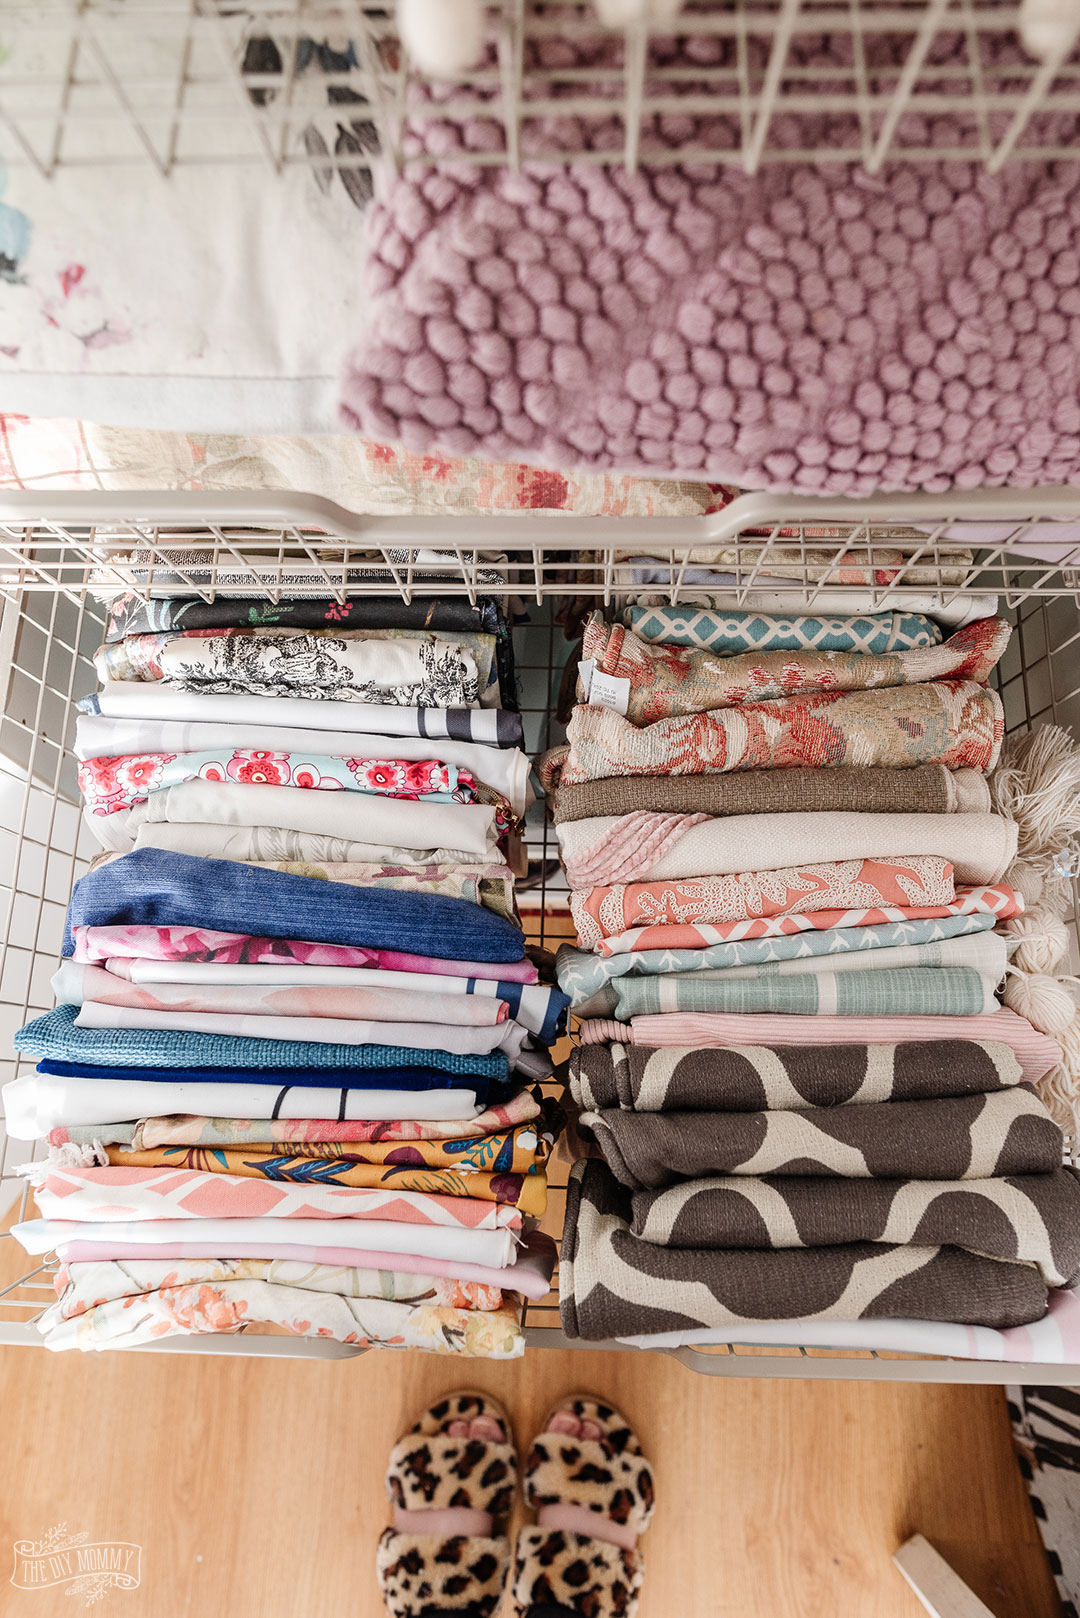
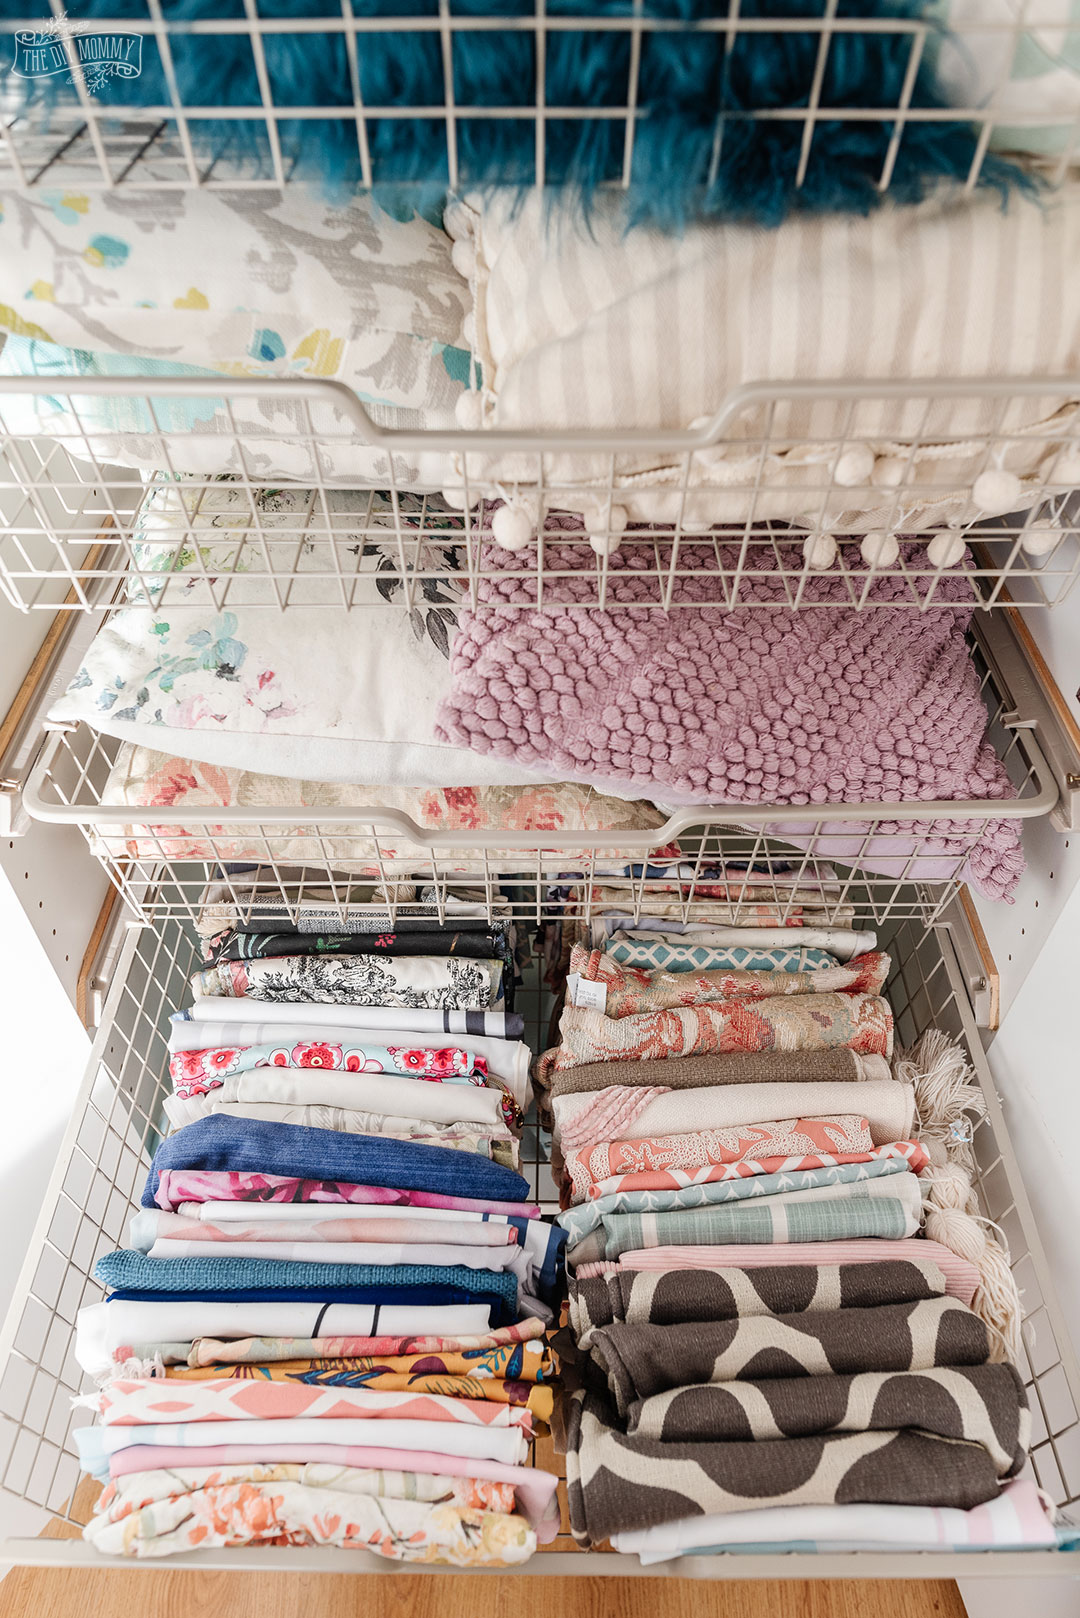
Why am I telling you this? Because this area is a great place to store all my decorative textiles for room makeovers! I LOVE textiles and have a lot of pillow covers. Folding them in half, and then in thirds, and storing them vertically in my cabinet helps me see them better. You can also fit lots more in a drawer this way! This works well for any kind of textiles, like sheets, blankets, pillowcases, or towels. Laying these items flat in a pile just means a few of them get crushed and never used. You will save so much time searching for items and will also make sure that all the things in your collection get used and loved by storing them vertically instead.
6: Create labels AFTER organizing
Once you have all of your items sorted, your bins purchased, and know how everything will fit into your bins, baskets, cupboards, closets or shelves, you can create your labels. Doing this AFTER you’ve organized everything will help you know exactly how many labels you have to create, what you should name each container, and where on the bin the label should go. Labeling is an extra step that is not necessarily essential, but I love labels and find that they do help me locate all my items quickly, especially because not all of my bins are clear.
You could use a Cricut to make vinyl labels for your containers, or you could just print them out on sticker paper like I did for mine.
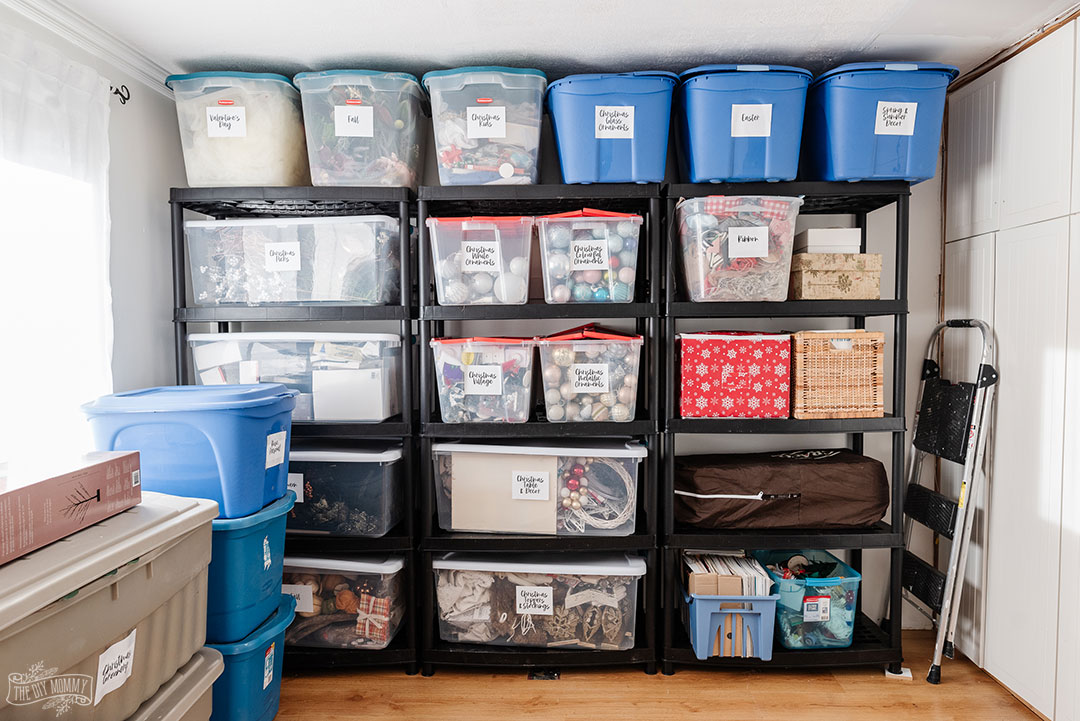
This room feels SO GOOD now that it’s organized! I cannot believe what a difference a few bins and shelves made. There is so much less clutter, and I can now locate all my seasonal items and staging textiles quickly and easily.
Do you have any simple home storage solutions you’d love to share? Leave your tips and tricks in the comments or tag me in your before and after organization photos @thediymommy!
Pin Me!

I love these ideas! I’m battling this very same thing, thanks for the tips!