My DIY Studio Tour: A Boho Farmhouse Photography, Videography & Craft Space
This post may contain affiliate links · This blog generates income via ads
I’ve finished renovating my boho farmhouse styled photography, videography & craft studio, and I’m so excited to share it here with you today! This is my new space to work, be creative, and try out new crafty ideas. Ready for a tour?
Disclosure: This post is sponsored by The Brick. As always, all of the opinions here are my own.
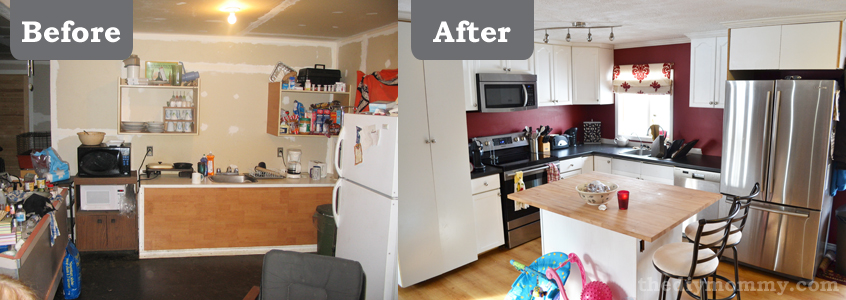
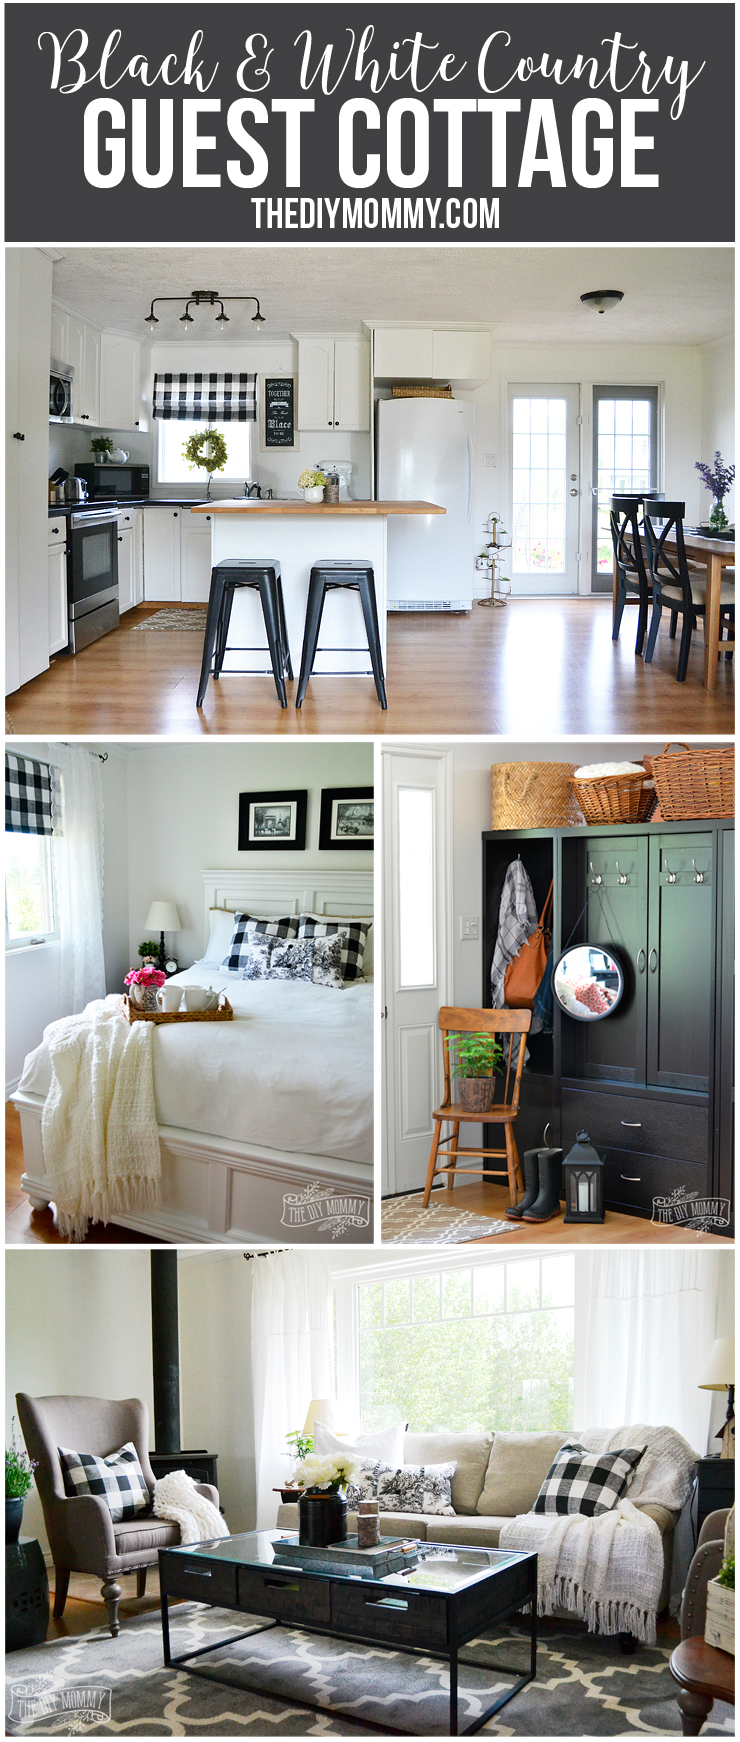
When we first bought our acreage, the only building on it was a garage that was (SEMI!) converted into a tiny home. Since the property was such a great deal and we were young & kidless, we decided to buy it, renovate the teeny garage-home and live there.
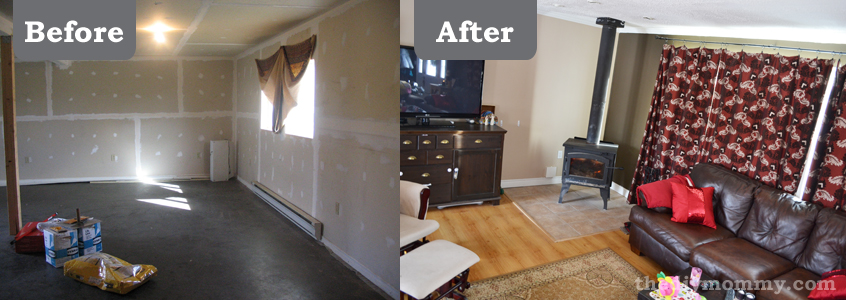
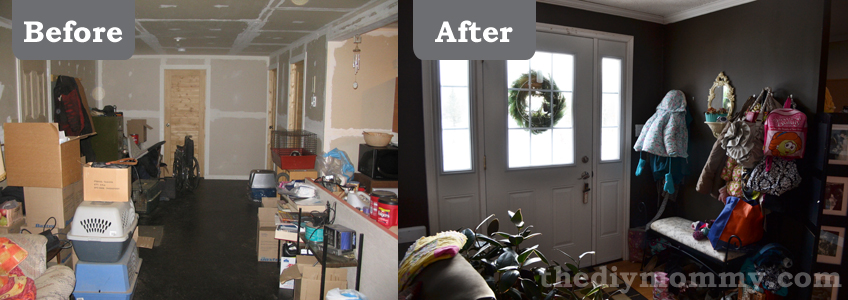
For your viewing pleasure, here’s what the garage house looked like when we bought it and after we gave it a quick renovation in 2006:
We lived here through the birth of our first daughter and our second daughter, and then we were able to build our current home on the same property. You can read more about our building process here.
THEN, we converted the garage house into a guest house for my parents to stay in while we helped them build their lake house:
You can read more about this transformation here.
When my mom and dad moved to their newly finished lake house this February, I had a new vision for this little house: A STUDIO!
A studio space that was separate from my home would help me physically and mentally separate my work and home life better (and it really has already).
With help from The Brick and some good ol’ fashioned DIY, I transformed this space into a colorful boho farmhouse photography, videography and craft studio for myself. Come on in!
I wanted the studio to be cute, but mostly functional for filming YouTube videos, doing office work, making crafts, storing props and taking photos.
Luckily, I had already painted all the walls in here white (Simply White by Benjamin Moore) when we converted the space into a guest house, and I really love the way white walls bounce off each other and create a beautiful light for photo and video.
The interest is in the fun furniture and accessories. I could go a little bolder than in our home because this is a creative space for me!
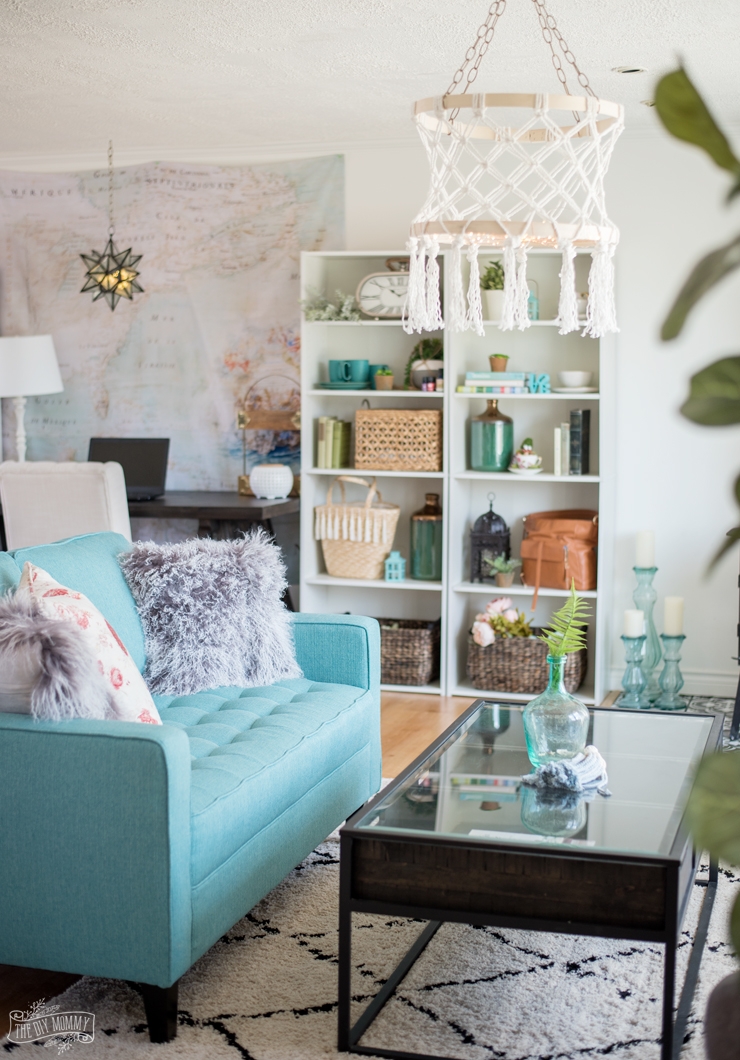
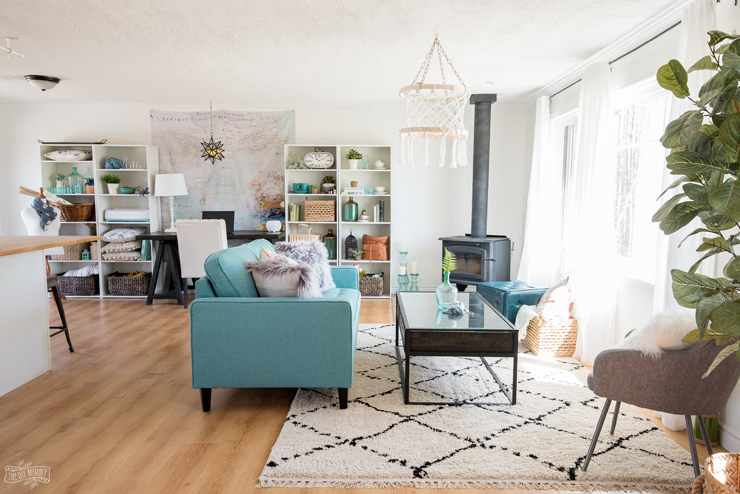
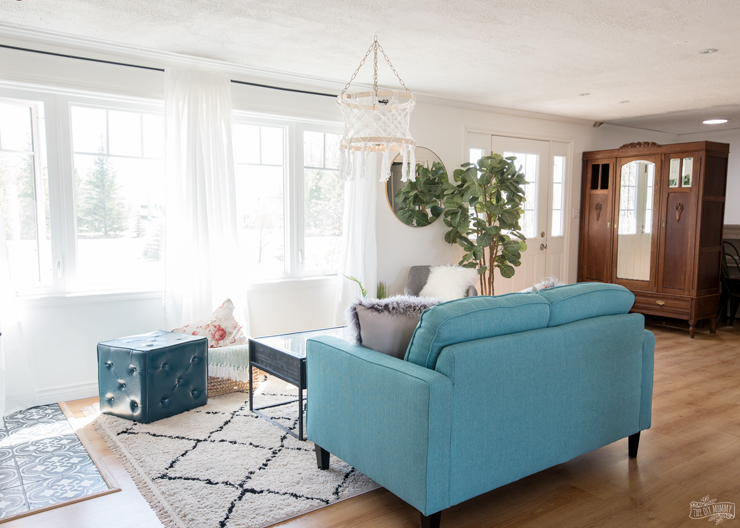
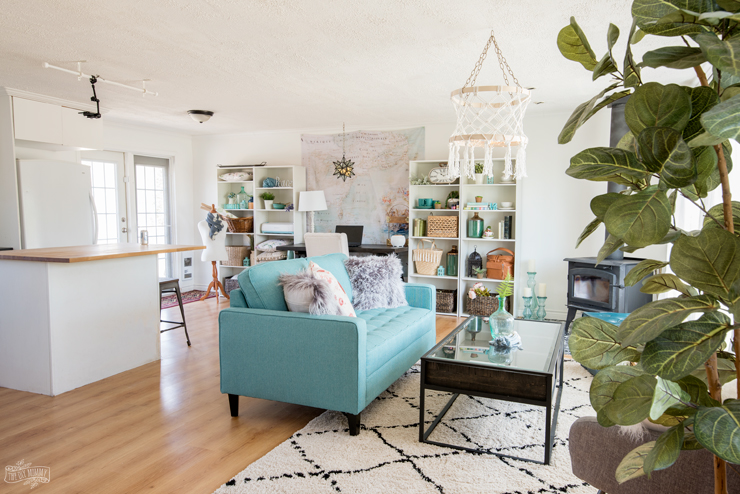
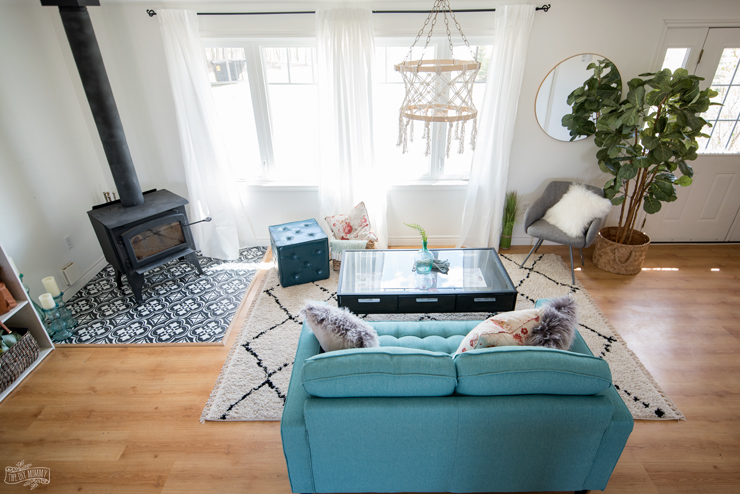
First off, my Paris Loveseat in Ocean from The Brick steals the show. Most of the studio is very neutral in colour minus this bold punch of teal from this vivid couch! I’ve always loved this colour, so I knew this piece would be the perfect focal point in my studio. It’s comfy, but it’s also stylish with its tufting and colour. We have this same line of sectional in our home and love it, so I know this piece will last.
This loveseat faces the large south window in the studio, and I’m able to pull these semi-sheer white drapes over the window to filter the light. It’s the absolute perfect light to film video intros. You might have noticed that almost all of my video intros on my YouTube channel are shot here now!
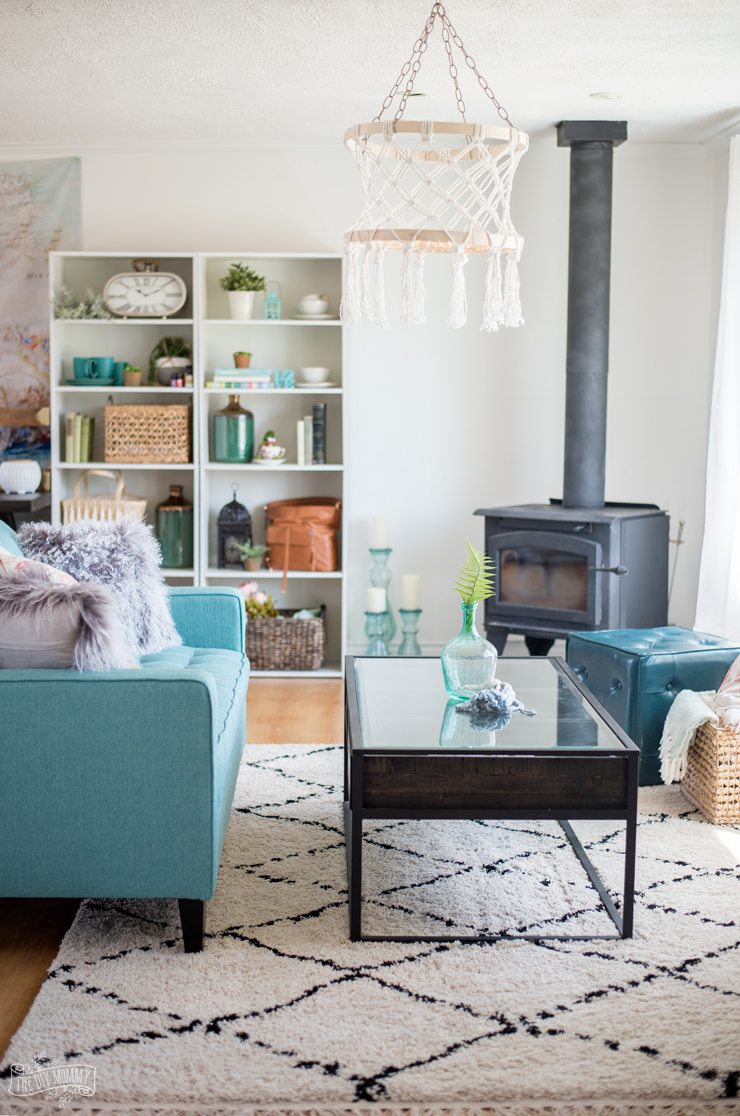
The Ahmar Area Rug in this spot is also from The Brick, and I adore it! It’s so soft and cushy and I love its pattern. You might also see that I painted & stenciled the tile beneath the wood stove on the left (it used to be a pinky tan colour), and I’ll share a tutorial for that soon.
The coffee table here is the Calistoga Coffee Table from The Brick, and we had it here when we used this space as a guest house. I love that it matches my new desk and that it can go with both rustic and modern decor. The teal Talbott Ottoman serves as extra seating or a place to set down accessories. I think poufs or ottomans like this are some of my favourite things to add to almost any space because they are so versatile and hardly take up any space.
The DIY macrame light fixture here was a unique idea project I made, and I’ll also share the tutorial for that soon!
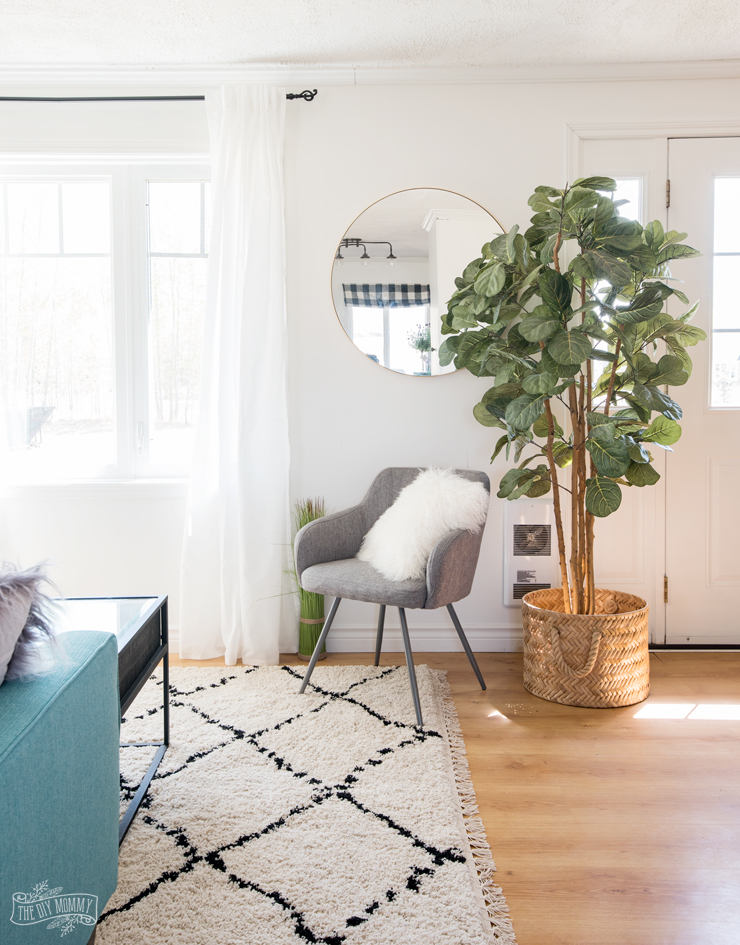
Across from the loveseat is this cute little area by the door that needed some seating and some jazzing up. I moved my faux fiddle leaf from my house to hear as I thought it was more suited to this more modern space, and found a round mirror that I adored – the Oryx Mirror from The Brick. The round shape makes this look sleek and modern, and the thin brass edge was just what I was looking for to add warmth and sparkle to my studio. I also set up my Soft Modern Occasional Chair in this corner and I love how it looks with the loveseat and rug!
Now, let’s circle around to my office & prop storage area.
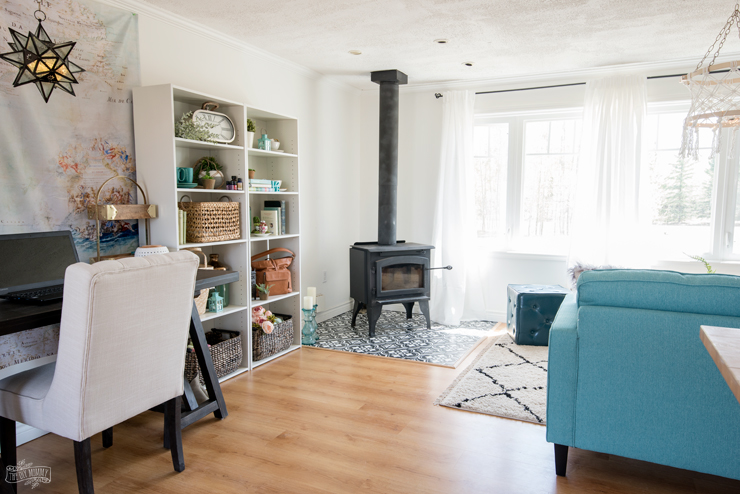
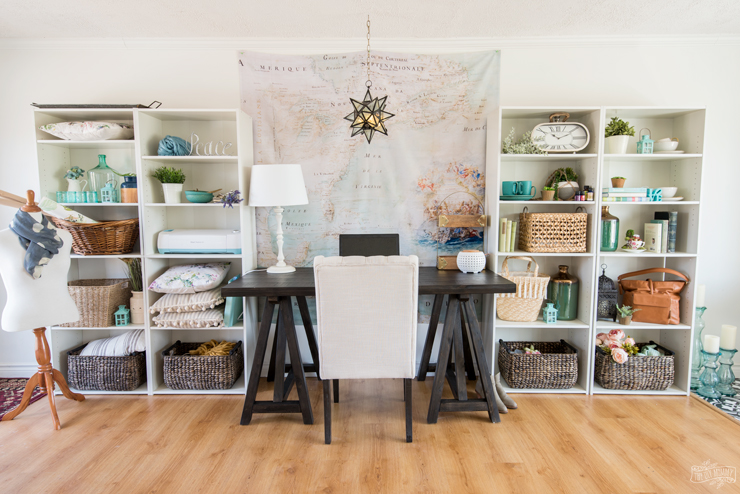
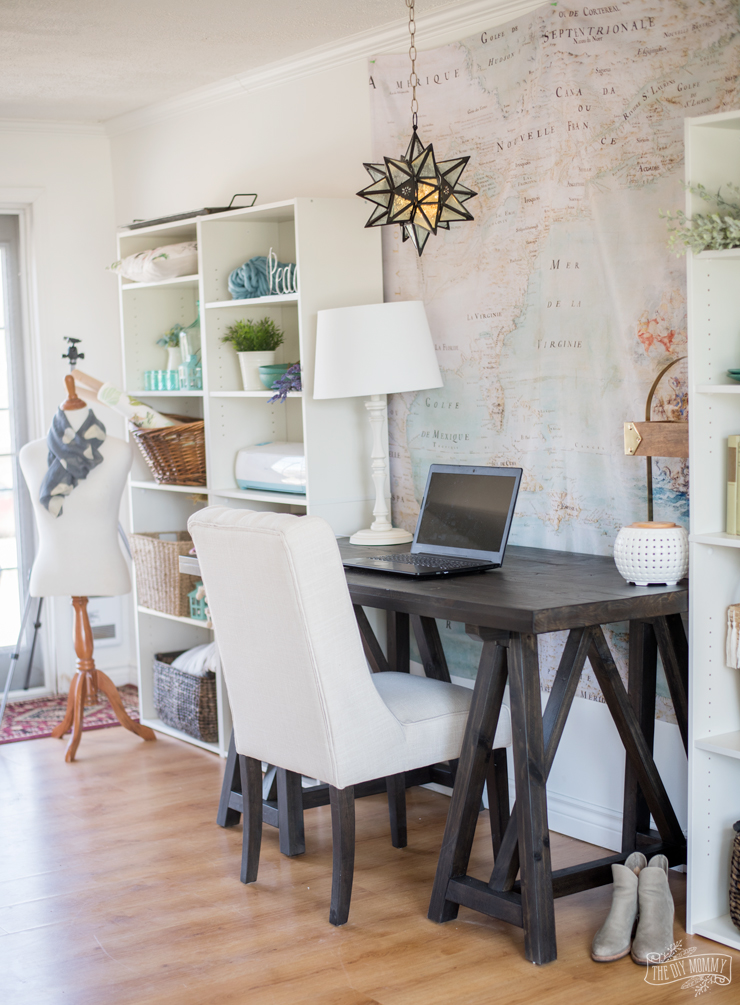
Originally, I had envisioned a wall of shelving with a desk floating in the middle of the room. Once I had everything in this spot, I realized that I preferred more floor space for projects and traffic flow. This design with the desk in the middle was a happy accident, and I really like it! I used inexpensive Boston Bookcases from The Brick to create my large wall of shelving, and the Calistoga Writing Desk is a great contrast to the bookcases in the center. I keep all of my “pretty” props in these shelves like my dinnerware, pillows, vases, lanterns and books, and then there’s enough closed storage in the studio’s little kitchen and bedrooms to house everything else (like lighting, seasonal decor, tools etc.).
To make the wall tapestry, I found an open source image of an old french map, blew it up in Photoshop, and had it printed on a shower curtain. The size was perfect for behind my desk! I also put another wireless DIY pendant light here – this is a hanging lantern I found years ago that I’ve lit with some remote operated fairy lights (I have those in my macrame chandelier, too). I’m using my Caroline Side Chair as my desk chair right now, and I love how it contrasts with the desk and is still nice and comfy to sit on. I do more computer work than I care to admit, so comfort is key!
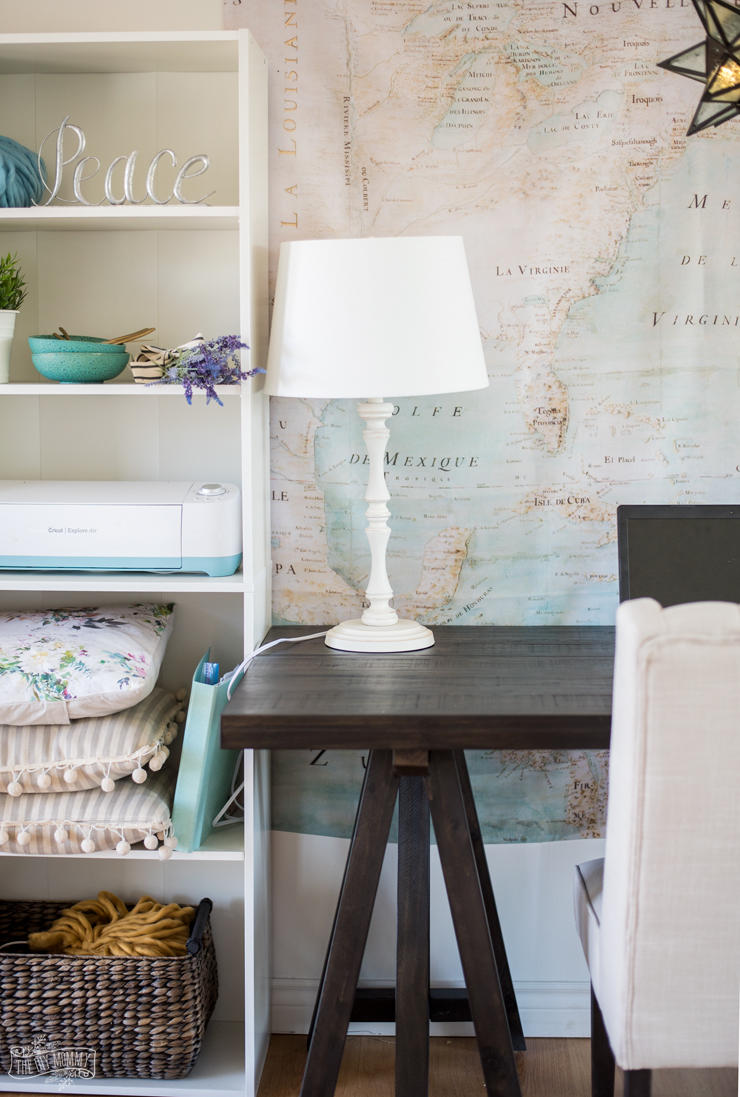
This cute little lamp also deserves a mention! It’s the Megan Table Lamp from The Brick, and aren’t its lines the prettiest?! I love that it looks like an antique spindle, but that it’s nice and big to give off lots of task lighting.
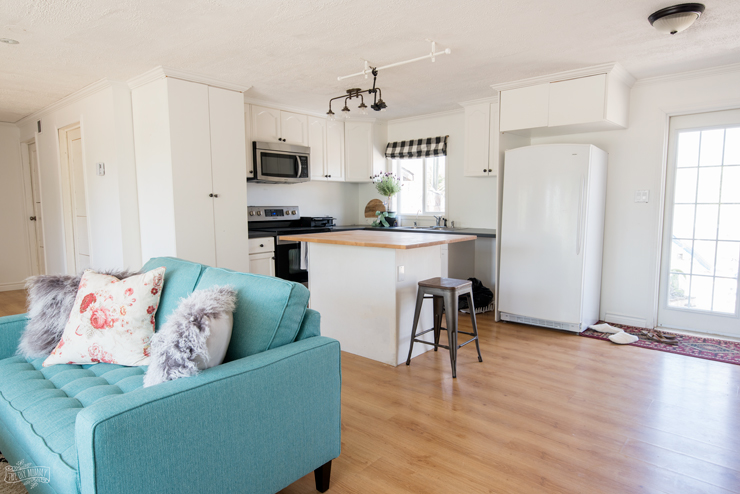
The final area in this main space of the studio is the little kitchen. I didn’t do much to it for now because it’s so functional and simple, but I may add a DIY painted backsplash in the near future. What I DID do, was attach a curtain rod to studs in the ceiling above the island that I can attach a camera to and create the best top-down tutorial videos! It’s been such a life changer when it comes to filming DIYs.
I hope you enjoyed this tour of My DIY Studio! This space is truly a dream come true for me, and I can’t wait to make hundreds more blog posts and videos here.
Now tell me: What would you put in your own craft or photography studio space?


What a wonderful space! Congratulations on getting to the point where you need and can create a space like this. You’ve put so much hard work into your business and this space shows how much you’ve accomplished. The map is beautiful. I’d love to have more details on the printing on a shower curtain–what an amazing idea!
This is so pretty!
Thank you, Danijela
Your studio is a beautiful space.
Thank you, Wendy
So lovely post. I like it. Thanks so much for the good post.
Just love the tile. This is inspiring!
Thanks, Heather
Love your room. One idea is to soak your map in liquid cornstarch and it’ll stick directly to your wall like wallpaper! I got this idea from apartment therapy. I think that would make a dramatic improvement in the overall clean look.