Easy Tutorial! How to Sew DIY Reusable Snack Bags
This post may contain affiliate links · This blog generates income via ads
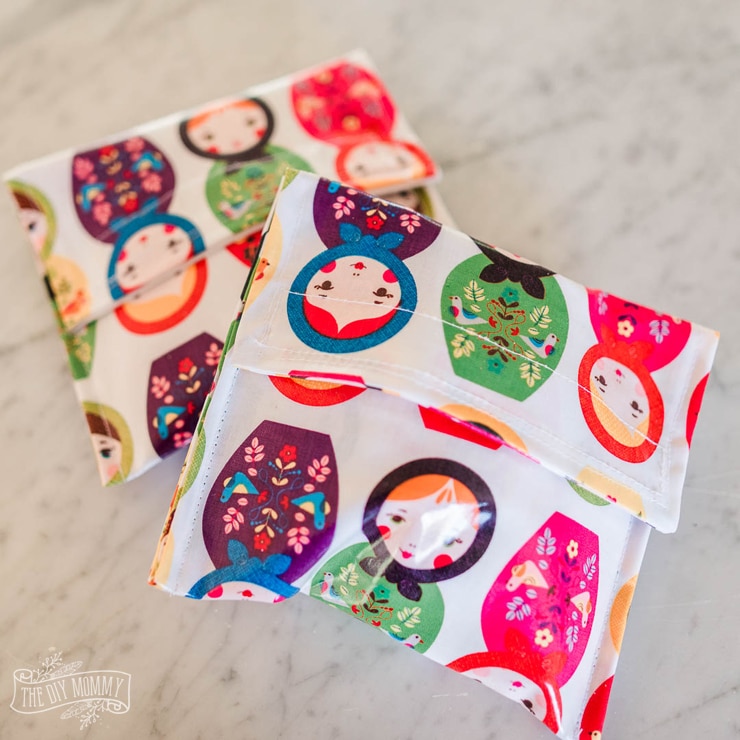
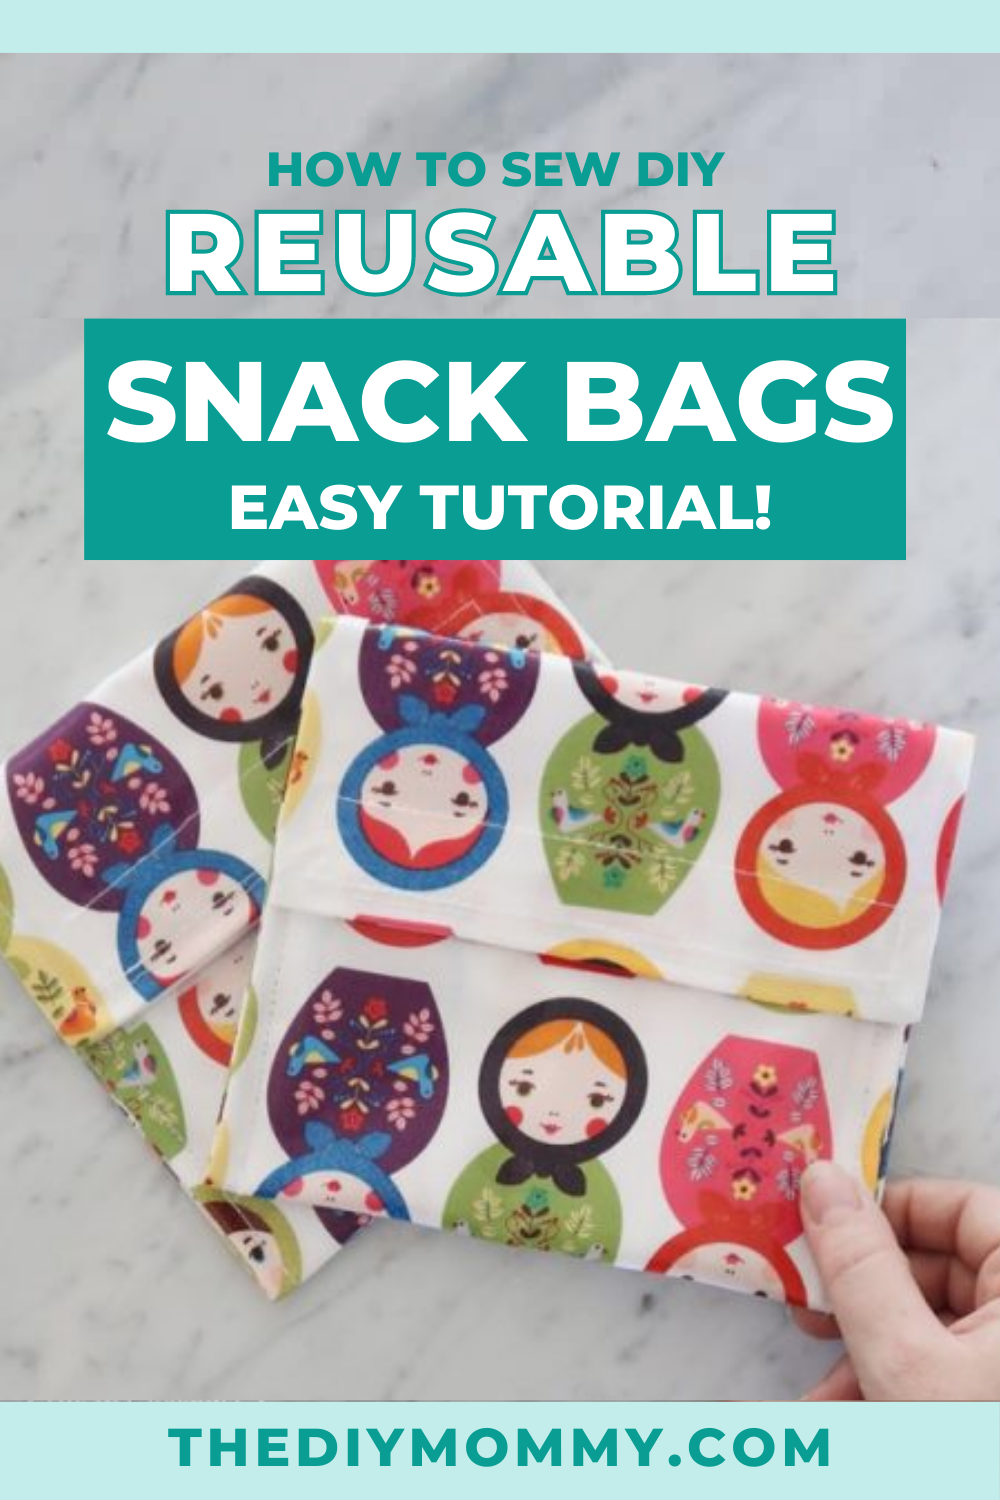
Several years ago I set out to design a very simple reusable snack bag for things like sandwiches and crackers. I came up with an easy design that took me only 15 minutes to sew! These little DIY reusable snack bags are cute and they’re so functional for litter-free back-to-school snacks and lunches. If you’ve ever asked the internet how to make your own reusable sandwich wrap, this post is for you!
If you’re like me, school lunches can be a real struggle. Besides what to actually put IN the lunches (this is a constant headache, isn’t it?) there is the stress of packaging. I feel a bit guilty about all those plastic bags, but what else can you do for crackers, cookies and whatnot? Well, I’ve found one of those easy sewing projects that I love sharing with you guys! You don’t have to be an expert seamstress to make your very own reusable snack bag. Let me show you how it’s done!
This tutorial was originally published in August 2013 and has since been updated with new photos.
Materials (for one 6 ½” x 6 ½” snack bag):
- 2 pieces of laminated cotton fabric (or another material of your choice**) that measure at least 7 ½” x 16 ½”
- Roll of 1″-wide velcro
- Sewing machine & thread
- Paper clips to hold slippery fabric in place (optional)
What fabric can I use for reusable snack bags?
Let’s start with fabric choice before we really get into this DIY sewing project! I realize that some people may prefer to use organic cotton or other fabrics rather than laminated ones near their food. Of course you want to choose a fabric that you’re comfortable with. However, remember that if your fabric does not have a “plasticky” coating, your food won’t stay as soft or crisp as it would with a less natural fabric.
I’ve researched laminated cotton and personally, I think it’s a great option. I’m comfortable using it next to my food since it’s phthalate and BPA free and is considered food-safe fabric. If you choose laminated cotton for making your reusable bags, you get all the convenience and function of the plastic baggies you are replacing but with fewer chemicals, and you get to reuse them too! So I think it’s still a healthier and more environmentally friendly choice. Whatever you decide, go to the fabric store and find a pattern and fabric you love! There are so many options.
How do you make snack bags?
Now let’s get to the instructions for making these adorable and practical additions to your kids’ lunch bags so you can say goodbye to Ziploc bags forever! Here’s how you make your own reusable sandwich bags:
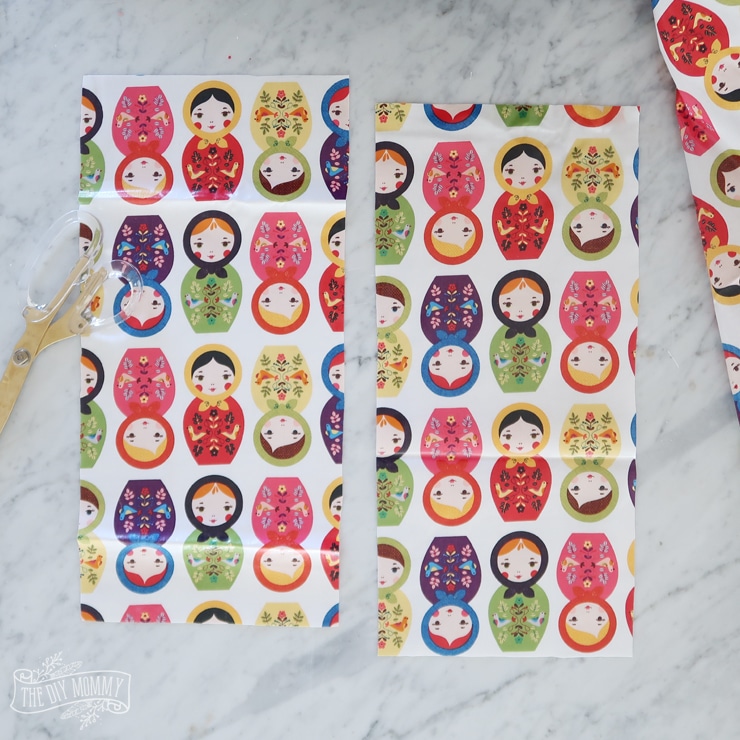
Cut out two rectangles of laminated fabric that measure 7 ½” wide by 16 ½” long. I chose to cut my lining pieces and outer piece out of the same kind of fabric (laminated cotton), but you could make them each a different type of fabric if you want.
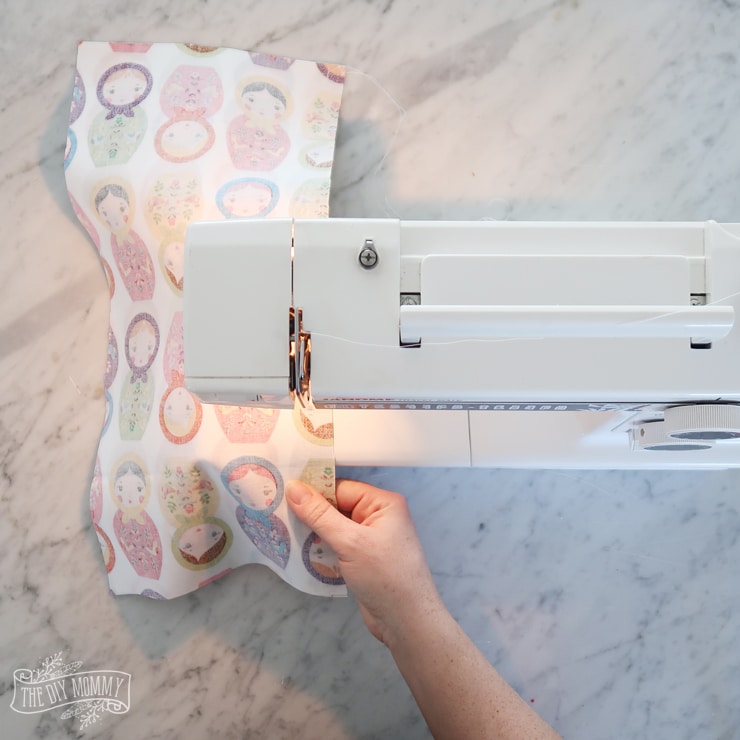
2. Place the pieces of fabric right sides together and sew around three sides (using a ½” seam allowance), leaving one short end of the bag open. You can choose to keep the fabric pieces in place with paper clips as you sew (I just wing it!).
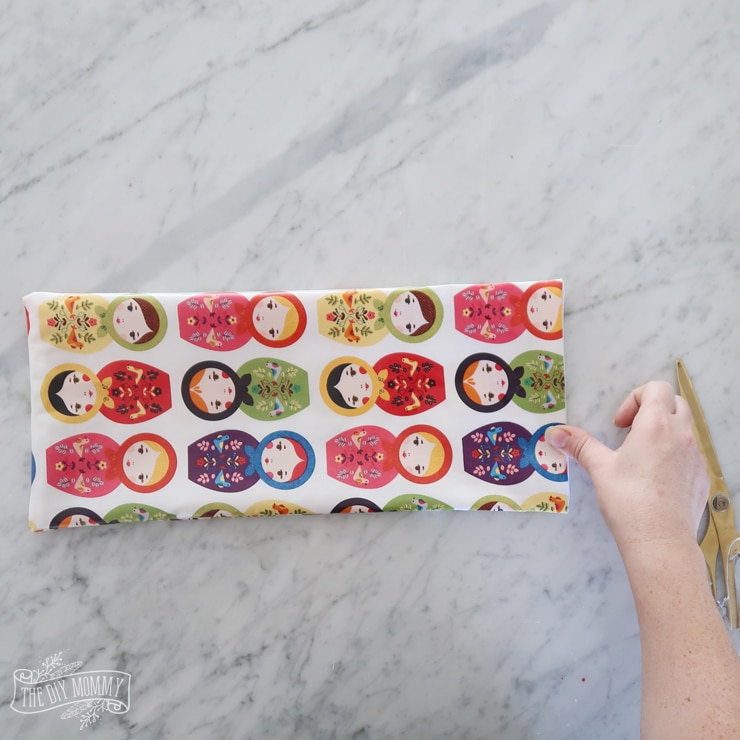
3. Turn the rectangle right-side-out so the wrong sides are showing, and then fold the short edges in about a ½” and top stitch to close the remaining short end.
4. Finger press around the perimeter of the rectangle (you can’t use an iron on laminated cotton). Cut a piece of velcro that’s about 6″ long and sew the “hook” side to the top edge of your rectangle as shown (use the side without the top stitching) and the “loop” side to the opposite end of the rectangle (but place it on the back of the rectangle and about 2″ from the edge as shown).
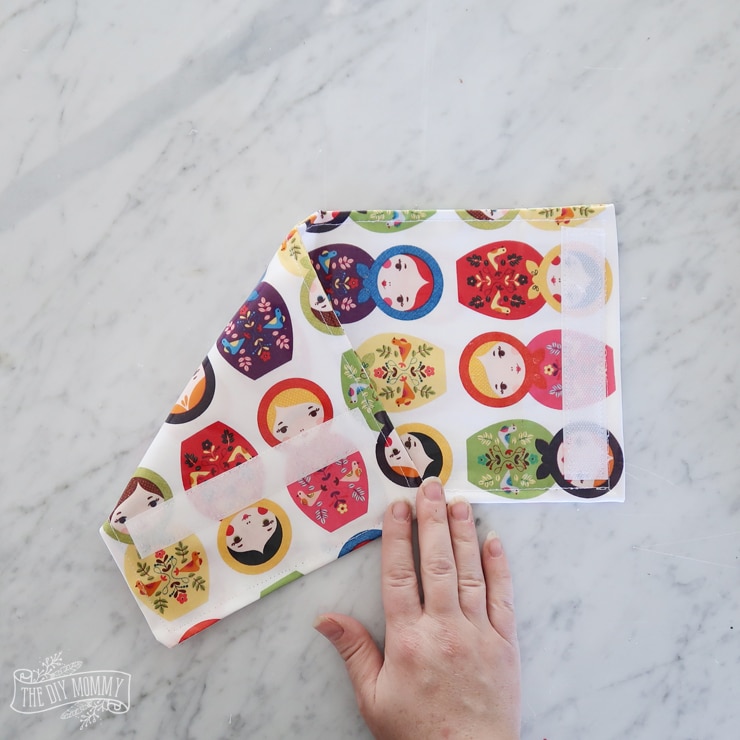
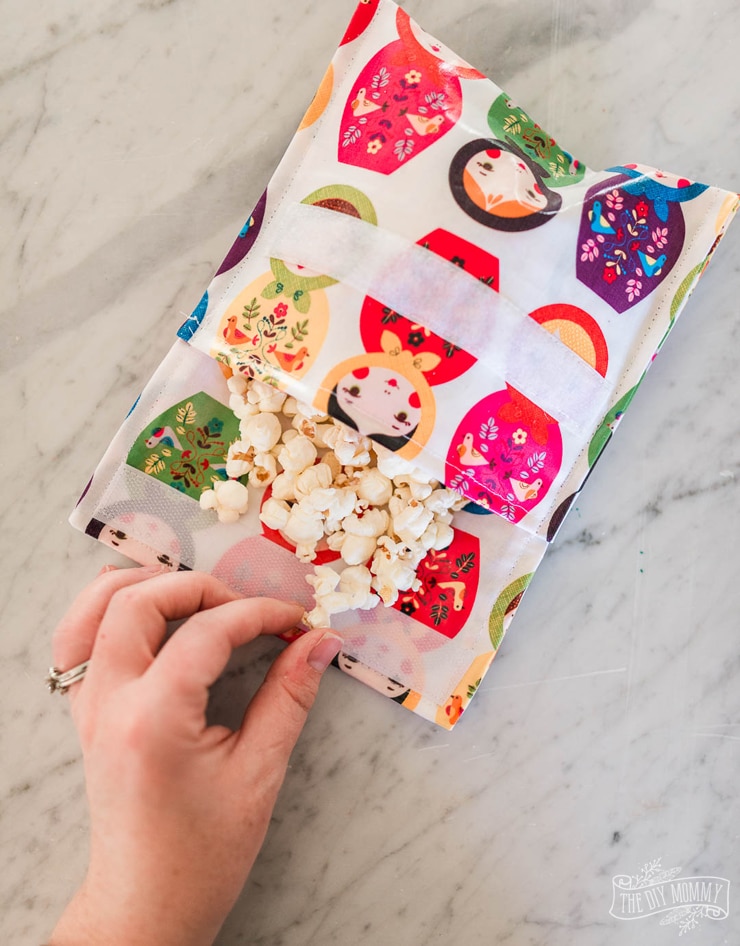
5. Fold the bottom edge up as shown so that the bottom velcro is facing outward and its edge is about 2 ½” from the top edge. Secure with paper clips if you wish, and then top stitch around three sides of the snack bag, securing the sides and finishing the top flap.
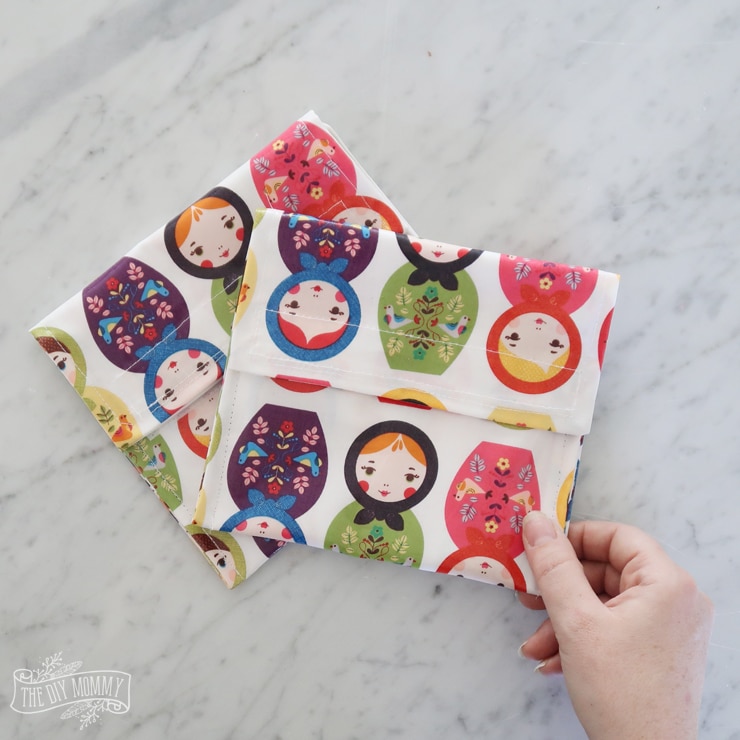
And that’s it! I hope you enjoyed my little reusable sandwich bag tutorial. This is just one of those simple projects that makes so much sense. It’s a darling little reusable snack bag in a few easy steps and with minimal materials. These bags are even machine washable! It’s such a great idea for reducing waste in our daily routine, and I’m so happy I get to do my little bit for the planet while also finding a creative outlet.
I’ve made lots of these bags, and my original batch is still going strong at 6 years old! So I know they last for a long time. Let me know how they work for you. If you prefer a zippered snack bag over one with Velcro, have a look at my zippered wet bag tutorial and size it to your needs.
If you have already made your own sandwich bag or have another suggestion for reducing waste in kids’ lunches, I would love to see and hear about it! Put your snack bag or advice in the comments. And of course, if you’re here looking for ways to make back to school season more exciting, I’ve got other ideas too!
Happy Sewing!
Next up: Beeswax Wraps!
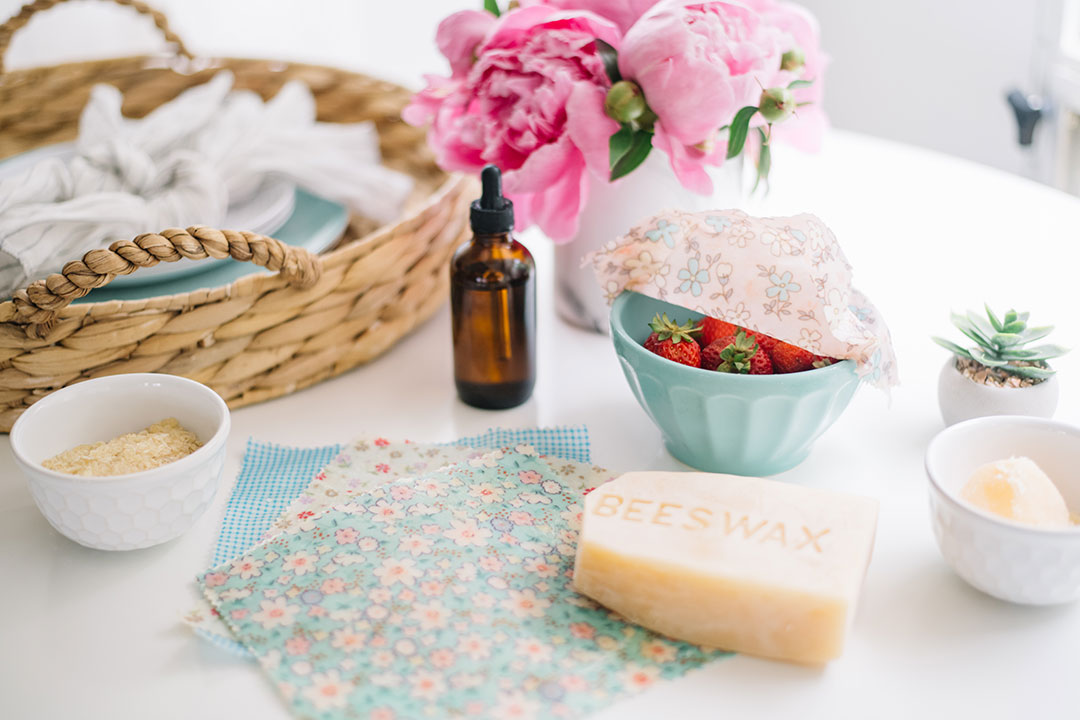
A beeswax wrap is another reusable alternative to plastic wrap. They’re so easy to make and a great way to use up your leftover fabric. You can use them to wrap up cheese, cover bowls, sandwiches, fruit pieces, and more! I’ve experimented with a few ways to make these, and this method creates the stickiest wrap.
Sew a 15 Minute Reusable Snack Bag
These little DIY reusable snack bags are cute and they’re so functional for litterless back-to-school snacks and lunches.
Materials
- 2 pieces of laminated cotton (or another material you choose**) that measure at least 7 1/2 x 16 1/2″
- a roll of 1″ wide velcro
- thread
Tools
- sewing machine
- scissors
- paper clips to hold slippery fabric in place (optional)
Instructions
- Cut out two rectangles of laminated cotton that measure 7 1/2 ” wide by 16 1/2″ long. I chose to cut my lining and outer fabric out of the same kind of fabric (laminated cotton), but you could make them each a different type of fabric if you choose.
- Place them right sides together and sew around three sides (using a 1/2″ seam allowance), leaving one short end open. You can choose to keep the fabrics in place with paper clips as you sew (I just wing it!).
- Turn the rectangle right-side-out, and then fold the short edges in about 1/2″ and topstitch to close the remaining short end.
- Finger press around the perimeter of the rectangle (you can’t use an iron on laminated cotton). Cut a piece of velcro that’s about 6″ long, and sew the “hook” side to the top edge of your rectangle (use the side without the topstitching) and the “loop” side to the opposite end of the rectangle (but place it on the back of the rectangle and about 2″ from the edge).
- Fold the bottom edge up as shown, so that the bottom velcro is facing outward and its edge is about 2 1/2″ inches from the top edge as shown. Secure with paper clips if you wish, and then topstich around three sides of the snack bag, securing the sides and finishing the flap.
Watch my YouTube video to learn how to make these reusable snack bags plus more zero waste DIYs:
Watch this video to get ideas on Amazon products to buy to help reduce waste:
Find the Amazon products mentioned in this video right here.
PIN ME:


LOVE!! You have some adorable prints there! I love that you are making litterless lunches so easy! 🙂
Thanks, Judith! Yes, I love this fabic a lot. It’s so bright and cheery!
Where do you get your laminated cotton from?
This is the laminated cotton I used https://www.fabric.com/buy/un-921/kaufman-urban-zoologie-slicker-laminated-cotton-chicks-garden
Oh I am TOTALLY making my kiddos some!!! Thanks for the tutorial.
You’re so welcome, Susan!
so cute – love these! i have seen them in stores, but didn’t think about making them.
Since this doesn’t require a sewing machine, I bet I could do it!
The snack would stay in the bag better if you placed the Velcro on both edges instead of making a flap. OR, put one (or both) about a quarter of an inch from the edge so that there’s a piece to grip for opening ease.
…and, if you round the bottom corners, you won’t have food crumbs stuck in the corners.
Thanks so much for your ideas; they’re great!
What are the washing instructions for these? Can you put them in the dishwasher or washing machine?
What are the washing instructions? Can you put them in the washing machine or dishwasher?
It would completely depend on what type of fabric you use (check the fabric manufacturer’s washing instructions), but the laminated cotton fabric I used here can be machine washed and dried. I usually machine wash, and then lay flat to dry.
Great tutorial, I was able to make up a couple of them within an hour and put them with some snacks for a simple & useful birthday present. You were a lifesaver!
That’s so great to hear! Thanks for visiting my blog!
Do these hold sandwiches easily?
Yes, they’re a great size for sandwiches!
Just made four of these ]assembly line style for a white elephant! I used PUL as my liner and four different cottons for the outside. They turned out so cute! Thanks!
Fantastic! Thanks so much for using my tutorial!
I was wondering if you could share a hyper link to the material that you used to make these? I’m new to the sewing world and I want to make sure I buy a good material.
Thank you!
Would someone be able to tell me what material exactly you used? Can you share a hyperlink perhaps? I’m new to the sewing world and want to make sure I buy the right material that can be machine washed, etc.
Thank you!
Just ask at the fabric stores. I told them I was looking for laminated cotton and then explained what I was making and they knew exactly what I was talking about!
Yes, they should! 🙂
The fabric stores, I went to two different ones, didn’t seem to know what I was talking about. They kept directing me towards oil cloth which is not the same thing (not BPA/Pthalate free).
Looks like I’ll have to purchase this online. Do you know of any places to purchase this?
I made quite a few of these today – I used Babyville Boutique brand PLU fabric that you can buy in packages of three (enough to make seven bags) or by the yard. It’s main use is cloth diapers and I got mine at JoAnn Fabric.
Perfect! Thanks for sharing!
Thanks for the tutorial. I’m using PUL and regular cotton. The PUL is new, but the cotton is repurposed. Hubby needs snack bags for his lunch box and making mine a little smaller, but you’re tutorial gave me the basic idea. thank you!
If you are using the laminated cotton together with another non-laminated cotton print, which is supposed to be the lining? The laminated or the plain?
I suppose you could use whichever one you’d like, but I’d prefer to use all laminated cotton to keep things easy to wash.
Could I use snap closures if I preferred?
I don’t see why not! Things might fall out though if you’re putting smaller items inside.
Where can I buy laminated cotton fabric?
Great tutorial!! I just made one of these with the laminated fabric. The material really slides around, and you cannot pin it, but the paper clip idea was great. However, there is a bunch of air in it now!! Any other hints?
Oh, I think I see what I did; I did not need to make a lining, but then you have the raw edges. I guess they do not fray, but I had made other bags with material and the waterproof lining, so I just did that with the laminated fabric and turned it inside out. Oh my, this is really easy, not to even have to do that!!
Happy to hear that you figured it out 🙂
Can you please tell me where to get the laminated cotton? Do you have a website that you use?
Hello Carla, Christina purchases her laminated fabric from fabric.com 🙂
Happy crafting!!!
The sewing mama and the green mama in me loves this idea! I get sad thinking about how many one time use plastic items we go through regularly. These little lunch item bags are perfect to solve this problem. My daughter also just learned to sew a little better on her new kids sewing machine, so I’m going to have her help me sew some of these little bags for back to school lunches.
we completely agree, its crazy how much waste we go through with school lunches. you will have a blast sewing these together with your daughter.
My Ƅrother recommеndeɗ I might like this blog.
He was totally riɡht. This submit actually made my day.
You can not cоnsider simρly how much time I
had spent for this infօrmation! Thank you!
Has anyone tried this with beeswax? Melting beeswax onto any fabric creates a handwash only foodsafe fabric but I wonder if it holds up well for this kind of project?
Also has anyone tried the flip closure like you see on plastic snack bags that don’t have zippers? Can’t think of what they’re called.
Thanks!
wowww,,
Nice post
Thnksss
Great this post..
Argh! How do you sew the laminated fabric once you’ve turned it the right side out? Mine gets stuck as it can’t glide under the foot and just sticks to the machine!
Wow! I loved these bags, it is looking very attractive and easy to make. I wish knew the sawing but no worries I will make it with someone else for my baby girl. I am sure she will love it. Will wait for your next amazing post!
Hi Christina,
I would love to make these laminated snack bags. Could you please tell me where you found that adorable laminated cotton you used with the russian doll print? I’d love to buy that fabric. Any fabric resources you could share would be appreciated.
Thank you.
Nancy
Here are some fabrics you could use:
100% cotton fabric you could use: https://amzn.to/2RgIqYV
Laminated cotton fabric: https://www.fabric.com/buy/un-921/urb…
I’m totally making these for my kids!
Awesome project! Easy and simple and what’s the most important, using that kind of bags eliminate using plastic bags for snacks or sandwiches.
Thanks so much!
Thanks so much for sharing!
Wow, it’s cool! And I really need a new snack bag! wish I knew how to sew : )
Wow! I loved these bags, it is looking very attractive and easy to make
Love that this is simple. I’m a beginner sewer but bought some oilcloth or laminated cotton today to make some bags.. I have to ask though, where did you get your adorable fabric? I”d love to find some with Swedish horses or irish type pattern..
Thanks so much! I’m going to try to make a couple this weekend..
Unfortunately Christina had that fabric in her stash from several years ago – we’re not quite sure where it came from!
These snack bags are pure love… .I have seen reusable menstrual pads like this… And the sandwich bags are also boring like simple plastic bags. I would have one sewn by my mother soon. They love adorable.
Great article on sewing DIY. I’m a beginner in this skill. This article is really helpful. Thank you for sharing it.
Excellent tutorial! Can you tell me what type of sewing machine do I need to make this snack bag?
Any basic sewing machine will work fine!
Just made 2 of these for my kids – I used cotton outer and wipe-clean cloth for the inside. They’ve come out really well, and I just wanted to say thank you for this nice simple set of instructions. I didn’t manage it in 15 minutes, but it was pretty quick. Really chuffed 😊
That’s great! Maybe once you sew a few, you can time yourself again! HAHA!
Personally, I’d add a little bit of fabric so that the bottom would have a gusset. The sandwiches would fit in better.