How to Spray Paint and Install Interior Doors Like a Pro
This post may contain affiliate links · This blog generates income via ads
Today I thought I would re-share one of the stages of my Mom’s Lake House build. My parents worked hard at finishing their beautiful home, and one thing they did themselves was paint and install their interior doors. They did a fabulous job and I thought it would be a good idea to share the process with you here in case you want to try it too! It’s a great way to update a home. Interior doors take up a lot of real estate in a space and can make a huge impact.
Disclosure: This post is sponsored by Masonite & Metrie. As always, all of the opinions here are my own.
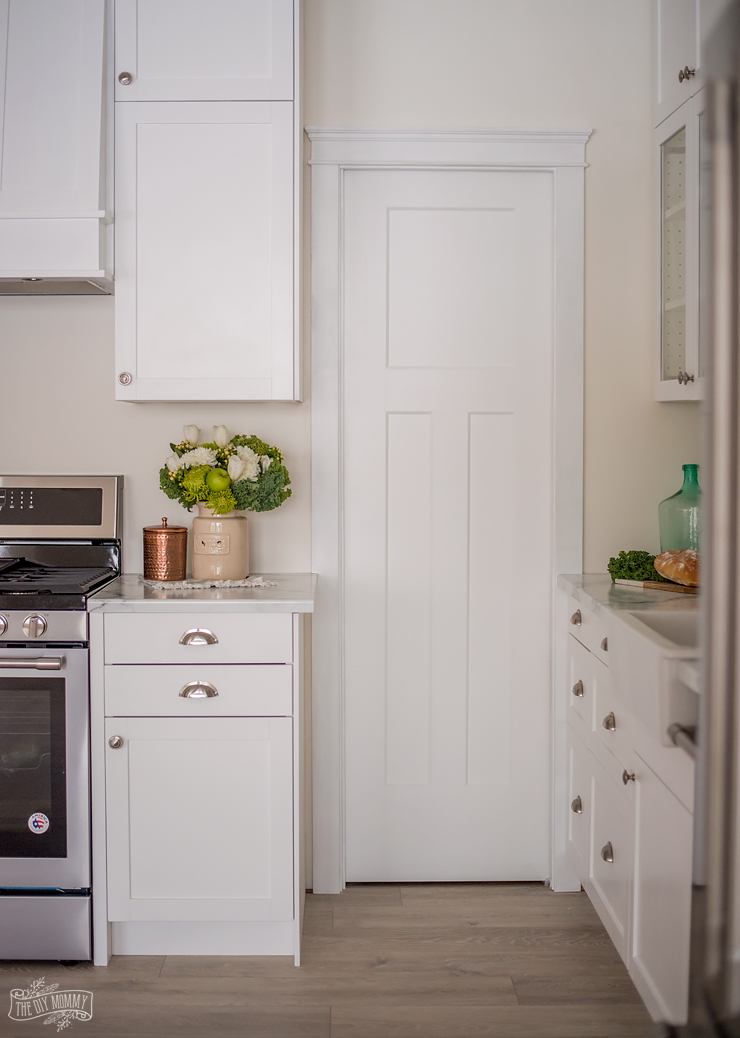
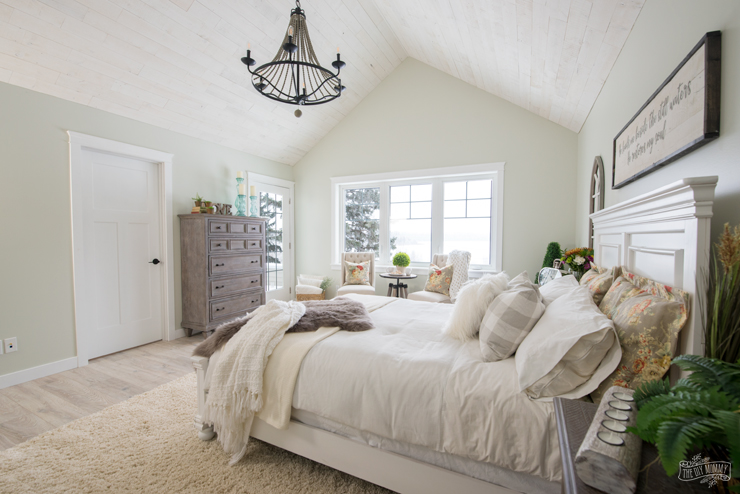
Aren’t these doors beautiful? They have a perfect farmhouse, craftsman profile that suits my parents’ rustic traditional lake cottage so well. They are the Masonite Expo™ Heritage® Series Winslow™ Moulded Panel Door from Metrie. These doors are a solid core construction, and they are installed in every room in my parents’ home.
If you’re in the market for some new interior doors, check out this Style Quiz on the Masonite website. It can help you determine what your style is and what doors would work best in your home. After all, if you are going to buy new doors, you might as well make sure they suit your decor style and personal taste.
Whether you are refinishing your current doors or buying brand-new ones, the process will be the same! New doors will arrive at your home unpainted, so you will still need to know the best way to put a fresh coat of paint on them.
Is it better to spray or roll interior paint?
In my opinion, the best way to paint your interior doors is by using a paint sprayer. This will lead to a smoother finish with no brush strokes, drips, or runs. Most doors are not completely flat. Painting any kind of inset design by hand without making a mess can be very difficult, even with a foam roller. When painting a lot of doors at one time, a paint sprayer will save you so much time and effort. It is definitely the fastest way to get the job done!
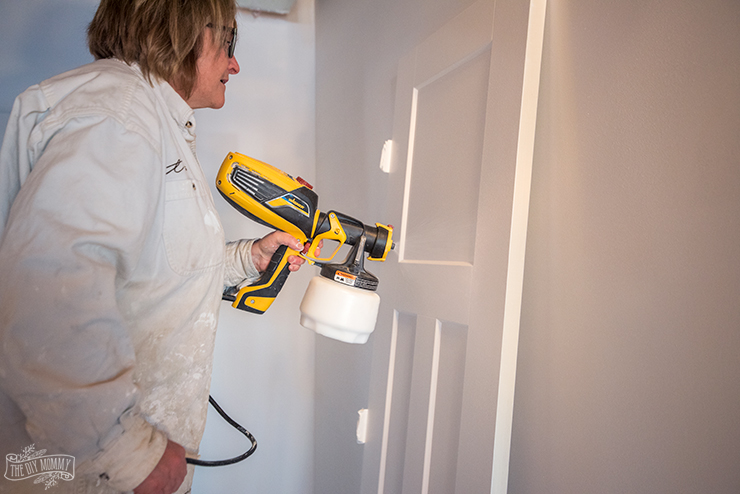
My mom used the Wagner Flexio 590, but you can check Home Depot for other options. You want something lightweight and easy to handle, especially if you are new to DIY projects that require a paint sprayer. We found that the Wagner paint sprayer was very easy to use. We got such a nice, smooth finish on the doors that looks simply gorgeous!
Can a beginner use a paint sprayer?
Yes of course! Everyone has to start somewhere, right? The first thing you should do to ensure a professional finish on your doors is practice somewhere else. This is especially important if this is your first time using your new paint sprayer. Using a sprayer isn’t complicated but it can take a few passes to figure out. If you practice on something other than your doors first, your end results will definitely be better. You could attempt painting a piece of furniture first, or maybe just a large interior wall. You could also just set up some old boxes or a piece of plywood and practice on that. Once you feel comfortable with how your sprayer works and how to control the spray pattern, you’re ready to begin on your doors!
How do you make spray paint look professional?
The key to a professional paint job (and why you want to practice to get the feel of your sprayer) is many light coats rather than one or two thick and heavy coats. The lighter you spray, the less chance there will be of drips and runs! We recommend at least three coats. Make sure you wait until each coat of paint is completely dry before you spray the next one. Check your paint to be sure, but drying time can range from one to three hours for each coat. A little bit of patience is required for your painting project to come out the way you want it to!
Do you have to buy special paint for a paint sprayer?
No, you do not have to buy special paint if you decide to use a paint sprayer. You can use latex, water-based paint, acrylic, primer, oil-based paint, epoxy, rust-preventive paint, and anything else you can think of. The only difference between painting with spray guns and painting with a brush and roller is that you might need to thin your paint for some sprayer types for the best results. For the Wagner sprayer my mom is using, I recommend thinning your paint by 15% with water.
How do you paint an interior door with a paint sprayer?
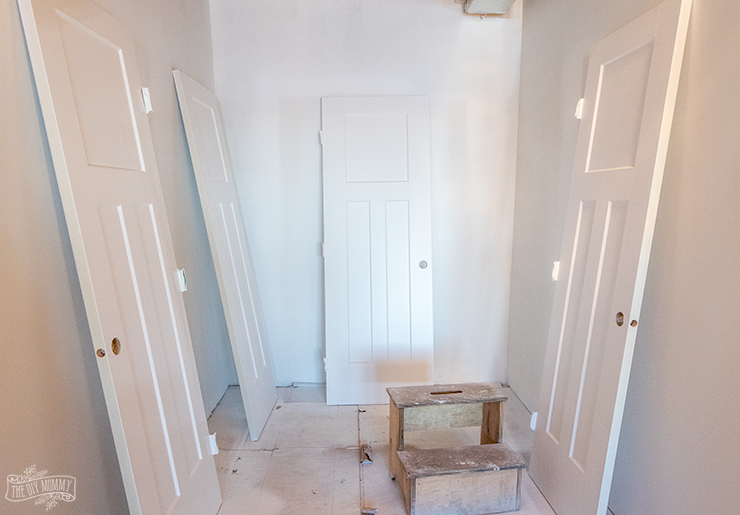
The first thing you need to do is get your painting area ready to go. A little bit of prep work will mean much easier cleanup later! We took the doors off the door jamb and set them up in a ventilated area to spray them.
We leaned the doors up against a wall that could get a bit of paint spray on it because we were going to paint it later anyway! You could hang plastic to protect any surfaces behind your door and the surrounding area if you wanted to. You could also set up some saw horses and put your doors across them so that you spray toward the floor instead of the wall since floors are often easier to protect. For the door hardware, remove the door handles and use masking tape or painter’s tape to tape off the hinges so they don’t get paint on them. Then you are ready to start painting and say goodbye to the old paint color!
Just like you would with a roller and paintbrush, you need to make sure that paint is not allowed to dry inside or on the nozzle of your paint sprayer when you take a break from using it. Keep a toothbrush and some water handy to clean the nozzle, and cover the nozzle with a wet cloth when you’re not using it to keep it from drying out and getting clogged. Have some extra damp clothes available before you start to clean up any drips or spills that might happen along the way.
Let’s get to painting
Now it really is time to get painting. If you are painting old doors and need to do a couple of coats of primer to cover the old paint, load that first. If you are painting new doors, they will come primed so you can skip this and go straight to paint!
Before you start on the doors, do a couple of practice passes on a piece of cardboard or plywood. This will make sure the sprayer is loaded properly and has an even spray, and you can make sure you remember how it works too! Start the air on the paint gun before you start the paint. Start at the top of the door and do even strokes back and forth until you get to the bottom of the door. Overlap your strokes by about one-third to one-half to make sure you get even paint coverage with no lines. And remember, a few thin coats of paint are better than one thick one to achieve the best finish.
If you make a mistake, don’t worry! You can either let it dry and give it a quick sand before re-coating, or take one of your damp cloths and wipe the paint away while it is still wet and re-coat immediately.
And that is how you paint doors! I think my mom did a fantastic job with her paint sprayer. You can watch my video at the bottom of this post to see my mom’s door painting skills in action.
Installing Doors
If you decide to paint your existing doors, then there’s no real installation process! Just take the tape off the hinges, hang your doors back up the way you found them, and re-install the door hardware and you’re good to go.
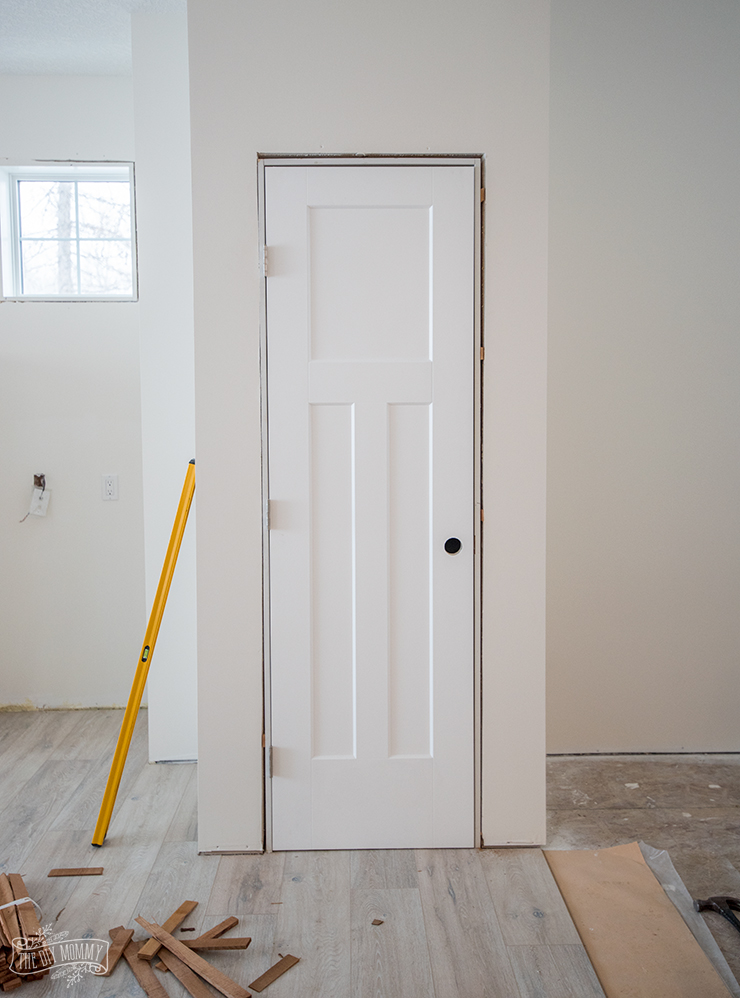
If you painted brand new doors and need to install them for the first time, it’s a bit more involved but not really. If you order pre-hung doors like we did, the installation process is a lot easier than you might think! This is because the door comes with the door frame, so you know it all goes together. All you need are wood shims, a level, and a finishing nail gun to install new doors in your home.
Make sure the door is level and secure
First, slide the door into the opening where it is going to hang. Then, you need to make sure the door is level and will swing open and close properly. You can use long shims for this. Keep placing the shims until the head jamb is level. And keep checking if the door opens and closes properly as you put the shims in place. This step is a little bit tedious, but it is the most important one! If your door is not level it won’t work properly and it will look crooked. Just keep shimming the top and outside edge until the level tells you the door is in the perfect position.
When the frame is in place, secure it to the inside of the door opening on all sides with a finishing nail gun. You can use a small piece of trim to make sure the door is even with the outside drywall as you go along with your nail gun.
When your door is secured in place, simply trim the shims so they don’t stick out past the wall. You can use your small piece of trim to check this too, just like you did when you nailed the frame in place.
That’s it! Now your doors are ready to trim out and have the hardware installed too.
Sometimes these things are so much easier to understand when you see them being done instead of just having them explained! If you are a visual learner like me, check out the video below. Once you’re done watching my mom paint the doors with her sprayer, you can watch my dad go through the entire door installation process I just described to you.
Watch this video for our DIY door painting & installation tips:
And that’s it! These Masonite doors are the perfect addition to Mom’s Lake House, don’t you think? They make such a big impact in the space and really add style and character to every room. You can see them featured in the primary bedroom and the kitchen. And make sure you check out all the other finishing touches we put in those spaces while you’re there!
Now tell me: after seeing how easy painting and installing doors can be, would you ever try spray painting and installing an interior door yourself? If you decide to take the plunge and go for this DIY project yourself, I would love to hear how it goes. Tag me @thediymommy with your before and after pics, or leave a comment at the end of this post!
Pin Me!

