Can you paint tile and does it last?
This post may contain affiliate links · This blog generates income via ads
One of my favorite things in the whole world is making something look bright, fresh and new again! If I can do it with very little money and effort, even better. I painted the boring and blah floor tiles in my studio a few years ago. But did they hold up? I’m showing you my painted tile floor 6+ months later, PLUS I’m answering all the FAQs! Check out the post and video update!
Table of contents
- Is painting your floors a good idea?
- How to paint floor tile
- Do I need to seal a painted tile floor?
- How to clean painted floor tiles
- Does painted tile floor hold up? How long does a painted tile floor last?
- Can I also paint tile backsplashes? Countertop?
- Do I use my wood stove over the painted tile?
- Final thoughts
Is painting your floors a good idea?
I sure think so! And I’ve had enough experience doing it that I feel confident in saying that it is a good idea to paint your entire floor if you want to. Really, you can paint almost anything with the right preparation, the right paint, and the right finish. If you have old ceramic or porcelain tile that you want to look new again, this is a budget-friendly way to update your flooring and make a huge difference in the look of a space without ripping out your floors and starting again. It’s one of my favourite DIY projects of all time! You can paint floor tile for your:
- Bathroom, including a basement bathroom, guest bathroom, or even an upstairs bathroom (Really, any bathroom floor tiles are paintable! I plan to show you that this DIY is durable.)
- Kitchen floor
- Laundry room floor
- Storage room floor
- You get the idea!
How to paint floor tile
There are a few different methods for painting floor tiles, but here’s mine:
Preparing the tile floor
- If there are any cracks or chips in the tile, you can use a wood filler or latex caulk to fill in any issues and make repairs. It is best to start with a floor that is in good condition because a chipped surface won’t take the paint as well, and flaws will become more visible once they are painted.
- Sand the original tile to make it rough and ready to accept the paint. No matter what type of paint you are planning to use, don’t skip this step! I use 100-grit sandpaper.
- Clean and scrub the tile with a degreasing cleaner like this one to get rid of any dirt and dust. You want clean floors when you start painting!
- Tape off any trim and baseboards near the floor with painter’s tape. This is another finicky step, but having clean painted lines that don’t bleed into the baseboard or onto the floor transitions next to your tile is totally worth it.
Painting the tile floor
- Depending on the current color of your tiles, you might want to use a good primer before you start with your actual paint colors. For example, if you are painting dark pink 80s-style ceramic tile white, you want to ensure you get the best coverage possible by priming them first.
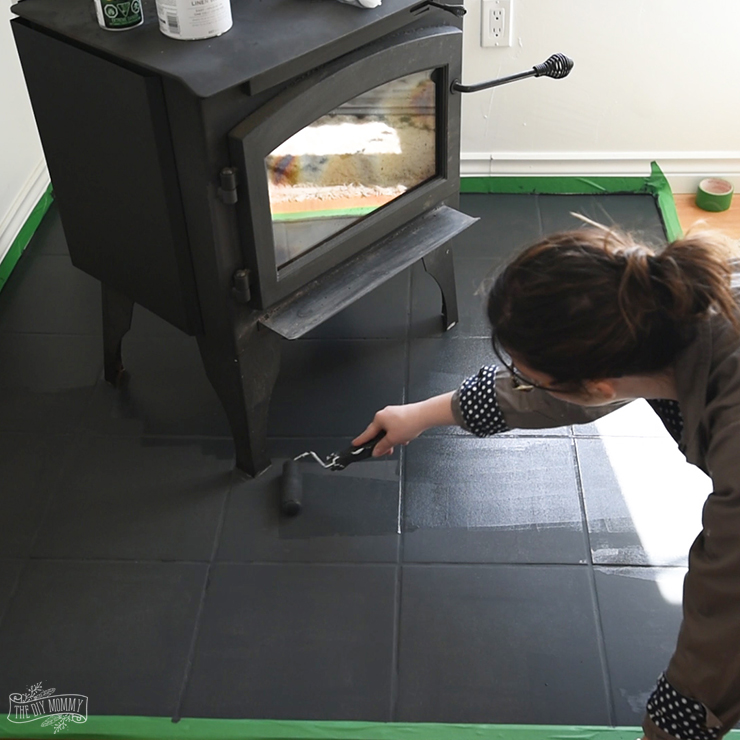
- Use a small brush to paint chalk-style paint in the grout lines and edges of the floor. Chalk paint is my favourite type of floor tile paint. I find the total coverage it offers makes it a great option!
- Use a foam roller to apply chalk-style paint to the rest of the flooring. You may be able to get away with just your first coat of paint, but apply a second coat if needed.
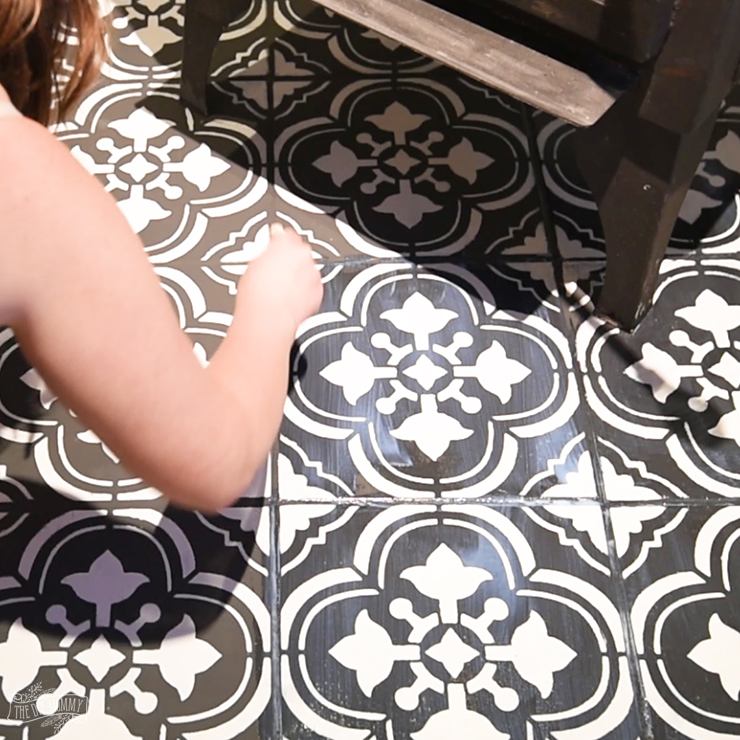
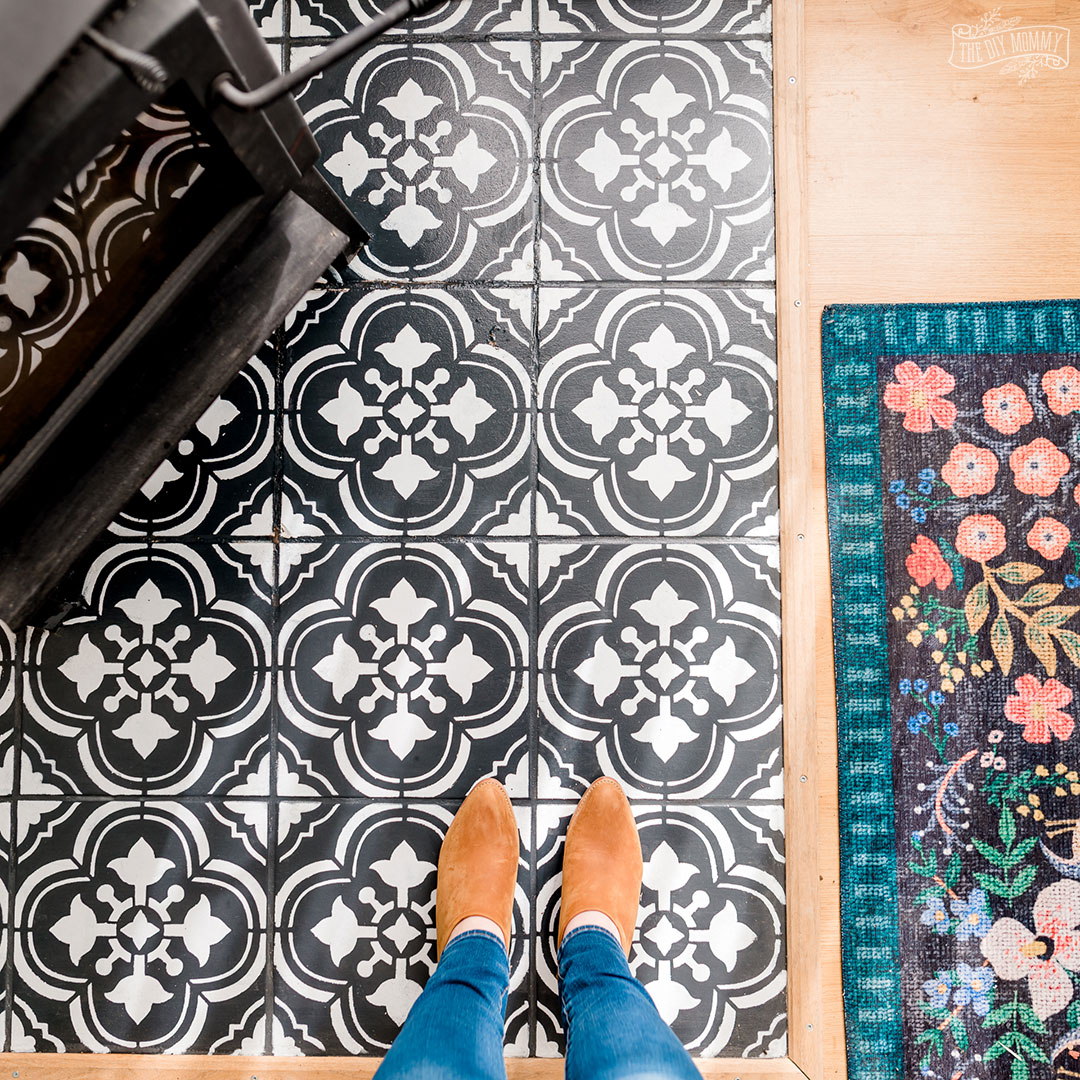
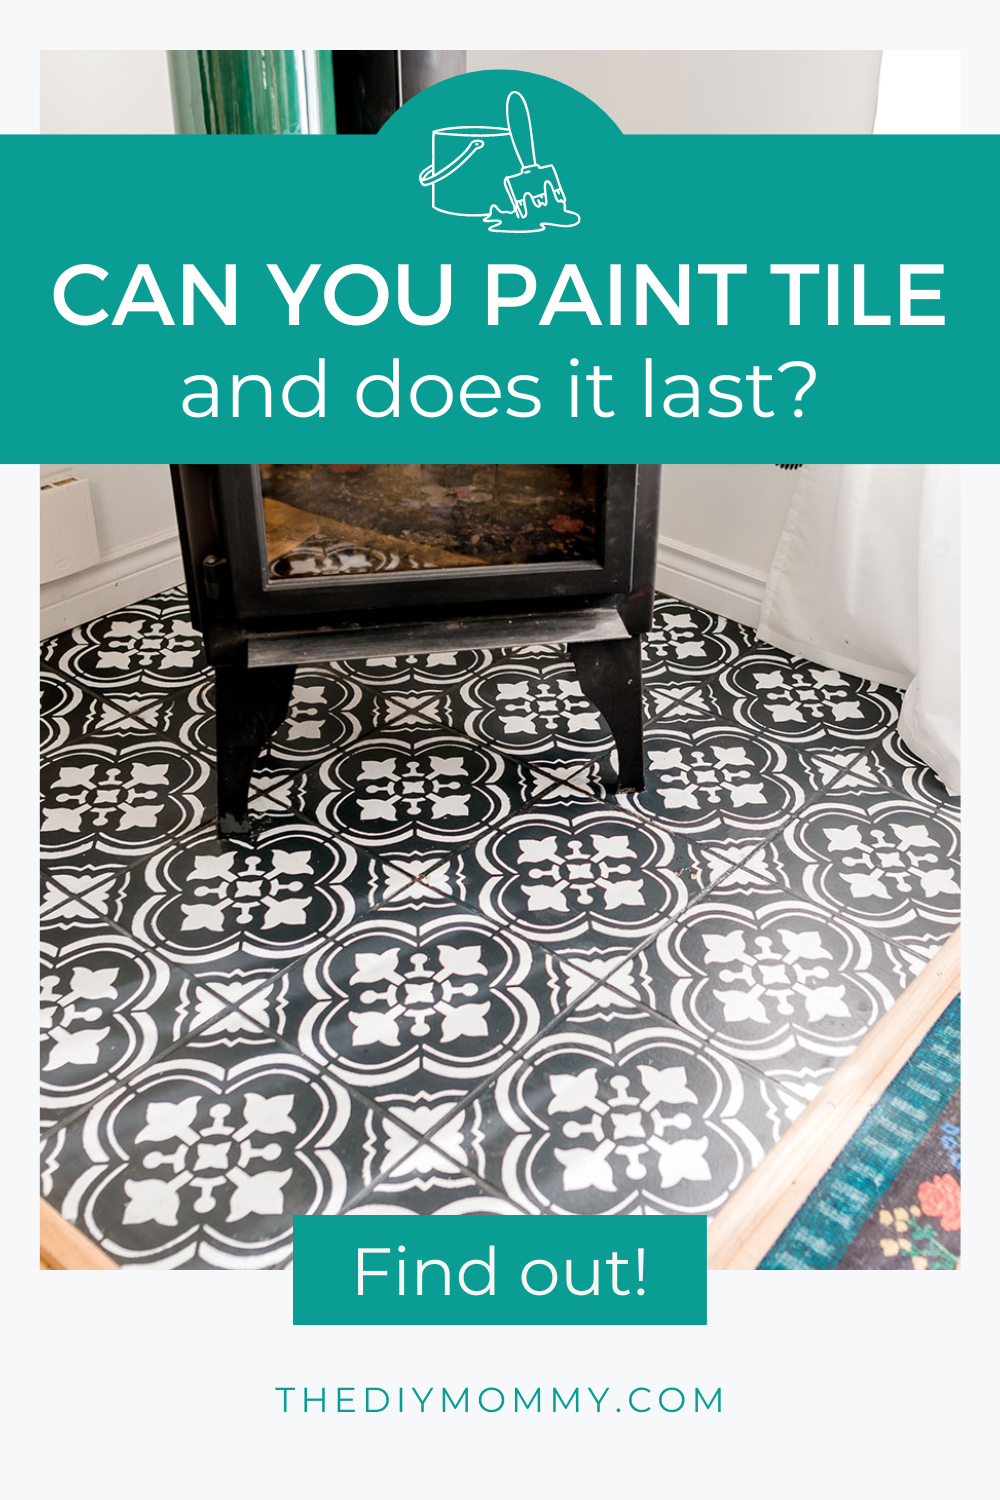
- Once the paint is dry, you can add a pattern with stencil designs and a contrasting colour of chalk-style paint on the already painted surface. I added a gorgeous stencil pattern on the surface of my tile, and I could not be happier with how it turned out!
- If using a stencil, apply a very small amount of paint on a foam roller so that there is no extra paint to bleed through the stencil onto the rest of the tile. You can roll off any excess paint onto a paper towel before rolling onto your floor.
- Use a small craft paintbrush to touch up any of the stenciled areas. This step is so tedious, but once you’ve done one section, you can see why it’s necessary! Sharp, clean lines with no gaps are best when stenciling designs.
- Once all the paint is dry, seal with Varathane polyurethane in a satin finish. I don’t recommend a high-gloss sealant as it’s slippery underfoot.
- Use a foam paint roller and at least 2 coats of polyurethane to protect the paint beneath. Alternatively, you can brush it on with a foam brush, depending on the size of your tiled area.
Other tile painting methods
If you don’t like chalk-style paint, there are other ways to paint floor tile:
- Clean the tile, scuff sand the tile, apply a primer like this one, and then use an enamel paint like Julie Blanner did here.
- Clean the tile, scuff sand the tile, and use a specialty tile refinishing kit like this one. It’s a two-part epoxy paint formula that I’ve used on my camper tub with great results.
- Rustoleum floor paint is another great product! I just prefer my chalk paint, but you might find you like something else.
Do I need to seal a painted tile floor?
As you can probably guess from the last two steps of my tile-floor painting how-to, I absolutely think you should always seal a painted tile floor. A polyurethane coating is your best bet for making your painted tile last. This coating is a hard, durable clear coat that will prevent your paint from chipping or wearing much. I like to use Varathane products for this step.
As I said before, I do not recommend a glossy finish for flooring, both for safety and aesthetics. You don’t want to make your floor extra slippery, and glare is not a nice look at all!
How to clean painted floor tiles
Cleaning sealed & painted floor tile is easy. I use the exact same method as I use to clean other flooring in my home: a mop and all-purpose cleaner. However, if you have any stuck-on debris or residue (more than likely if you are painting a kitchen floor), I would be careful about scraping it with anything sharp or metallic. Either put a cloth on it to soak for a few minutes before wiping or use soft, plastic tools to prevent the flooring from getting scratched.
One tool I’ve used successfully is the little plastic scrapers that come with Pampered Chef baking products! They work like a charm and don’t have any sharp edges to scratch your new paint.
Watch my YouTube video to see how I clean my painted floor tiles, and how they look after 2+ years:
Does painted tile floor hold up? How long does a painted tile floor last?
I’ve had my painted floor tile since May 2018, and it still looks great! There’s no peeling or lifting, and it still looks pretty fresh years later. I think that most painted tile should last many years if:
- The surface is prepared properly
- A good paint is used, and
- It’s sealed properly.
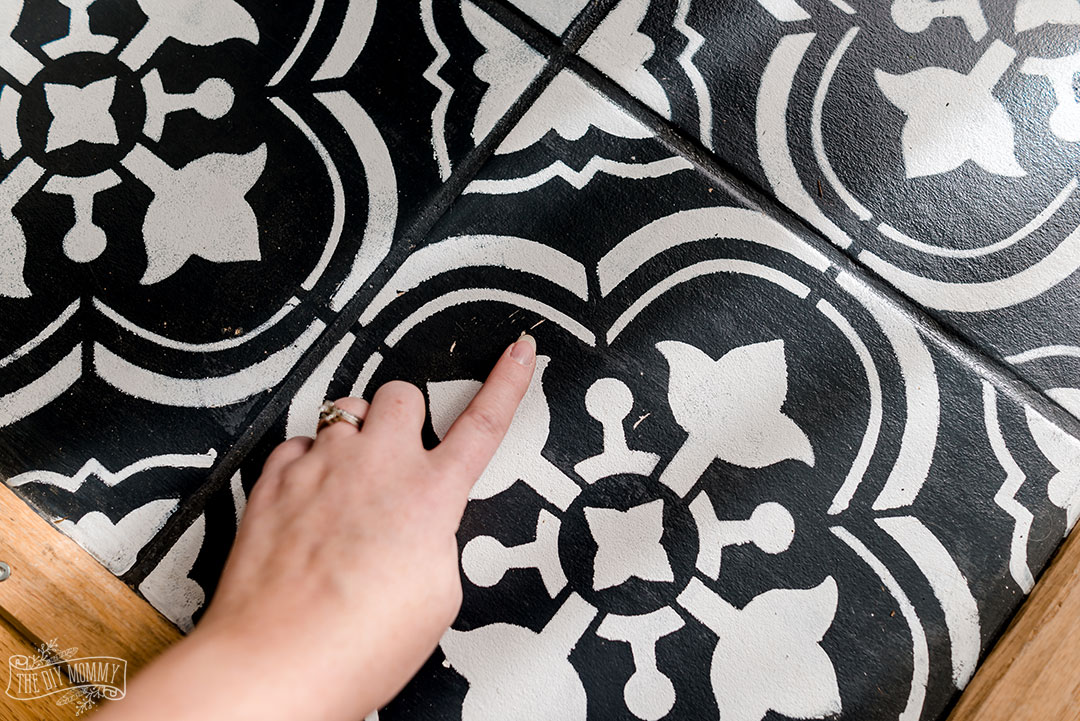
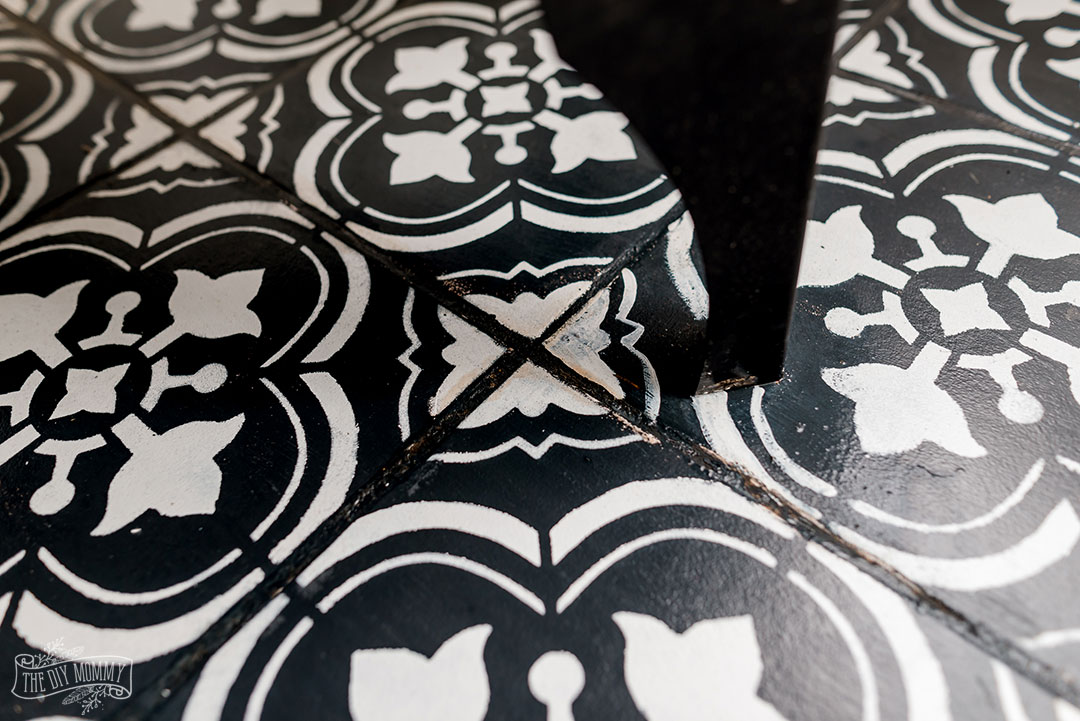
I will show you a few spots with some slight wear and tear.
One was where I scraped something heavy over the tile, and the others are from water and moisture damage from a ceiling leak. To be fair, I think water damage and moving a wood stove would probably cause damage to any flooring, not just painted tile! So I still feel confident in saying that, yes, painted floor tile does hold up!
Do painted tile floors scratch easily?
Not to sound like a broken record here, but this is largely dependent on how you treat your floors. If you seal your painted tiles properly and then clean them without using sharp tools or really abrasive chemicals that could break down the sealant and paint underneath, there is no reason to think they would scratch very easily. There is no magic solution to protect any floor, painted or otherwise, from heavy or rough usage, but a sealed, painted floor should hold up to normal use without much noticeable scratching.
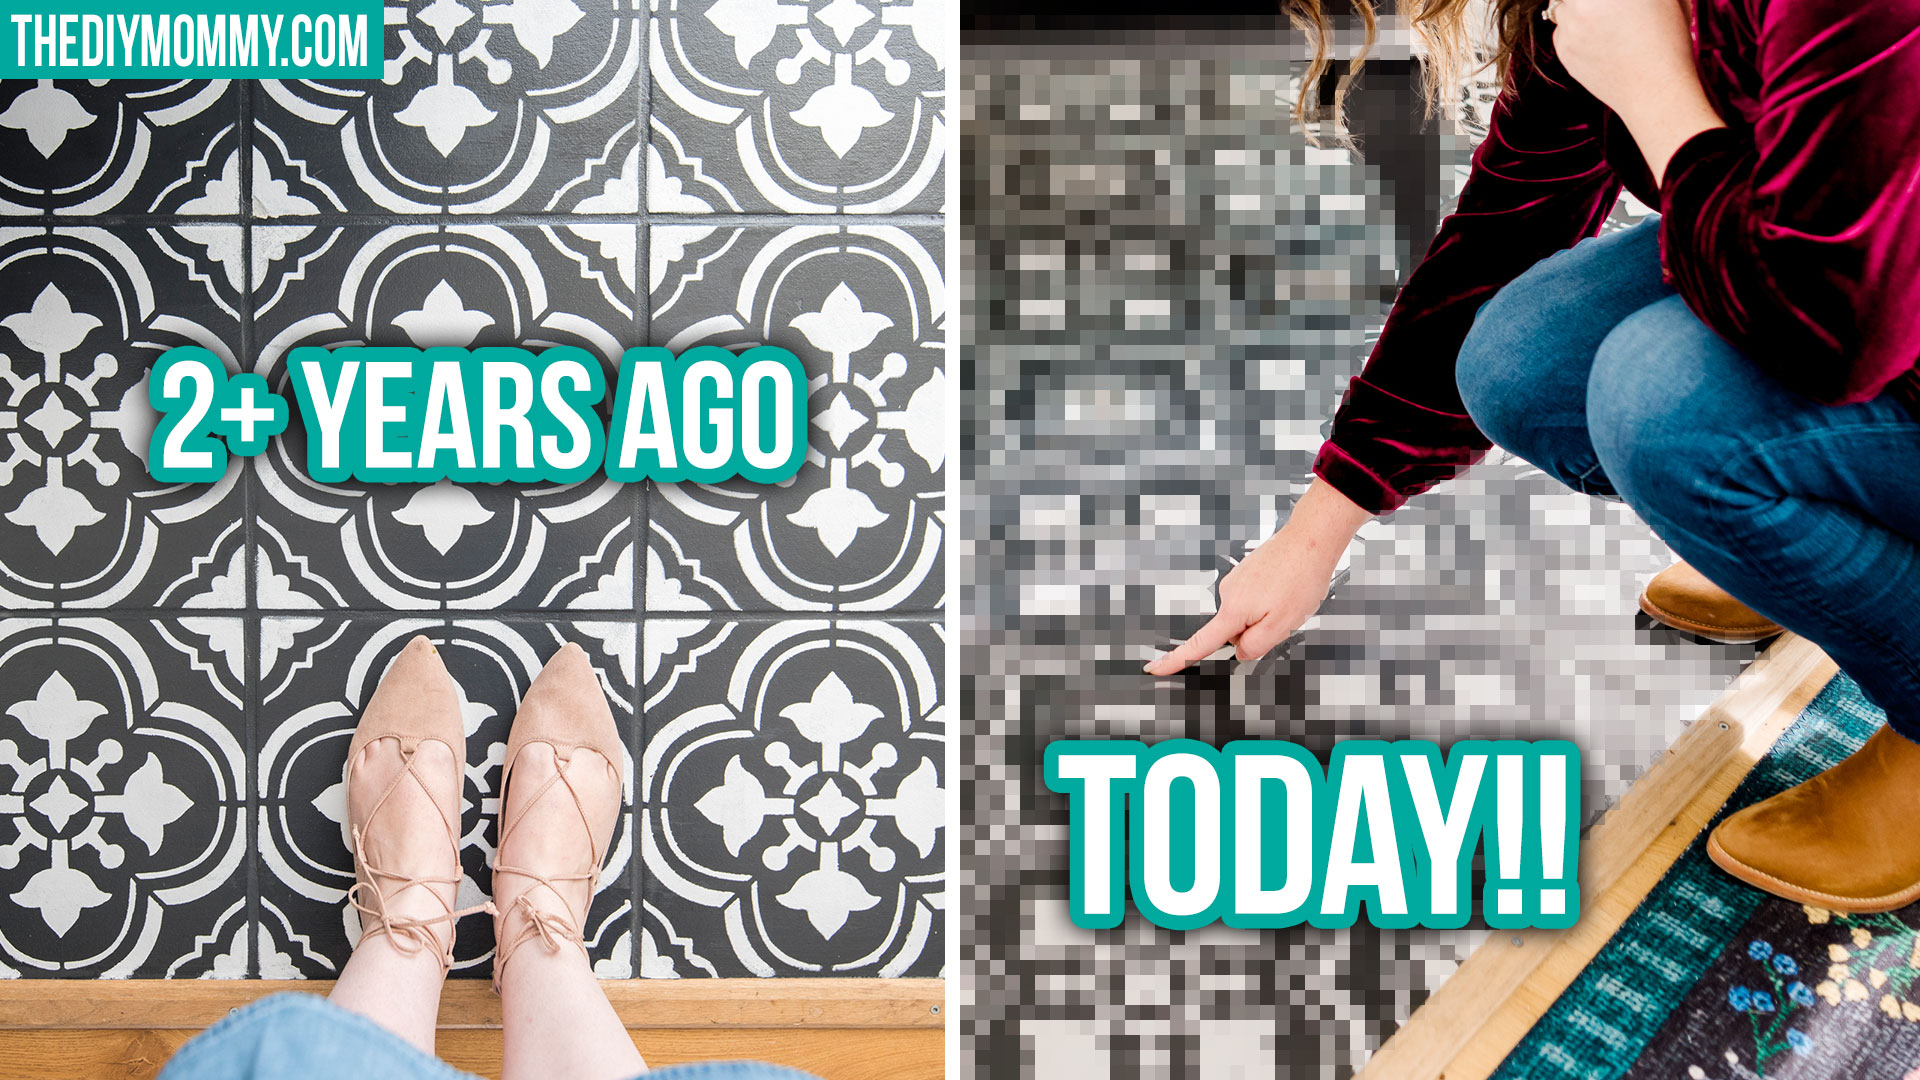
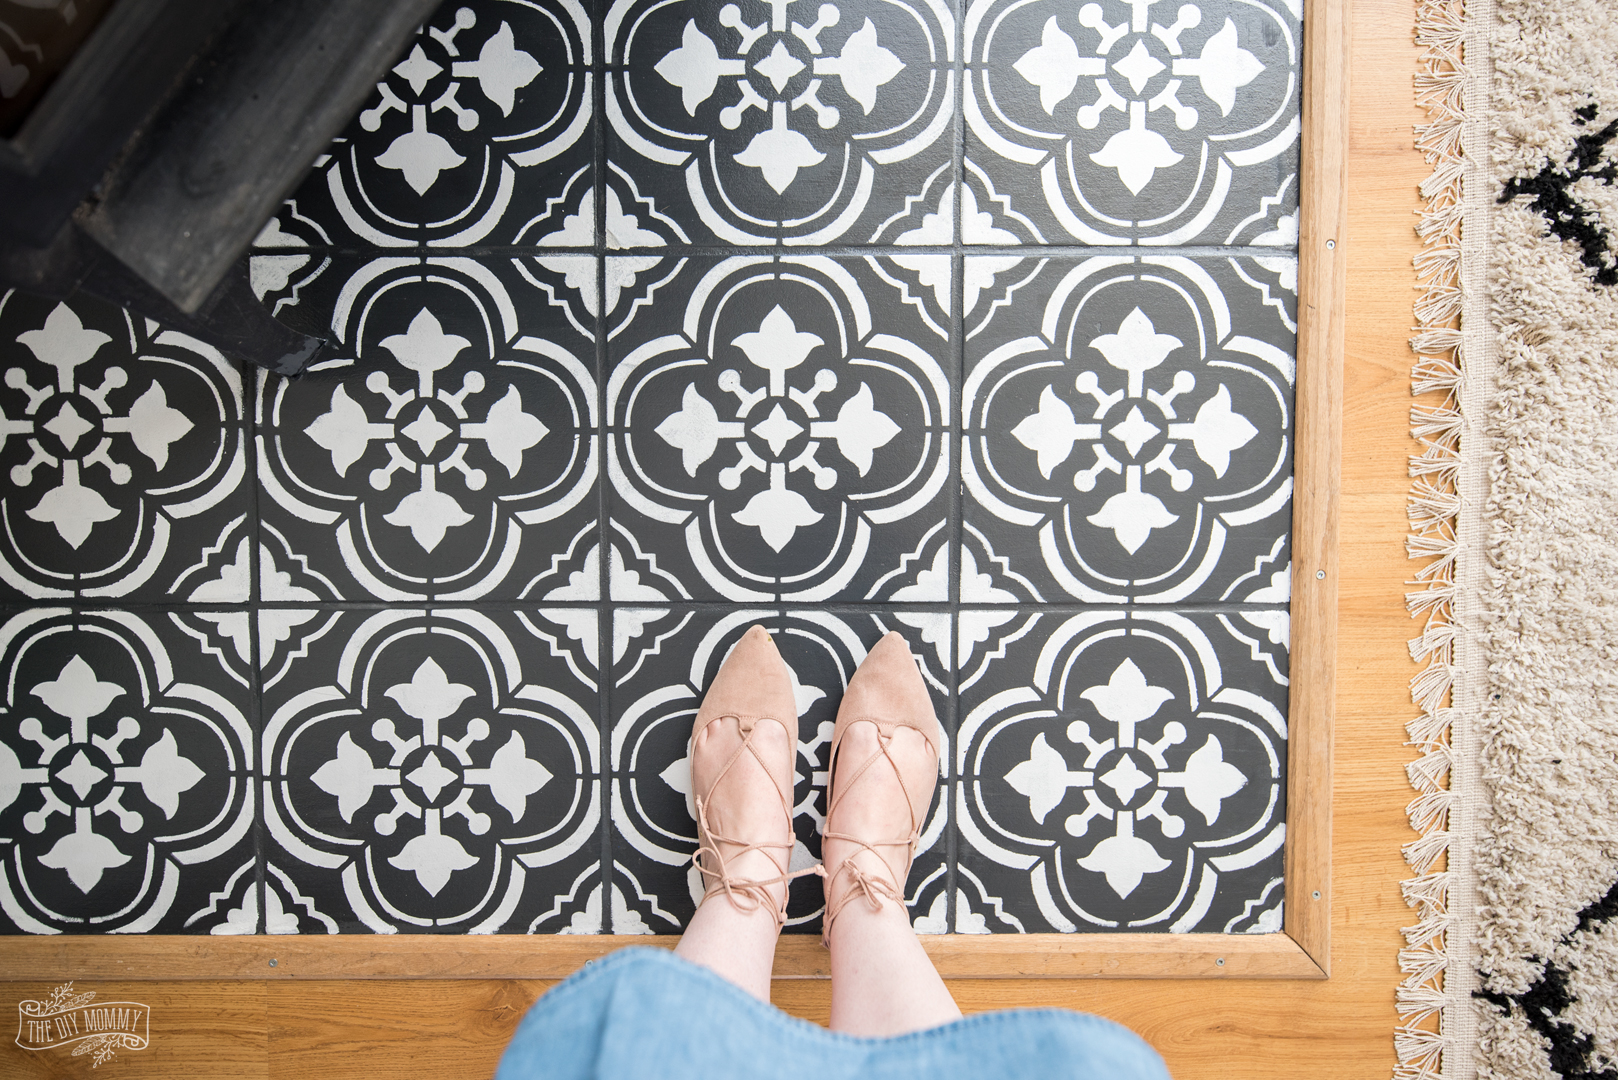
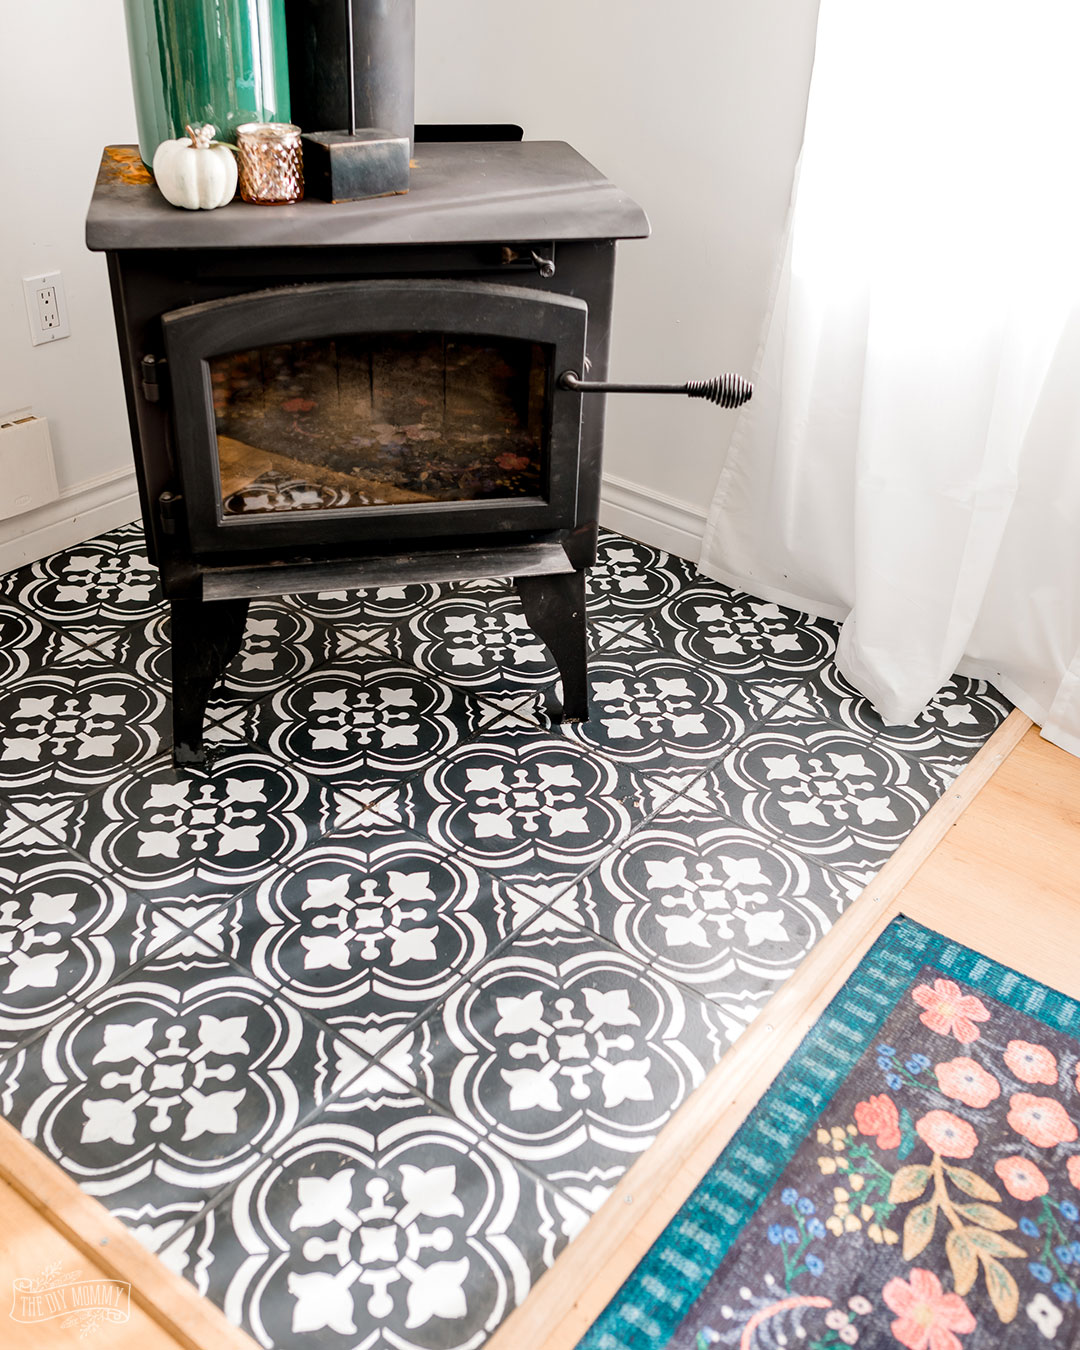
Just to give you an idea of how my own painted floor tiles have held up, here are some pictures. The first is what it looked like when I first finished it, and then what it looked like a few years later!
Our painted floor in 2018:
Our painted floor now:
Here are some spots that have worn. One was where I scraped something heavy over the tile, and the others are from water and moisture damage from a ceiling leak:
Can you do this in a high traffic area?
My painted floor tile is in a low-traffic area, so that’s definitely one of the reasons it still looks so good. I don’t have painted floors in a more used area, but I know that my blogging friend Dale has painted her bathroom tiles, and you can find her thoughts here.
Last I checked, her bathroom flooring was painted for over a year, and it’s lasted just fine! One thing to consider is re-sealing the floor every year or two if it’s in a high-traffic area that will get lots of wear and tear and using at least two coats of sealant at a time instead of just one, which you can get away with in a low traffic area.
Can I also paint tile backsplashes? Countertop?
Yes! You can absolutely use the same method I gave you above to paint the tile on a kitchen or bathroom backsplash or countertop, too. Instead of replacing an old backsplash completely, painting the old tile is a budget-friendly way to get a brand-new look.
And generally speaking, these areas are low traffic that won’t see a lot of wear, so you really don’t have to worry much about scratching or wearing. Just remember to clean your backsplash as carefully as you would a painted floor if it gets some food splatter.
Do I use my wood stove over the painted tile?
Many of you have asked if I use my wood stove that sits on my painted tile and if the tile is still to code. The answer is no! I DO NOT use this stove. It’s located in my work studio, and it’s just for show, so I didn’t worry about how the paint would affect the fire code. If you plan to paint the tile around a stove or fireplace you’re using, you should consult a professional to ensure that your finish will be heat safe.
If we ever sell our property, I may either have to remove the old wood stove in my studio or replace the tile. But it looks so pretty for now, and that’s what matters!
Final thoughts
Overall, I think this is a really great little DIY that is easy to do and provides maximum impact for outdated or ugly floors that you just don’t have the energy, time, or money to replace. You will be happiest with the results if you use the proper procedure, products, and process, especially when it comes to sealing the tiles at the end. In my own situation, I would say my painted tile floors have stood the test of time. I would absolutely do it again!
Would YOU try this DIY? If you have any other questions about painting tile floors, please let me know in the comments!
This post was first published September 2020 and has since been updated.

This floor is amazing! I painted and stenciled our concrete floors almost 3 years ago now and they’ve held up really well too. My biggest regret is that I did not seal them because we were in a time crunch so I’m really glad you’ve suggested adding a coat of poly. It makes a big difference. Hope your day has been a fun one, CoCo
What a blessing that the floor looks great after 2 years. It had to be a lot of work and it looks like it held up nicely. 🙂
I’m wondering if it would be worthwhile to coat it with a layer of 2 part epoxy
Perhaps? Since it isn’t in a high traffic area, Christina is just going to leave it but for high traffic areas, it might give it new life!
I am so very surprised to hear you say that people didn’t like the pattern on the floor. I think it’s absolutely gorgeous! I’ve never heard of doing this before but I love the idea!
I love this! I love the design…what stencil did you use? Can’t really fine anything even similar. Thanks!!!
Hi Jennifer, It’s this one: https://www.cuttingedgestencils.com/santa-ana-tile-stencil-spanish-tiles-cement-tile-patterns.html
This looks great! And that’s because you have taken all of the prep and sealing as important! Obviously, in high traffic areas, you are going to need some more maintenance regularly and may need to reseal more often. Loved the videos! Great Job!
You really did an amazing job there painting your tiles i love also your taste of design. very informative article thank you so much.
Very interesting details. Appreciate all the efforts that you have put here. Hoping that everyone should know about this.
Hi I painted my bay windows all those little ones then the window sill had shined brown tiles which I don’t like brown I sanded it then went over in cream Color as window although it is Hayman solar outdoor paint not tile should I put a sealer over sill paint . Hope to hear from you ANNEKA
It would be best for you to check with the paint company on what they would recommend.