How To Install Wallpaper In A Snap (With Easy Steps)
This post may contain affiliate links · This blog generates income via ads
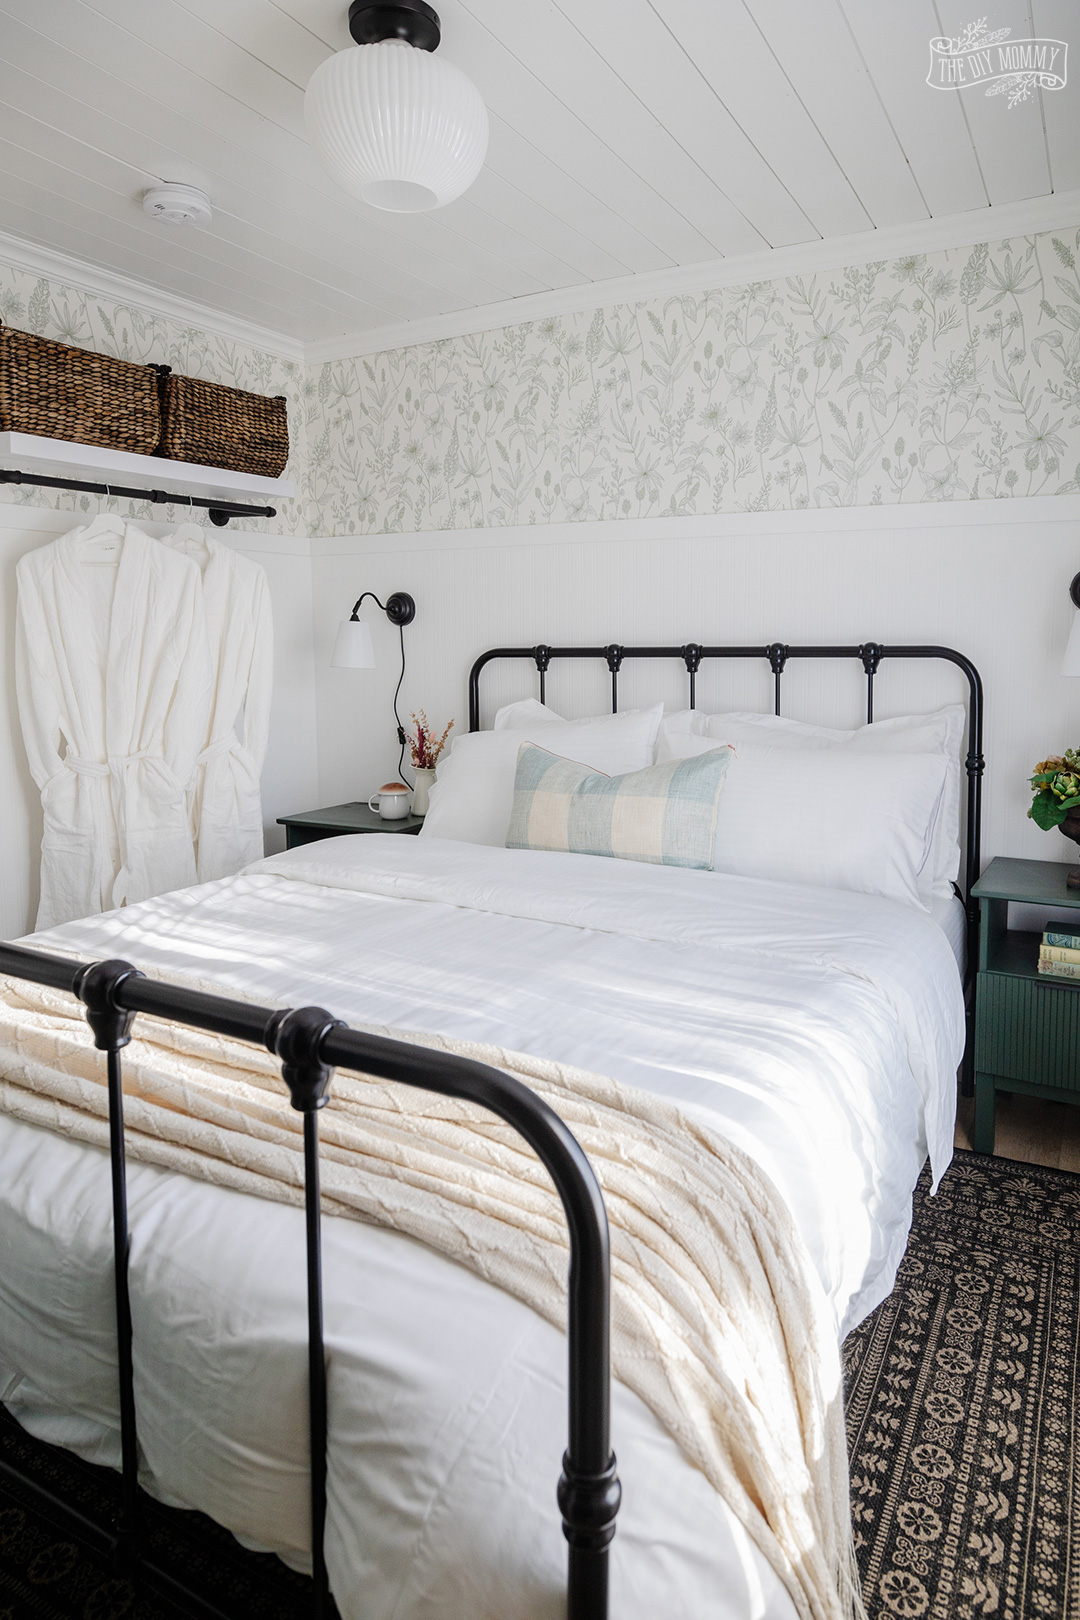
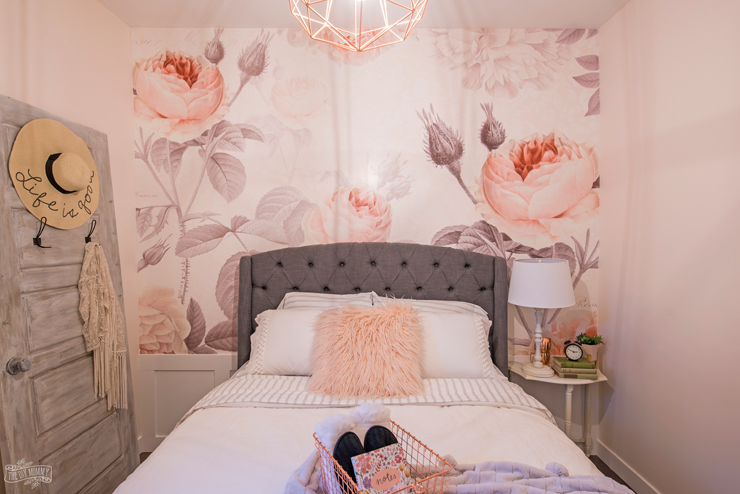
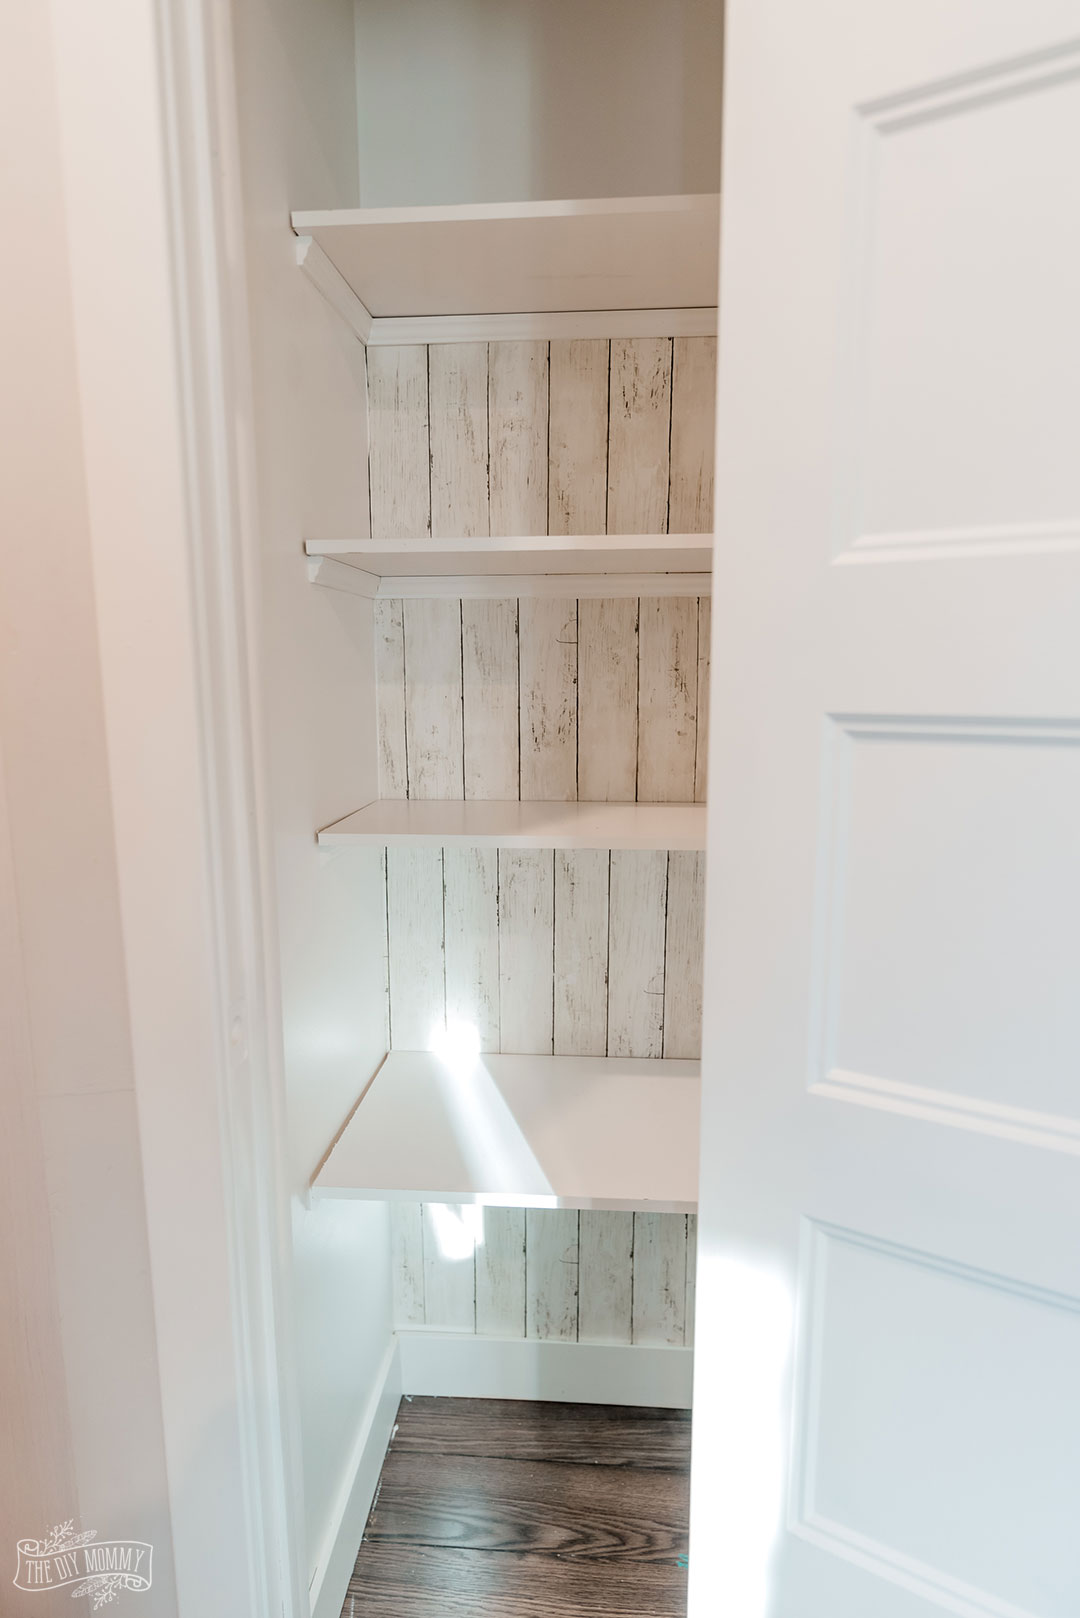
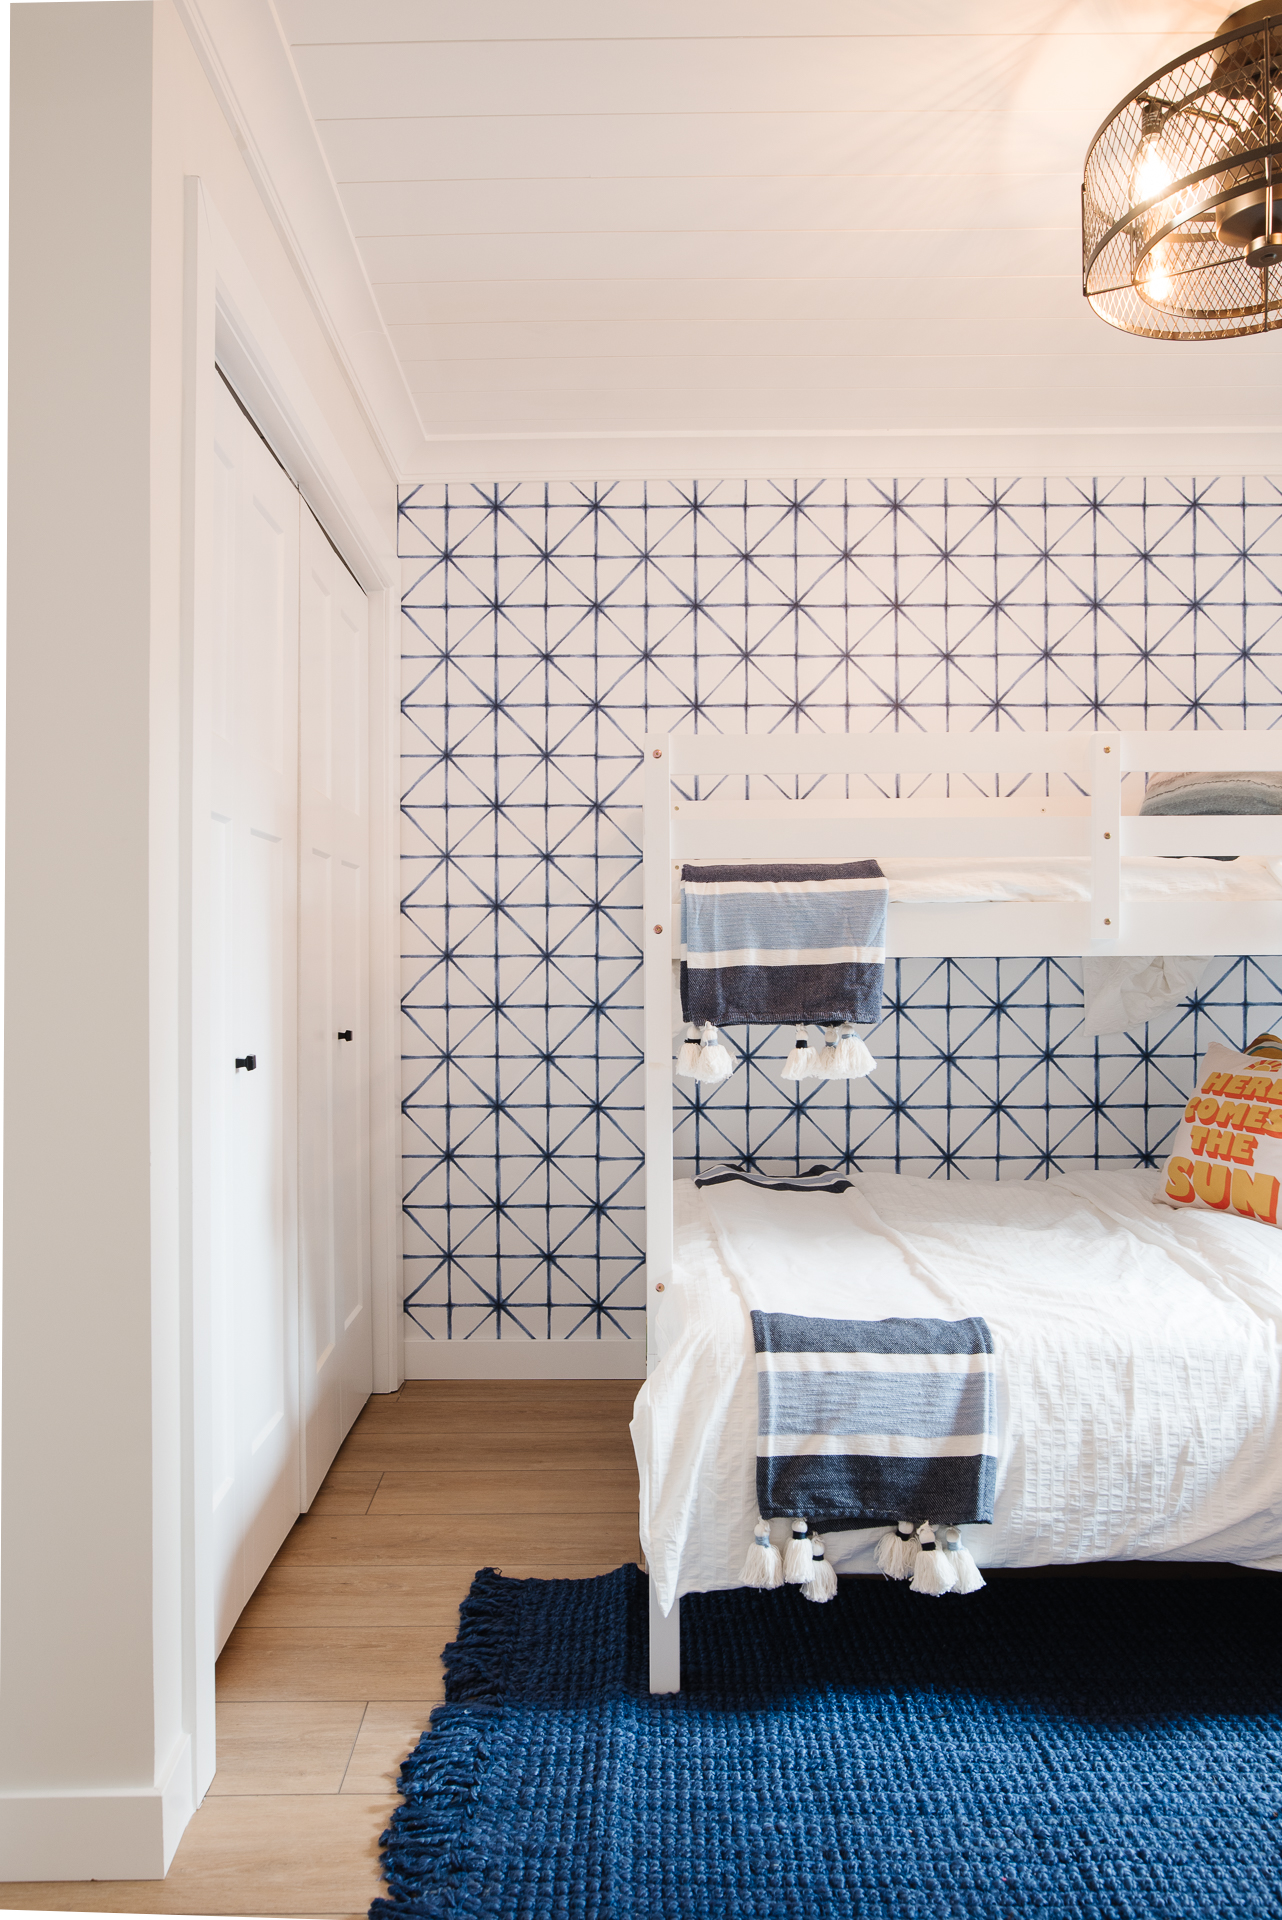
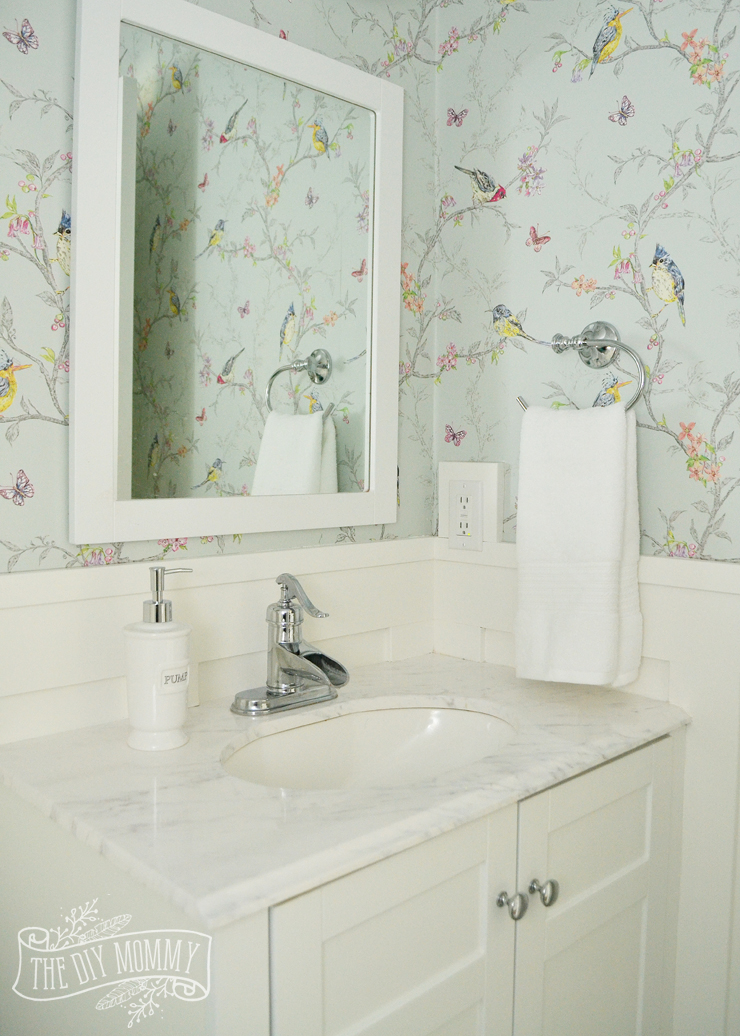
What do you think of wallpaper? I am here to say that I LOVE it. The way it is used nowadays is much more subtle than it was during the Great Wallpaper Fad of the 1980s! It is a great way to create a gorgeous feature wall in a large living room or bedroom, or create interest and texture in a small powder room. Remember my bird wallpaper in our powder room? I’ve done several more wallpaper jobs since then. Today, I’m sharing what I’ve learned over the years so you can install wallpaper in a snap!
Choose Your Wallpaper
This might seem obvious, because of course you have to pick a wallpaper! But what I mean is, think about the type and price point of wallpaper you choose very carefully. A pre-pasted paper is much easier to hang than one that requires you to roll wallpaper glue onto the wall first, for example. An expensive paper will be thicker and less fiddly, and therefore easier to deal with for a beginner. A very budget-friendly option is peel and stick wallpaper that comes with an adhesive backing and skips the wallpaper paste altogether! Choose the option that works best for your budget and skill level.
Another thing to consider is the pattern you choose! Something with a large repeating pattern can be tricky in terms of getting the overlap just right, whereas a small pattern that is identical on all your wallpaper strips is much easier to deal with. Also, think about the wall itself! Are there lots of outlet covers and switch plates to go around? A large window or furniture that will be in the way and ruin the effect of your pattern? Consider all these factors when choosing your paper, not just how pretty you think it is.
Measure Your Space
Before we get to the how-to of the wallpaper install, get your tape measure and pencil and paper out! You need to measure the square footage of your wall to ensure you buy the right amount of wallpaper for full coverage. Make sure you get a little more than you need for pattern matching purposes.
Prepare Your Wall
Now that you have purchased your wallpaper, it’s time to get started! Make sure you prepare your wall first. Patch and fill any holes or cracks, and sand any lumps and bumps smooth. An uneven wall will mean your paper won’t stick to it as well. The wallpaper paste will stick better to a clean surface too. So, take a soft cloth and an alcohol and water solution and give your wall a thorough washing. You will be happy you did! Then take the covers off the electrical outlets or light switches and your wall is ready to go.
That First Strip of Wallpaper
Once you’ve taken your wallpaper out of the packaging and read the manufacturer’s instructions, it’s time to cut the first piece. The first strip is the most important, so it’s worth taking a minute to get it right! To make sure that it’s square, use a straightedge (I like to use a square or level) to make sure your cut is straight. Place the paper pattern-side down for this part, and put the pencil marks on the back of the wallpaper and use scissors or another sharp blade to make clean cuts. Make sure you cut your wallpaper slightly larger than it needs to be to ensure it fits properly. You can trim down a piece that is too long or wide, but there’s nothing you can do if it’s too small!
You also need to make sure it’s straight when you put it on the wall, or your whole pattern will be crooked. Create a plumb line using a pencil and a level. Measure out from the inside corner of the wall the width of the wallpaper strip, and put a mark. Then use your level to make sure the line you draw on the wall is straight, and make a pencil line all the way to the baseboard at the bottom of the wall.
Apply the Wallpaper
Then, it’s time to apply your wallpaper! If you decided on pre-pasted, get it wet and wait for the adhesive to be activated. If you opted for putting paste on the wall, apply it with a paint roller, using a brush to get into the corners and small spaces to ensure every square inch of the space is covered. And if you chose peel and stick, peel the first few inches of backing off the top of the paper and get it straight on the wall before peeling the rest.
After this, the process is the same!
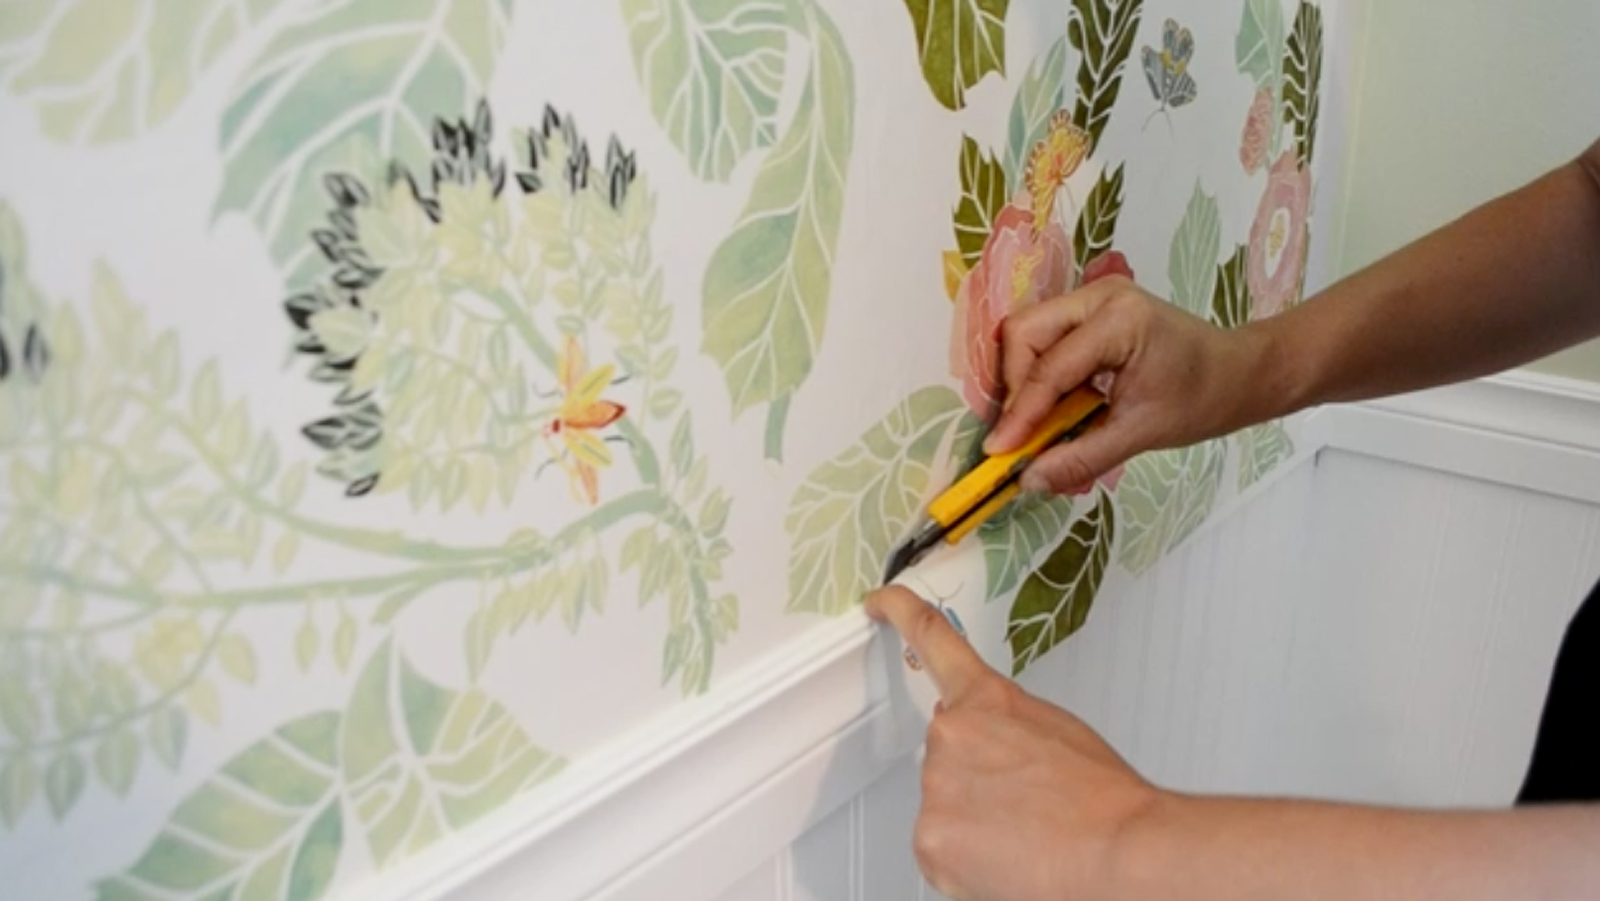
Start by sticking down your wallpaper at the top of the wall just under the ceiling. Make sure it lines up with your plumb line and move down and outward, smoothing the wallpaper with your hands. Once you have it in place, you can use a wallpaper smoothing tool or spatula (or just a credit card!) to push any air bubbles out at the edge of the wallpaper. Finish up by trimming any excess paper at the bottom and edge of the wall with a utility knife or other sharp blade.
Once your strip of wallpaper is on the wall, you aren’t quite done yet! Take your sponge and some water and wipe down the entire thing carefully to get rid of any excess glue or small bubbles or creases you didn’t notice the first time around.
Keep Going
Once this first piece is on, things get much easier! As long as your first strip was straight, you can use it as a guide for the next piece without making a new plumb line. Overlap each piece slightly and make sure the pattern lines up before you cut. Follow the same process for sticking it down and trimming the excess at the bottom (or side, if you are butting up to a window frame or electrical outlet), and wiping off the excess glue.
Then, repeat the entire process until your wall is fully done!
I hope you enjoyed my how to install wallpaper instructions and seeing some of my past projects for inspiration. Have you transformed a space in your home using the power of wallpaper? Tag me @thediymommy, I would love to see it!
Pin Me!

