DIY Stamped Christmas Ornament made with Clay
This post may contain affiliate links · This blog generates income via ads
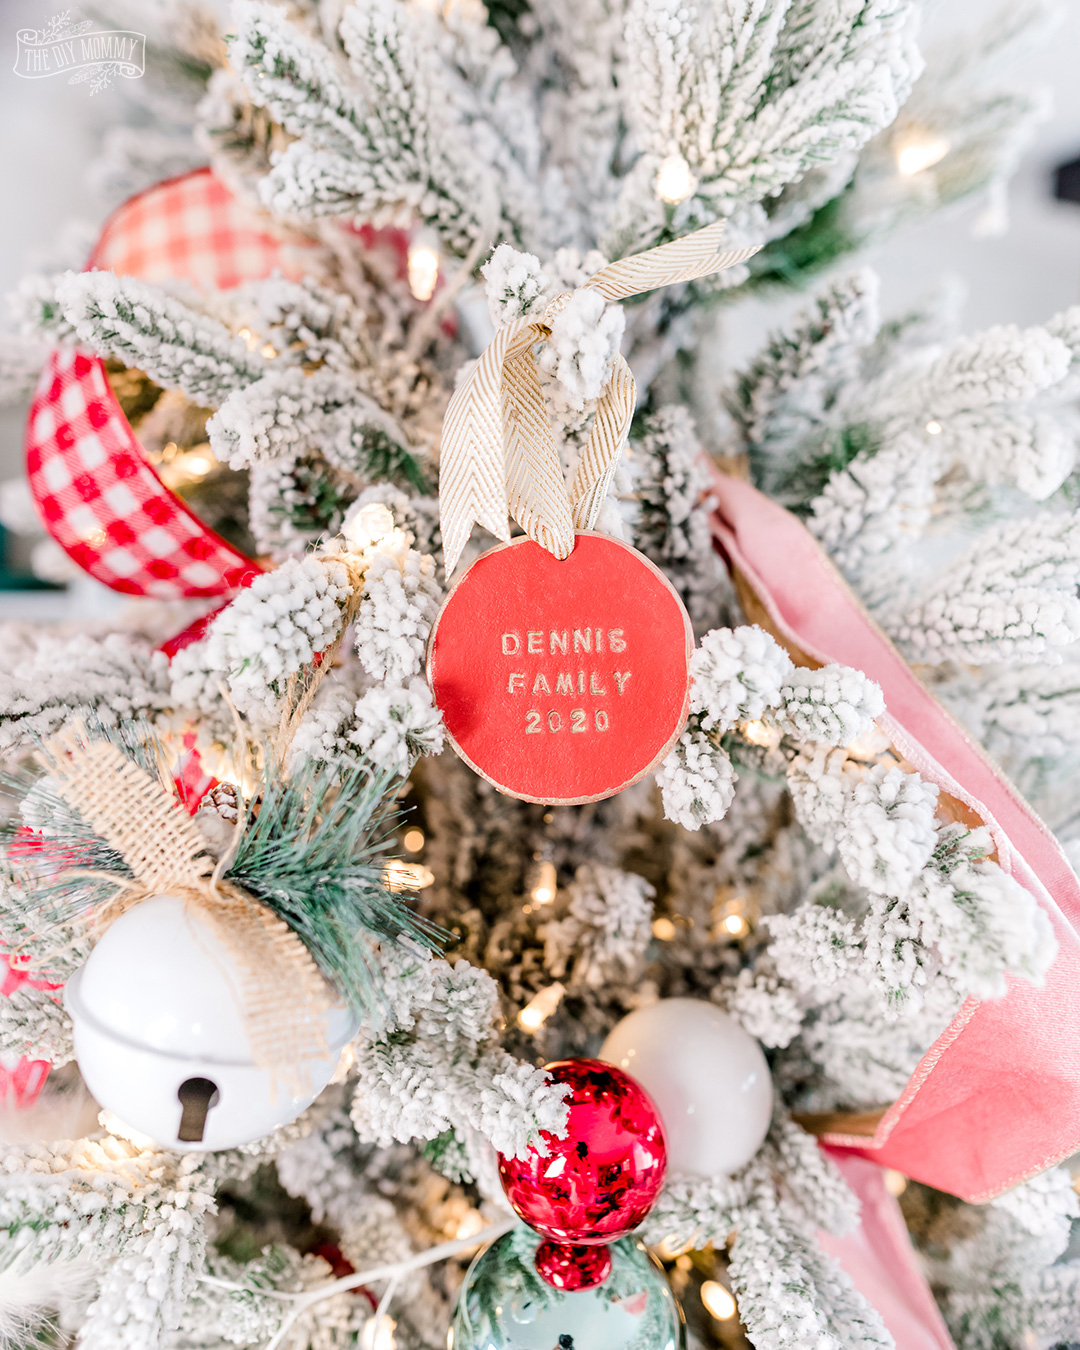
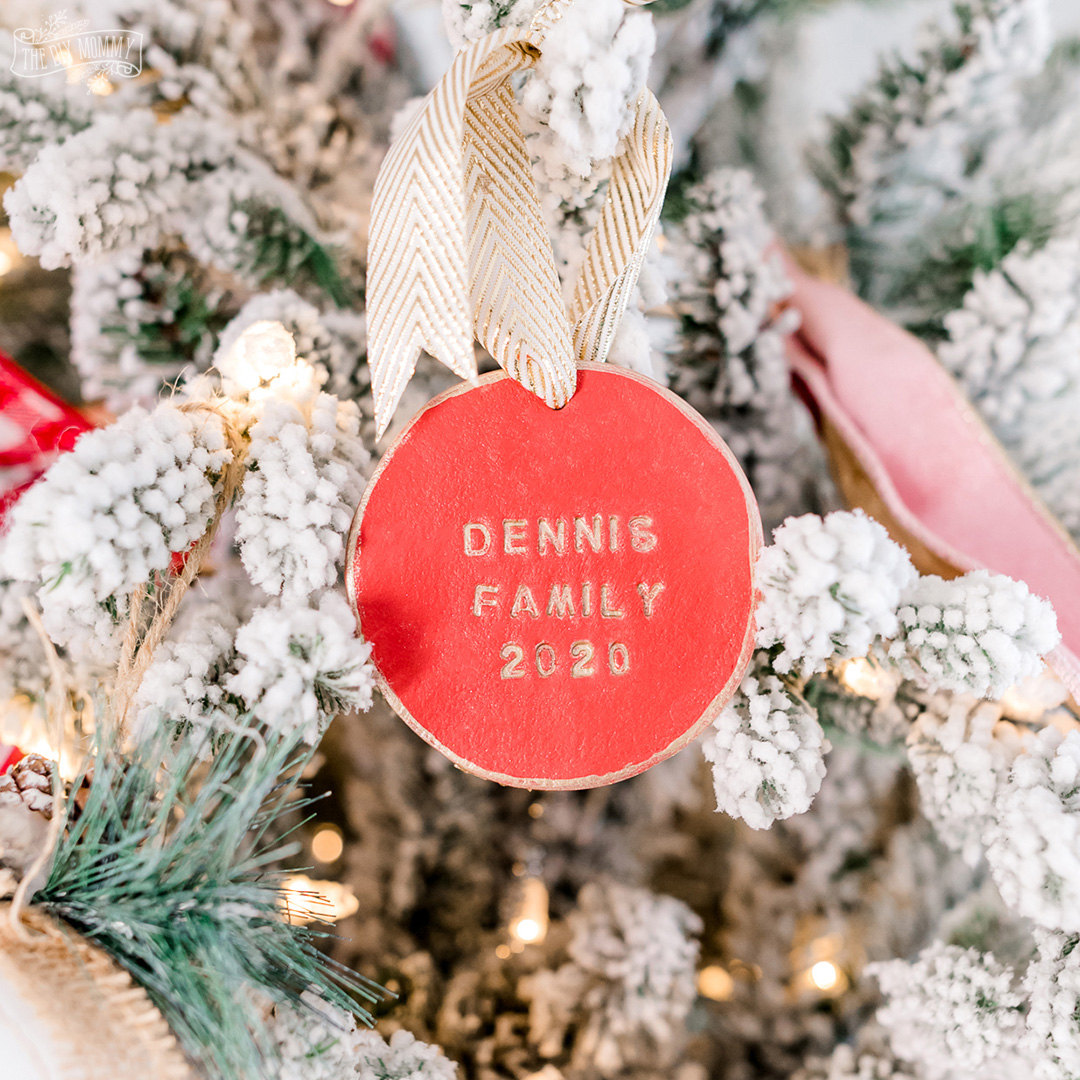
This personalized DIY stamped Christmas ornament is made with clay and it would make a thoughtful Christmas gift! Let me show you how easy it is to make a cute handmade ornament from Leather-Effect clay.
This blog post is part of a seasonal blog hop – Seasonal Simplicity – hosted by The Happy Housie. Make sure to check out all of the other DIY Christmas ornament ideas from my blogging friends linked at the bottom of this post!
Disclosure: While this post is not sponsored, FIMO did sponsor and Instagram post of mine and sent me this clay for free. You can enter to win a FIMO prize pack tonight on my IG account!
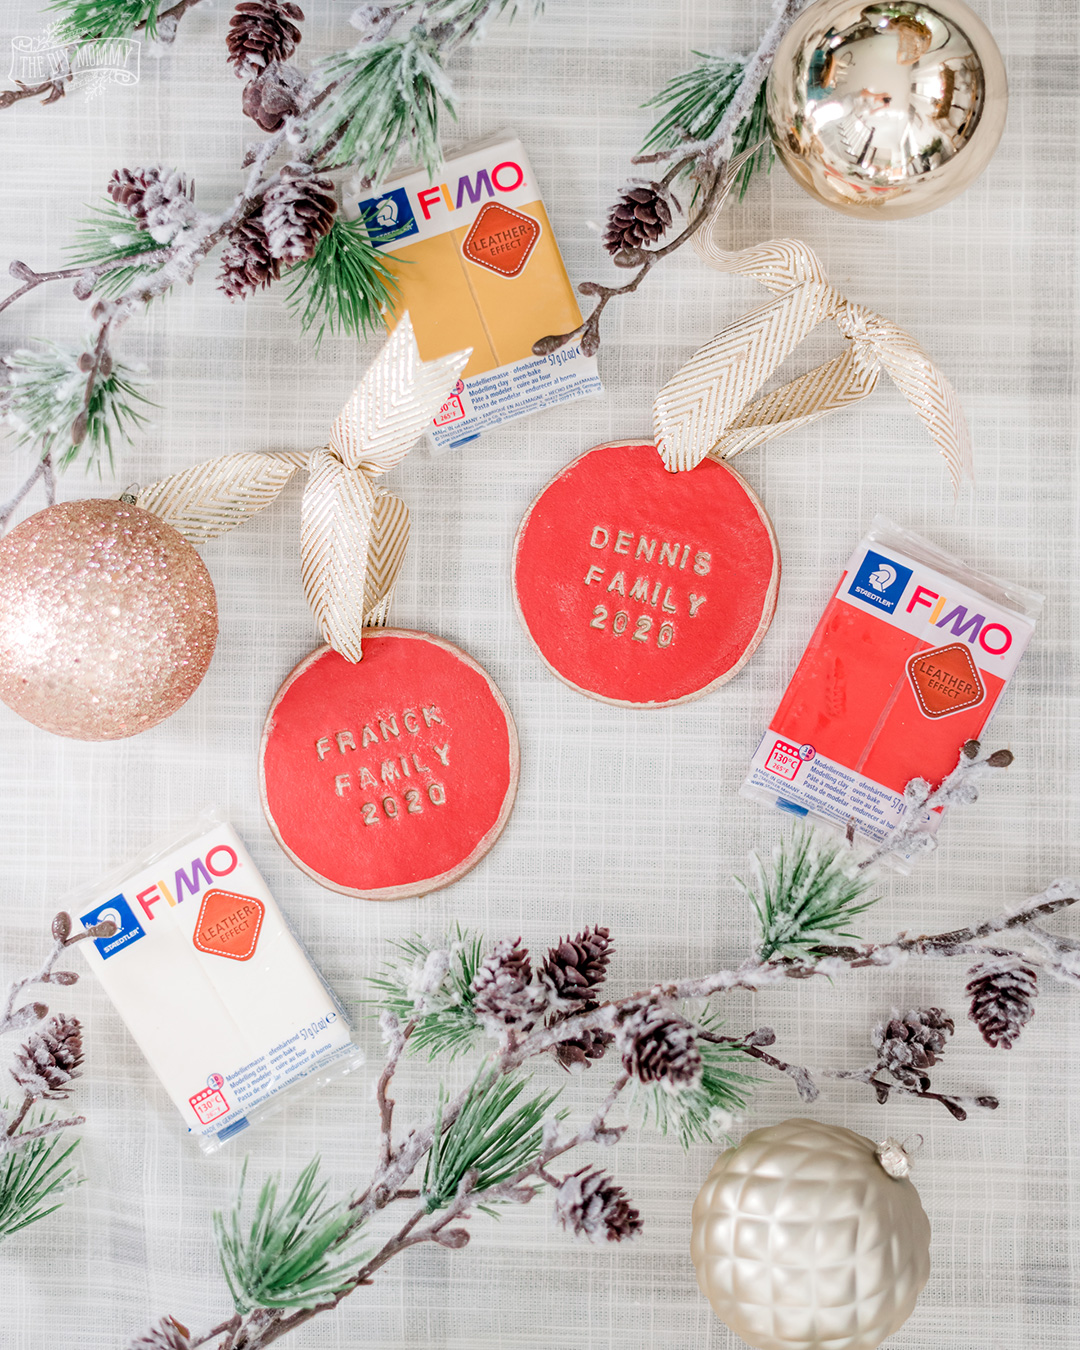
I love personalized Christmas decor and gifts, and these adorable Christmas ornaments from clay are no exception! You can stamp your family’s name and the year on the ornaments, or come up with a cheeky or fun quote to stamp on them instead. The DIY possibilities are endless! These ornaments have a super-cool texture too because they’re made with FIMO Leather-Effect clay that looks and feels like leather.
How to make DIY personalized ornaments from clay
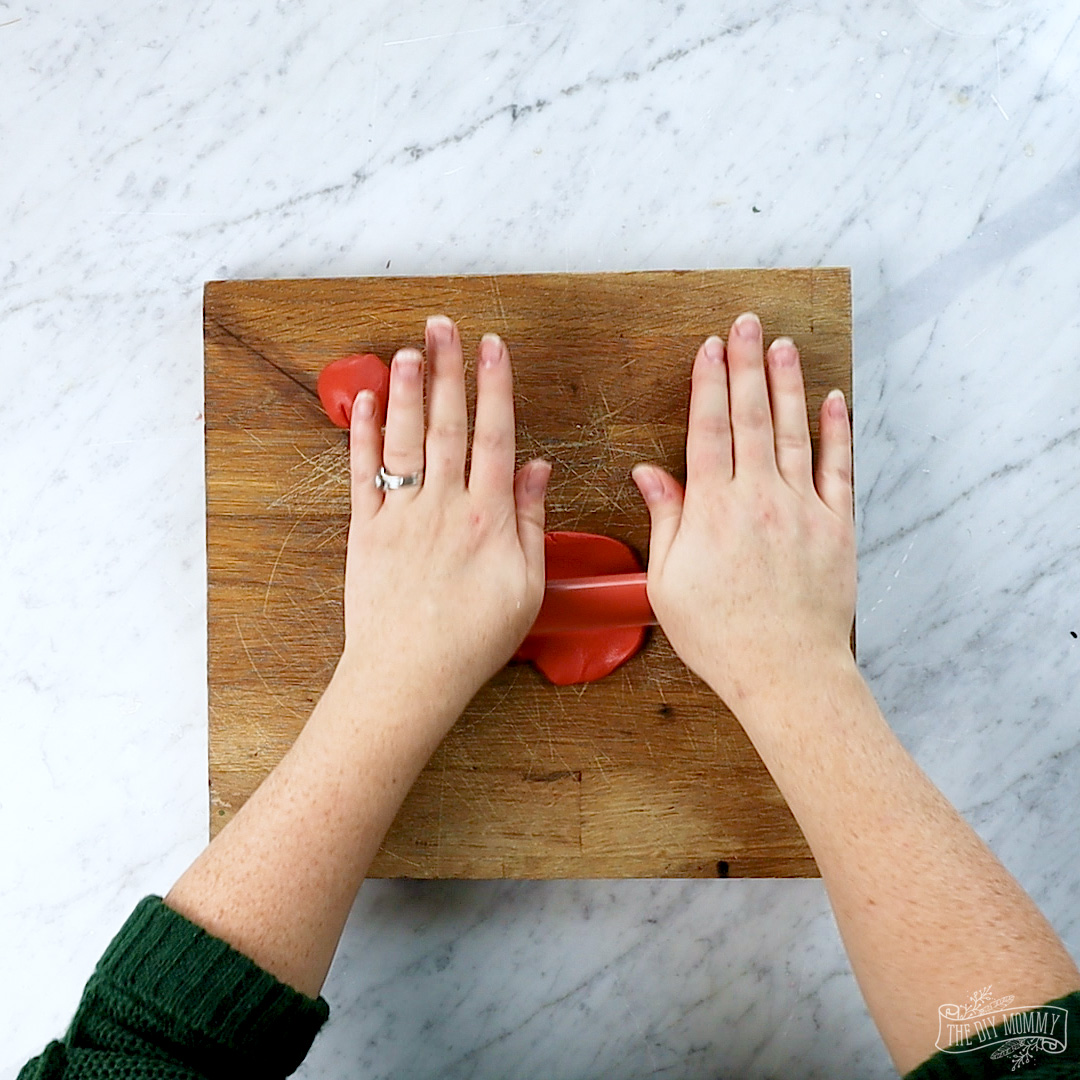
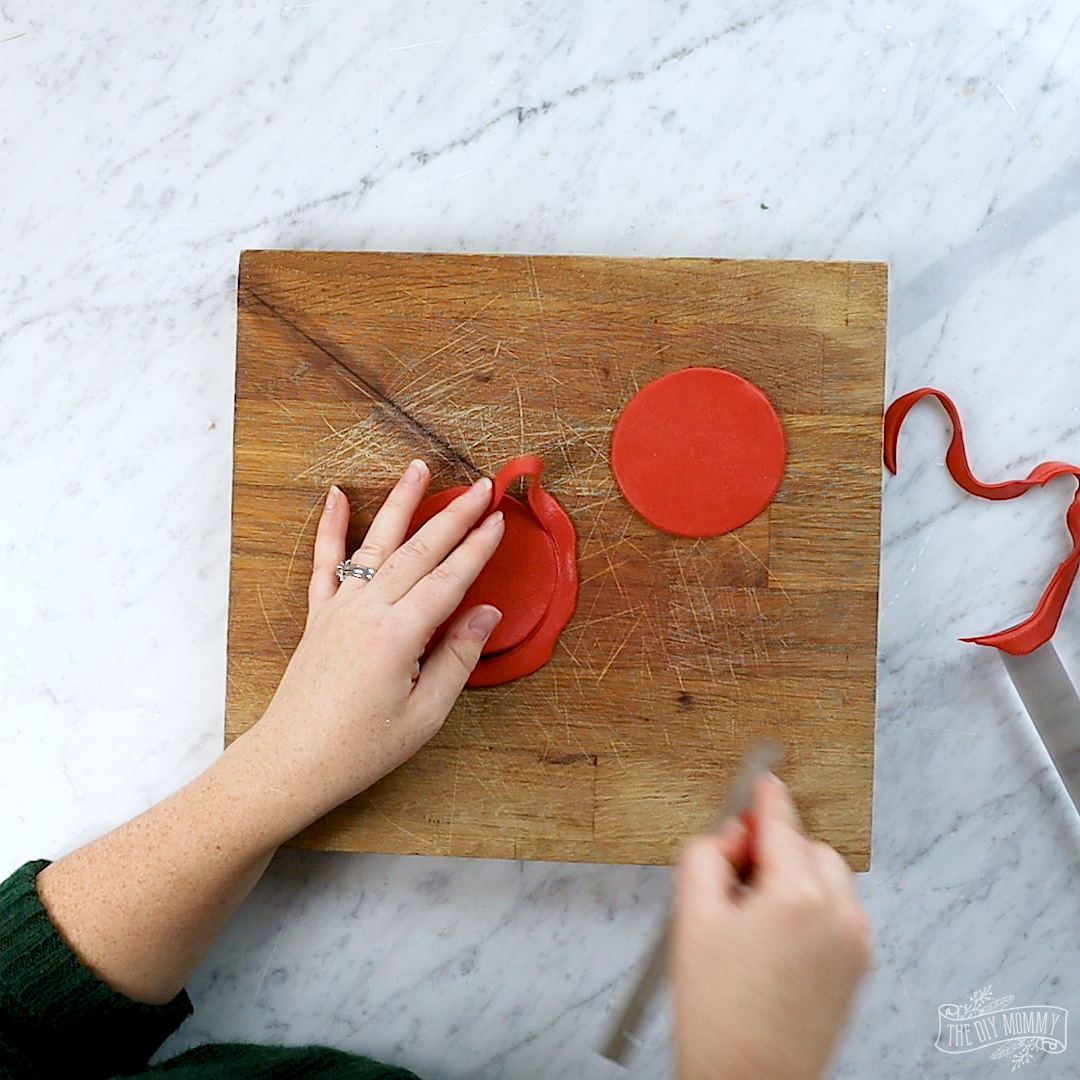
Begin by dividing a block of FIMO Leather-Effect clay in two and rolling it out into two rough circles about 1/4″ thick.
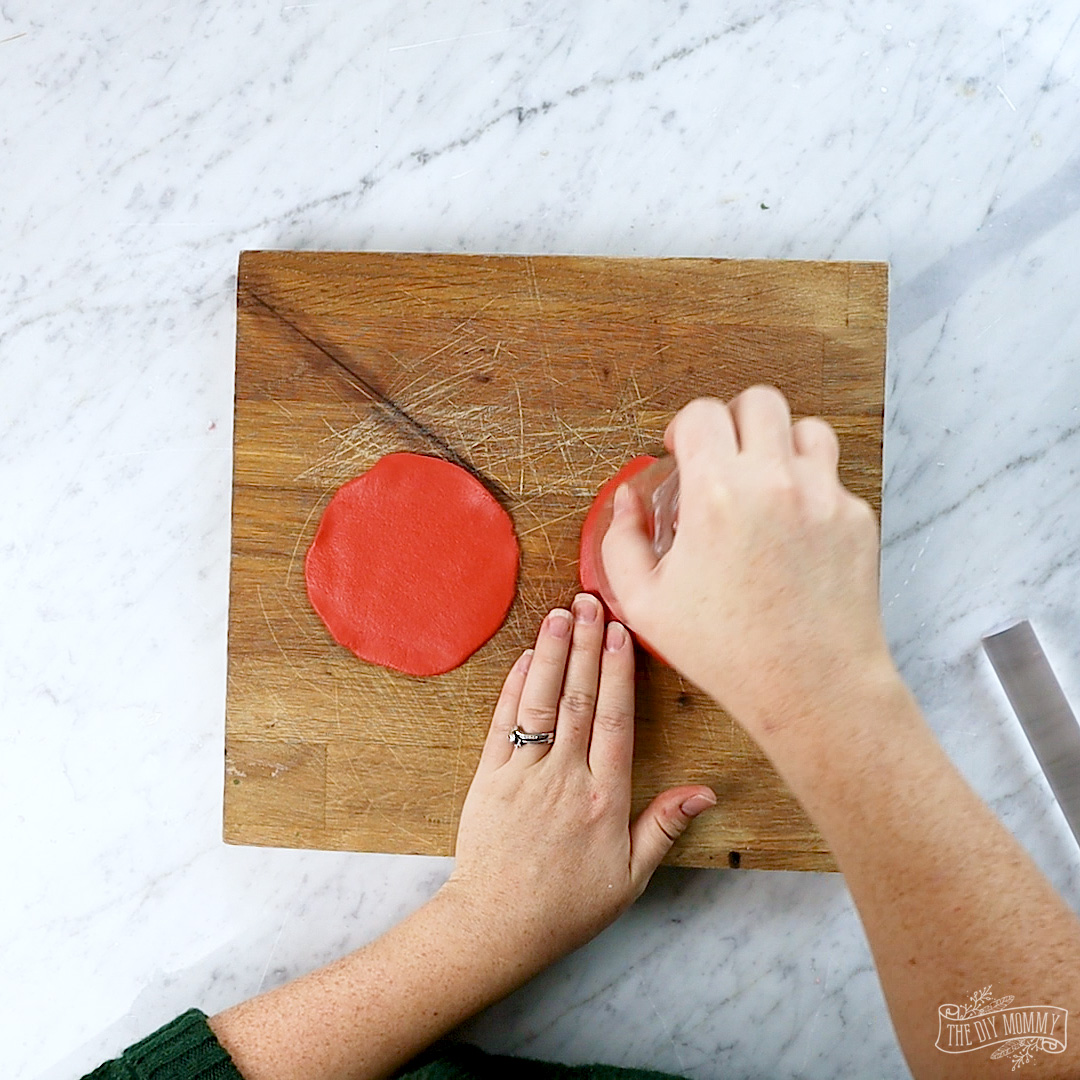
If you want a more realistic leather look, stretch the clay circles slightly so they look like they have a grain. Use a drinking glass to stamp a perfectly round shape into the circles.
Cut away the excess clay with a craft knife, using your stamped circle as a template.
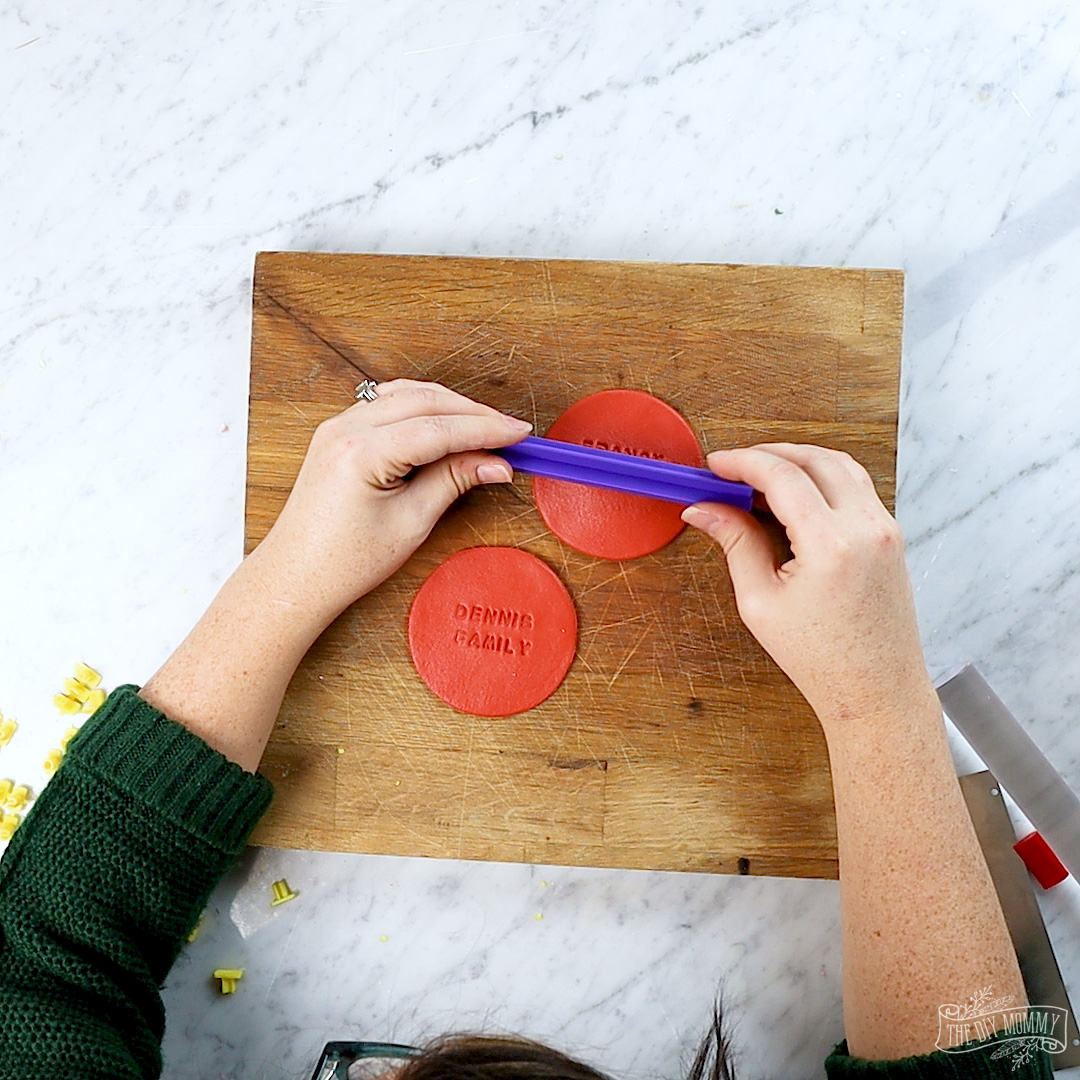
With a letter stamp set, stamp your desired words into each round of clay. I’m using my last name and the current year for one ornament, and my parents’ last name and the year for the other one.
Next, poke a small hole in the top of each ornament so that you’ll be able to hang them. You can use the end of a paintbrush, or a tiny round cutter.
Bake the ornaments at about 260 degrees F for about 30 minutes.
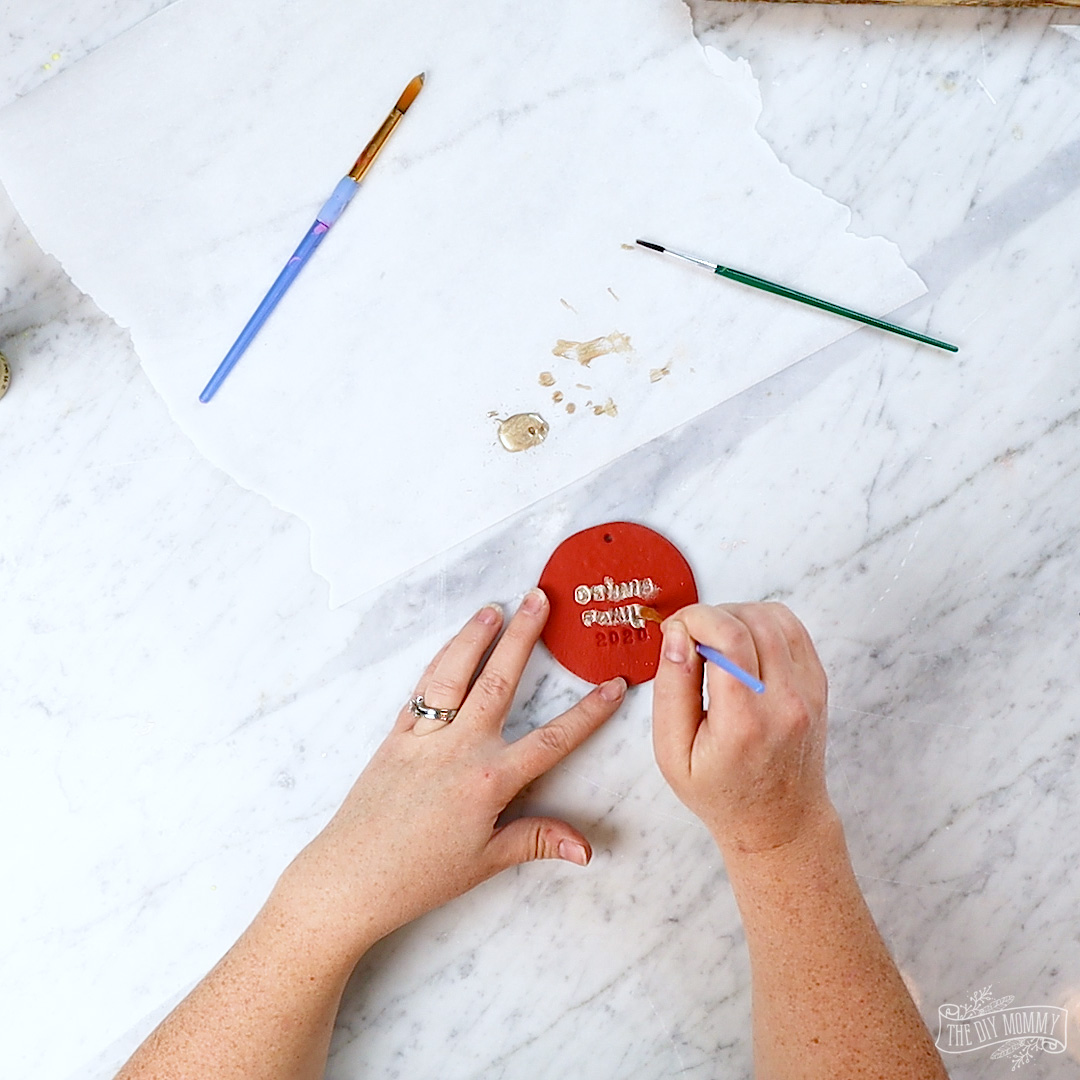
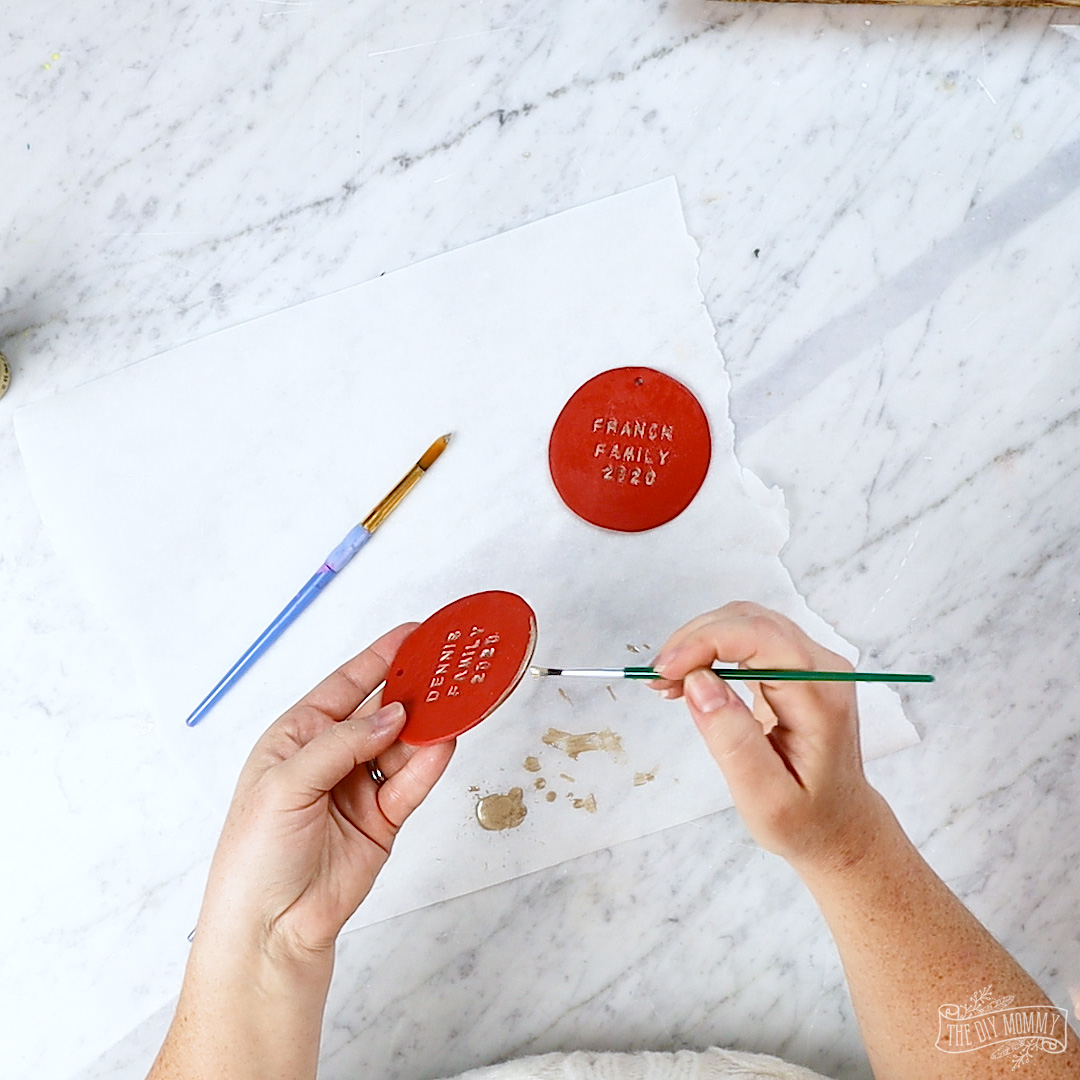
Once the ornaments are baked an cooled, you can brush metallic gold acrylic paint into the stamped letters. Wipe any excess paint off gently with a paper towel.
Use a detail paint brush to paint more metallic gold paint around the edge of the ornament.
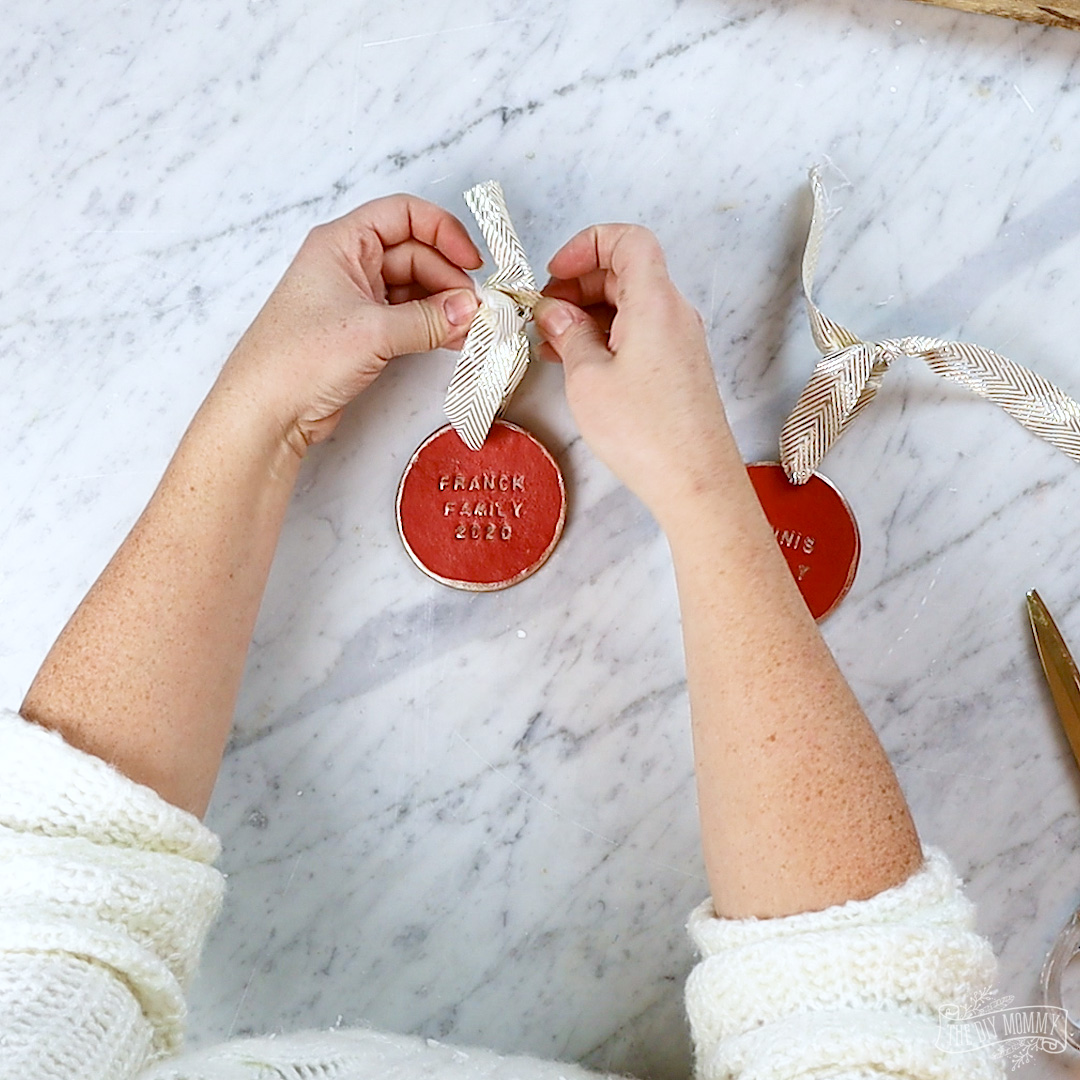
Once the paint is dry, tie a metallic ribbon through the hole in the top of the ornament.
All done! Isn’t this cute?! What would YOU stamp into your ornament?
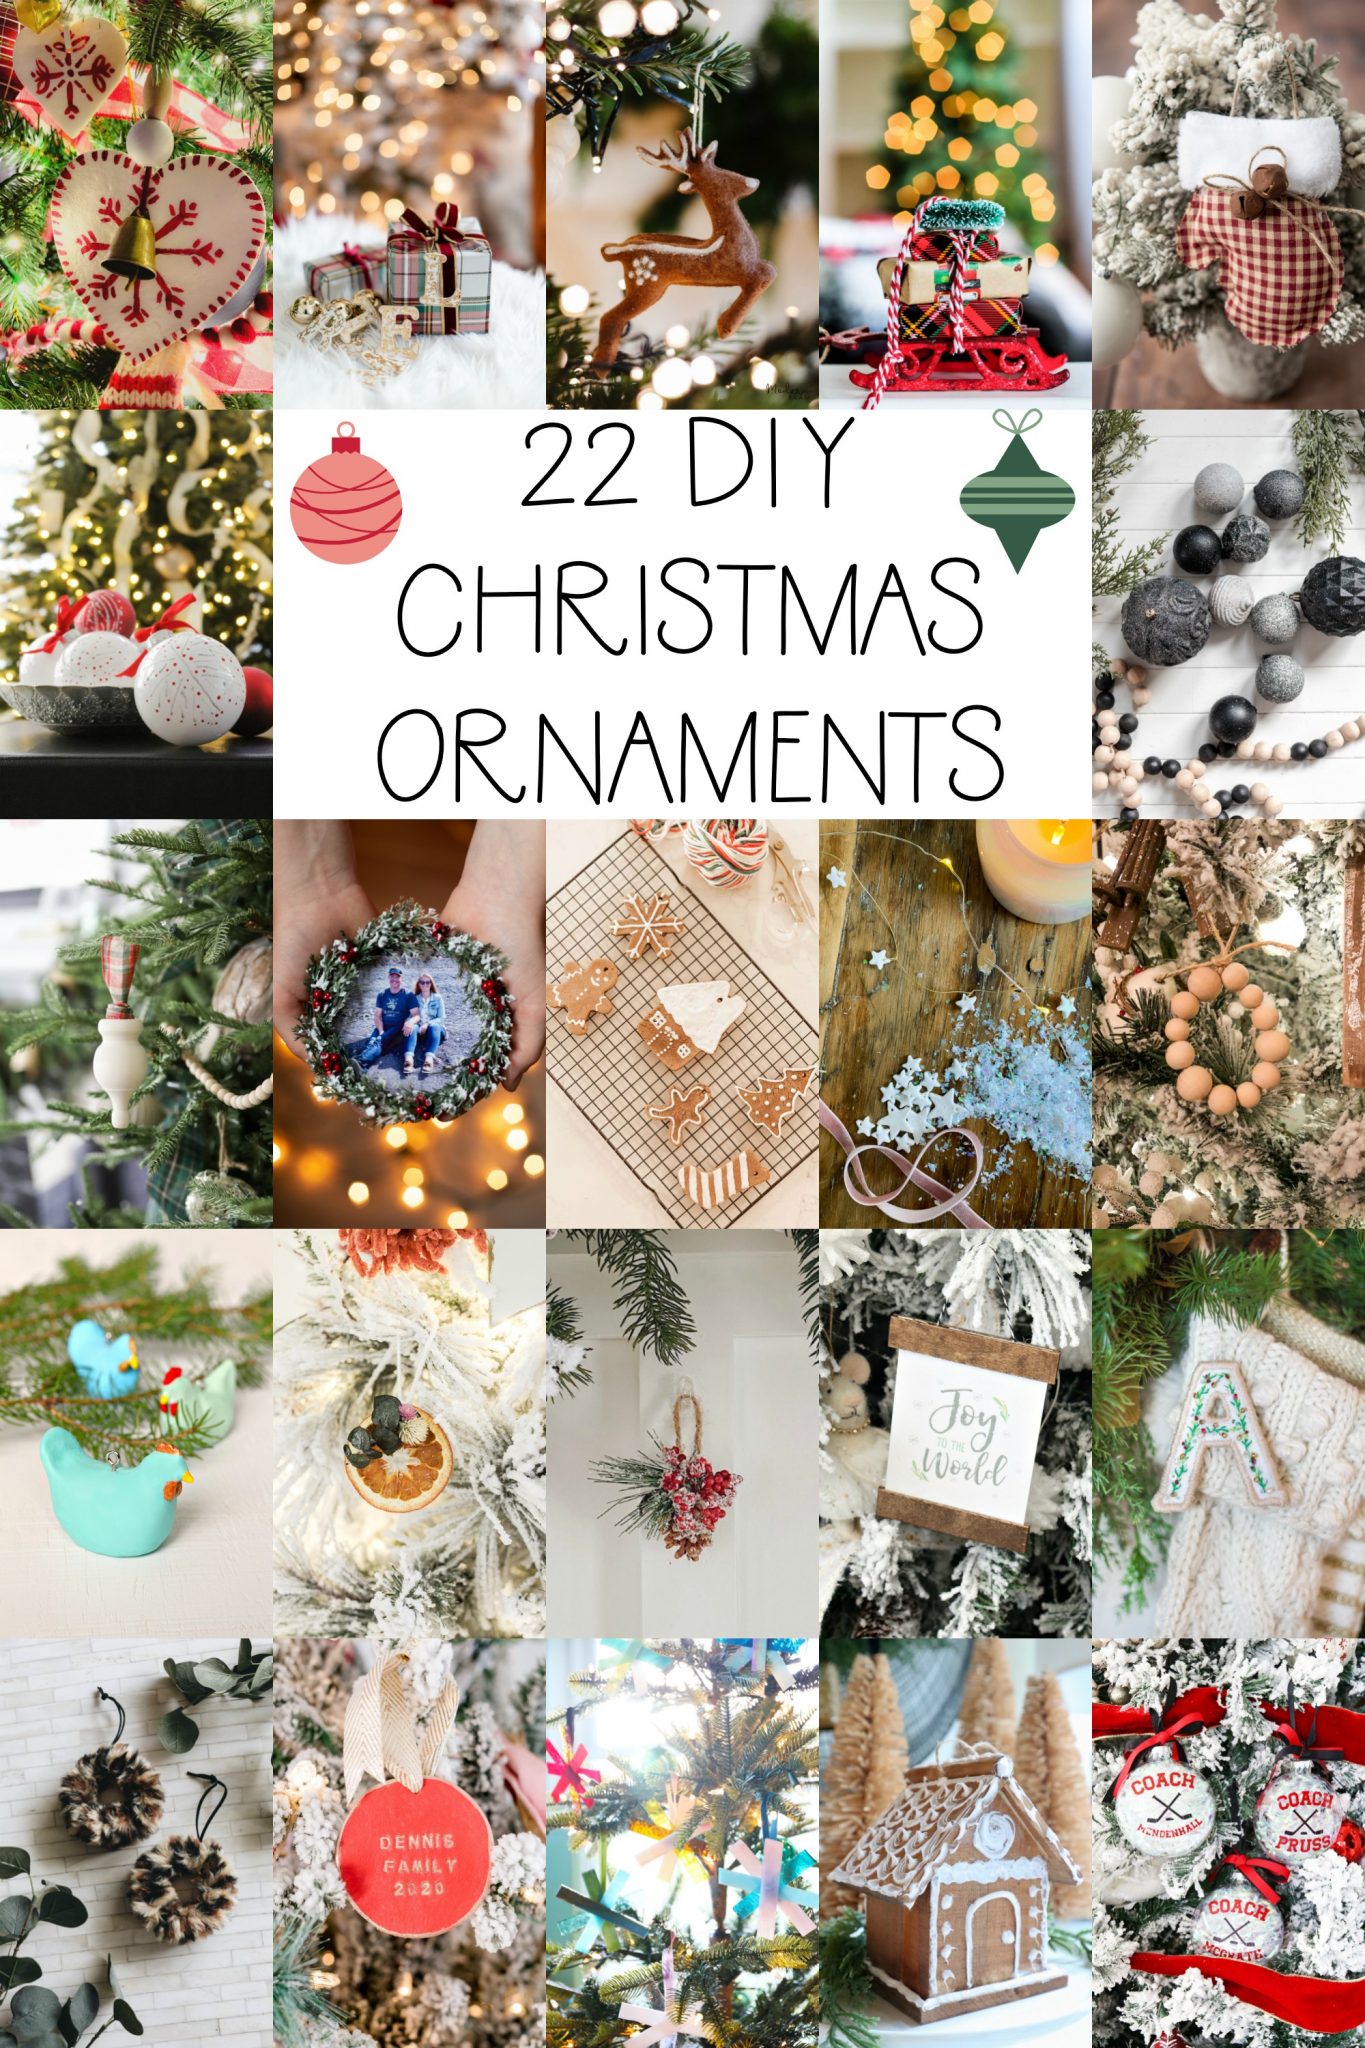
Today I’m joining some of my talented blogging friends for the Christmas Seasonal Simplicity Series. We’re all sharing our DIY Christmas Ornament ideas with you today! Be sure to check out these fabulous ideas by clicking on the links below each image.
Simple DIY Wood Bead Ornaments at The Happy Housie
Rustic No-Sew Mitten Ornaments at Home Made Lovely
Easy DIY Christmas Ornaments at Clean & Scentsible
DIY Salt Dough Ornaments at Jennifer Maune
Anthropologie Inspired Vined Monogram Ornament at Craftberry Bush
DIY Stamped Christmas Ornament made with Clay at The DIY Mommy
Ikea Hack Keepsake Photo Ornament at Fynes Designs
How to Make a Gingerbread House Ornament at My Sweet Savannah
Baking Soda Scandinavian Painted Ornaments at Tatertots and Jello
DIY Leopard Print Christmas Ornaments at Love Create Celebrate
Easy DIY Christmas Sleigh Ornaments at A Pretty Life
DIY Stone Christmas Ornaments at Cherished Bliss
DIY Nordic Christmas Ornaments at This is Simplicite
Gingerbread Salt Dough Ornaments at Modern Glam
DIY Snowflake Ornaments at The Handmade Home
DIY Anthropologie Inspired Felt Letter Ornament at Zevy Joy
DIY Chicken Christmas Ornaments at Dans le Lakehouse
DIY Wood Finial Ornament at The Turquoise Home
Boho Orange Slice Ornament at Cassie Bustamante
DIY Star Garland at Life is a Party
Coach Gift Christmas Ornaments at Just a Girl & Her Blog
Upcycled Pine Cone Ornament at She Gave it a Go
PIN ME:



These are super adorable! Love that simple look. TOO CUTE!
Super cute! I love handmade gifts and ornaments! Thank you for sharing with us at Embracing Home and Family!
I wish you would’ve provided a supply list for everything you used because I’m having trouble finding a stamp set and would love to have known what brush(es) you used, too.