Sew an Easy Herringbone Baby Quilt
This post may contain affiliate links · This blog generates income via ads
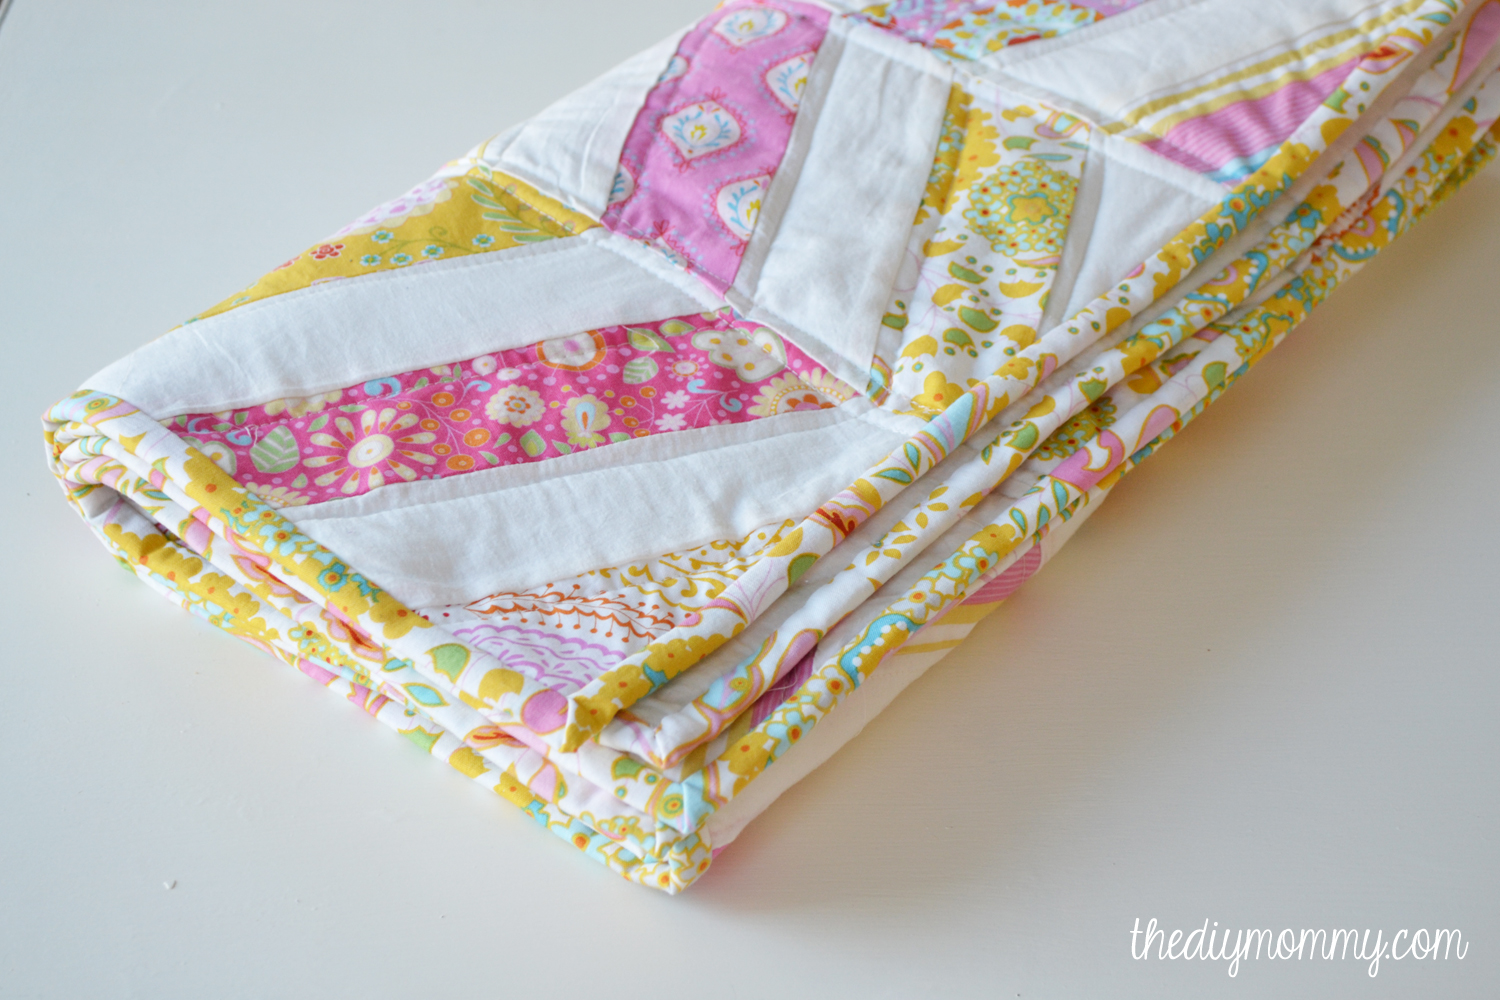
I am by no means a quilter, but I think that every baby needs a special quilt that was made just for them. They’re so lovely to snuggle in and they make a wonderful heirloom for Baby to keep as they grow. I’m a huge fan of quilts that are a little bit modern, a little bit whimsical, and one’s that are simple to make. Because I don’t have any “pro quilter” equipment, an easy pattern is essential – and the small size of a baby quilt really helps too!
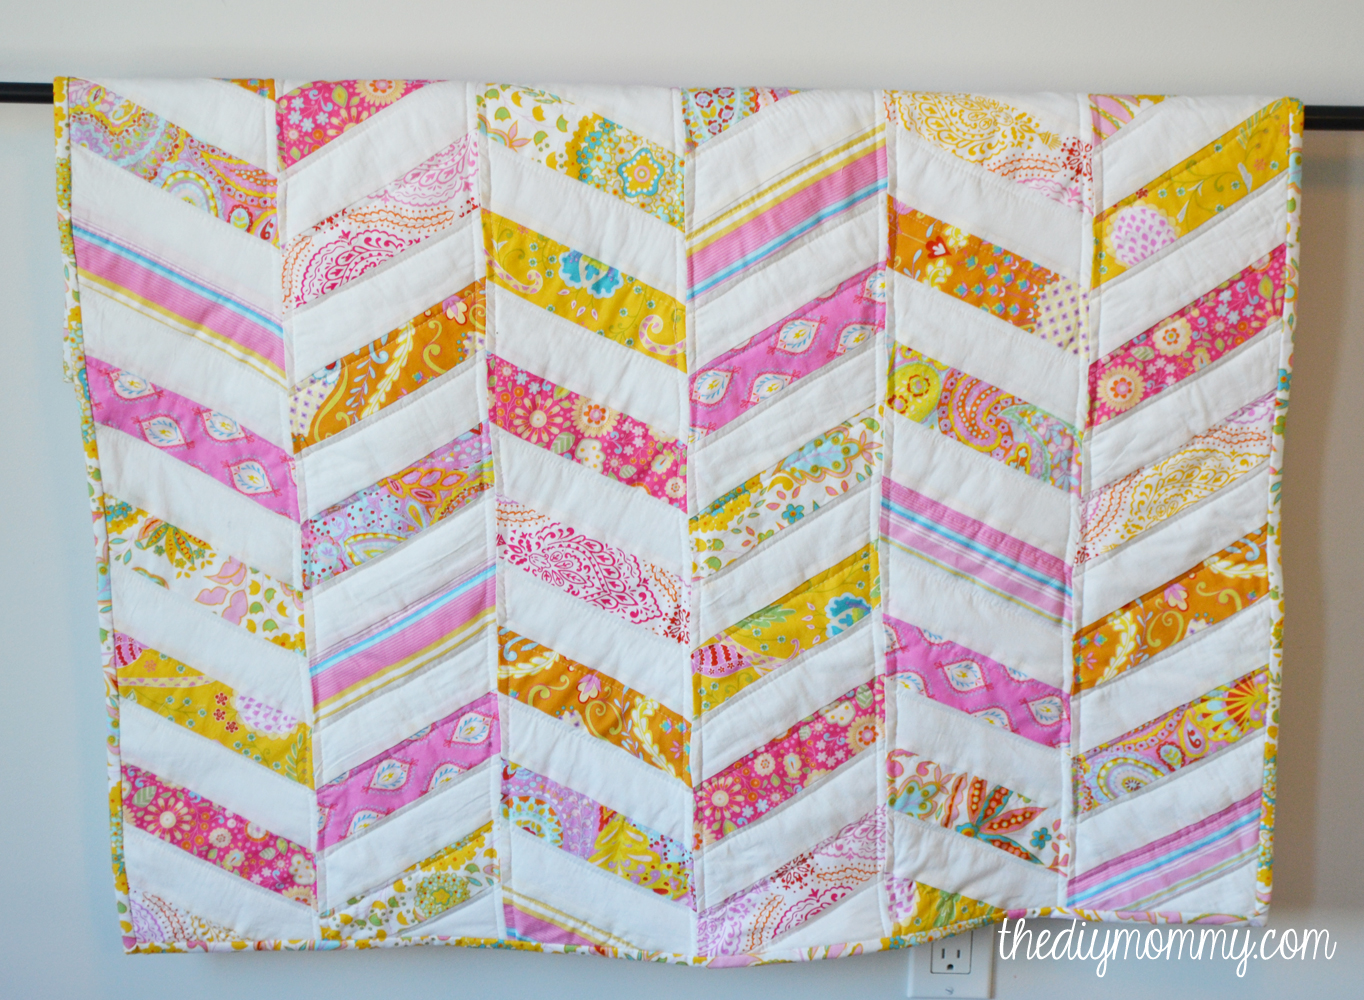
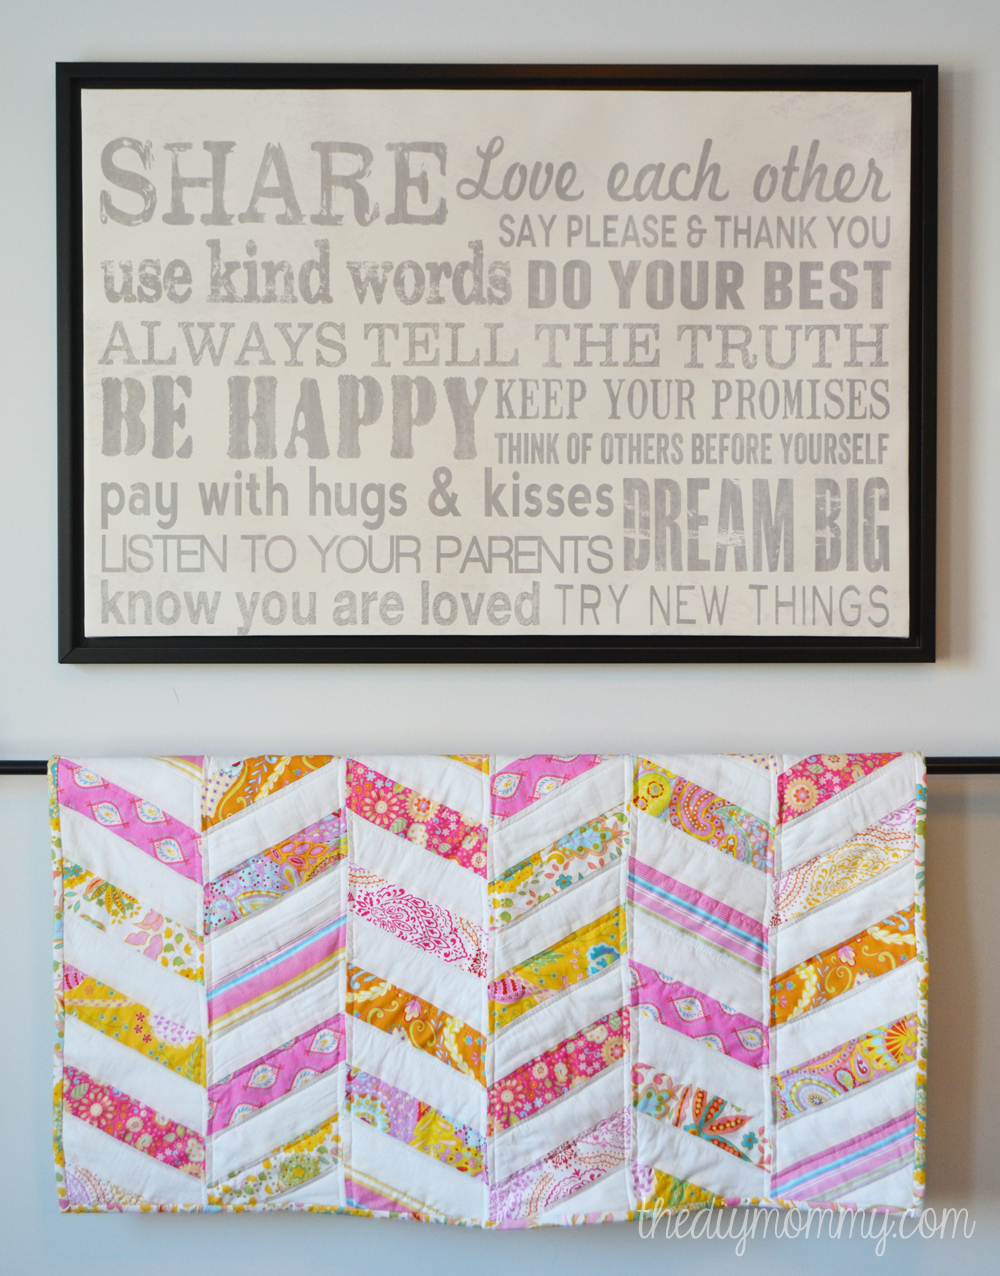
I realize that chevron and herringbone patterns are kind of a tired trend at this point, but I admit that I do still love them. When I combined a herringbone pattern with the soft florals of the fabric I used for this quilt, I thought it made for such a lovely combination of modern, boho and sweet (to match Baby Three’s nursery, of course!).
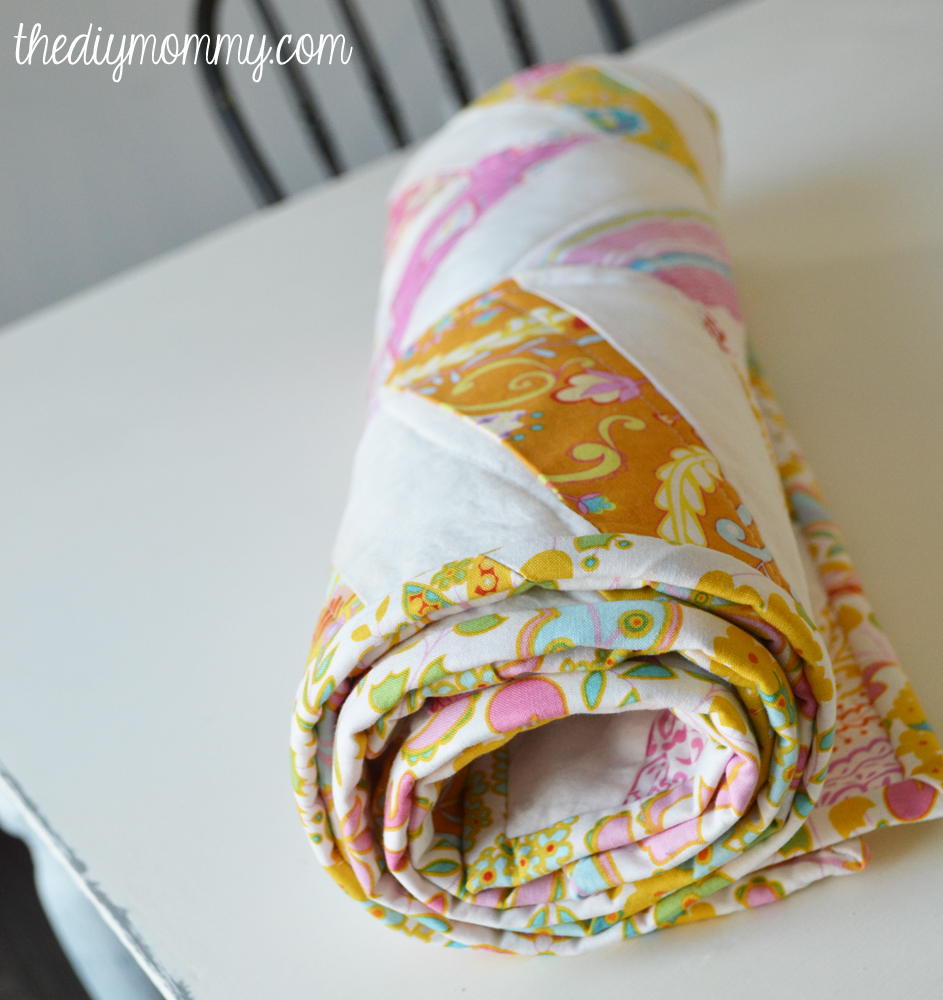
A lot of off-white cotton voile fabric was used in this quilt which I think gives it such a soft and light look. Plus, the feel of cotton voile is so much softer than regular quilting fabric – it makes the quilt nice and light and a little expensive feeling (I find lots of Anthropologie things are made with voile).
UPDATE: The original tutorial I used to make this quilt is no longer online, but this chevron quilt tutorial from Hello Melly Designs is very similar to the one I referenced!
I used this tutorial as my inspiration and my basic method, and then tweaked it to make my own herringbone baby quilt for Baby Three. My finished quilt is a nice, small size and measures about 38″ square. I didn’t take many process photos because I used the tutorial as a basis, but here’s what I did differently (and how you can make your own DIY herringbone baby quilt):
Materials:
- 8 fat quarters of printed quilter’s cotton fabric (that’s 18″ x 21″ pieces – I used the Little Azalea Fat Quarter Bundle in Pink from Hawthorne Threads)
- 2 1/2 yards of off white cotton voile (for the top and back)
- 1/2 yard of printed quilter’s cotton fabric (for the binding)
- a piece of quilt batting that measures at least 40″ square
- sewing machine, thread, hand sewing needle
- rotary cutter, cutting mat, hard-edged ruler
- temporary fabric adhesive spray
- pins
Directions:
Pre-wash all of your fabric.
Cut the angled rectangles according to this tutorial. Instead of making my rectangles 3″ x 9″ like she did, I wanted mine a little thinner so I made them 2 1/2″ x 9″. I used the same 60 degree angle at each end.
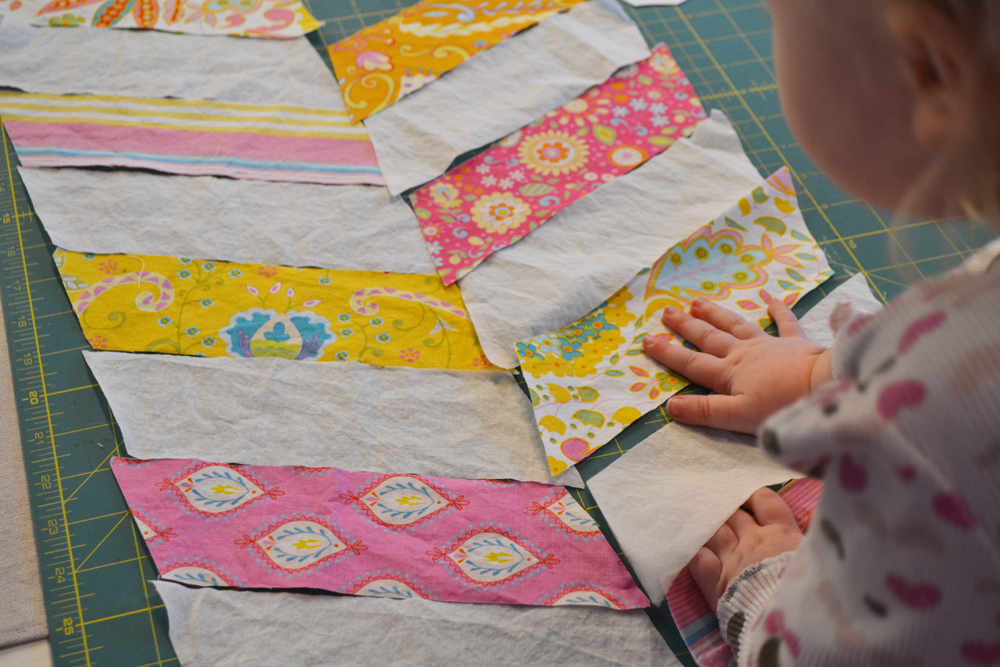
For my quilt, I cut 57 angled rectangles from the off white voile, and then I cut 8 rectangles of each of the 8 fat quarters (so, 64 total rectangles from the prints – I did have a few left over because of the way I placed my pattern). I really detest cutting (maybe that’s why I’m not a quilter!), but a nice mat, rotary cutter, and hard ruler sure helps with this step! Make sure that when you’re cutting the angles on the ends of your rectangles that you cut them in pairs with the wrong sides facing each other like the tutorial suggests. This ensures you’ll have the angles needed to make the chevron/herringbone pattern.
Decide on your pattern. Between each patterned rectangle will be an off white rectangle, but pre-arrange some strips to come up with a pattern that’s pleasing to you. To make a quilt like mine, you’ll be sewing the angled rectangles in strips of 19 pieces each (use 1/4″ seam allowances). Sew the angled rectangles long sides together in strips of 19 pieces. You’ll want to make 6 of these strips to end up with a quilt that’s around the same dimensions as mine. I decided on my pattern, and then I repeated it for my next strip starting on my 6th rectangle from the bottom.
Once all 6 strips are sewn, sew them together on their long ends with a 1/4″ seam (make sure to keep track of which strip goes where!).
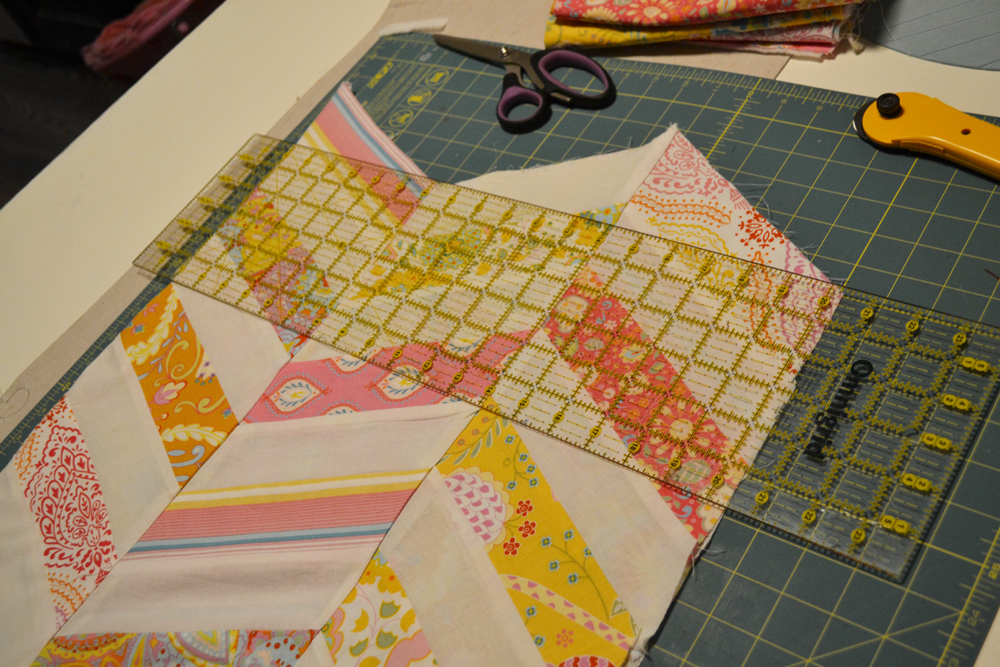
Trim the pointed ends off of your quilt top as shown above using your ruler and cutting mat to make sure the quilt is square.
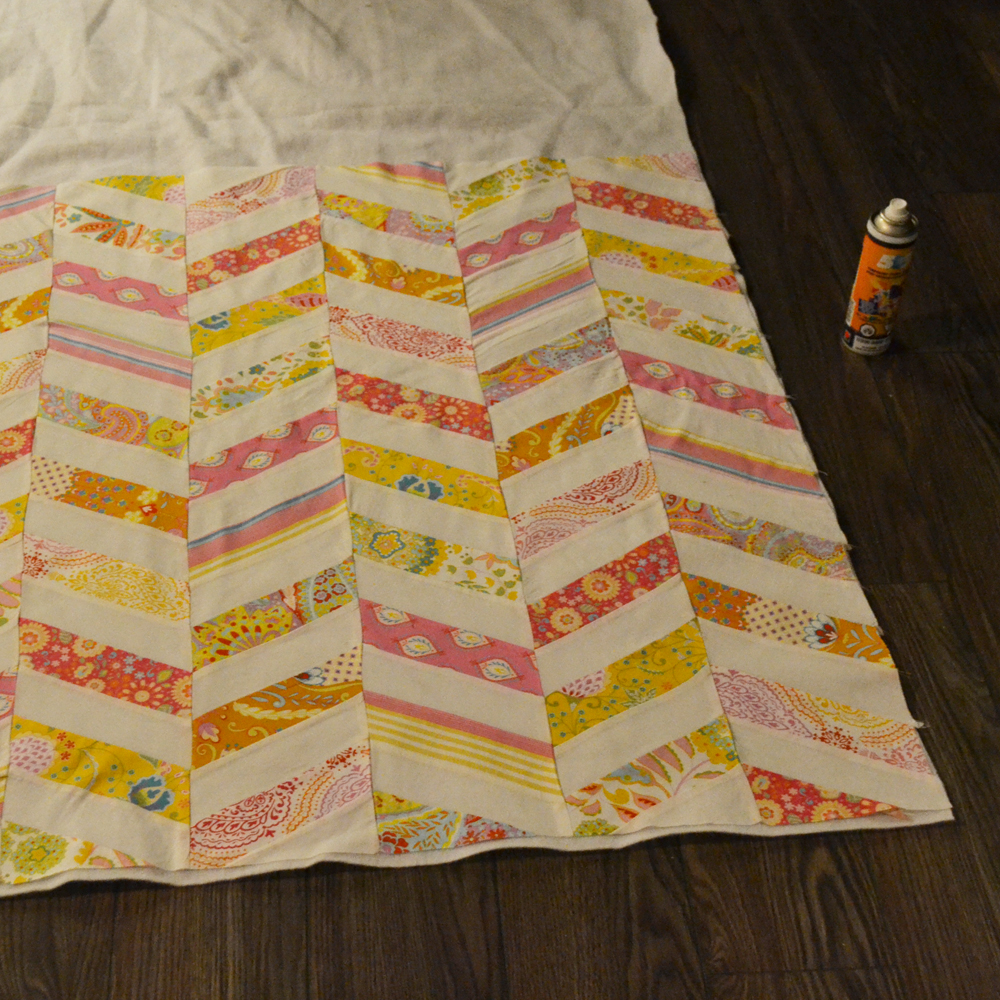
Smooth the quilt top over the quilt batting, and then glue it down with some temporary fabric adhesive one section at a time. Keep smoothing it as you go. You can leave some edges of quilt batting peeking out from the quilt top and trim them later. Trim the bulk of the batting off, and then flip the quilt over and repeat these steps with the cotton voile backing. Make sure it’s nice and smooth with no wrinkles as you glue it all together! Trim the edges of the quilt, and then pin, pin, pin! Pin as much as you can through all of the layers. I think this is the step that made me so very happy with my finished quilt! On my last easy quilt, I used spray adhesive but no pins and I ended up with a little bit of bunching and creasing when I quilted.
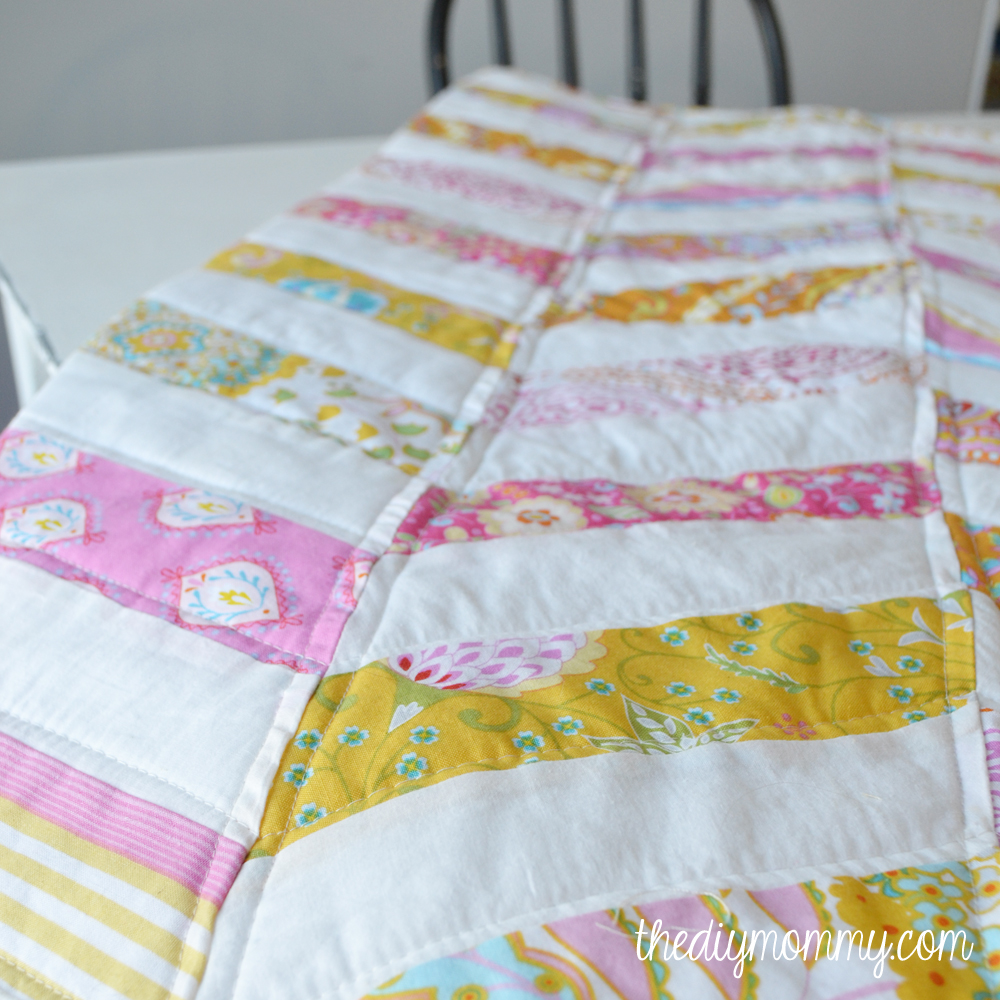
Now you’re ready to quilt. I chose to sew 1/4″ on each side of the vertical seams as shown, and then 1/4″ away from the diagonal seams as shown above (but just on one side). You could quilt more or less, but I’m really happy with the finished look of mine!
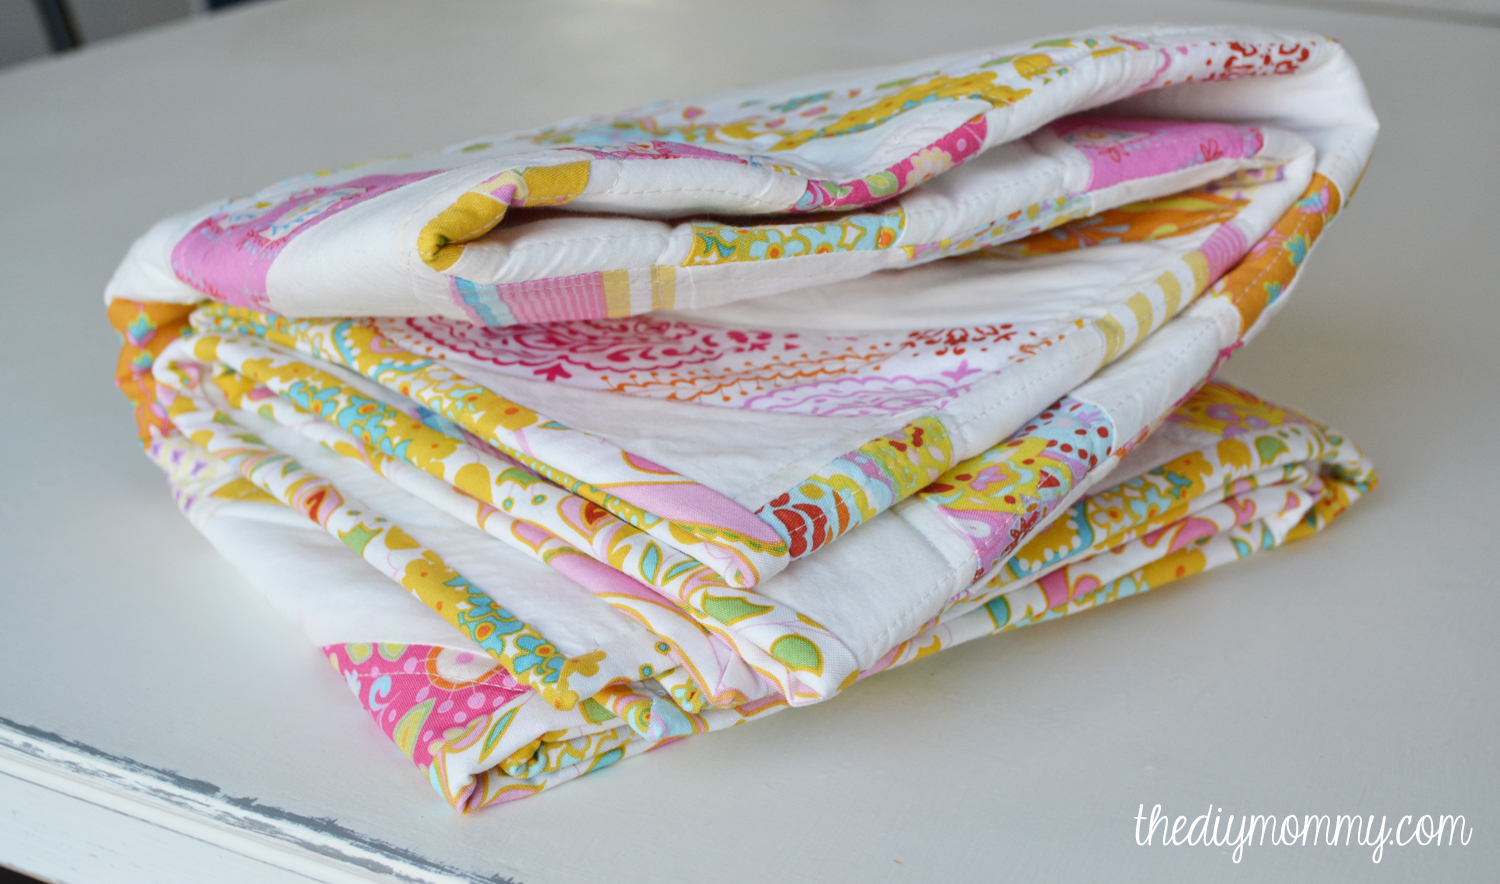
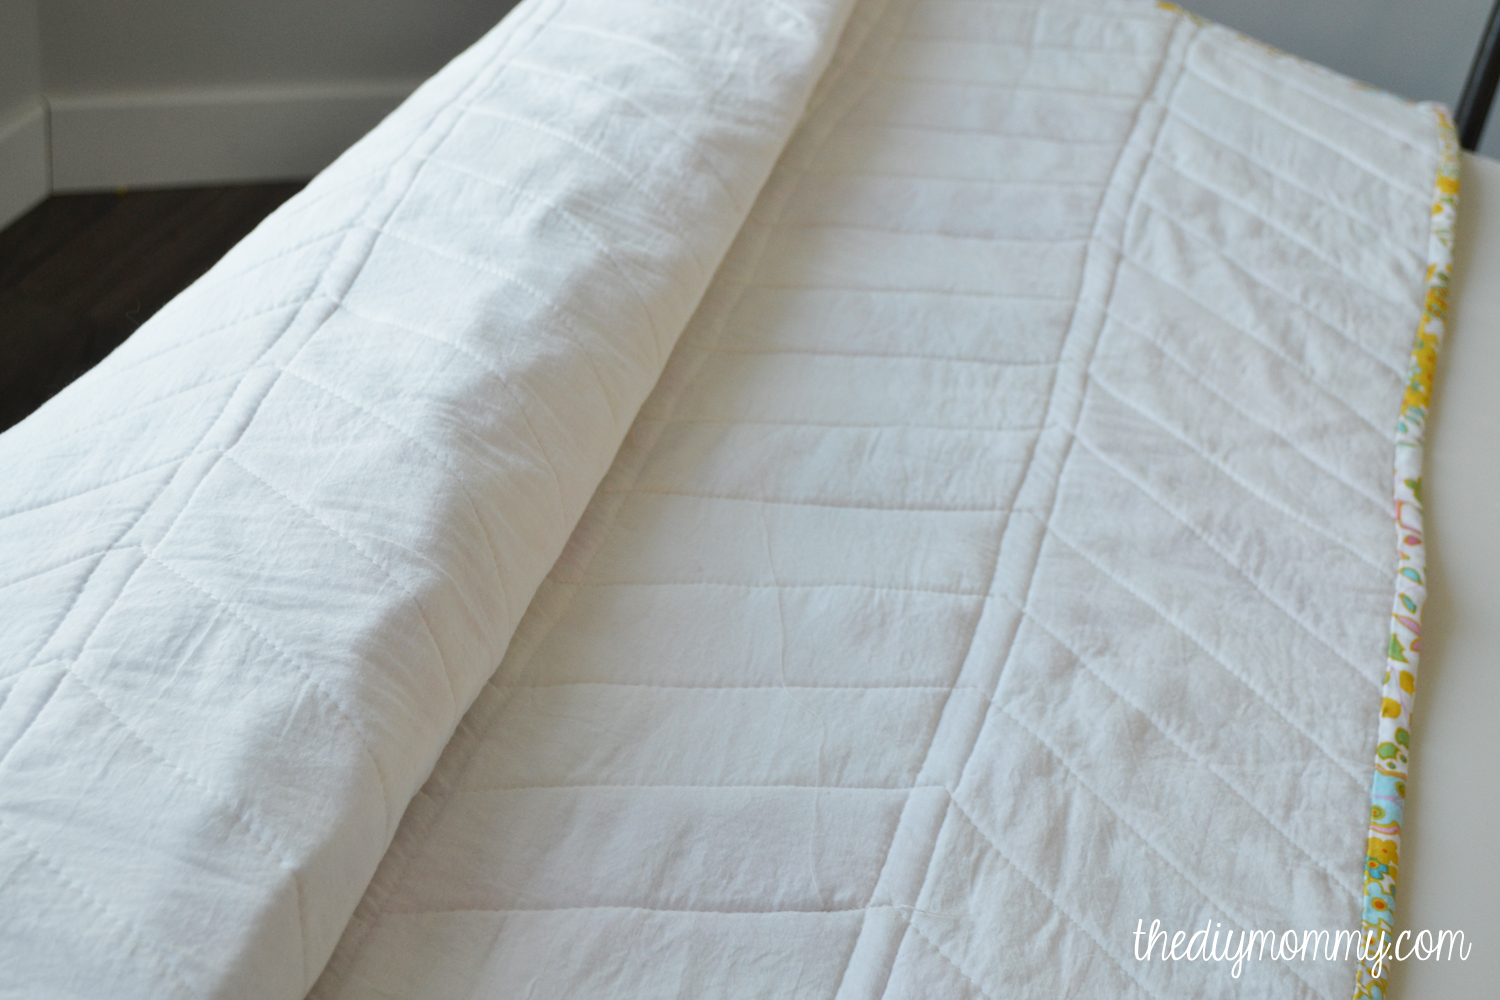
Here’s what the back looks like:
Isn’t that fancy looking?!
To bind the quilt, cut 4 strips of binding fabric that are about 2 1/2″ x 44″. I sewed my binding to my quilt and hand stitched the back of it exactly like I did in this quilt I made for Baby A. I really love the technique.
This quilt only took me a couple of days to make, but I think that was partially due to the extremely intense nesting feeling I’ve been having these days. I tend to motor through baby stuff when I get the urge! It is, however, really quite a lovely and simple pattern for a beginning quilter like me and the results are so beautiful. I can’t wait until I have a new little one to snuggle in it with!


This is so adorable! You did a great job. I’m sure this quilt will be enjoyed for a long long time.
Thanks so much, Dani! I’m so happy with this quilt and I can’t wait for Baby Girl Three to enjoy it.
I absolutely love this!!! I’m definitely going to try and make one with just a few adjustments. I wanted to ask- where do you purchase your cotton voile? I can’t find it anywhere locally
Thanks so much! I found the voile at fabric.com. They have a ton in a variety of widths and colors. Have fun sewing! 🙂
Lovely quilt! It just looks so pleasing and cute! You’ve inspired me to make one of these, using a white-on-white alternating like you did, and at the 60 degree angle, which seems softer to the eye than the 45 degree angle. Thanks for the inspiration!
Thanks, Leah! I agree – the 60 degree angle does look a lot softer. Thanks so much for visiting my blog!
How many actual pieces of fabric did you use to create the quilt? I’ve never made a quilt before so I’m trying to follow your instructions to the T. You state that you bought 8 Fat Quarter Bundles, but on the website their bundles are being sold with varying numbers of pieces inside.
Hi, Natalie! There were 8 pieces in the fat quarter bundle I purchased.
I really love the fabric pattern/style- do you know who the fabric designer was? beautiful quilt!
Thanks for this post! I’ve always wanted to make this, and you’ve given me just the nudge I needed!
Love the quilt!! It’s so beautiful!!! Love the herringbone pattern!! Awesome job!!
Thank you for sharing the quilts.
Annd thanks for the breakfast bake. I am going to use turkey sausage. My fam will love this.
So cute and easy to do it. Thank you much for sharing!
Sew an Easy Herringbone Baby Quilt! Really sweet and beauty
Hello there,
This is so informative articel about sew an easy herringbone chevron baby quilt.
keep your good job.
The link to the cutting tutorial doesn’t seem to be working for me… is there another way to view it?