Sew a Simple Preschool Art Smock
This post may contain affiliate links · This blog generates income via ads
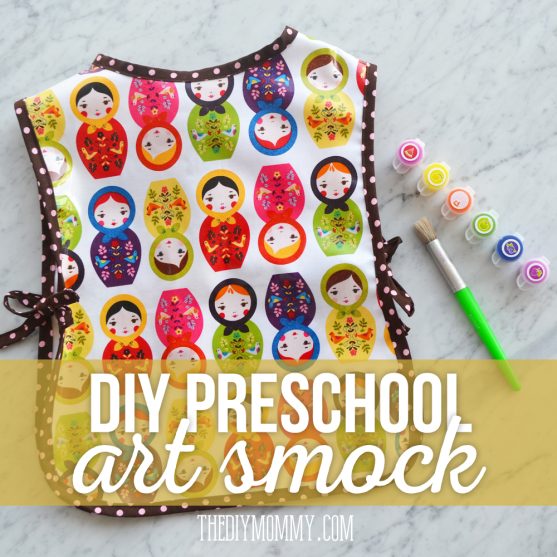
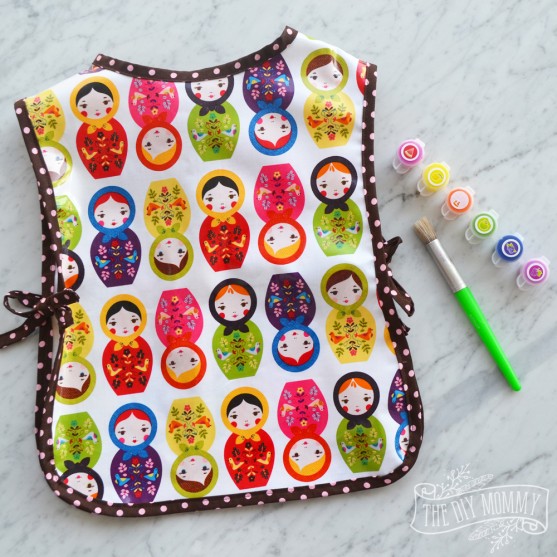
Life is going to feel really weird starting next month – with Little C going to grade one and Little A going to preschool a couple of days a week, our home is going to feel so empty! While we’re still enjoying summer to its fullest, we’re also starting to get ready for school time. I’ve just finished sewing the cutest art smock for Little A’s preschool, and I thought I’d share it with you today. I even drew out the free preschool art smock pattern so that you can make one for your preschooler too! Also, scroll to the bottom of this post for more adorable back to school DIY ideas from my Canadian blogging friends.
Little A LOVES to paint. It’s one of her favourite activities! This DIY art smock is a great way to help keep her clothes clean, and it’s really easy to sew.
Plus, you can ask your preschooler to pick out their favourite cotton laminated fabric and make an art smock that’s just their style!
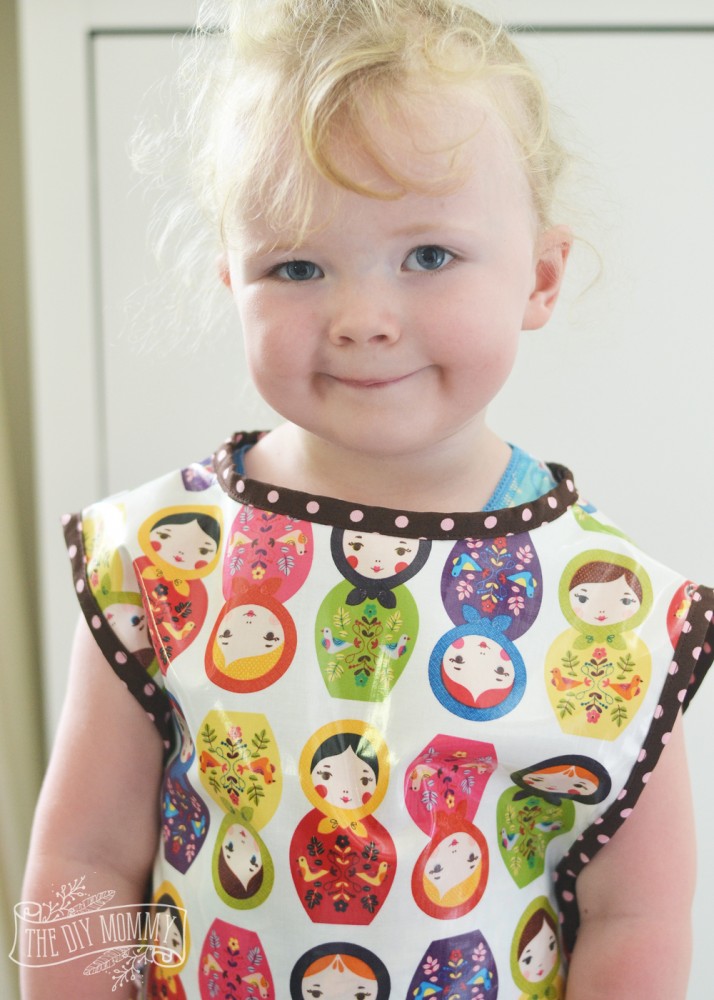
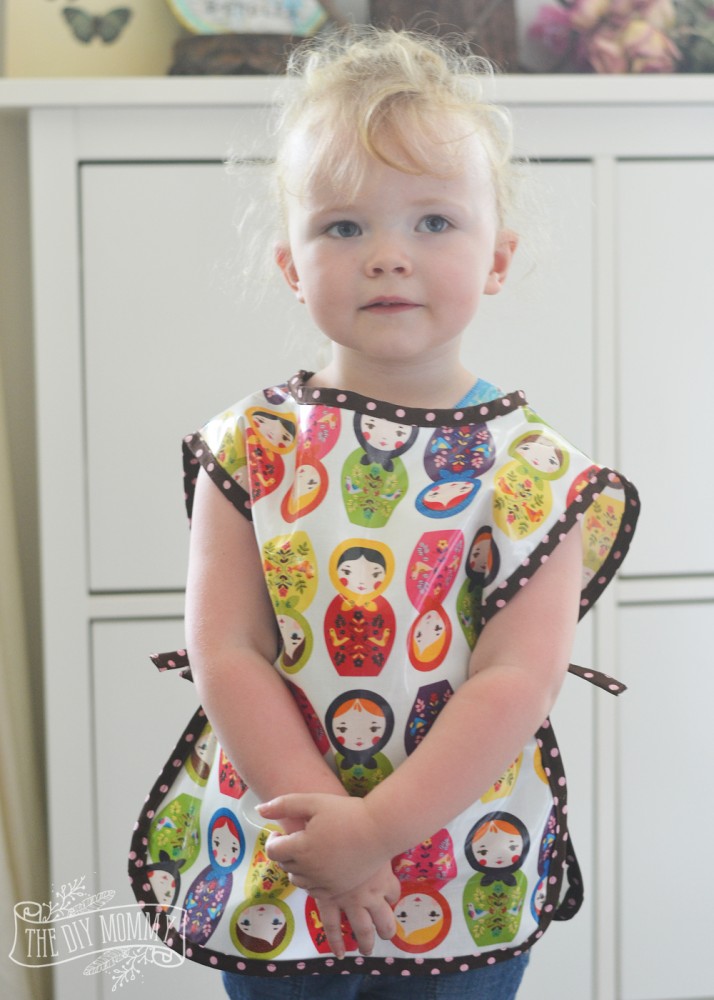
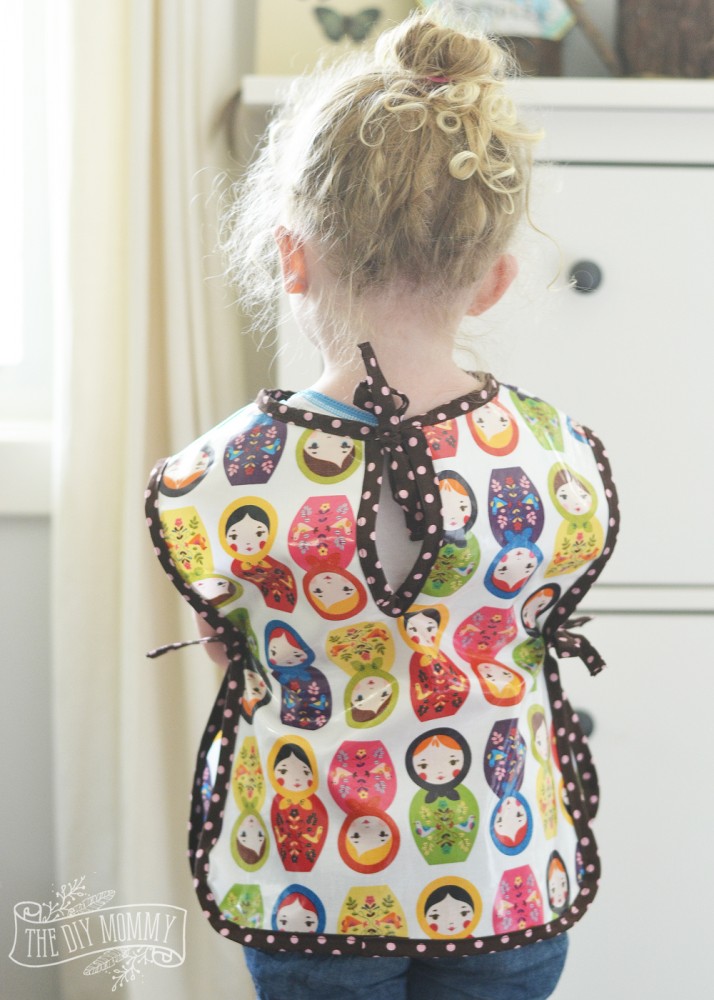
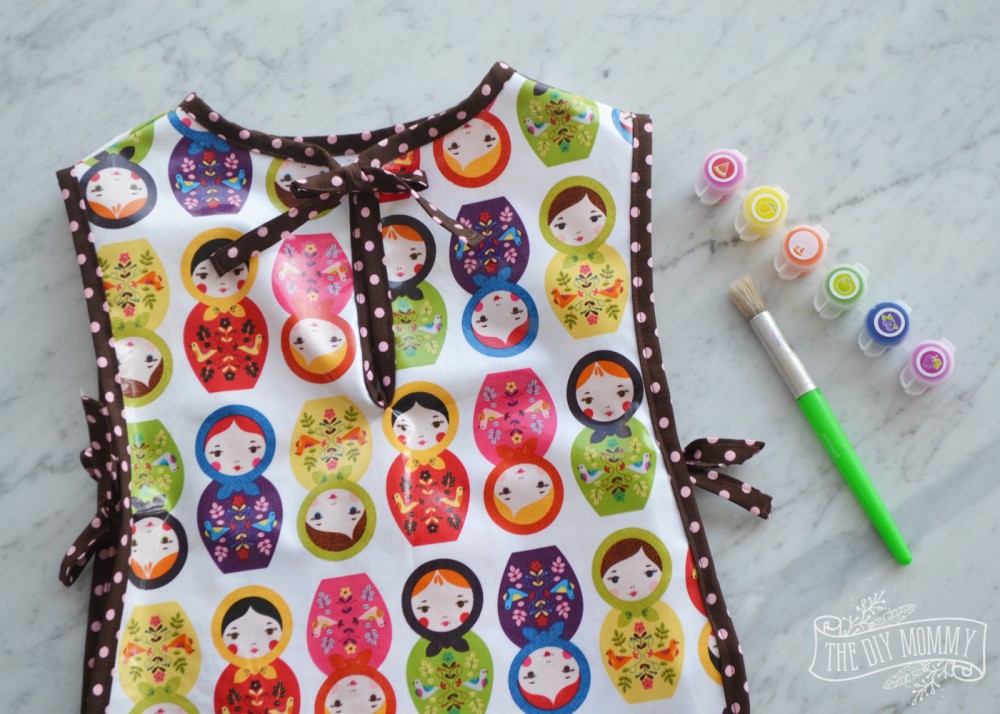
This smock simply slips over a child’s head, and it’s secured with ties at the back of the neck and on either side of the waist. Easy!
Here’s how to sew your own DIY preschool art smock.
Materials:
- 1 yard of laminated cotton fabric (I had this one in my fabric stash FOREVER, but you can find adorable laminated fabric like this dove one on Amazon) (<— affiliate link)
- 1/2 yard coordinating cotton fabric
- rotary cutter
- cutting mat
- hard ruler
- sewing machine
- pins
Instructions:
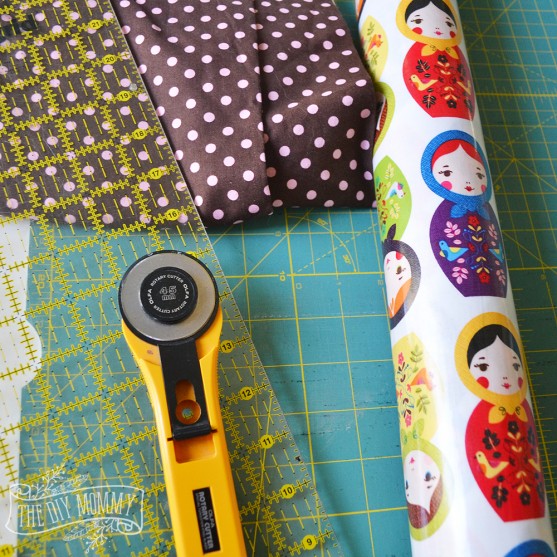
Gather your supplies.
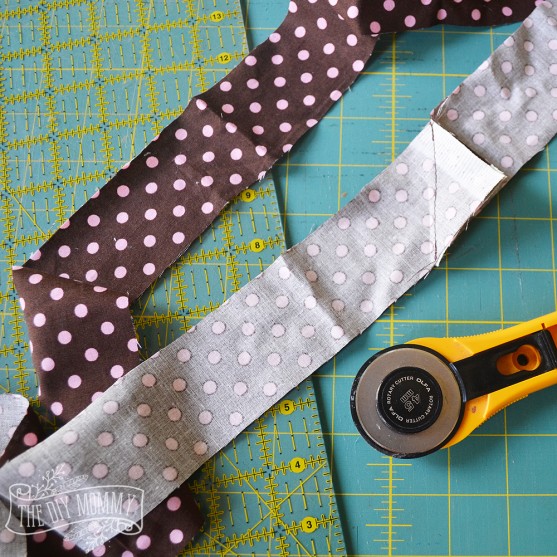
Cut the coordinating cotton fabric into FOUR strips that are 2″ wide by about 44″ long. Sew them together at an angle as shown above to make one long strip.
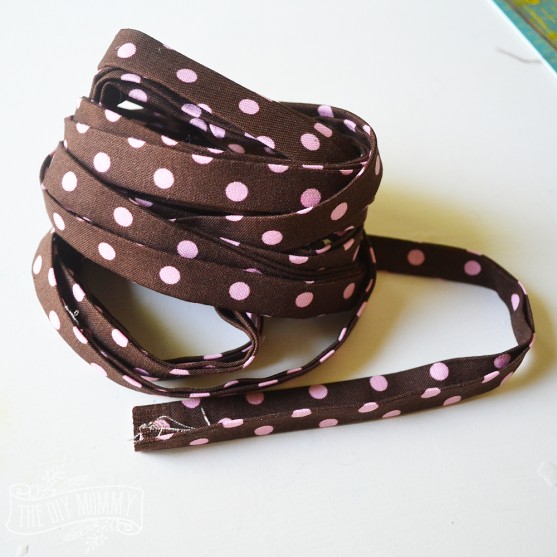
Fold the strip of fabric in half lengthwise and press. Open it back up, and then fold the two outer edges towards the pressed center line and press. You’ll make a long piece of bias tape as shown above.
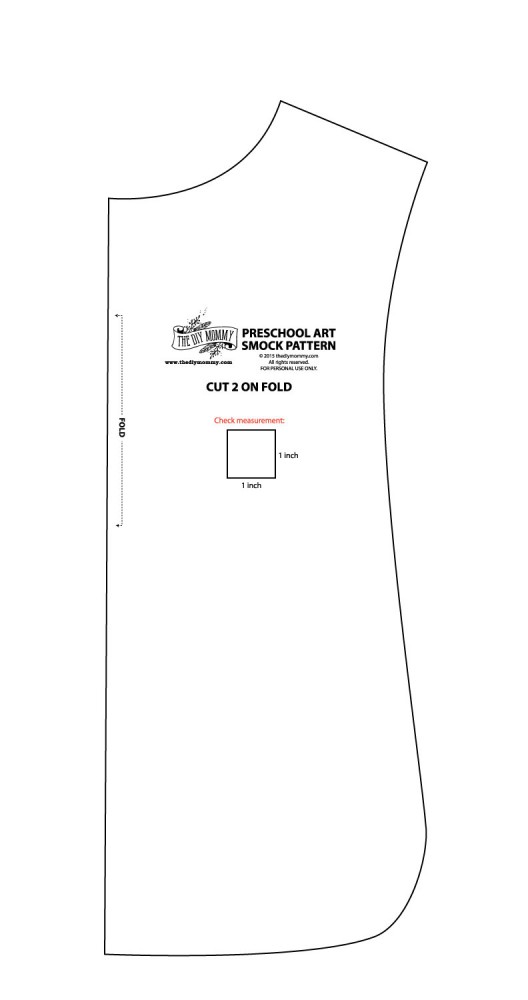
Print out your smock pattern pieces by clicking on these two links, saving the PDF pieces, and printing them (DON’T scale the PDFs when you print!). Piece A: Preschool Art Smock Pattern by The DIY Mommy Piece B: Preschool Art Smock Pattern by The DIY Mommy B Tape the pieces together to make a pattern as shown above.
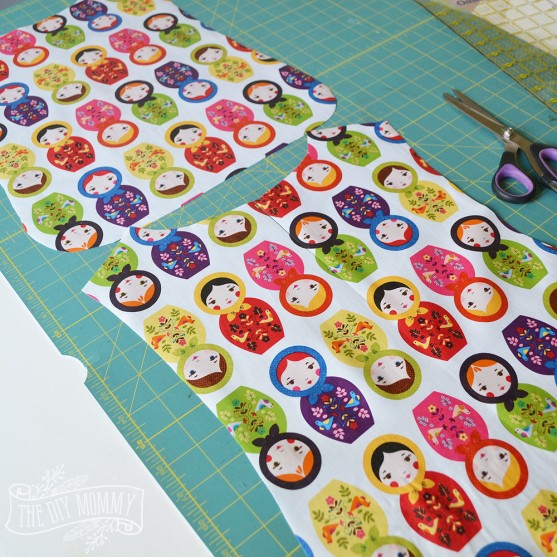
Fold your laminated cotton, and then cut two smock pieces on it with the pattern against the fold. On one piece, cut a slit from the center of the neck down about 6″. This will be the back piece.
Sew the shoulder seams of the front and back smock together – right sides together. I used my serger, but you could also use a sewing machine and finish with a zigzag stitch.
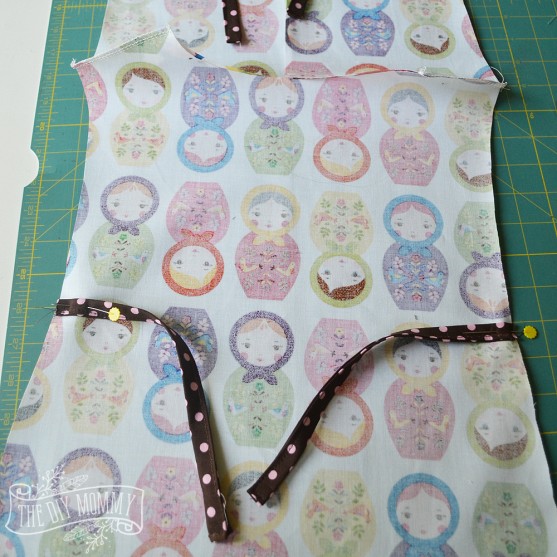
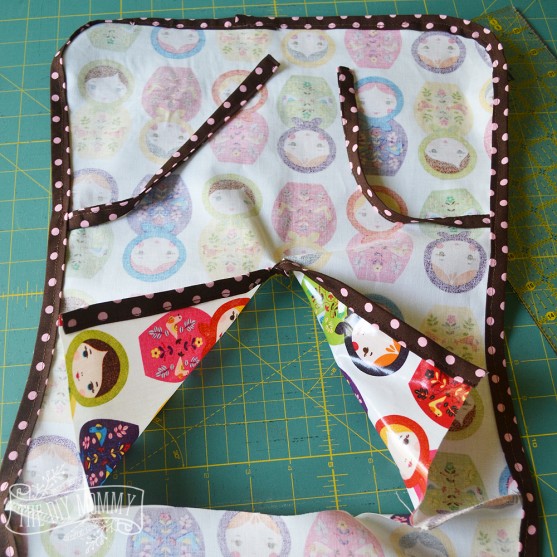
Cut 4 pieces of the bias tape that you made that are each about 9″ long. Fold the raw edges of one end of each piece inward, and stitch along that edge and the long edge to finish the pieces. Pin them to both sides of the front and back of the smock as shown, about 8″ from the bottom edge.
Pin or clip (or just wing it, like I do) the rest of your bias tape around the perimeter of the smock as shown and sew it on. Sew some along the back opening as shown.
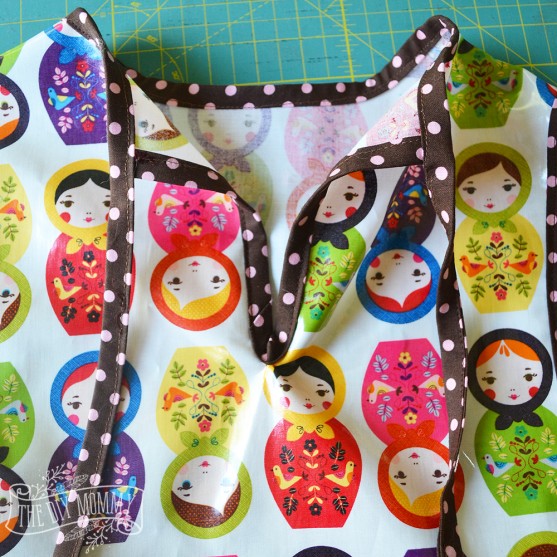
To complete the art smock, turn the raw edge of your remaining bias tape inward, and then sew the edge and about a 9″ length of the bias tape shut. Then, pin or clip the continued piece of bias tape around the neck of the smock and sew it to the smock as shown above. Once the neck is finished with bias tape, sew another 9″ length of bias tape shut, folding its end inward and sewing it to complete the neck tie.
Voila! Your wee artist is ready to rock her preschool art class in style.
Ain’t she the sweetest?
I hope you’ve enjoyed this fun art smock tutorial!
Come see some more back-to-school DIY ideas from my Canadian blogging friends!
Clockwise, they are:
First Day of School Photo Prop from Fynes Designs
DIY Emoji Notebook from Craftberry Bush
Preschool Art Smock from The DIY Mommy
Back To School Minion Treat Bucket +Free Printable Tag from Echoes of Laughter



Sweetest little smock! Thanks for sharing the pattern!
Christina – this is ADORABLE! You are so talented. I want to make bigger versions of this for my own girls.
What a gorgeous project as always! You are so incredibly talented Christina! And you little model is incredibly adorable as well! Have a lovely weekend! Angie xo
I love it! I’ve got a Craft Gossip post scheduled for this evening that features your tutorial: http://sewing.craftgossip.com/?p=88595 –Anne
Thanks so much, Anne!
So, so cute! Thanks for the free pattern!
You’re welcome!
Oh My Gosh this is adorable!! Thank you for sharing I cant wait to make this!
Thank you sharing the pattern of this adorable smock.
I love the laminated cotton you used.
Thanks for this cute pattern and instructions! I had made a backpack for my daughter’s first day of preschool, and we had a big strip of laminated cotton left over. Happened across your blog searching for some use for the fabric (and get the five foot tall tube out of our craft room!). I’m not quite done stitching the bias tape, but my daughter already loves her smock.
Awe, so happy to hear that!
While I’ll admit to not being the most experienced seamstress, I got completely befuddled by the “sew at an angle” photo. I’ve never made bias tape and lined my fabric up square then sewed at an angle, leaving me with a Pentagon shaped fabric strip. From there I googled how to make a bias tape, ripped my stitches and moved on. I ended up with a successful project but for a beginner, I felt this tutorial could have used a few extra notes like *for detailed instructions on making bias tape, see here* then a link.
Thanks for the feedback, Becca! We are happy to hear you were able to make it ?
great points altogether, you simply gained a new reader.
What would you suggest about your publish that you made some days in the past?
Any certain?