DIY No-Sew Fabric Heart Banner for Valentine’s Day
This post may contain affiliate links · This blog generates income via ads
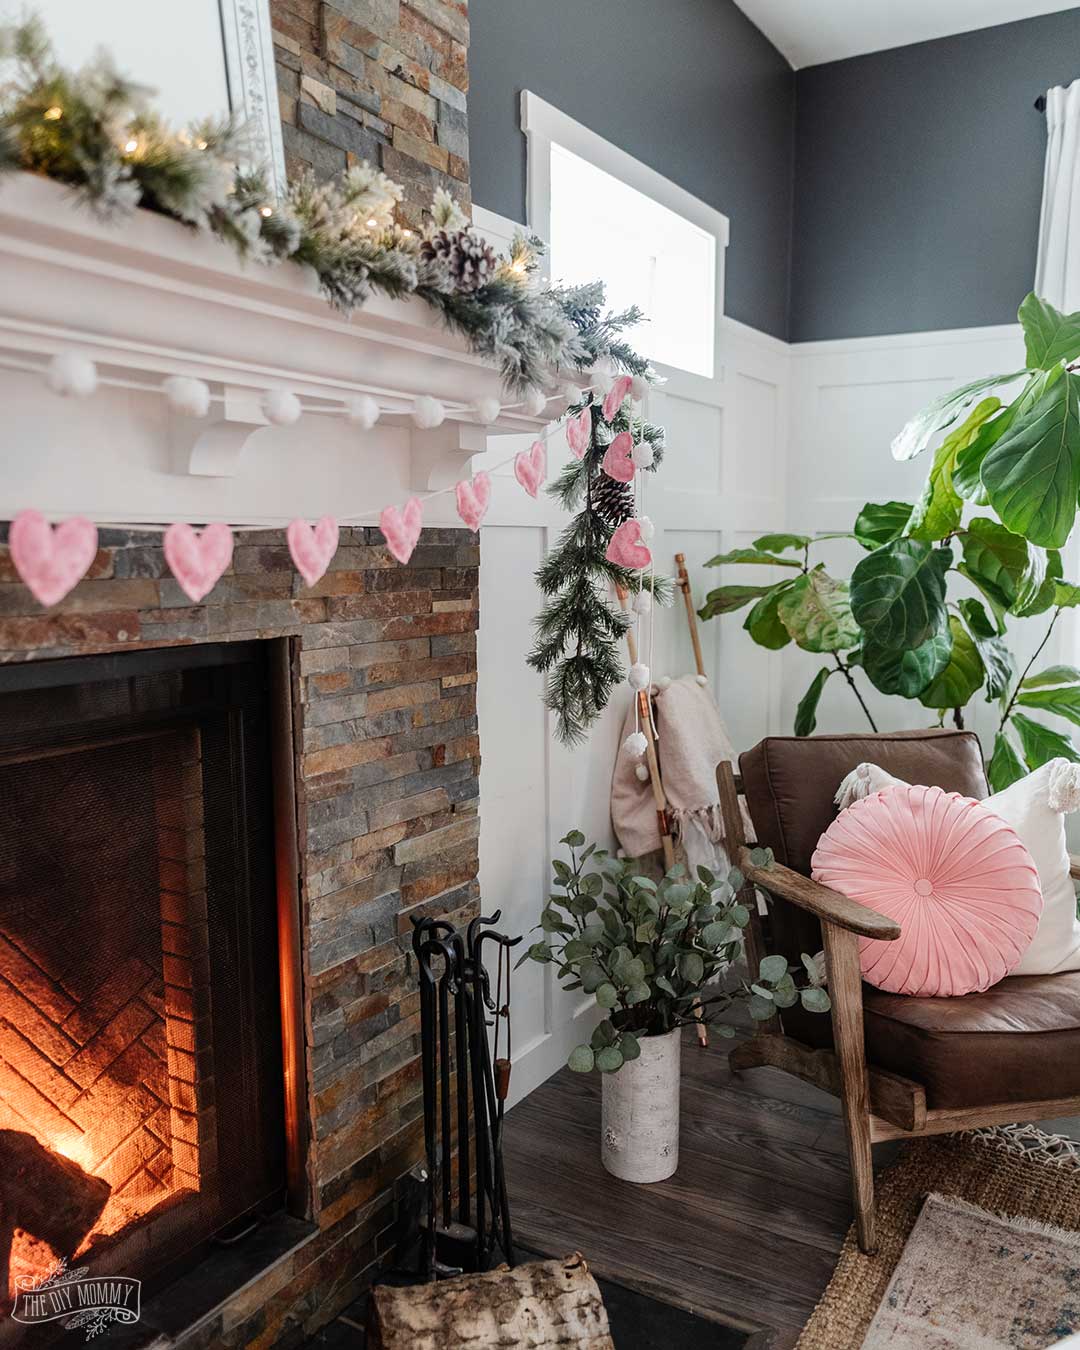
This DIY no-sew fabric heart banner is a sweet decor accent for Valentine’s Day. The best part? It only takes 30 minutes to make and it doesn’t require any sewing at all.
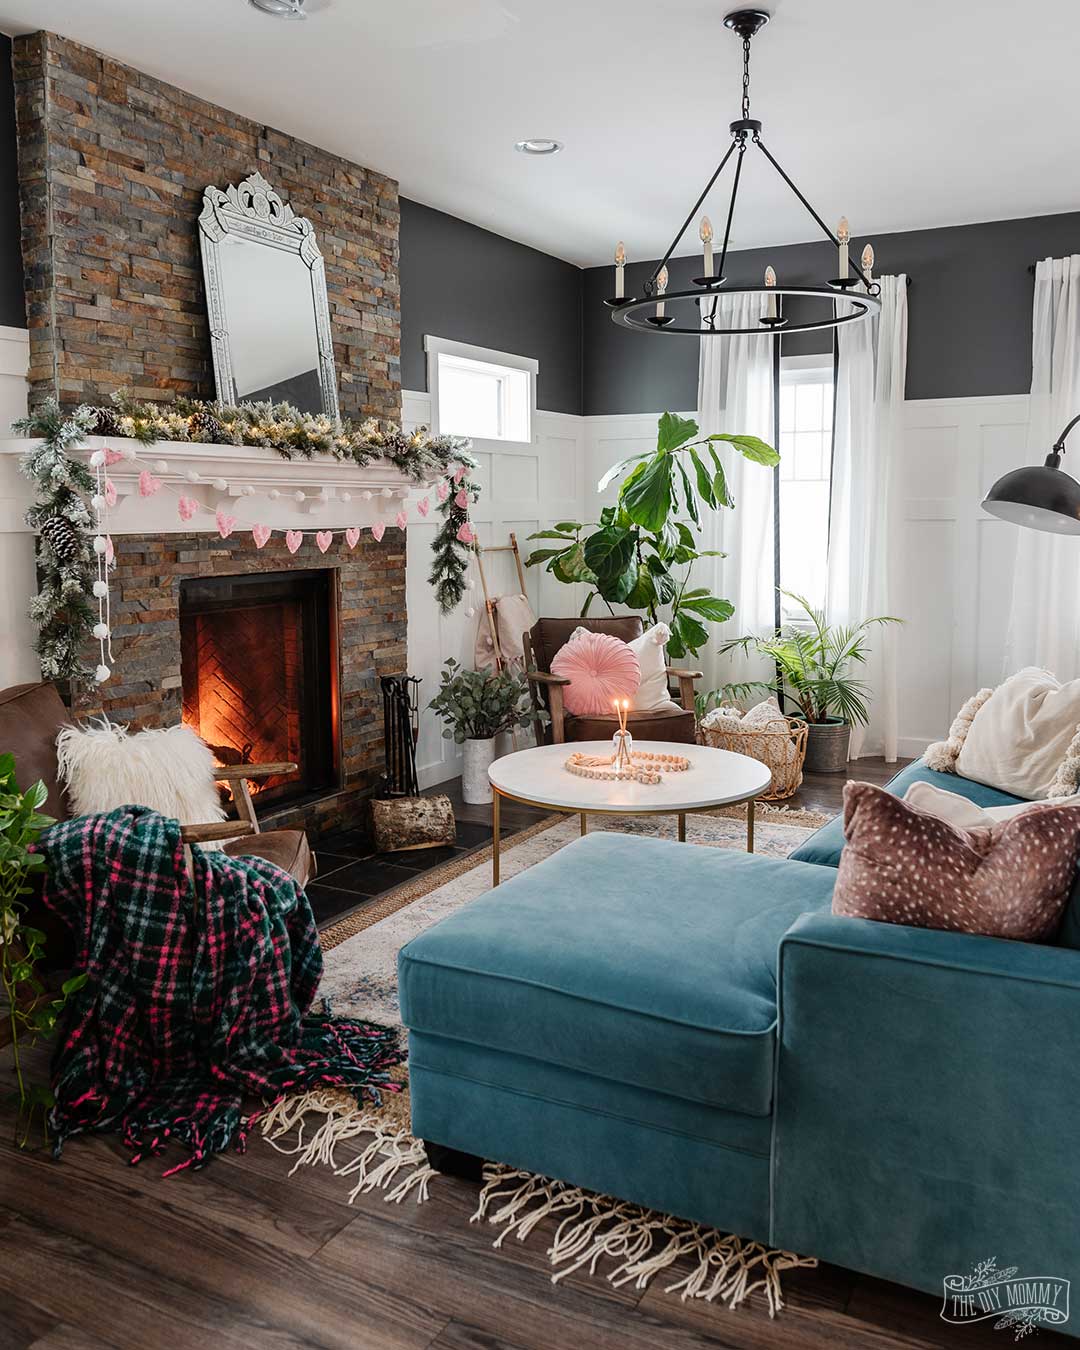
My daughters love Valentine’s Day, so I enjoy decorating our home with adorable hearts, pink & reds, and sweet Valentines-y accents for the holiday. If it brings them a bit of joy, why not?!
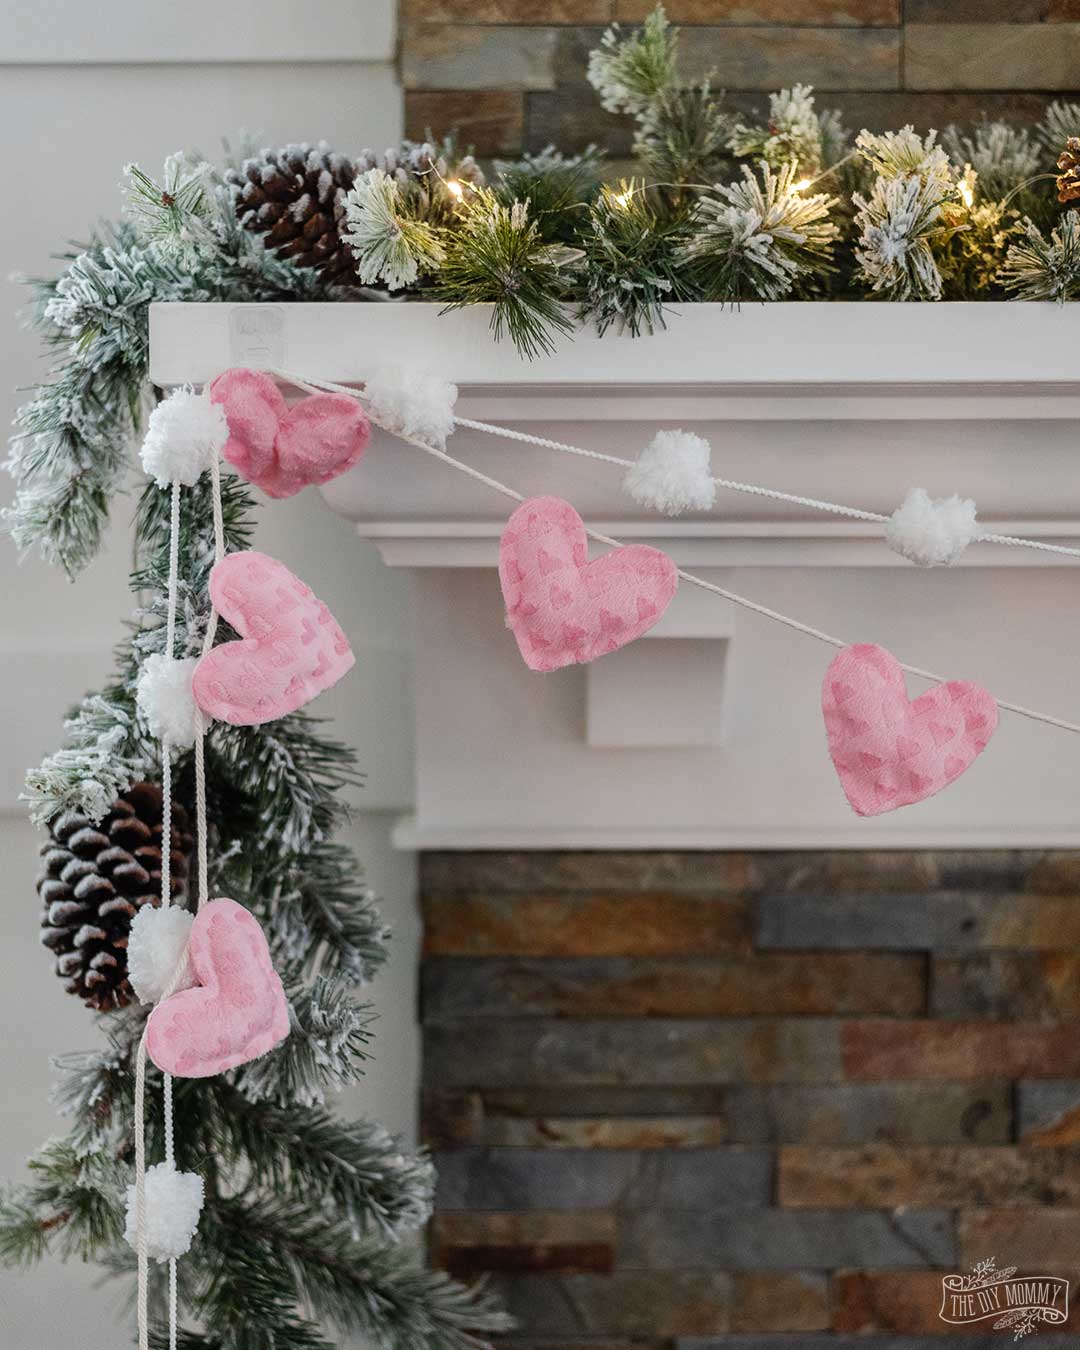
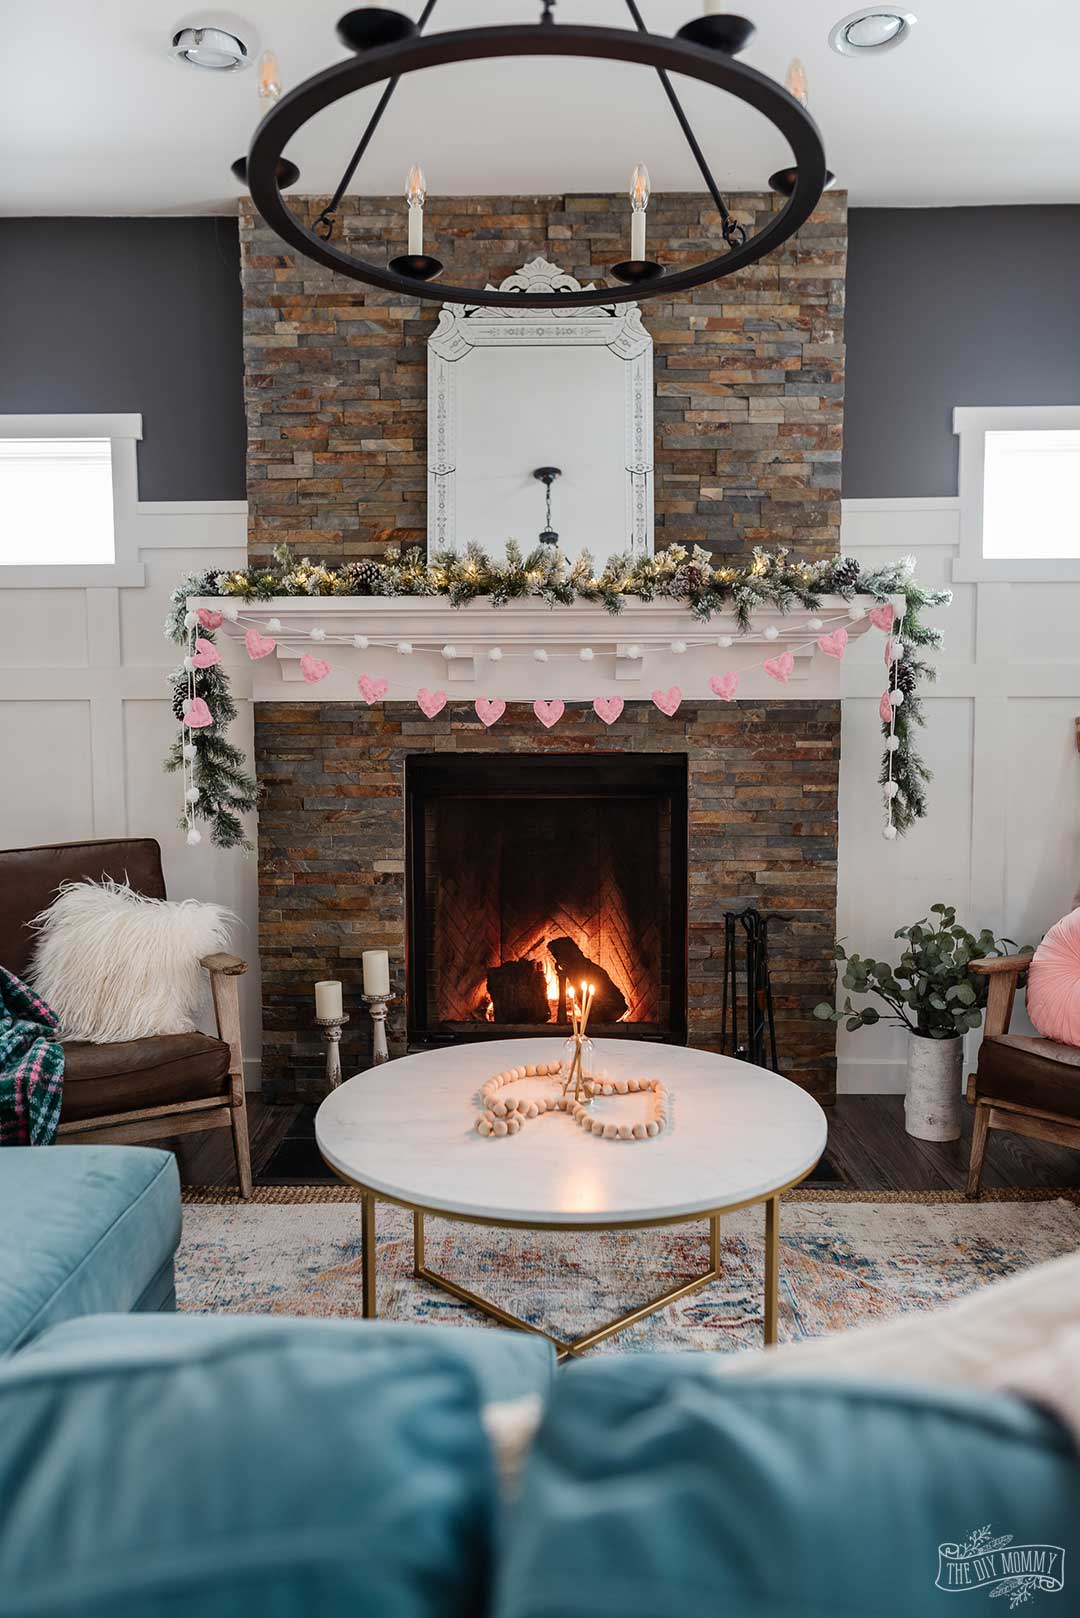
After Christmas, I usually leave a few neutral wintry decor accents out like greenery and add hints of Valentine’s Day to the mix. A DIY no-sew heart banner was the perfect piece to add a little romance to our mantel!
Today’s blog post is in collaboration with some of my favourite blogging friends. Before I share my DIY no-sew heart banner tutorial, have a look at their gorgeous creations:
30 Minute DIY Crafts
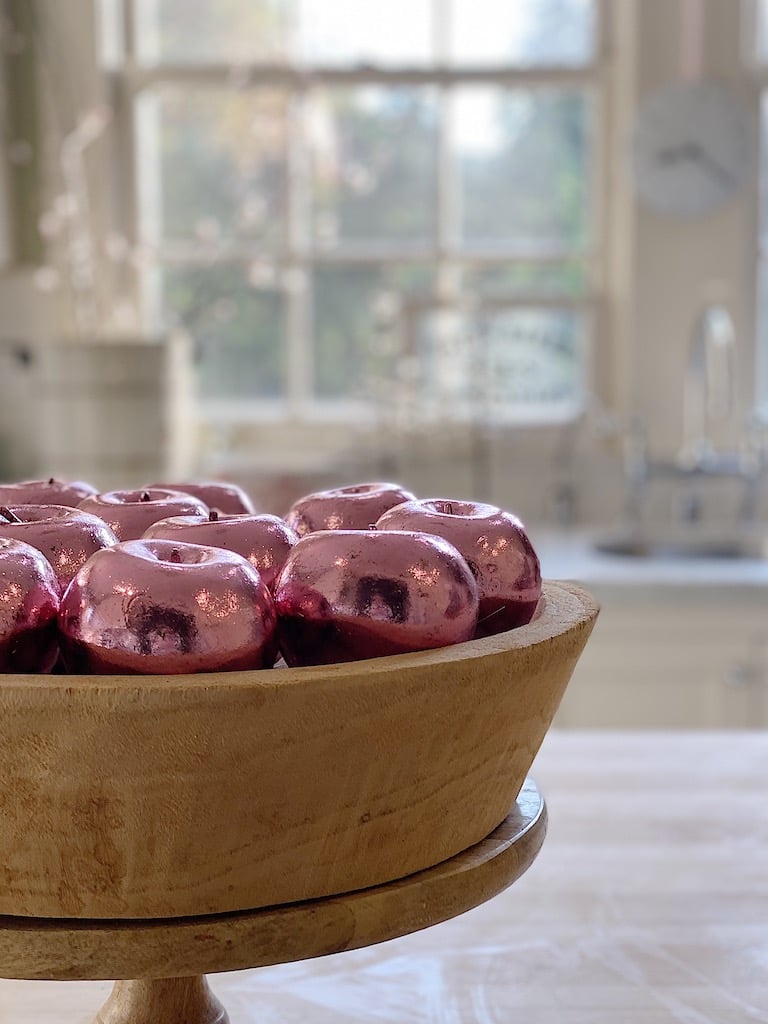
My 100 Year Old Home | Pink Apples Valentine’s Day Craft
This DIY Valentine’s Day Craft is so easy. This is a fun way to add pink foil leaf to any faux fruit in less than thirty minutes.
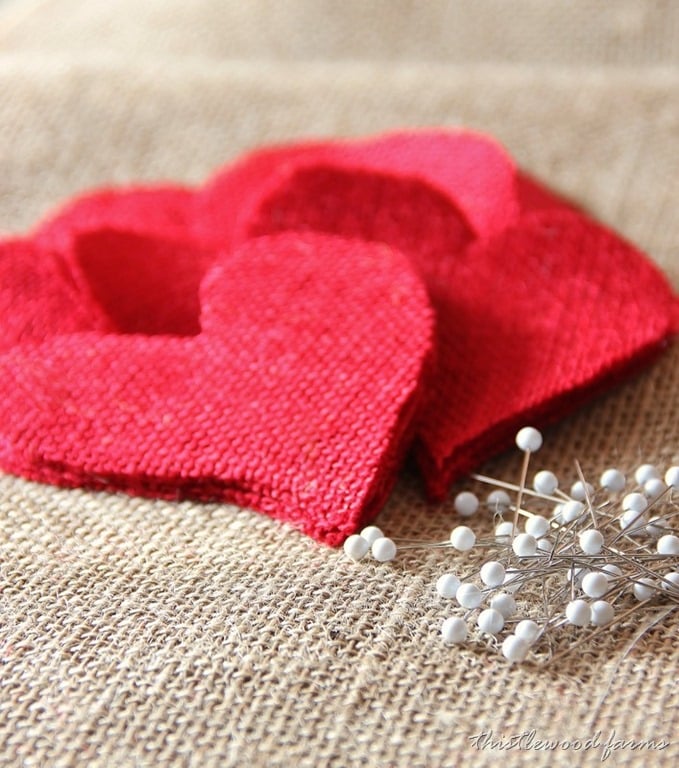
Thistlewood Farms | DIY Valentines Heart Pillow
Make this simple pillow to brighten up your February! All you need is an hour and extra fabric!
Now, let’s get into my DIY idea!
DIY No-Sew Fabric Heart Banner for Valentine’s Day
This post contains affiliate links. When you purchase an item via these links, I receive a small commission at no extra cost to you.
Materials:
- minky, felt or fleece fabric scraps (I used about half a yard of minky)
- Cricut Maker and this Design Space Project file OR print/sketch a 3 1/2″ heart shape out on a piece of paper and use it as a pattern to cut the hearts by hand
- macrame cord, ribbon or yarn
- hot glue gun & hot glue sticks
- fibrefill
- scissors
Instructions:
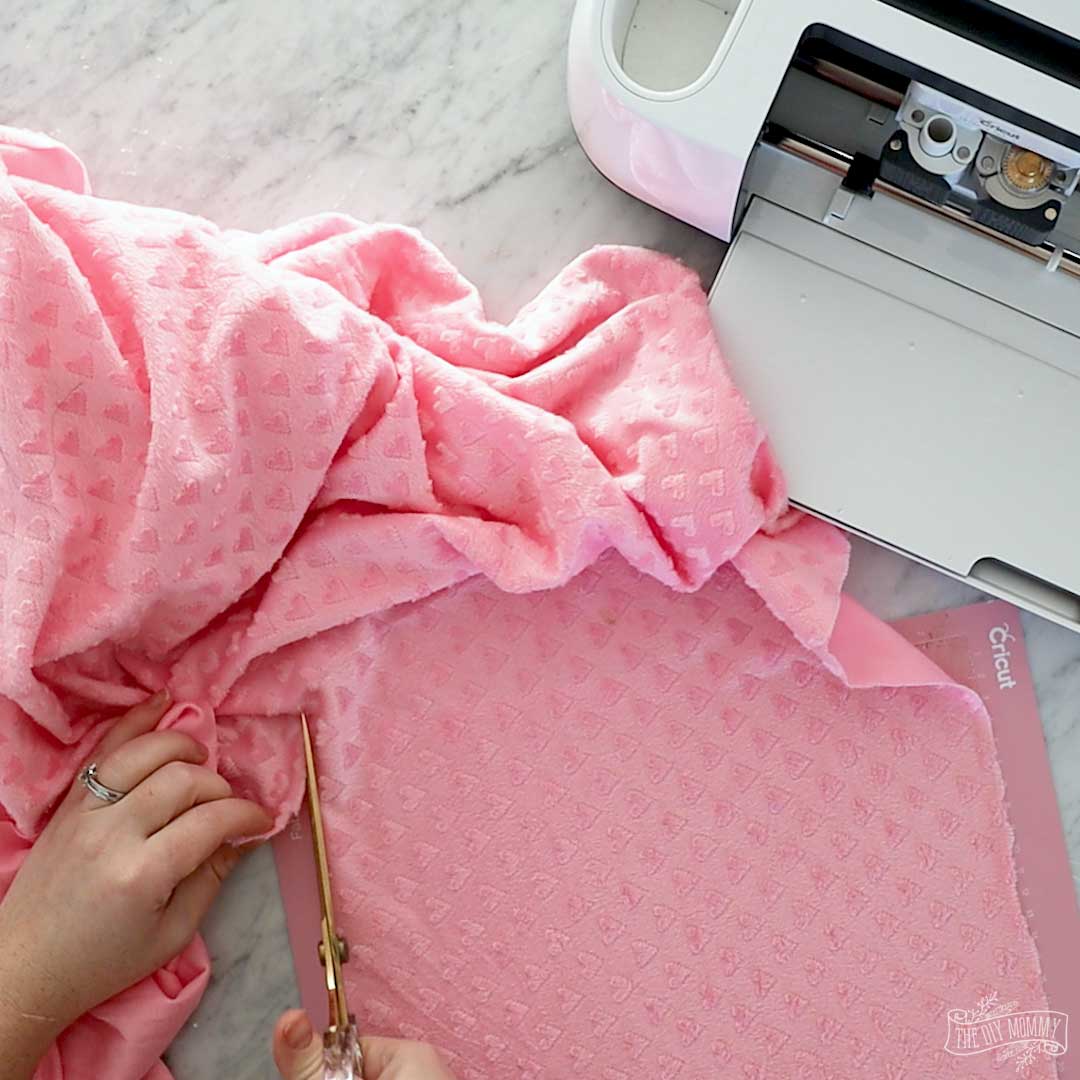
Use a Cricut Maker to make this project in 30 minutes or less. If you don’t have one, print or sketch a 3 1/2″ wide heart shape on paper, cut it out, and use it as a pattern to cut your hearts out by hand.
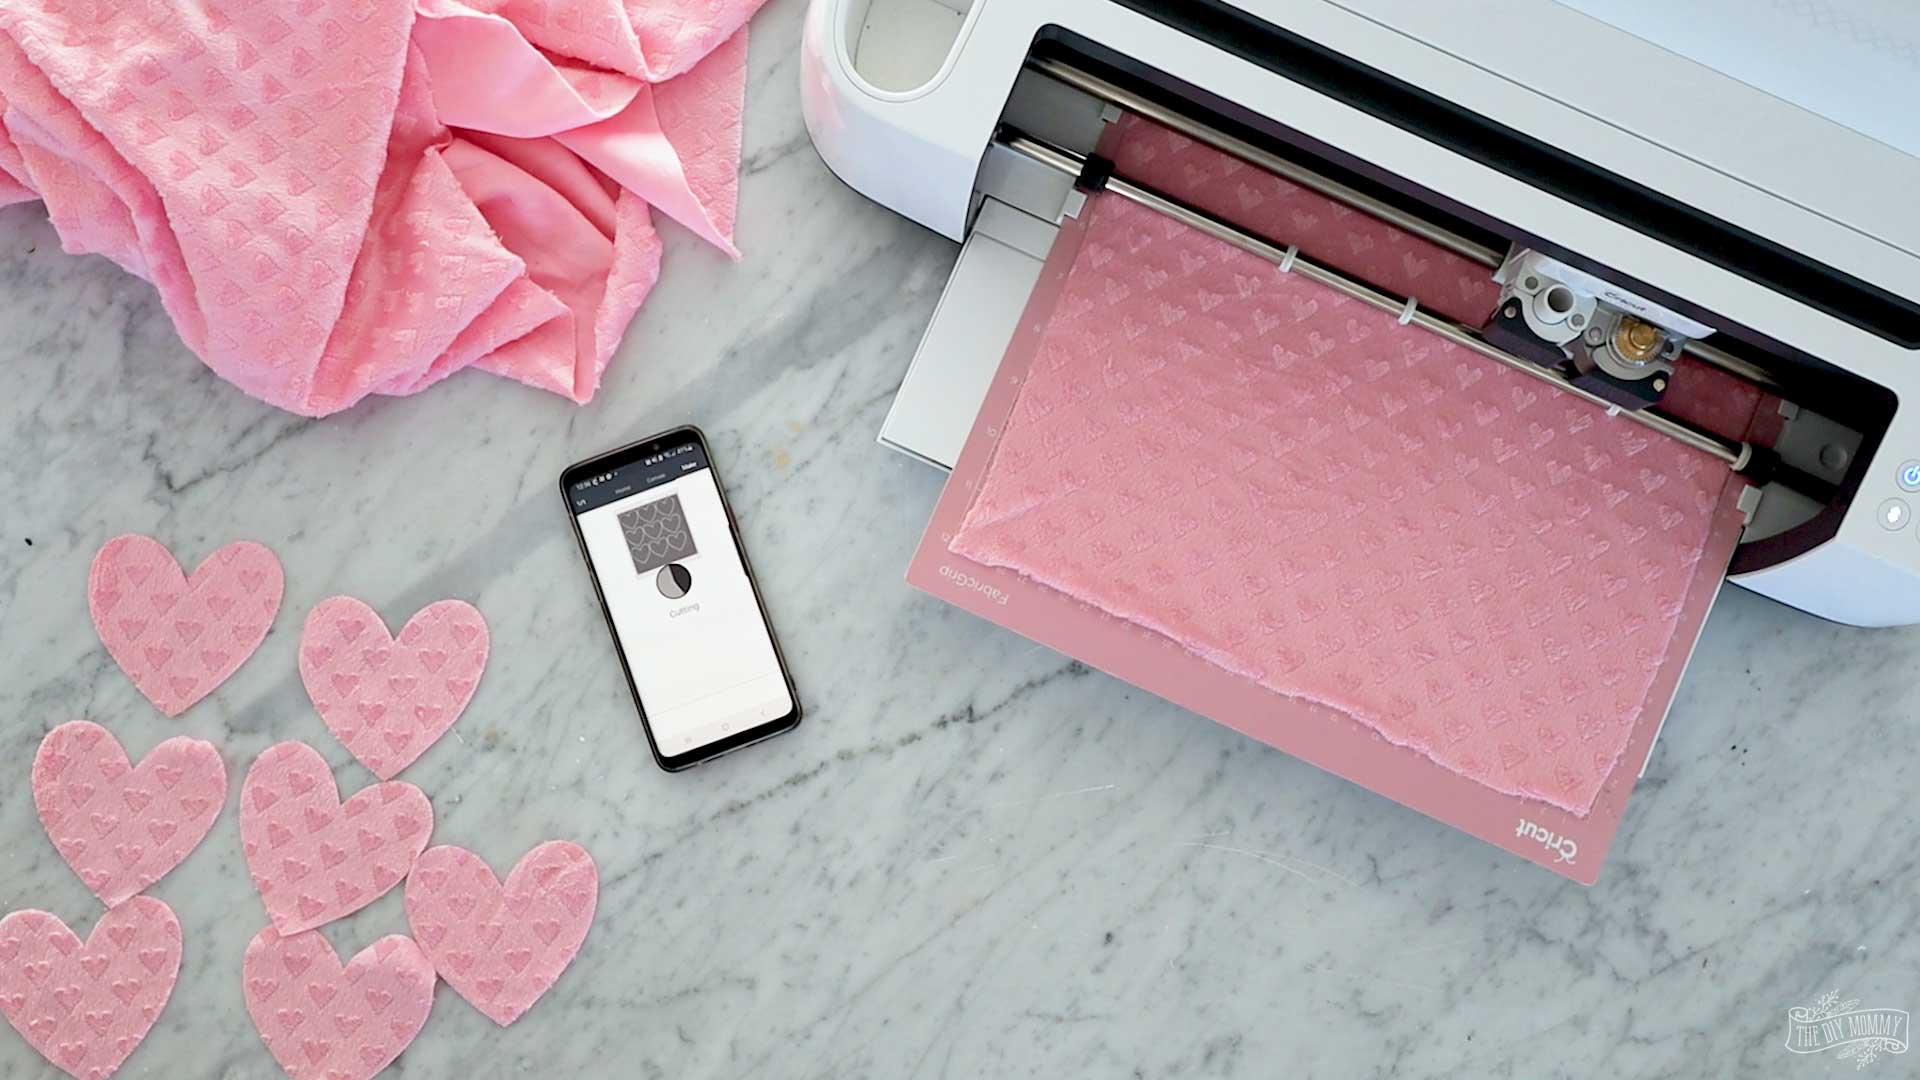
If you have a Maker, cut your fabric to fit your Cricut mat and open up this Design Space Project file.
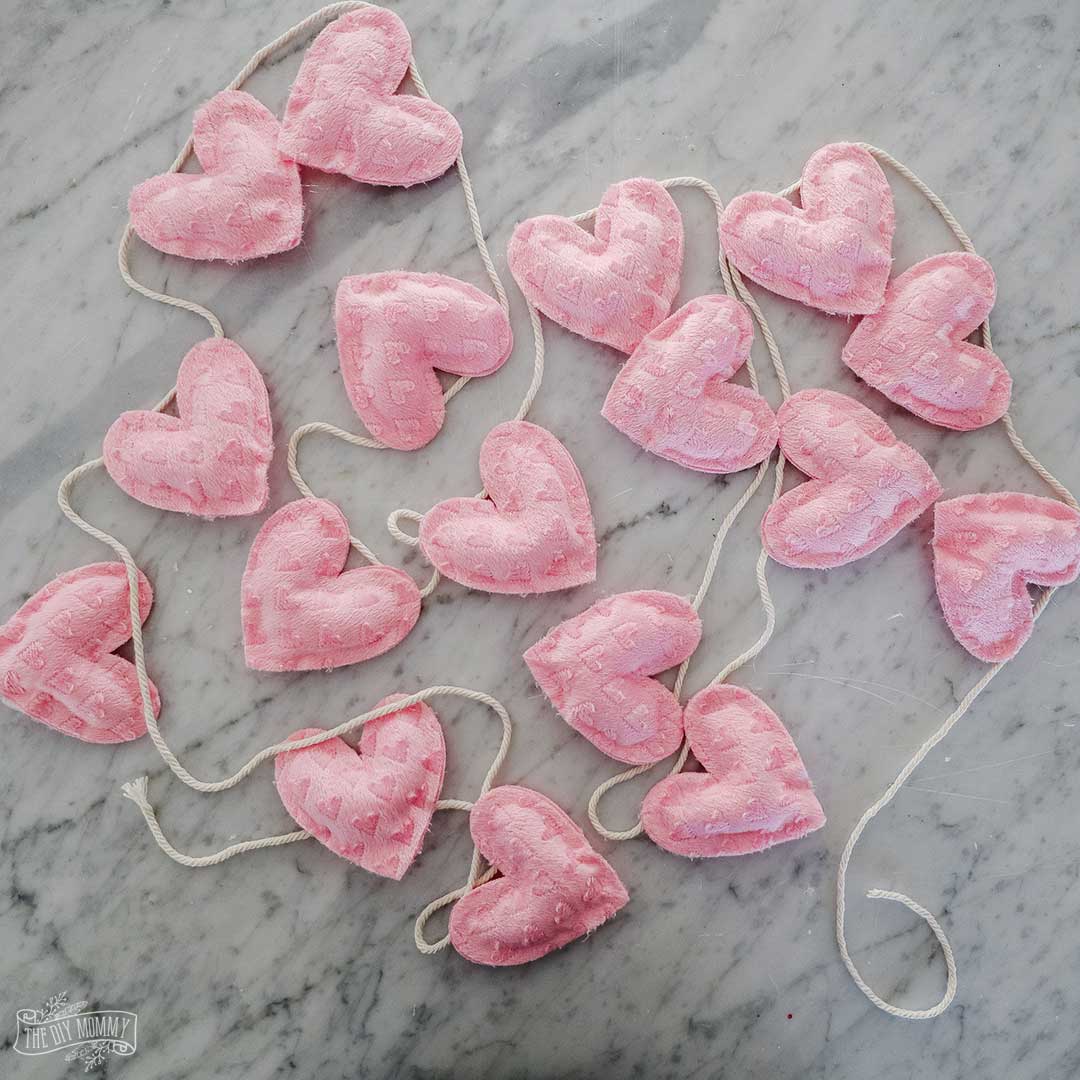
With your Cricut Maker and the rotary blade attachment OR with your DIY pattern and scissors, cut out your heart pieces. How many pieces you need will depend on the length of banner you want to make, but my banner is about 7 feet long and I cute out 36 heart shapes. You’ll need two fabric heart shapes for each finished heart.
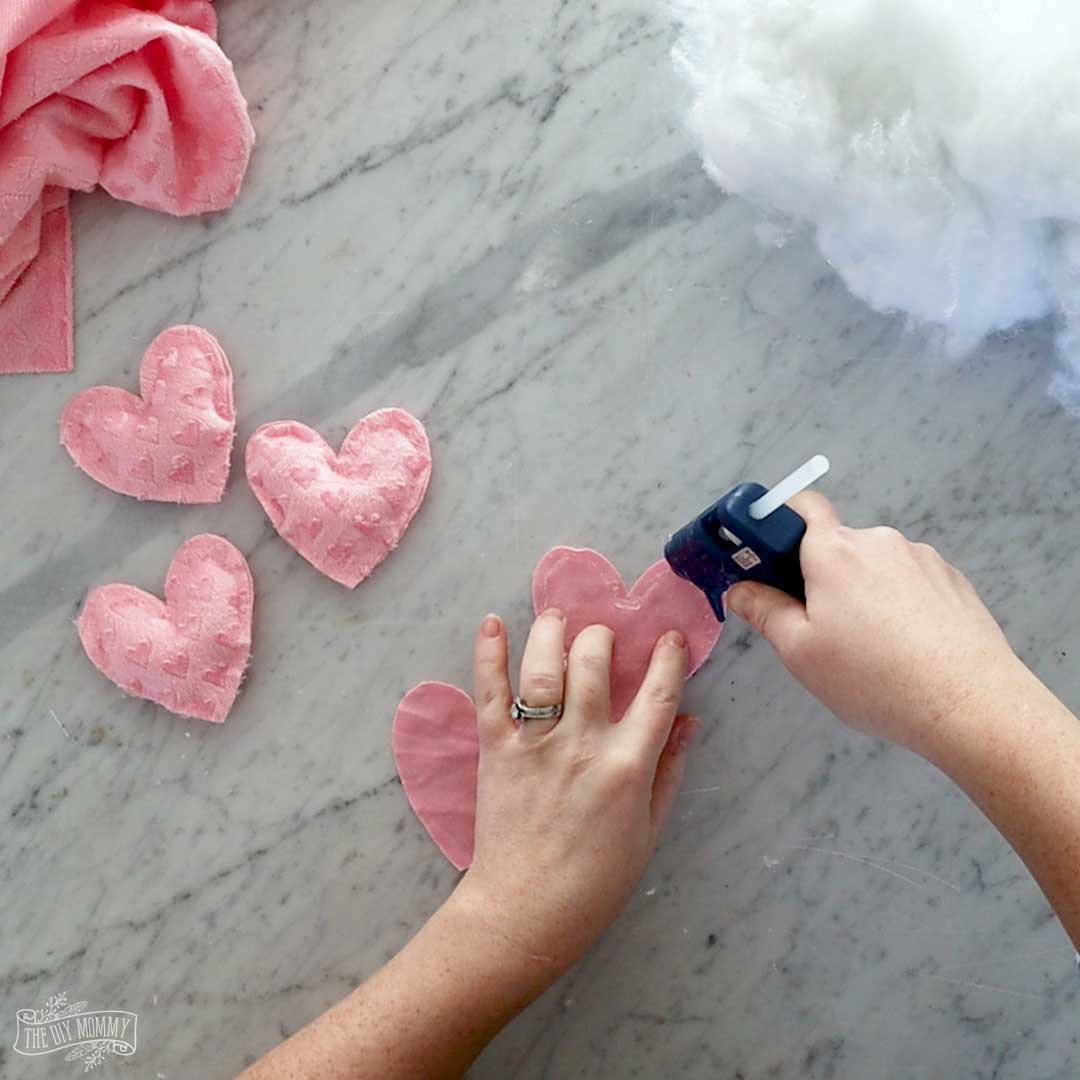
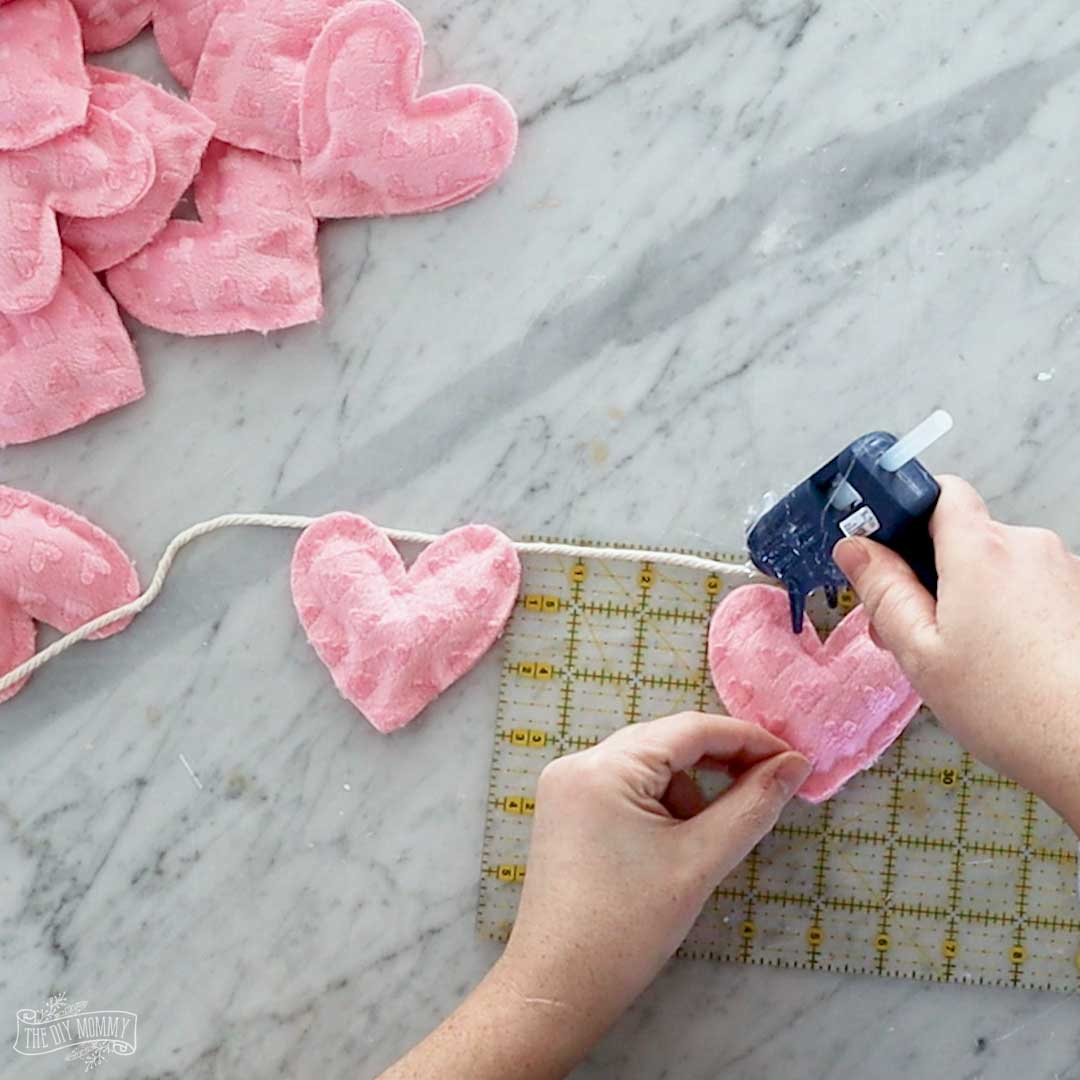
Now, we’re going to make puffy little hearts for the banner! Place a line of hot glue along the top half of one heart shape. Press another heart shape on top of that and squish them together.
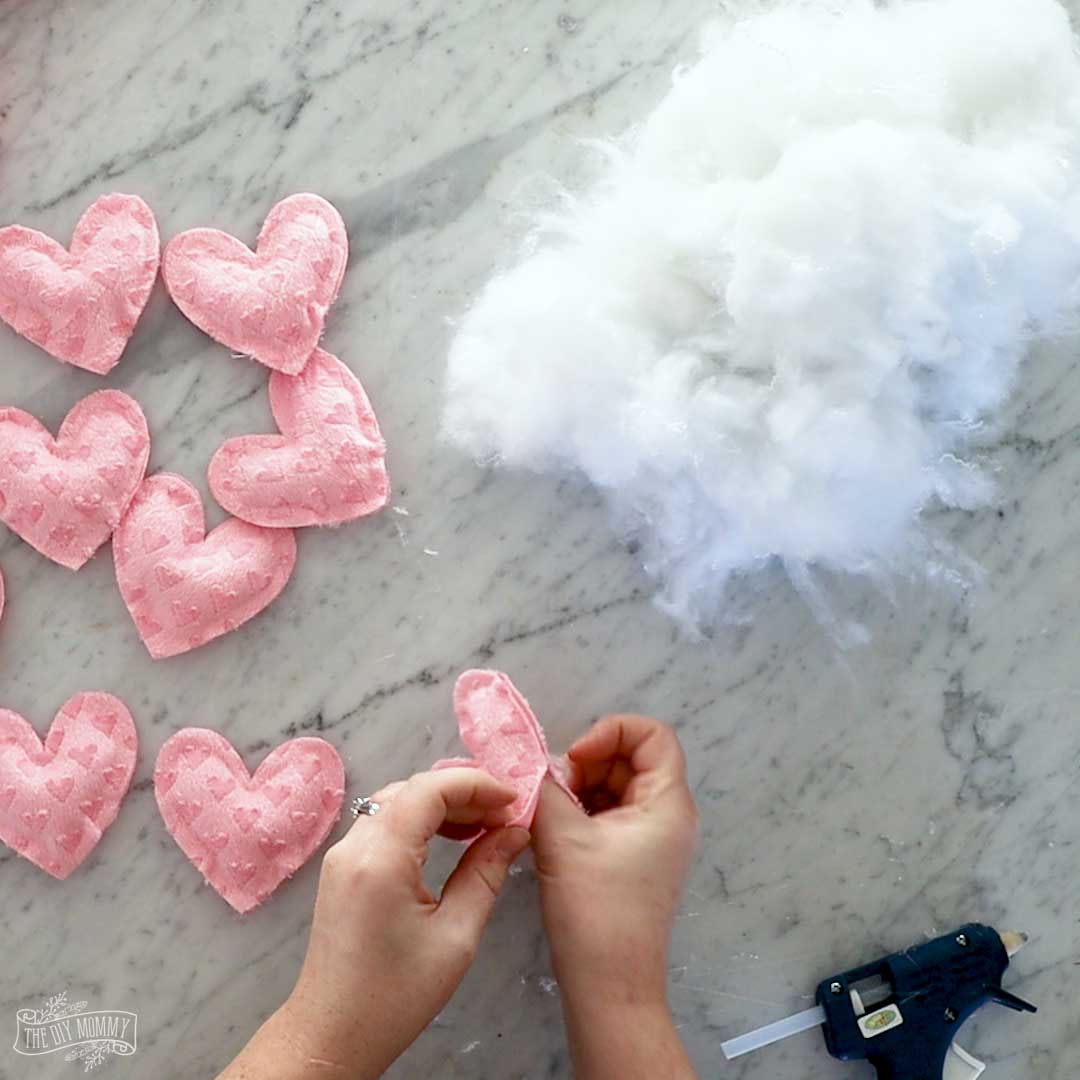
Once the glue has cooled, place a couple small pieces of fibrefill inside the heart to give it a 3D shape. You don’t need much!
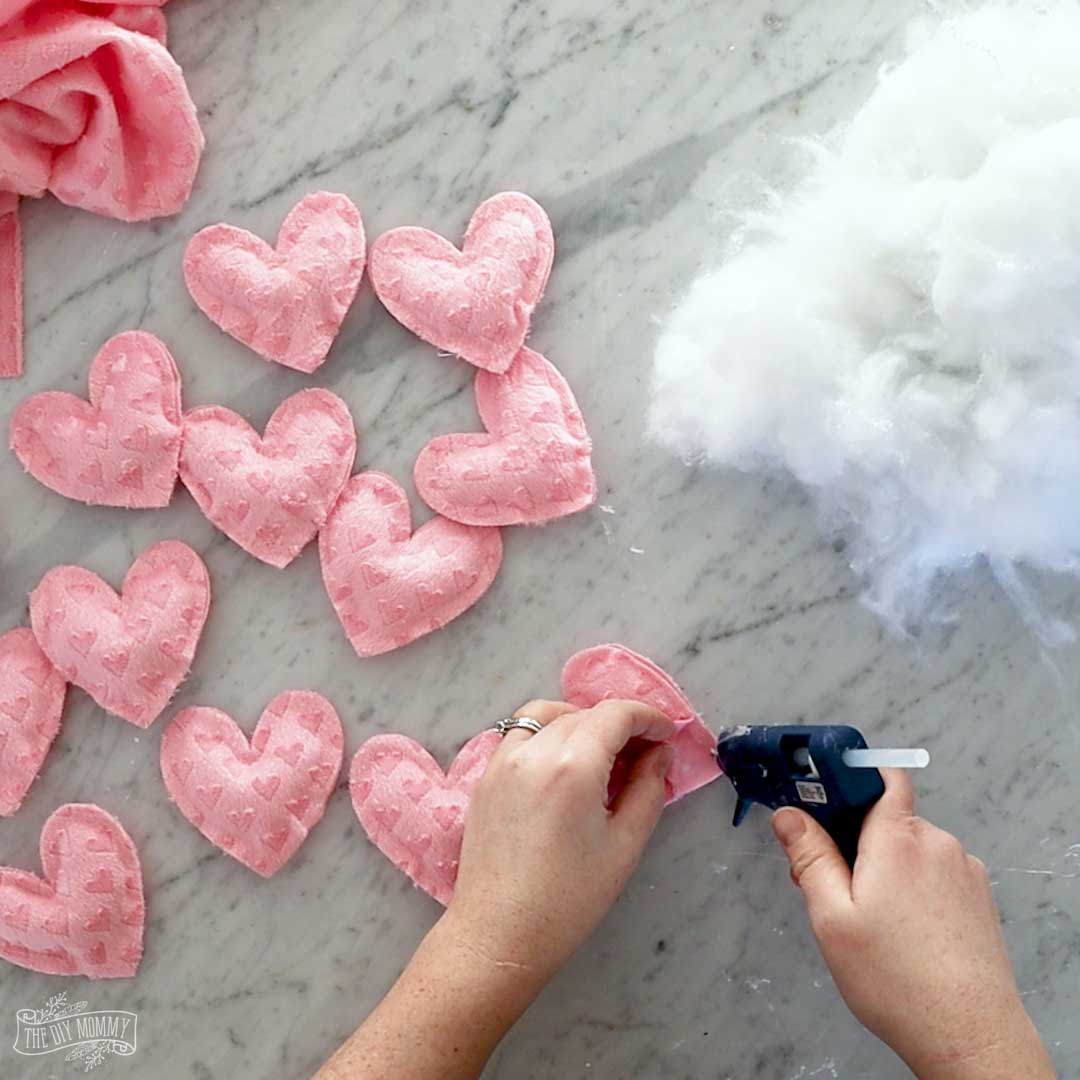
Next, place a line of hot glue along the rest of the bottom heart shape, and press the heart shape on top. Repeat these steps to make as many puffy hearts as you need for your banner.
Assembling the banner:
To create the banner, hot glue the top of one heart about 12″ from the end of your macrame cord / ribbon / yarn. I like to leave my cord on the spool until the end so that I ensure I have enough for my banner. Leave about a 3″ space, and then glue another heart to the cord. Continue until all the hearts are glued to the cord, leave another 12″ of cord, and cut it.
You can use small Command hooks to hang your banner on your mantel, over your door, or anywhere your heart desires!
This is such a cute craft, and so quick and easy!
Happy Valentine’s Day crafting!

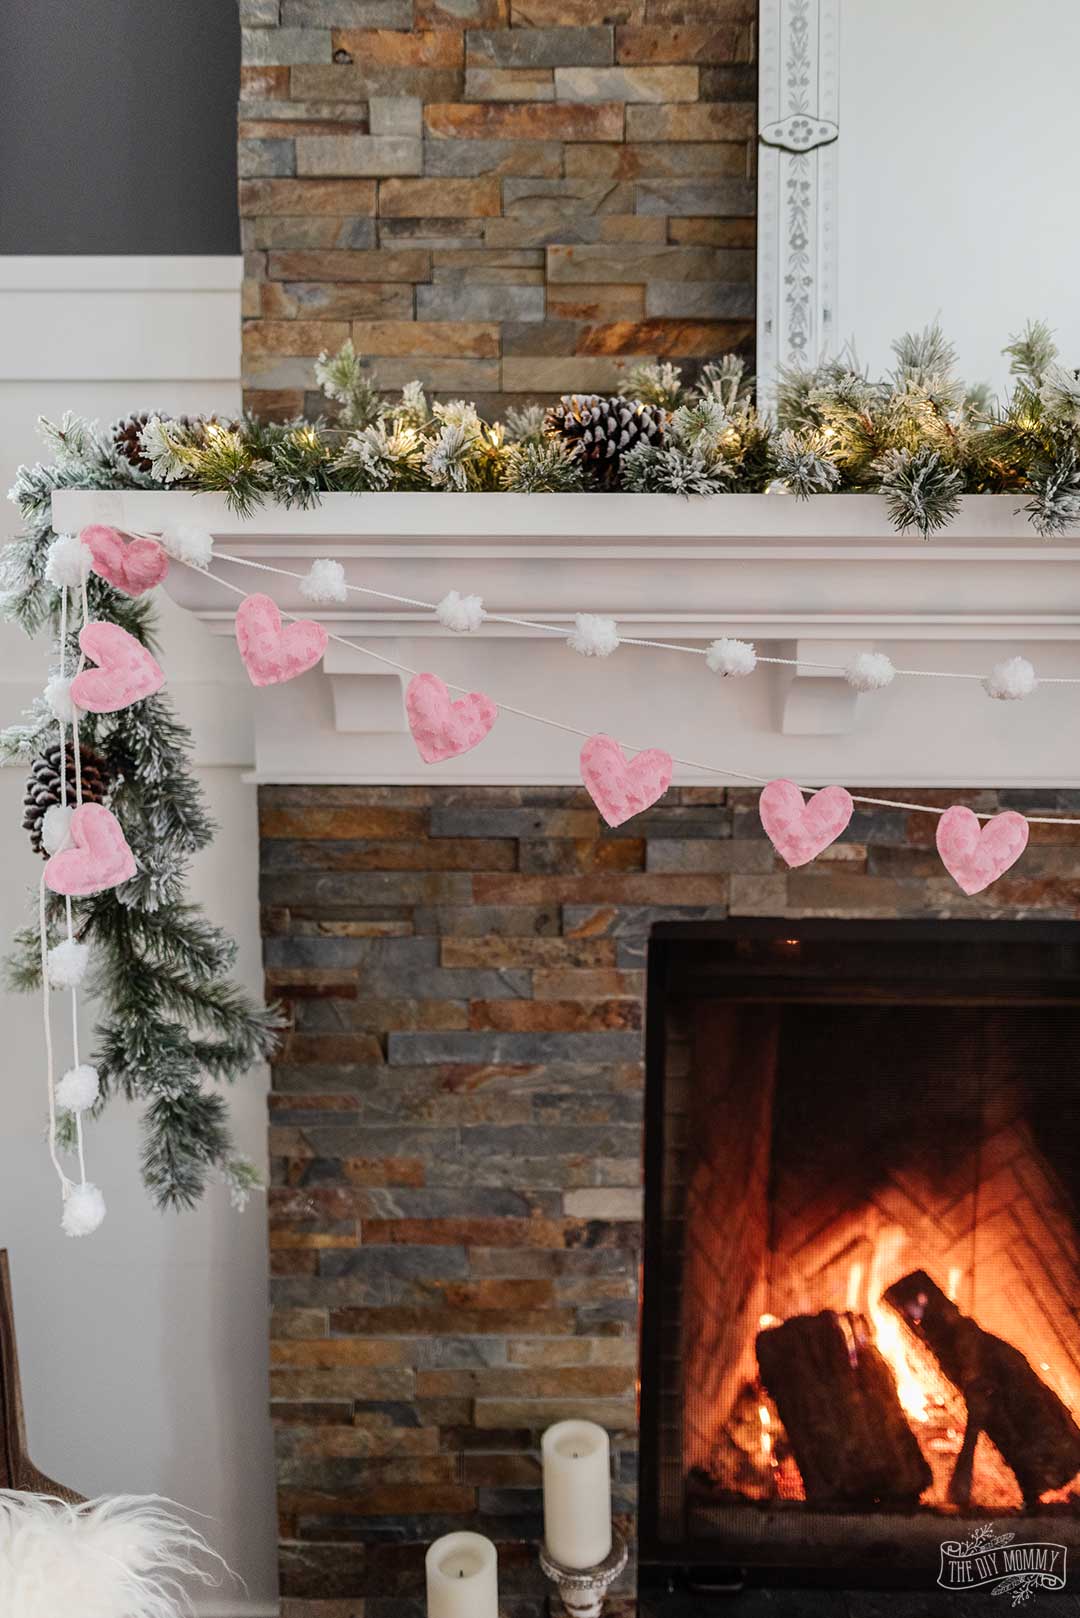
Your banner looks amazing on your fireplace and I love the pattern and color of the fabric! So pretty! I pinned it to my Valentine’s Day board 🙂
xoxox
Christina,
Your garland is super cute! I totally thought it was sewn! The fabric is pretty and perfect for Valentine’s Day! I pinned your post too.
Thank you!! Loved your idea and aesthetic.
Oh wow! This really does look simple. I think I could do this! I love them, thanks for sharing, love your blog! So much inspiration!
This is such a fabulous way to celebrate Valentine’s Day! I seriously don’t know how you do it but you always have the best ideas no matter what the season. Thanks for sharing all your gifts and talents! Pinned! Hugs, CoCo