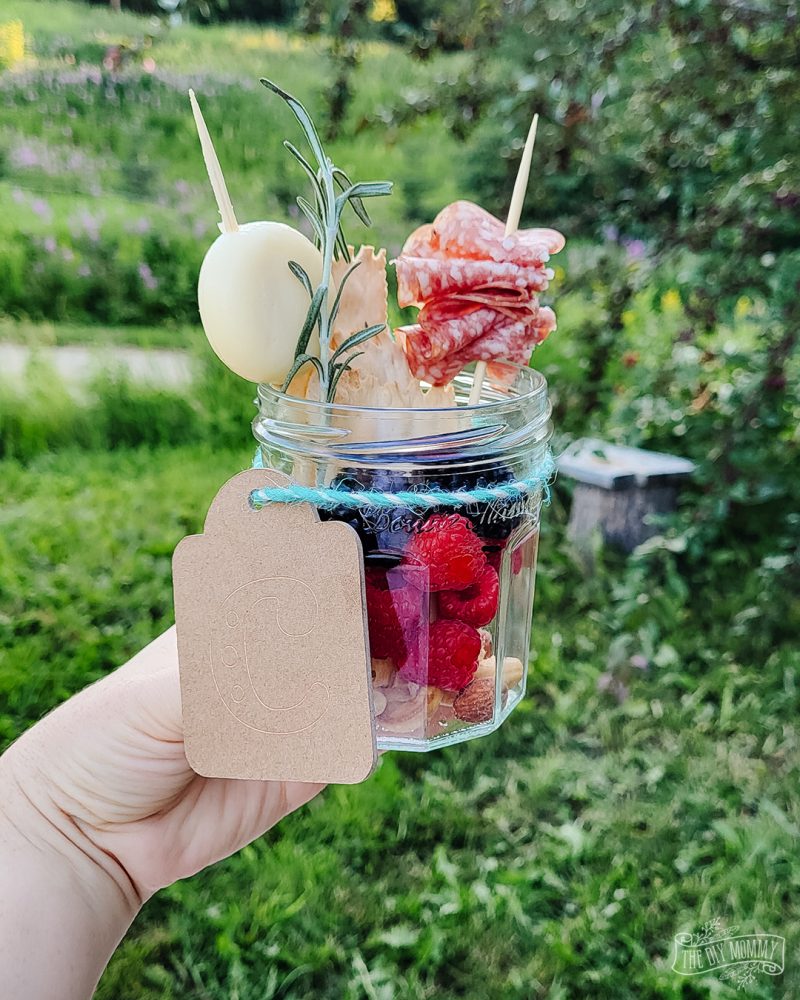
How to make a Jarcuterie (a single-serve charcuterie)
This post may contain affiliate links · This blog generates income via ads
Looking for a fun appetizer or snack idea for your next gathering? A jarcuterie is a single-serve charcuterie option that’s easy to make and oh-so-cute! Let me show you how to make them.
I first heard about “jarcuteries” at the end of 2020 from charcuterie expert Sarah Juenemann on Instagram. The concept? Create single-serve mini charcuterie selections in a small mason jar. This is a great idea if you want something a little more whimsical at an event, or if you want to stay away from a family-style platter.
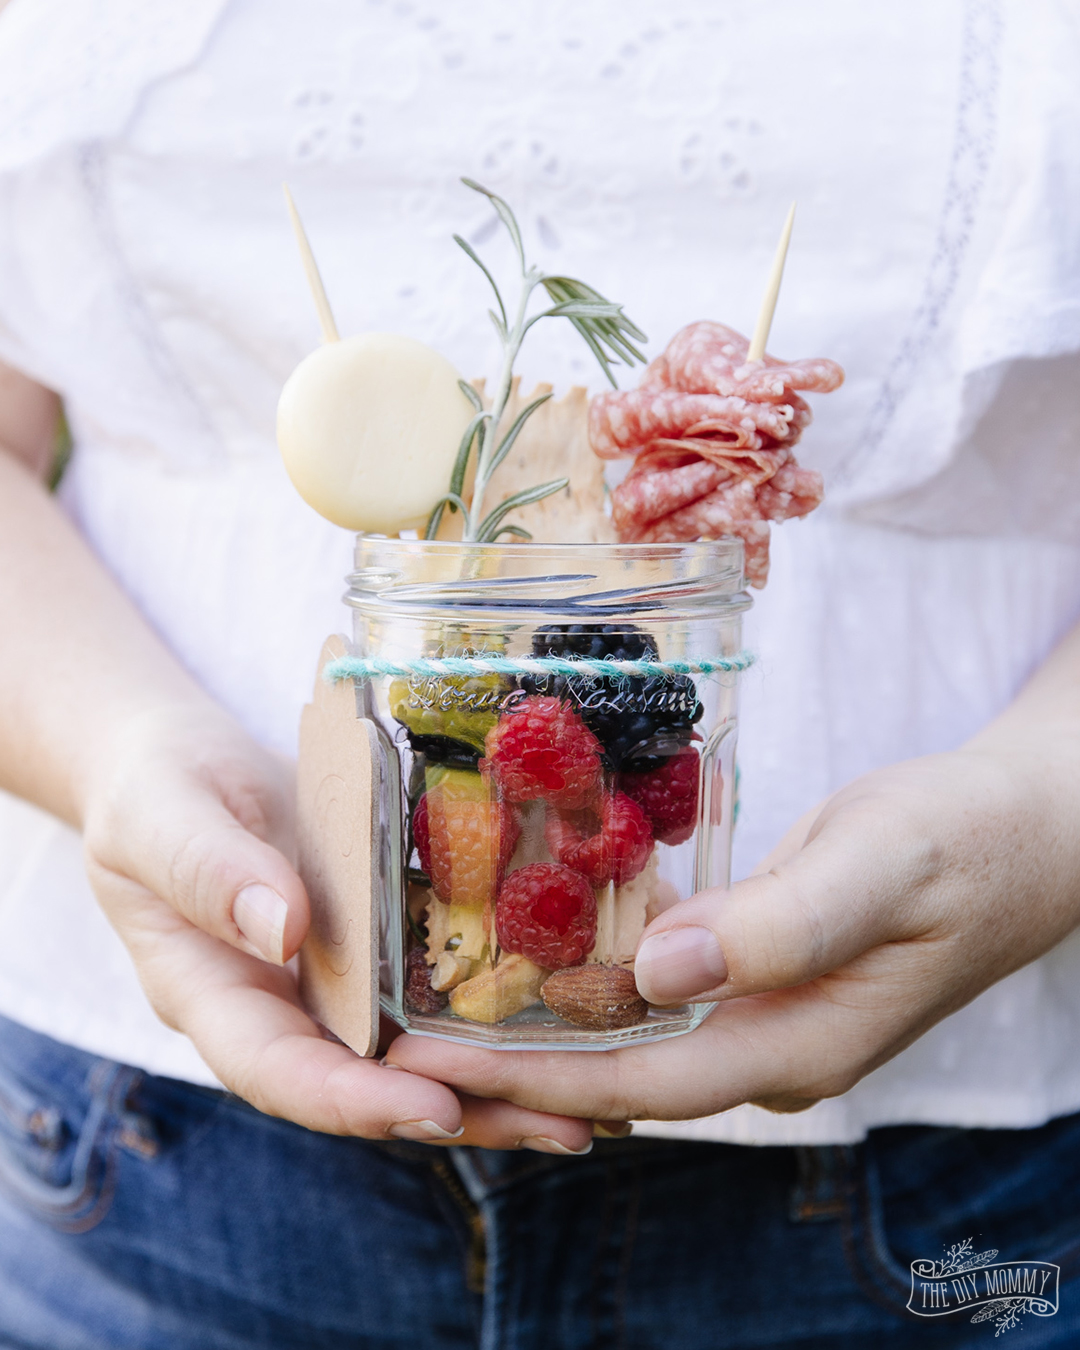
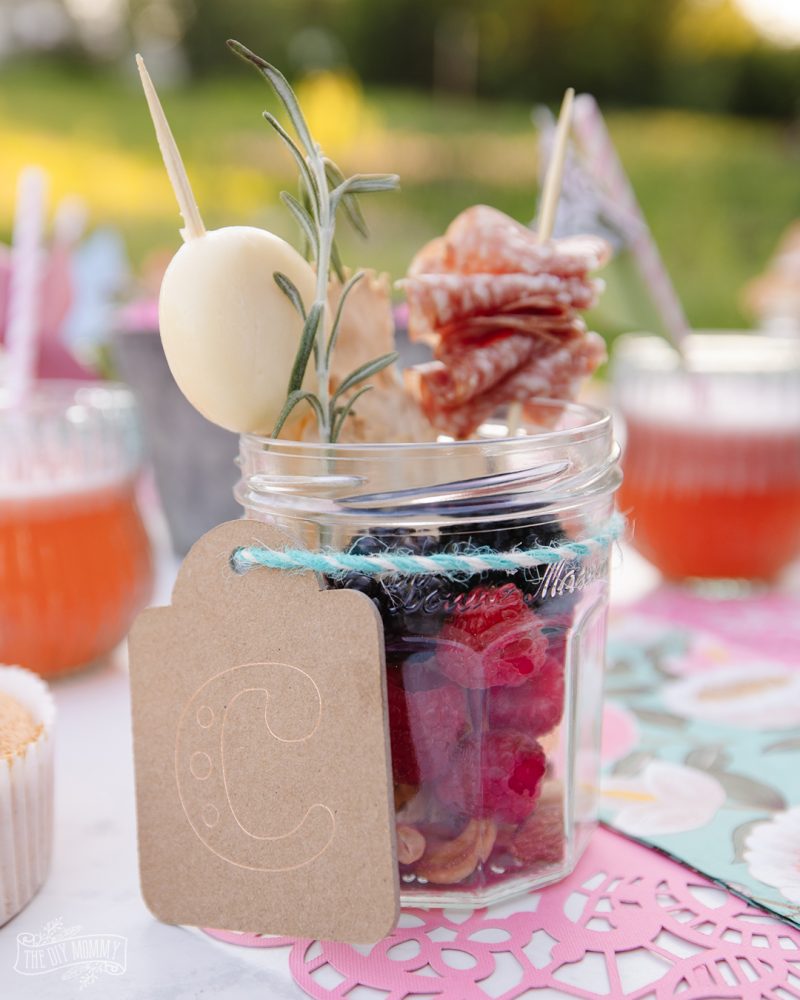
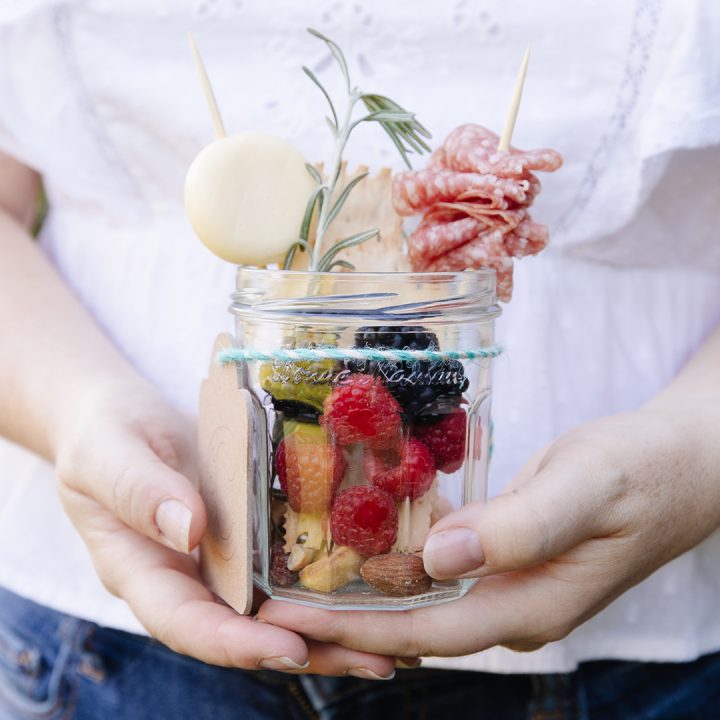
A jarcuterie has the same basic ingredients as a full jarcuterie board, but there’s just enough for one person. Plus, it’s in a cute little jar! I like to upcycle little jam jars for these. If you keep the lids, guests can then take any leftovers home with them. You can even make personalized monogram tags for each jar to keep them organized.
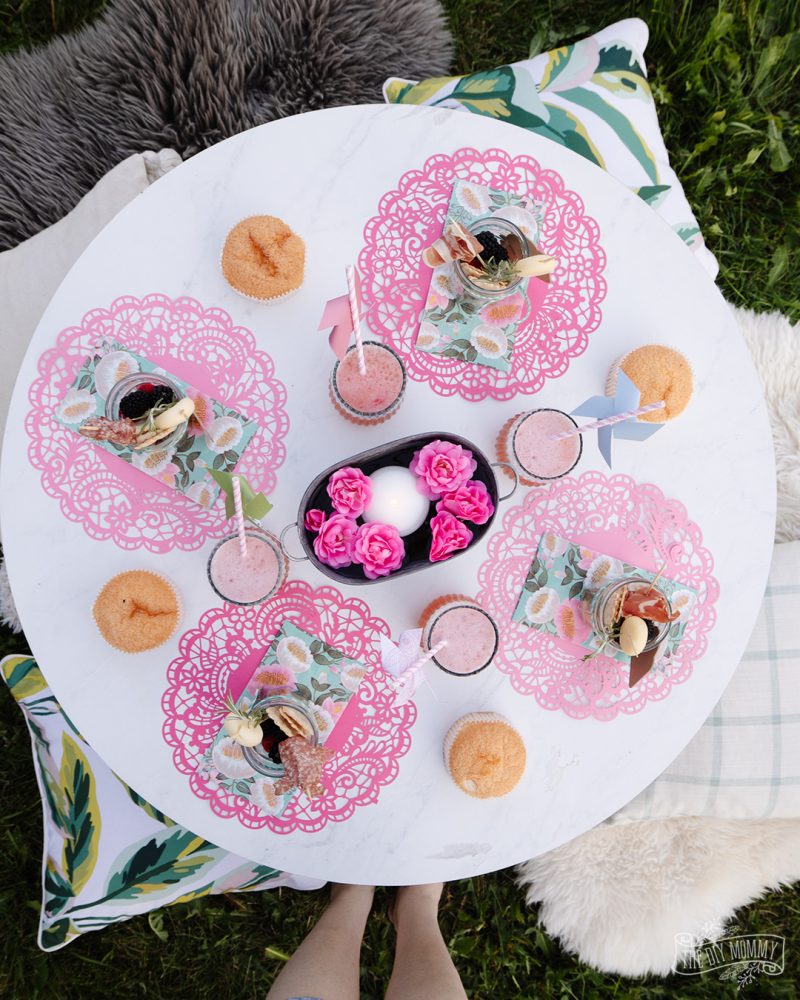
I used my little jarcuteries as part of a fun outdoor picnic I setup for me and my girls, but they’d also be great at an event like a birthday, a wedding, or even as an appetizer for a family dinner.
How to make a Jarcuterie
These individually sized charcuterie jars are a perfect party appetizer, or a fun family snack!
Ingredients
- small upcycled mason jar (I use Bon Maman jam jars)
- 1/4 cup mixed nuts
- 1/4 cup mixed fresh berries (I use raspberries and blackberries)
- 2 bamboo skewers
- Babybel cheese wheel
- 2 small slices cured meat
- 3 crackers
- fresh rosemary sprig
- name tag (optional)
Instructions
- In a clean upcycled mason jar, add about 1/4 cup mixed nuts.
- Top with the fresh berries.
- Unwrap the cheese, and place it on one of the bamboo skewers. Place the skewer with the cheese in the jar.
- On another skewer, add the cured meat. You can fold it accordian-style for a fun look. Place the skewer in the jar.
- Add a sprig of rosemary into the jar for colour and the crackers.
- Tie a name tag around the jar if you wish.
- Serve to your guests!
Notes
You can customize the ingredients to suit yourself and/or your guests. Try a fully fruit & vegetable version, or play with different cheeses!
Watch my video to see how you can include these in a fun outdoor party with more DIY ideas:
(The video below was sponsored by Cricut Canada)
Let me know what you think of these jarcuteries and what you would add to yours!

