DIY Vintage Map Christmas Gift Wrap and Gift Bags
This post may contain affiliate links · This blog generates income via ads
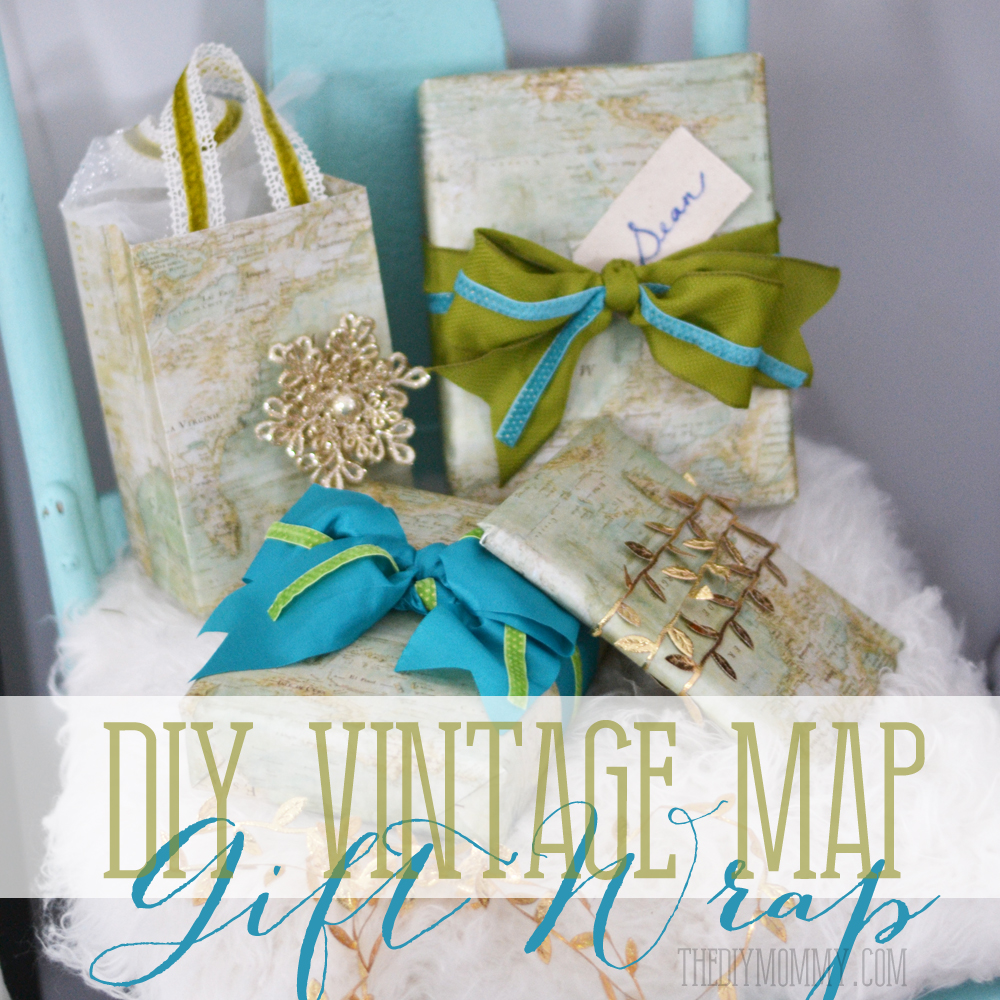
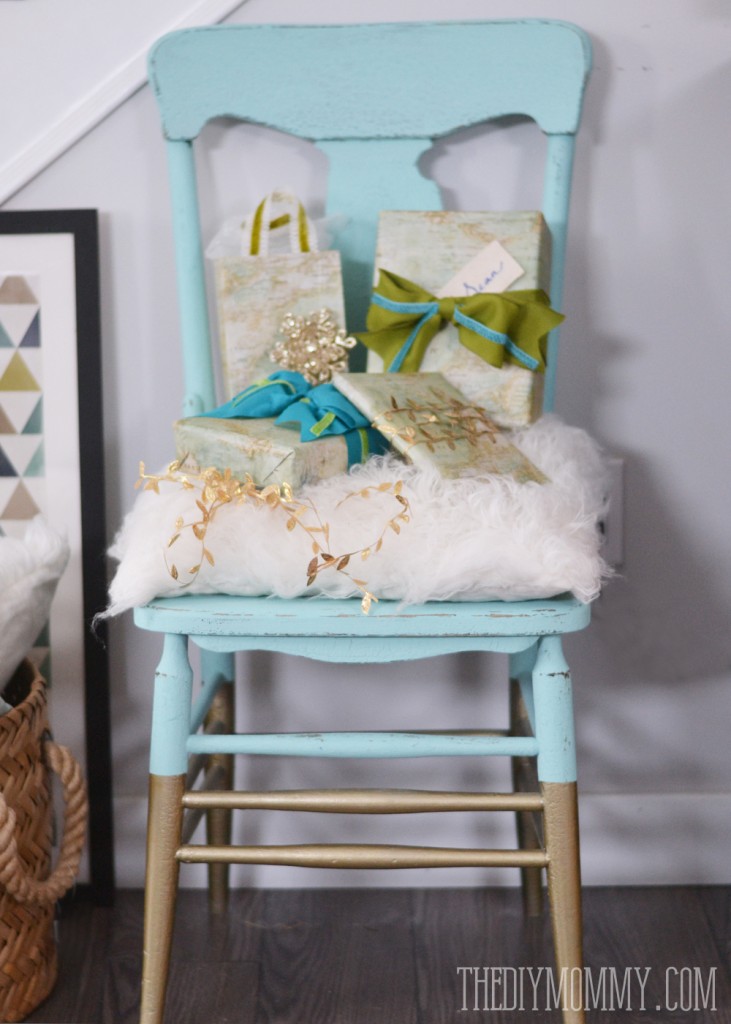
Vintage maps are so, so awesome. They’re beautiful pieces of art in my mind, and I’m so obsessed with them lately that I knew I had to incorporate them into our Christmas decor this year. If you haven’t seen it yet, pop on over here to see our Christmas home tour this year in colours of teal and green – the colours of a beautiful vintage map coincidentally! Here are some ideas on how to incorporate vintage maps into your Christmas gift wrapping this year, and where you can find them. Scroll to the end of this post for more brilliant Christmas gift wrap ideas from my blogging friends!
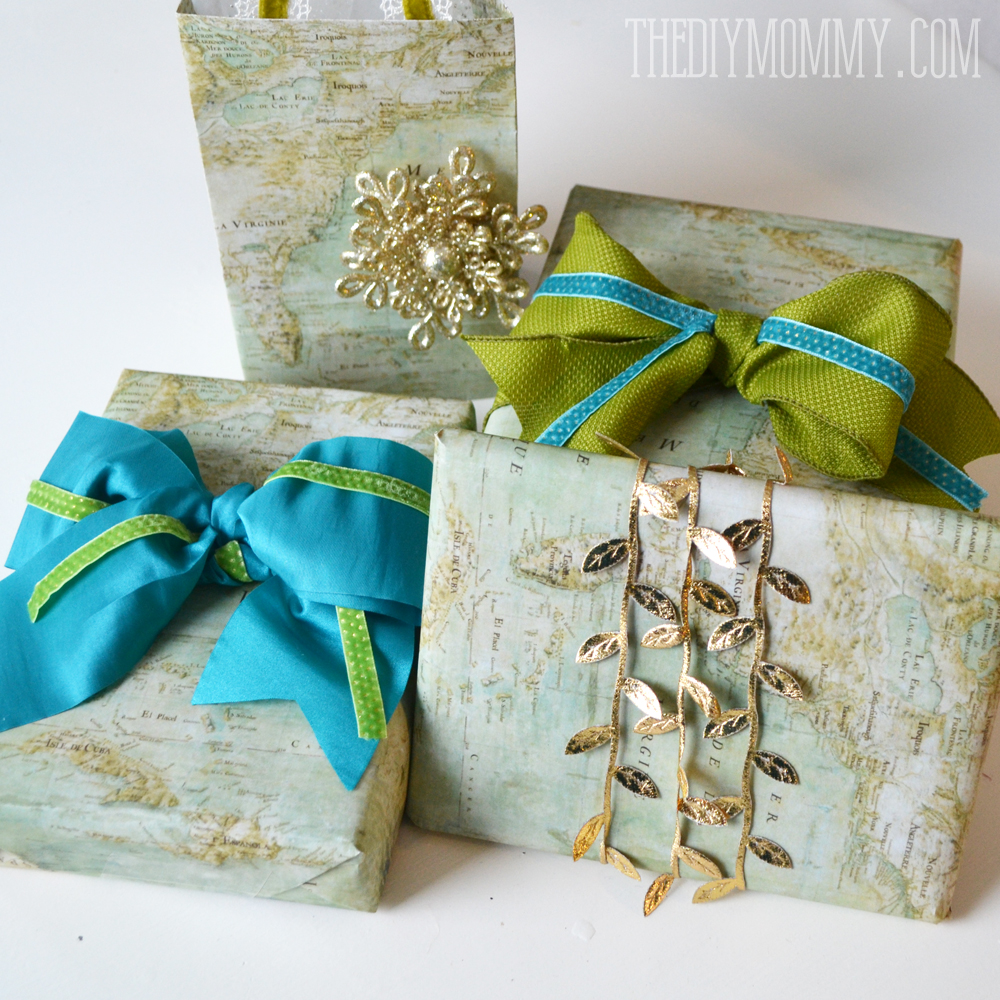
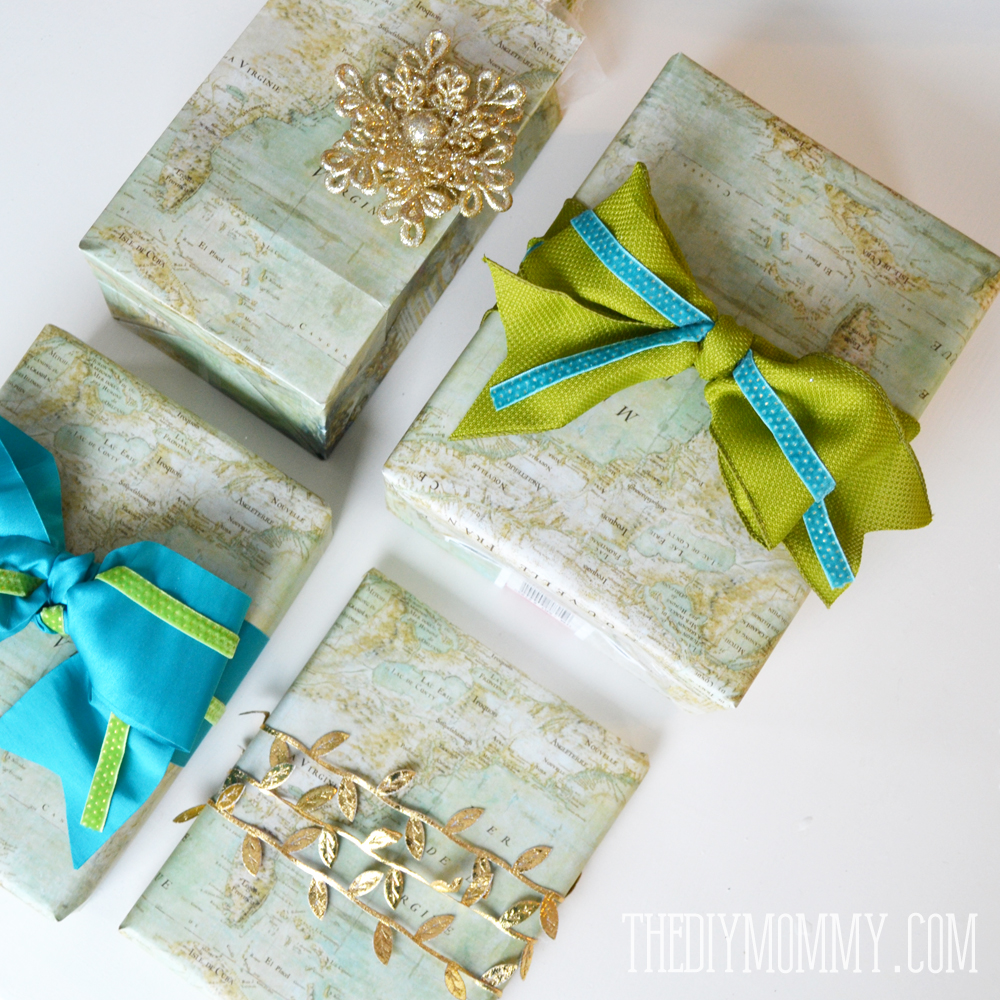
You can often find vintage maps and atlases at antique shops, garage sales, flea markets and thrift stores. You can also find reproduction vintage maps online to purchase. For my gift wrapping, I chose to print off a high resolution scanned antique map that I found here. I printed my chosen map onto 11 x 17″ paper at Staples, and that was big enough to cover most of my smaller presents like DVD’s, small toys and books. For larger presents, I would tape or sew some sheets together.
I used some beautiful ribbons in tones of teal, green and gold from May Arts Ribbon (thank you, May Arts Ribbon, for supplying these).
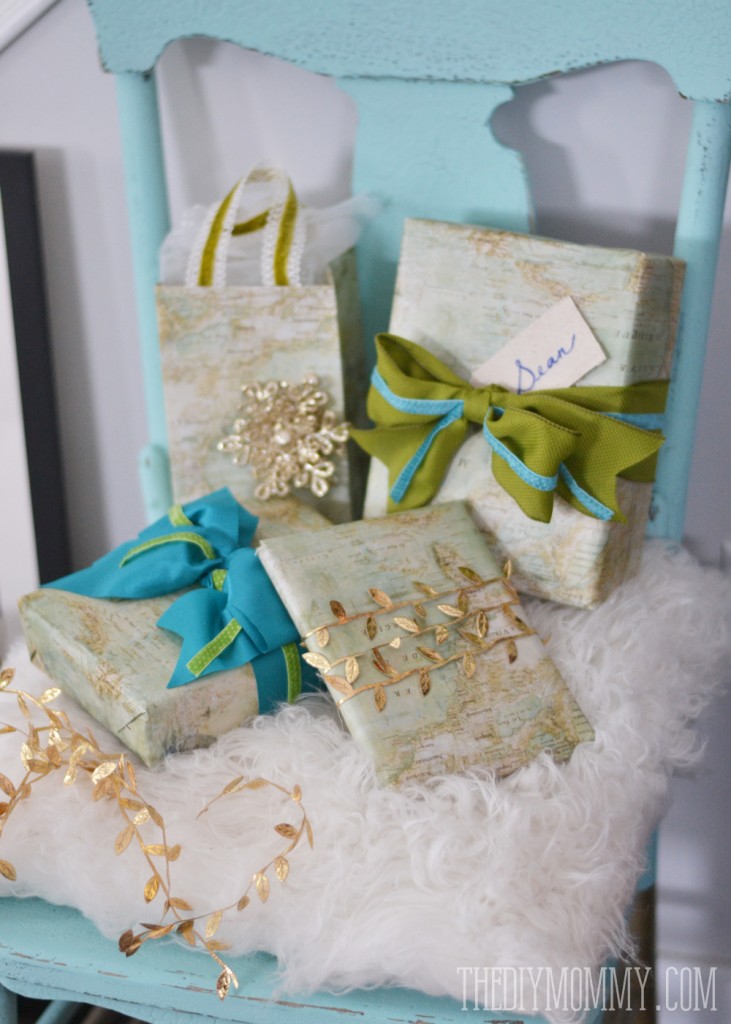
I layered thin velvet ribbon with gold dots over thicker ribbon to create the presents with the lovely large bows.
This gold leaves ribbon is one of my favourite ribbons of all time, and I love how it looks simply wrapped around a gift with the vintage map paper.
I also reserved one of my 11 x 17″ map print outs to make a custom gift bag. Here’s how I did it:
- Fold the two edges of an 11 x 17″ towards the center to meet in the middle as shown.
- Fold up the bottom third of the paper towards the center as shown.
- Open up the bottom fold, and then press the sides down towards the center to make two triangles.
- Fold the top and bottom tips of the base you’ve just created towards the center of the bottom and tape them down with clear tape.
- Fold the sides of the bag towards the middle as shown.
- Open up the bag and shape it, creasing the corners if needed.
- At this point, you can choose to fold down the top a little for added strength, and glue or tape on some ribbon for handles.
- Attach an ornament of name tag & you’re done your custom map gift bag!
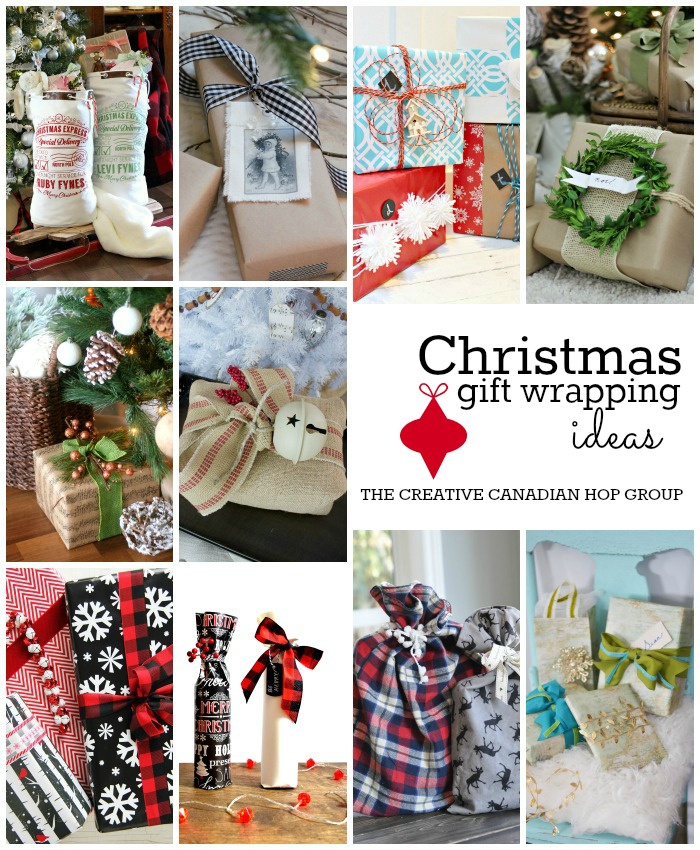
Ready for some Christmas gift wrapping ideas and tutorials from my so-very-talented Canadian blogging friends?!
From left to right, they are:
Personalized Santa Sacks by Fynes Designs
Vintage Christmas Gift Tags by Satori Design for Living
5 Fabulous & Fast Gift Wrap Ideas from The Happy Housie
Craft Paper & Boxwood Wreath Gift Wrap by Craftberry Bush
Copper & Green Gift Wrapping Inspiration from Echoes of Laughter
Burlap Wrapped Gifts by So Much Better With Age
Black & Red Gift Wrap Plus Bow Tutorial by A Pretty Life in the Suburbs
Wine Bottle Wrap- Christmas Edition by Northstory
DIY Christmas Bag Tutorial by Suburble
Vintage Map Christmas Gift Wrap & Gift Tags by The DIY Mommy


I love your vintage map idea, so pretty, and great colours too.
Absolutely brilliant! LOVE this!!!
These are so pretty Christina! What a great idea to use maps! And I’m loving that gold leaf ribbon – gorgeous!
pretty presents! The mach your decor so well. I’m using that gold leaf on my tree this year!
Another fabulous post from you! Your packages are so beautiful and the colours are fabulous! You are so talented Christina! Have a lovely week my friend! Angie xo
Those bags are fantastic! Love the colours- so pretty!
Got to get my hands on that lovely gold leaves ribbon! I loved the idea of vintage map here Christina. Really gorgeous inspiration.