How to Decorate a Christmas Tree Step by Step
This post may contain affiliate links · This blog generates income via ads
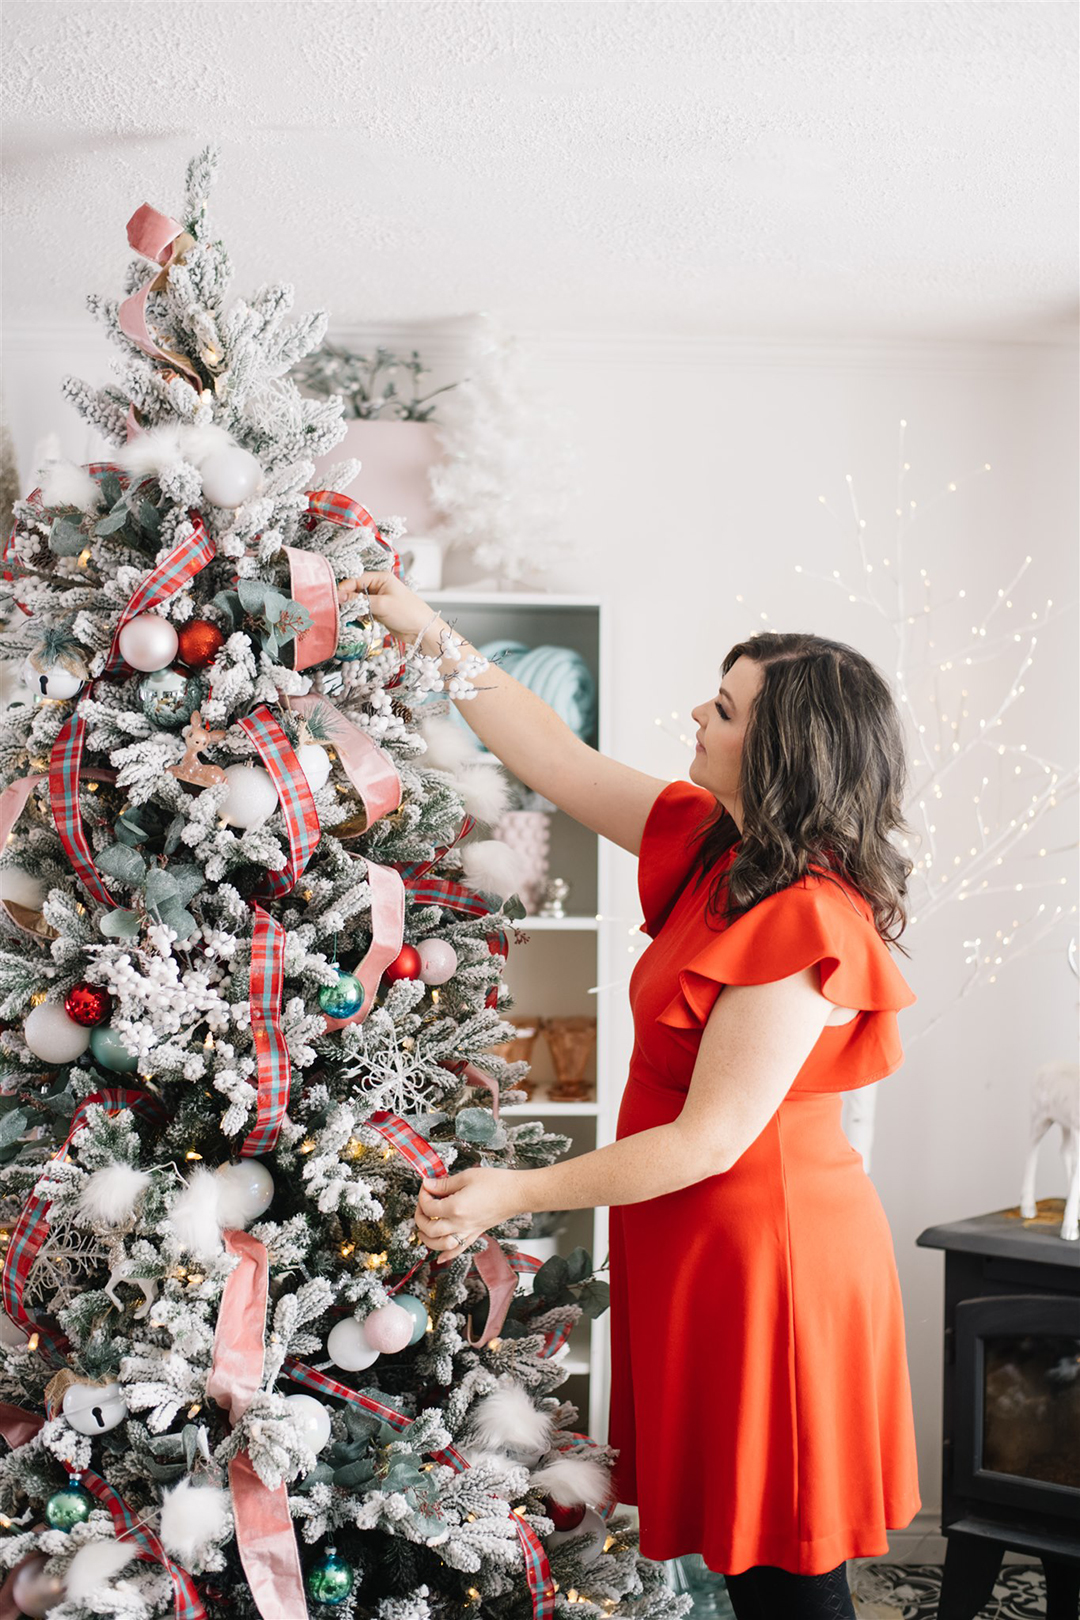
Want my no-fail method on how to decorate a Christmas tree step by step? Here’s exactly how I do it with all my tree decorating tips and tricks!
Photos in this post by Tracey Jazmin.
Ever since I was a little girl, I’ve always adored Christmas trees. There’s something so magical about the lights, the colours, the textures… everything! I’ve decorated dozens of trees over the past few years from my own to trees in show homes and family member’s homes. I have a simple “recipe” I use every time to make them look full and beautiful, and I’m sharing every detail with you today!
Watch my YouTube video to learn how to decorate a Christmas tree like a pro:
How to decorate a Christmas tree like a designer
There are a few different ways you can decorate a tree, but my step-by-step method has been developed over many years and it’s my favourite way to make a Christmas tree look professional and lovely.
What Christmas tree to buy
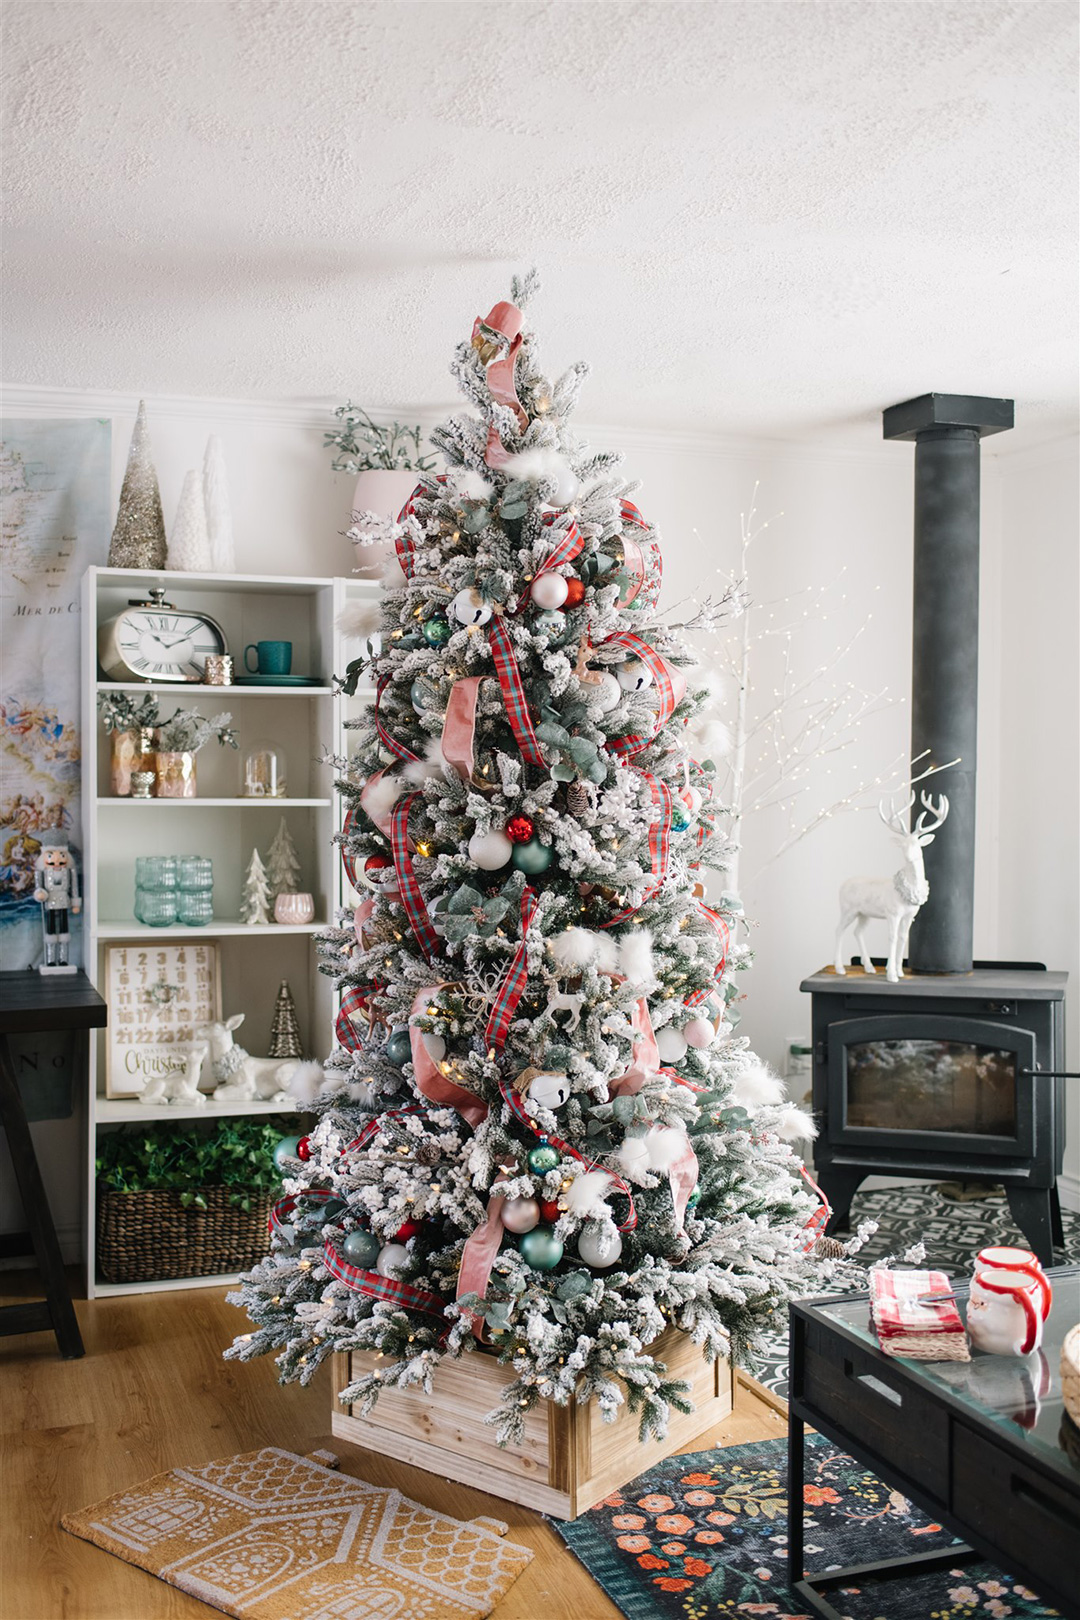
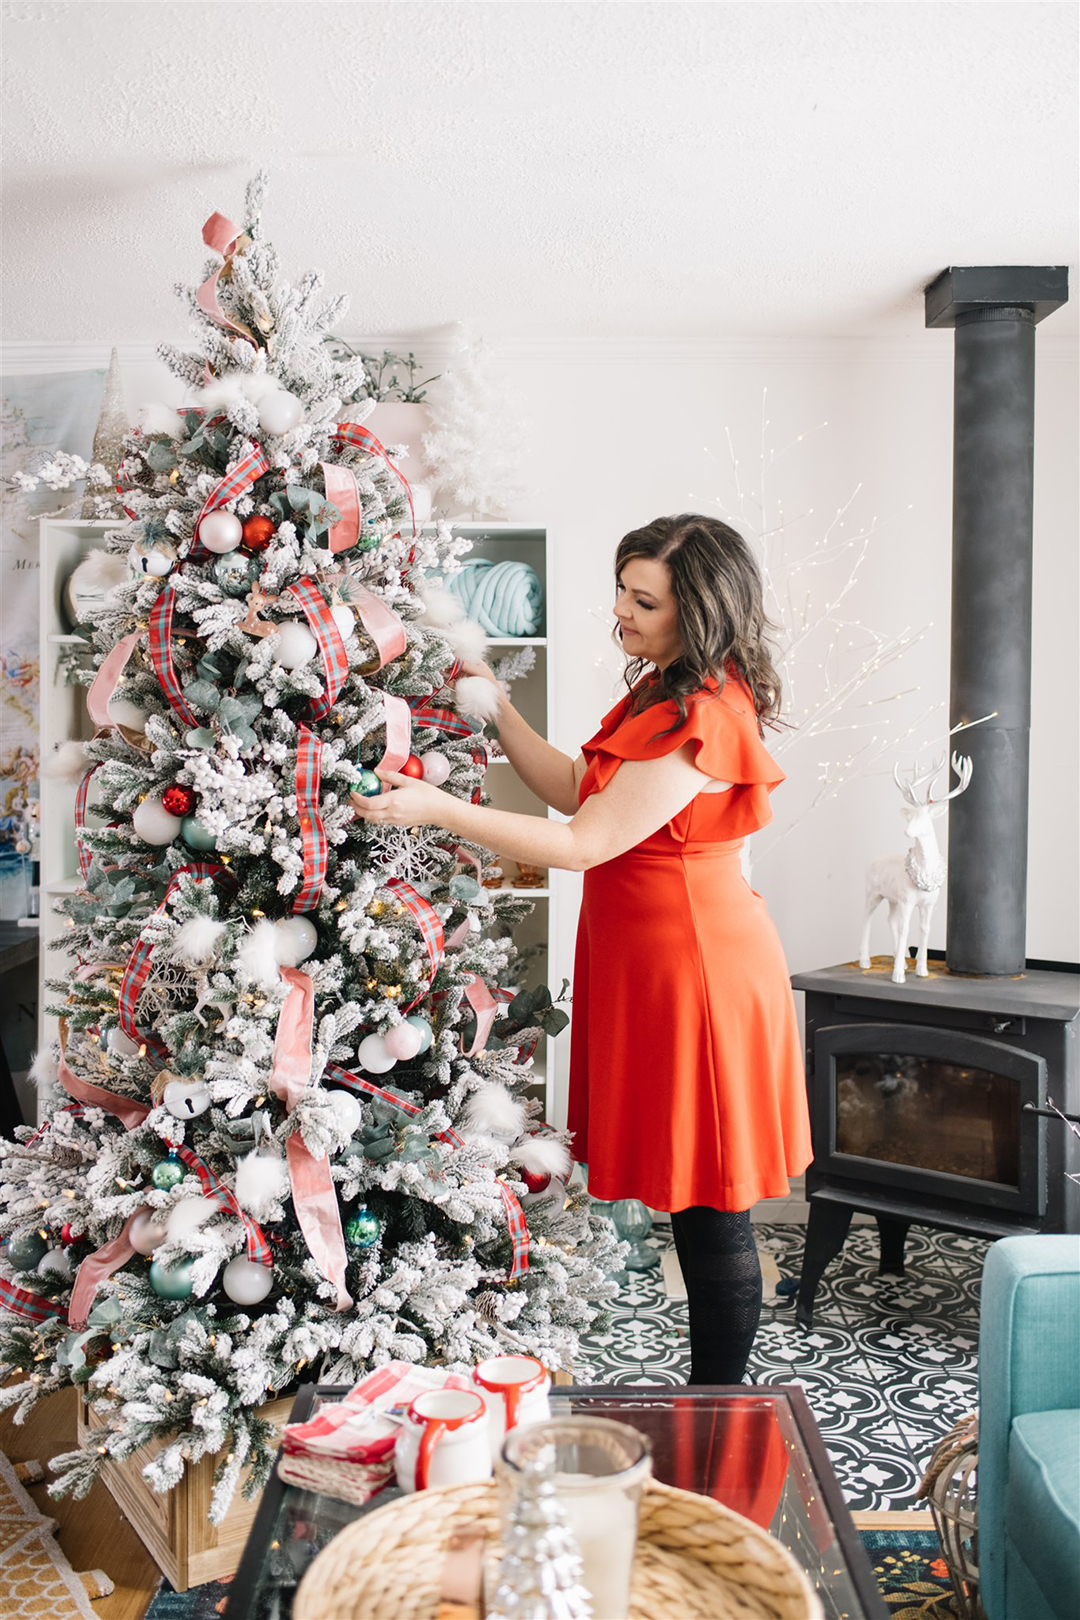
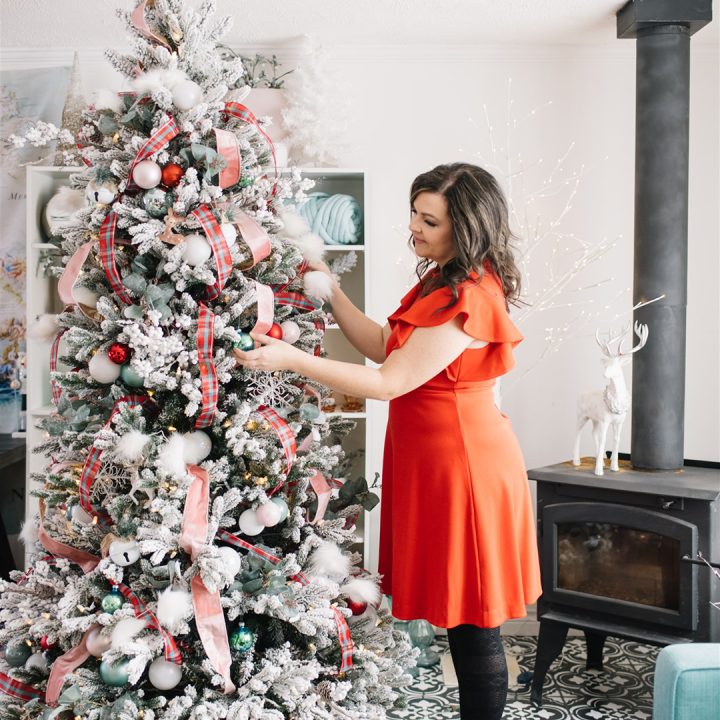
Even though I love the smell of a real tree, I prefer to buy a faux Christmas tree so that you can use it year after year and it’s not messy. My favourite places to buy trees that look realistic are Costco and Michaels. The tree pictured here is from Costco Canada a couple of years ago and I love that it has the real-looking outer branches and flocking.
When to put your Christmas tree up
I say, put your tree up whenever you want! Some years you might want to wait until December, some you might want it up a month before Christmas, and some years (like this one?) you may want to put it up ASAP to enjoy its warm glow.
Start by fluffing the tree
After assembling and setting up your Christmas tree, make sure to begin decorating by fluffing the branches. Many trees have been squished in a box, and their branches need to be lifted and pulled in multiple directions to make the tree look more realistic.
Adding picks and sprays
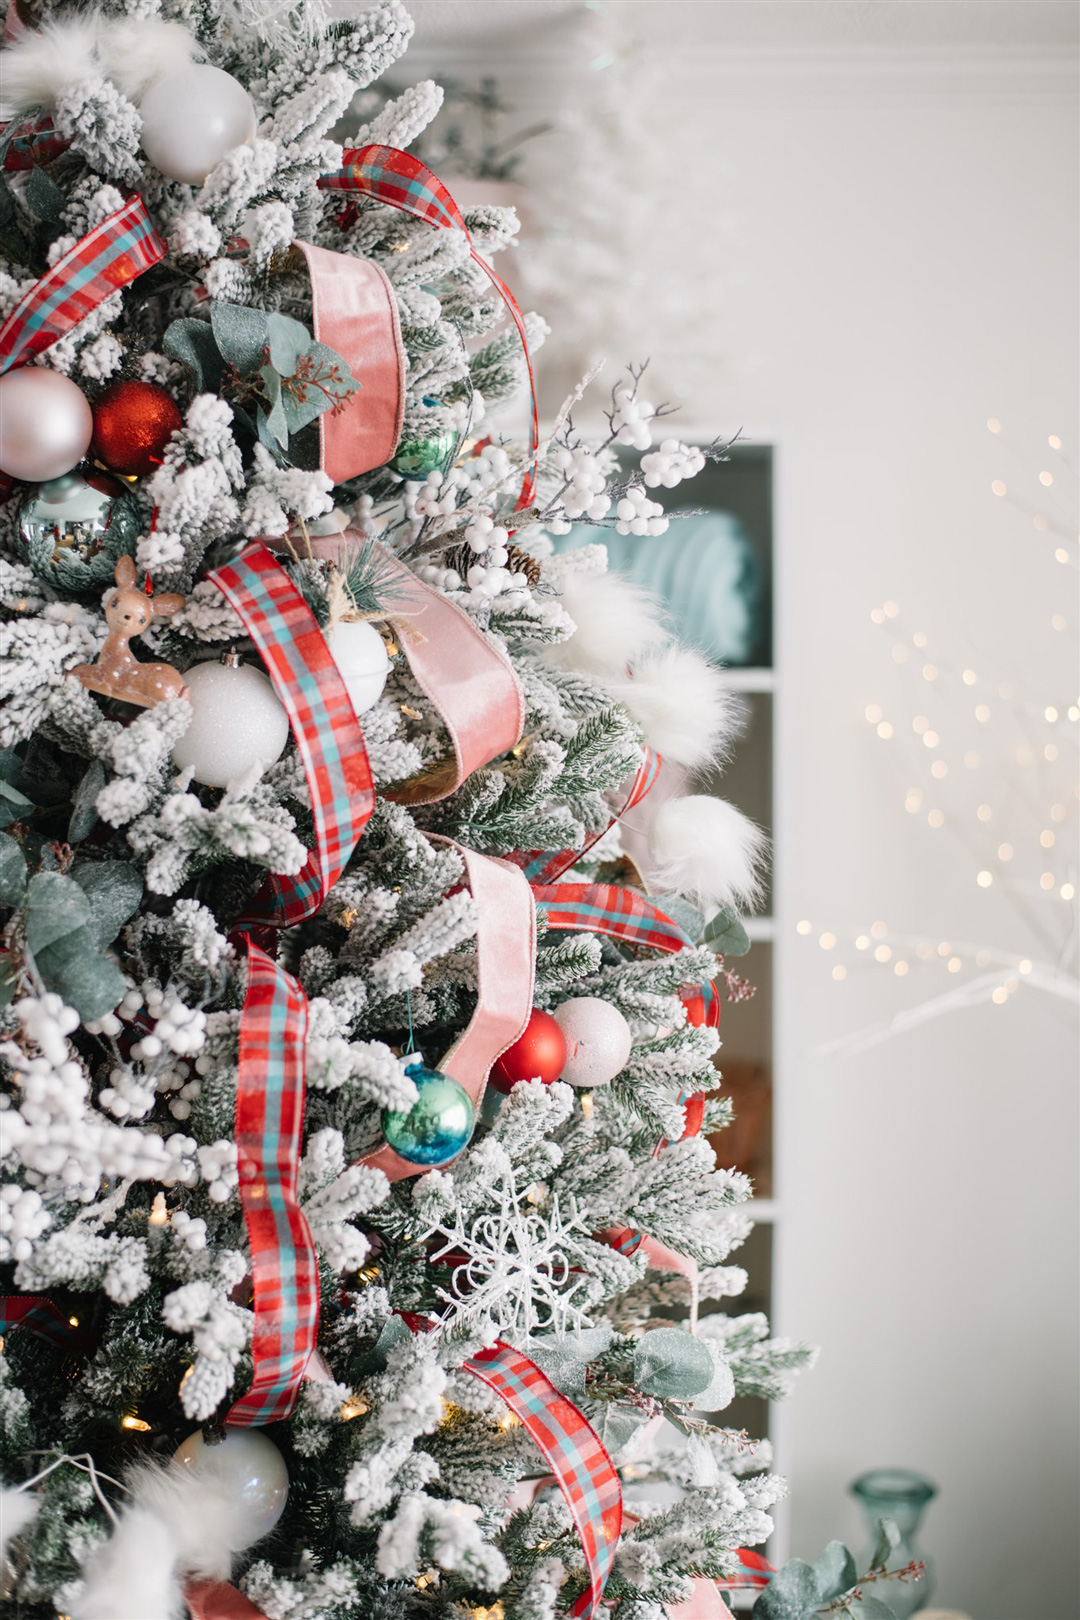
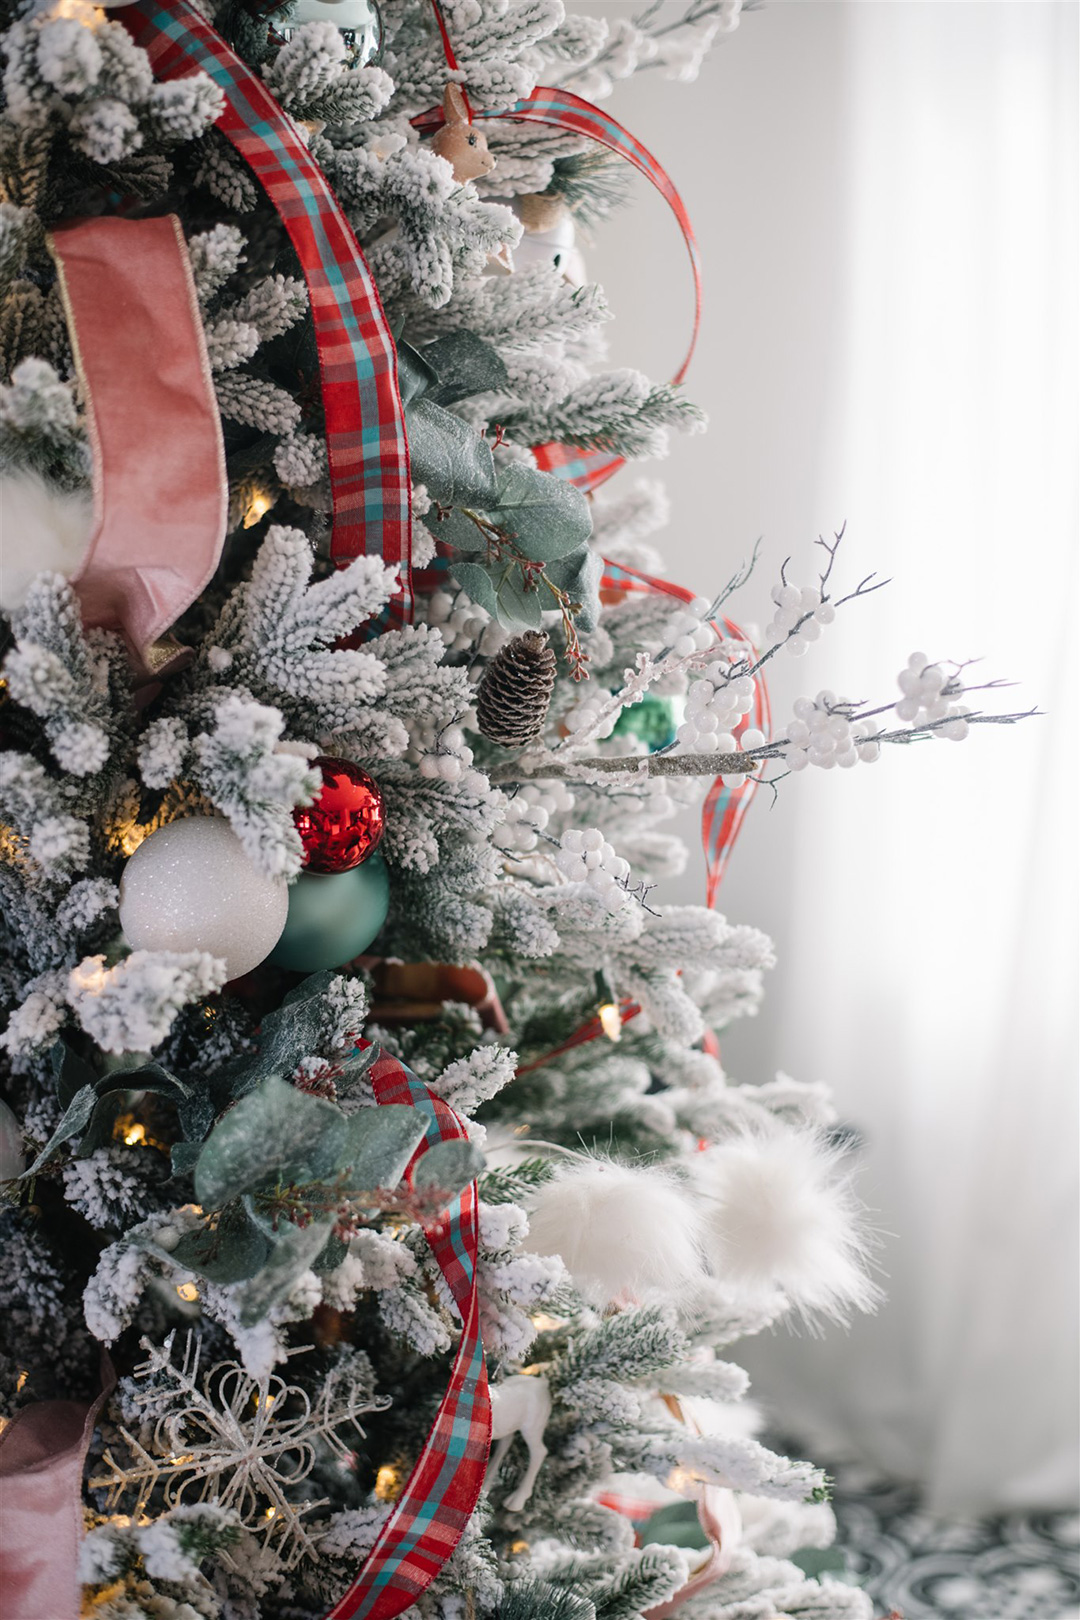
Adding faux greenery or berry picks and sprays will make your tree look fuller and more interesting. I like to add anything from berry branches to eucalyptus picks. Buy one to two different varieties of picks, and 7 to 11 of each variety. Fluff each pick individually, and then add them evenly to your tree. You can point them up or down depending on the look you want.
Easiest way to decorate a Christmas tree with ribbon
After adding picks, it’s time to add some gorgeous ribbon! I love adding ribbon to my trees for a pop of colour and shine. Buy one to two types of ribbon, and you’ll need about 20 yards of each kind. Get more if you want a fuller look. The easiest way to decorate a tree with ribbon is to cut the ribbon into 2-3 foot long sections, and then put one end of one section deep into the tree. Let the ribbon come forward, and then pinch it and loop it back deep into the tree. Continue doing this with each section of cut ribbon until you have it evenly placed around your Christmas tree. Get my full Christmas tree ribbon tutorial here.
Adding larger ornaments
Next come the large tree ornaments. Hang these deep into the tree as well as in the middle of the branches. You can also add ornament clusters at this step, and these are made by tying 3 round ornaments together with pipe cleaner to create a clustered look. I’ve added them in this year’s tree, and love how they look! I like to add in my ornaments by colour, and spread each colour evenly throughout the tree before I move on to the next one.
Layering smaller ornaments in the tree
Now, fill most of the remaining holes in your Christmas tree with smaller round or oblong ornaments. The variety of sizes will help add interest to your tree.
Finishing with show-stopper ornaments
You know those special ornaments that are a fun shape, have sentimental value, or are absolutely gorgeous? These are the ones you add last so that you can add them to the tips of your tree branches. This way, they’ll be seen and enjoyed! Some of my favourite show-stopper ornaments are vintage deer, intricate crystal ornaments, and jingle bells.
Adding the topper and skirt
You can add your favourite tree topper at this point – I love a classic ribbon bow or metallic star. Finally, clean up around your tree and add a tree skirt or tree box.
Editing your tree design
At this point, I like to step back from the tree and have a good look. If there’s any ornament or element that seems like it doesn’t belong, I’ll remove it or move it somewhere else. You might even want to look at your tree the next day with fresh eyes and do more editing then!
Christmas tree ideas & colour themes
As far as Christmas tree theme ideas go, the options are absolutely endless. I love switching out my themese and colours each year by simply mixing and matching ornaments I already have on hand. Even adding one new roll of ribbon can completely change the look of your tree. Here are some Christmas tree theme ideas to get you started:
- Classic red, green & plaid Christmas tree
- Glam rose gold and white
- Coastal light blues and whites
- Retro turquoise and pink Christmas tree
- Mixed metallic tree with gold, silver and copper
- Black and white farmhouse style
Have fun planning and decorating your Christmas tree!
How to Decorate a Christmas Tree Step by Step
Decorate a Christmas tree step by step like a designer with these simple tips!
Materials
- Faux pre-lit Christmas tree
- Faux greenery or berry picks, 1-2 types
- Ribbon, 1-2 types
- Large, round ornaments
- Small, round ornaments
- Special ornaments in a variety of shapes and textures
- Tree topper
- Tree skirt or box
Instructions
- After assembling your tree, fluff its branches by pulling them in all directions.
- Add picks or sprays evenly throughout the tree. Point them up or down, and use 1-2 varieties for interest.
- Cut ribbon in several 2-3 ft sections and loop it in and out of the tree vertically or diagonally. Use 1-2 varieties of ribbon.
- Add large ornaments to the tree deep in the branches and towards the middle of the branches.
- Layer smaller, round ornaments throughout the tree in the middle and closer to the tips of the branches.
- Add "show-stopper" ornaments of irregular shapes, textures, and sentimental value closer to the tips of the branches.
- Place a tree topper on the tree, clean around the tree, and then place a skirt or tree box around the bottom.
- Edit your tree design by stepping back, analyzing the tree, and removing or moving any elements that seem out of place.



Love your style and creativity
These tips are amazing!! They will definitely help me out this year 🙂
I love the box under the tree…
Thank you for adding pictures of the complte Christmas tree. I was wondering what type of tree skirt you would add if any. The house rug infront of the Christmas tree is adorable.
I like to step back from the tree and have a good look. If there’s an ornament or element that seems like it doesn’t belong, Thank you for adding pictures of the complete Christmas tree. The house rug in front of the Christmas tree is adorable. You might even want to look at your tree the next day with fresh eyes and do more editing then.
Hi, I was wondering about the color of the green blue ornaments Is it mint green or turquoise? the tree is gorgeous!
Thank you so much for sharing these tips! Your tree looks sooooo beautiful! If your fireplace is electric, what brand is it? I need that too! Have a blessed holiday season!
The fireplace is wood burning.