Make Silver Leaf Paper Trees for Christmas Tabletop Decor #12MonthsofDIY
This post may contain affiliate links · This blog generates income via ads
Paper is one of my favourite craft mediums to work with. It’s such an inexpensive material, and if you use some creativity there are SO many beautiful things you can make with paper! Some of my favourite paper crafts for the holiday season are book page wreaths, Christmas tree ornaments, and Christmas tree cones. This year, I decided to take paper cone Christmas trees to a whole new level and cover them with some gorgeous, sparkling silver leaf. The result are some beautiful silver leafed paper trees that look lovely as Christmas tabletop decor. Let me show you how easy it is to make these, and make sure to scroll down to the bottom of this post to see what my blogging friends have made with paper this month.
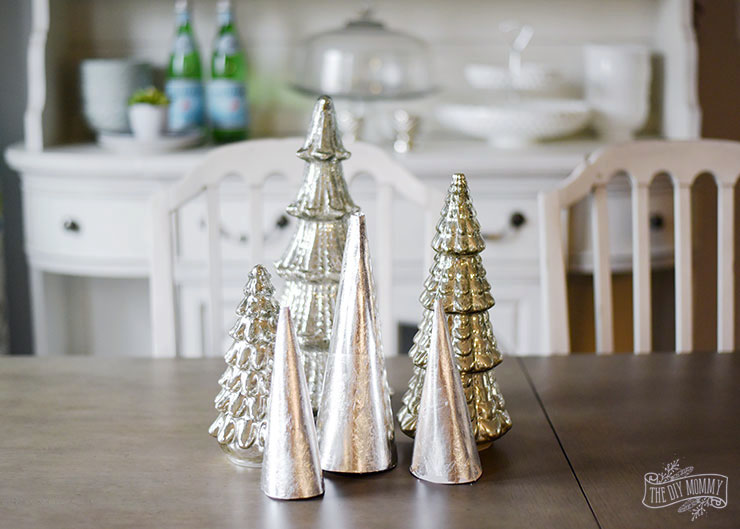
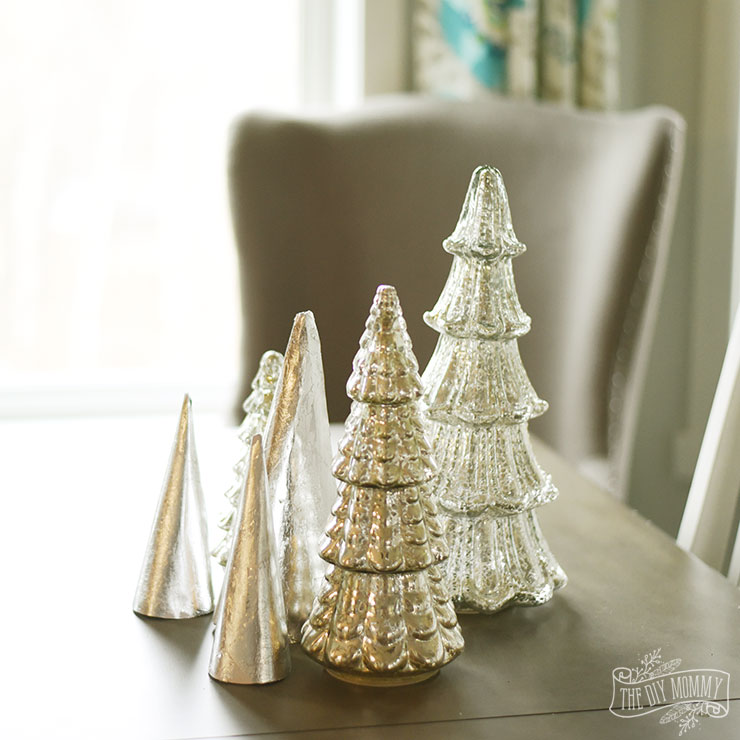
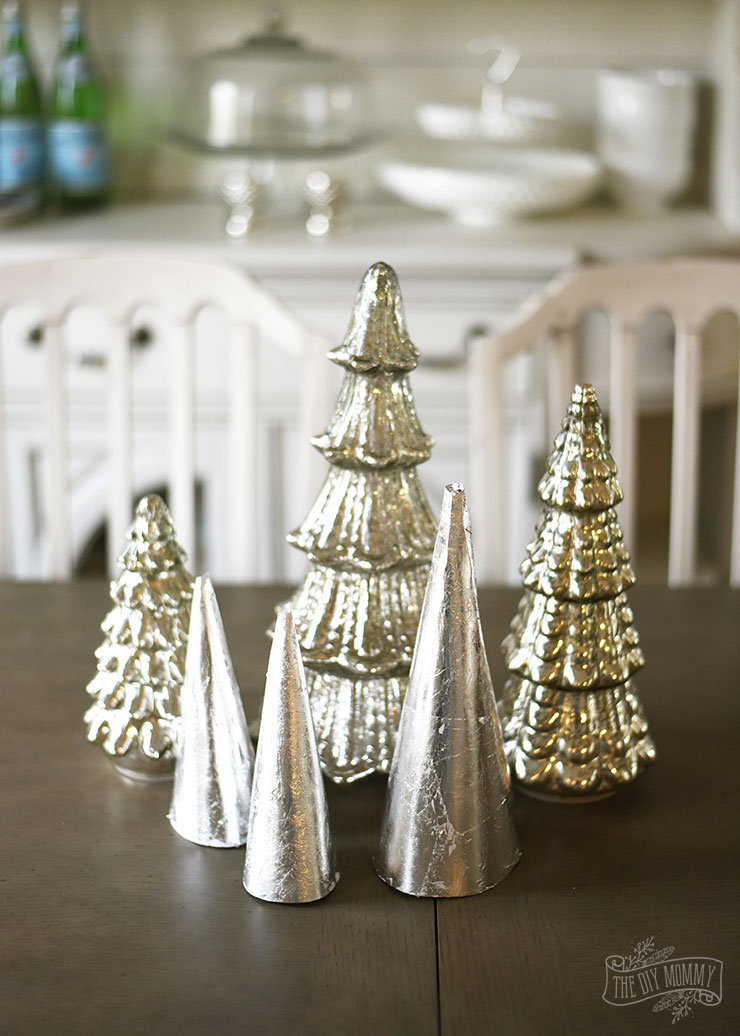
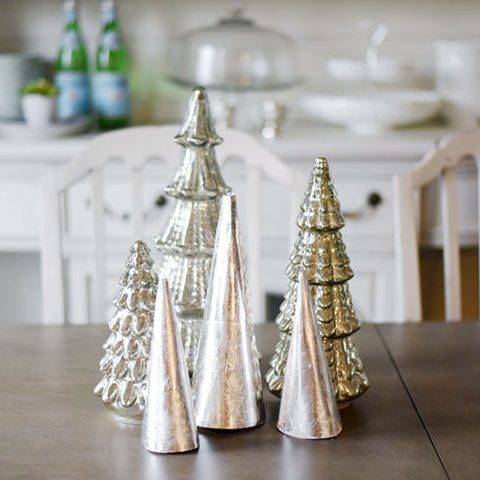
I’m going to mix these DIY silver leaf trees in with some mercury glass trees I found at Costco for a glamourous table centerpiece this year. Don’t they make a pretty grouping?
Here’s what you need for this project:
- my cone trees large + small printable templates (get the large one here and the small one here)
- cardstock (I used cereal boxes and scrapbook paper)
- scissors
- glue gun
- silver leaf
- metal leaf adhesive
- foam brush
- wax paper
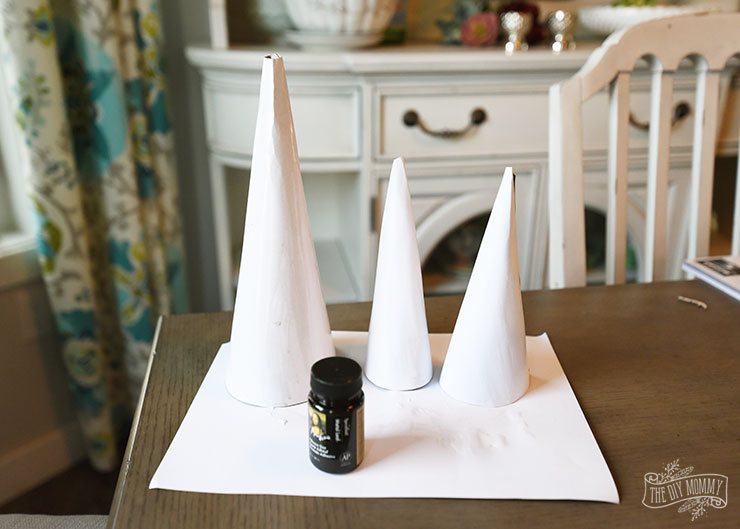
Use my free cone Christmas tree templates, cut them out, and trace them onto the pieces of cardstock to make tree shapes. Roll the shapes into cones, fold one edge to make a tab, and put a strip of hot glue on the tab. Fasten the tab to the other side of the cone to create a cone tree shape. I made one large cone and two small cones.
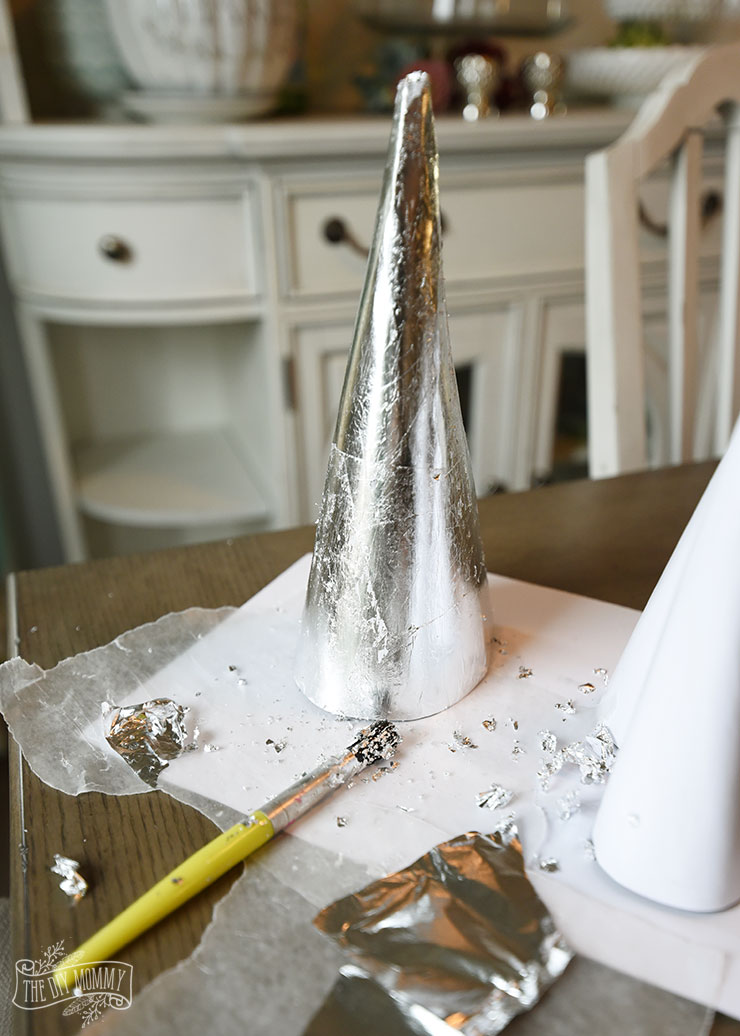
Once the cones are dry, paint metal leaf adhesive over all of their surfaces with a foam brush. Let the adhesive set for 45 minutes.
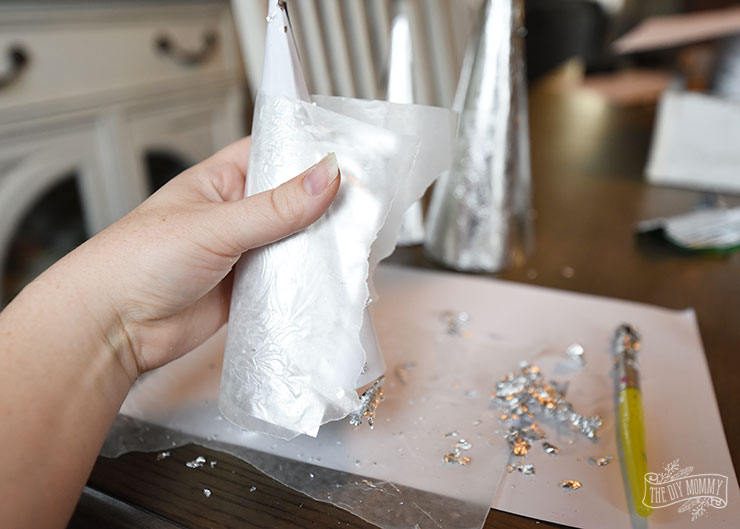
Tear a piece of wax paper into approximately the same size as a sheet of the silver leaf. Place the wax paper over a sheet of silver leaf, and the leaf should stick to the wax paper. Place the silver leaf + wax paper onto one of the cone trees (with the leaf against the cone) and brush it with a foam brush to adhere it to the cone.
Once you’ve covered the entire surface of the cones with silver leaf, brush off any excess leaf with a foam brush.
Silver Leaf Paper Trees for Christmas Tabletop
This year, I decided to take paper cone Christmas trees to a whole new
level and cover them with some gorgeous, sparkling silver leaf.
Materials
- My cone trees large + small printable templates
- Cardstock (I used cereal boxes and scrapbook paper)
- Silver leaf
- Metal leaf adhesive
- Foam brush
- Wax paper
Tools
- Scissors
- Hot glue gun
Instructions
- Use my free cone Christmas tree templates, cut them out, and trace them onto the pieces of cardstock to make tree shapes.
- Roll the shapes into cones, fold one edge to make a tab, and put a strip of hot glue on the tab.
- Fasten the tab to the other side of the cone to create a cone tree shape.
- Let the cones dry.
- Then, paint metal leaf adhesive over all of their surfaces with a foam brush. Let the adhesive set for 45 minutes.
- Tear a piece of wax paper into approximately the same size as a sheet of
the silver leaf. Place the wax paper over a sheet of silver leaf, and
the leaf should stick to the wax paper. - Place the silver leaf + wax paper onto one of the cone trees (with the leaf against the cone) and brush it with a foam brush to adhere it to the cone.
- Once you've covered the entire surface of the cones with silver leaf, brush off any excess leaf with a foam brush.
You’re all done and ready to enjoy your inexpensive but elegant silver leaf Christmas trees!
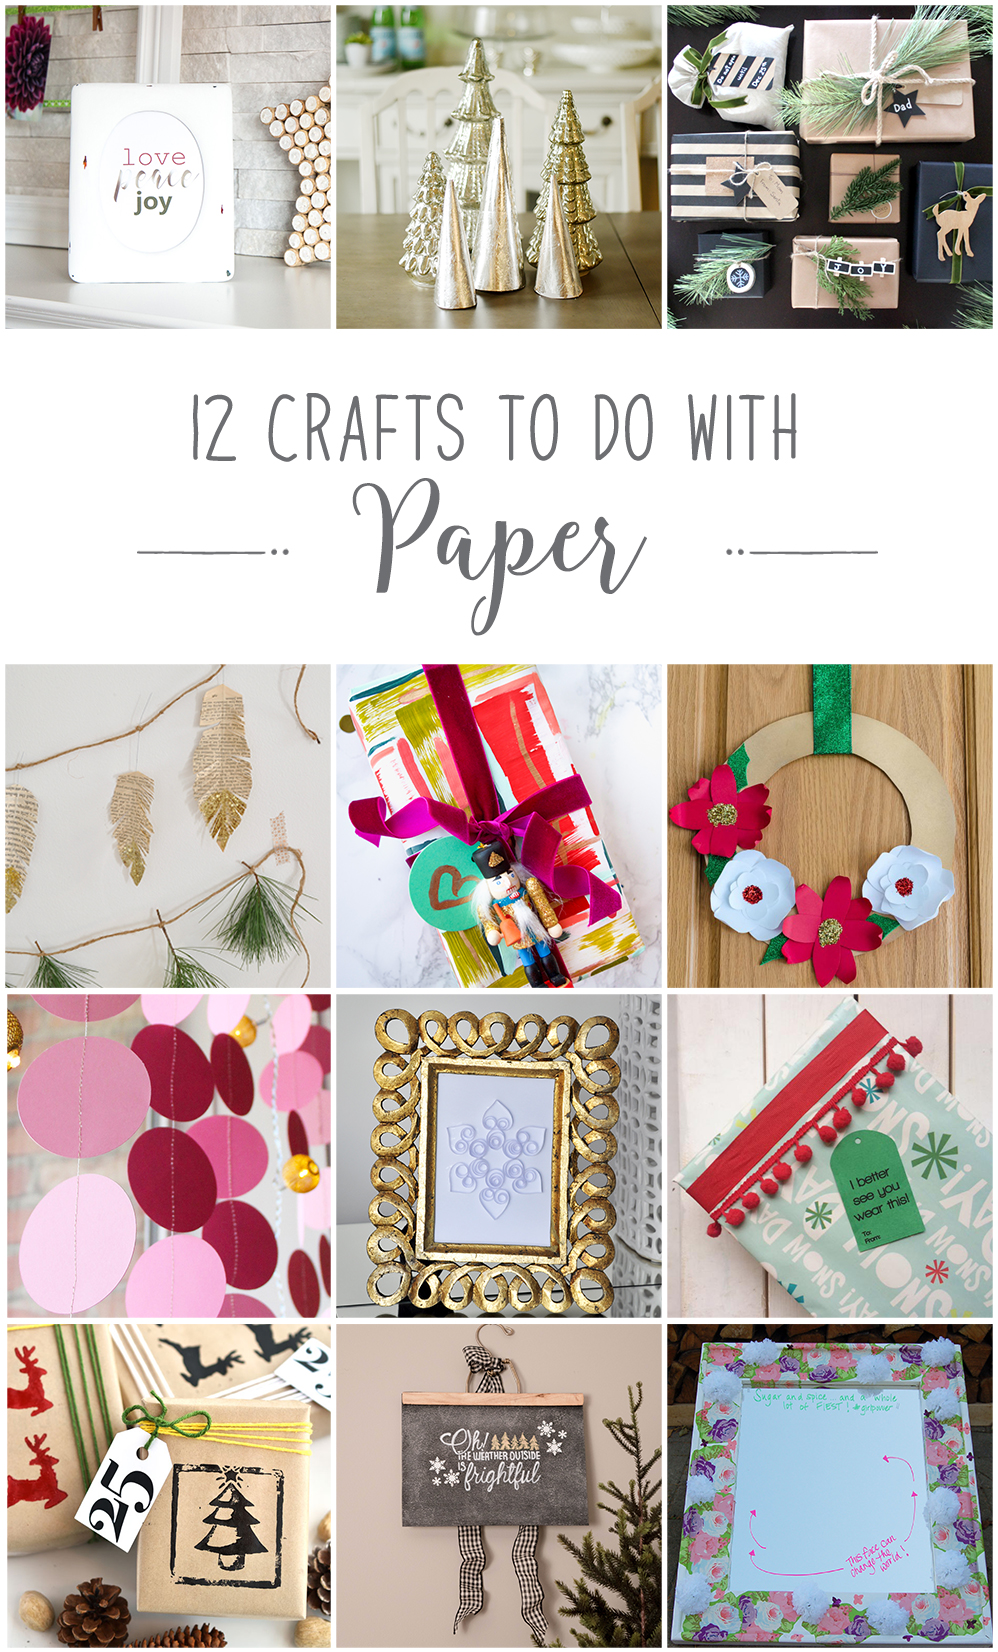
Now it’s time to see the rest of the DIY PAPER project ideas from my Canadian blogging friends.
From the top left, they are:
Free Love Peace Joy Christmas Printable from Sustain My Craft Habit
Silver Leaf Paper Trees for Christmas Tabletop Decor from The DIY Mommy
Rustic Gift Wrap Ideas from Love Create Celebrate
Book Page Feather Garland from Life Is A Party
Deconstructed Plaid Wrapping Paper from PMQ for Two
Make 3D Paper Flower Christmas Wreaths from Time With Thea
How to Make a Paper Garland from Fresh Crush
Quilled Paper Snowflake from Lifeovereasy
Funny Printable Gift Tags from Brooklyn Berry Designs
DIY Linocut Print Kraft Paper Christmas Gift Wrap from Woman In Real Life
DIY Chalkboard Paper Christmas Art from Vin’yet Etc.
DIY Floral & Paper Decoupage Girl Power Mirror from Heather in Heels
Disclaimer: This post contains affiliate links. When you purchase products through these links, I will receive a small portion of the sale at no additional cost to you.

So pretty, this adds just the right amount of sparkle for the holiday season!
Thanks, Laurie 🙂
Great idea! For a second I thought it was one of those silvery cake liners, but the silver leaf looks so much more majestic and compliments your mercury glass trees perfectly! Well done friend 🙂
You are the sweetest, Ariel! Thank you!
I love all the sparkle! The two styles of tree work so well together – it’s a great pairing!:) can’t wait to see the rest of your Christmas decor!:)
Thank you Heather <3
So pretty! I love each of your projects. They are always so stylish. I love your detailed doable instructions and it was so clever to coordinate them with your purchased ones. They make a gorgeous table setting vignette!
Thank you so much Thea
This grouping looks so elegant AND expensive! I would love to put this on my Christmas fireplace mantel.
What an excellent place to put the trees!
Love these, you know I love a little leafing. 😉 They look so great with the mercury glass, great diy.
Thank you so much, Dannyelle
SO. ELEGANT. Thank you for this genius idea.
Thank you, Leslie!