How to make a DIY Electric Fireplace and TV Wall
This post may contain affiliate links · This blog generates income via ads
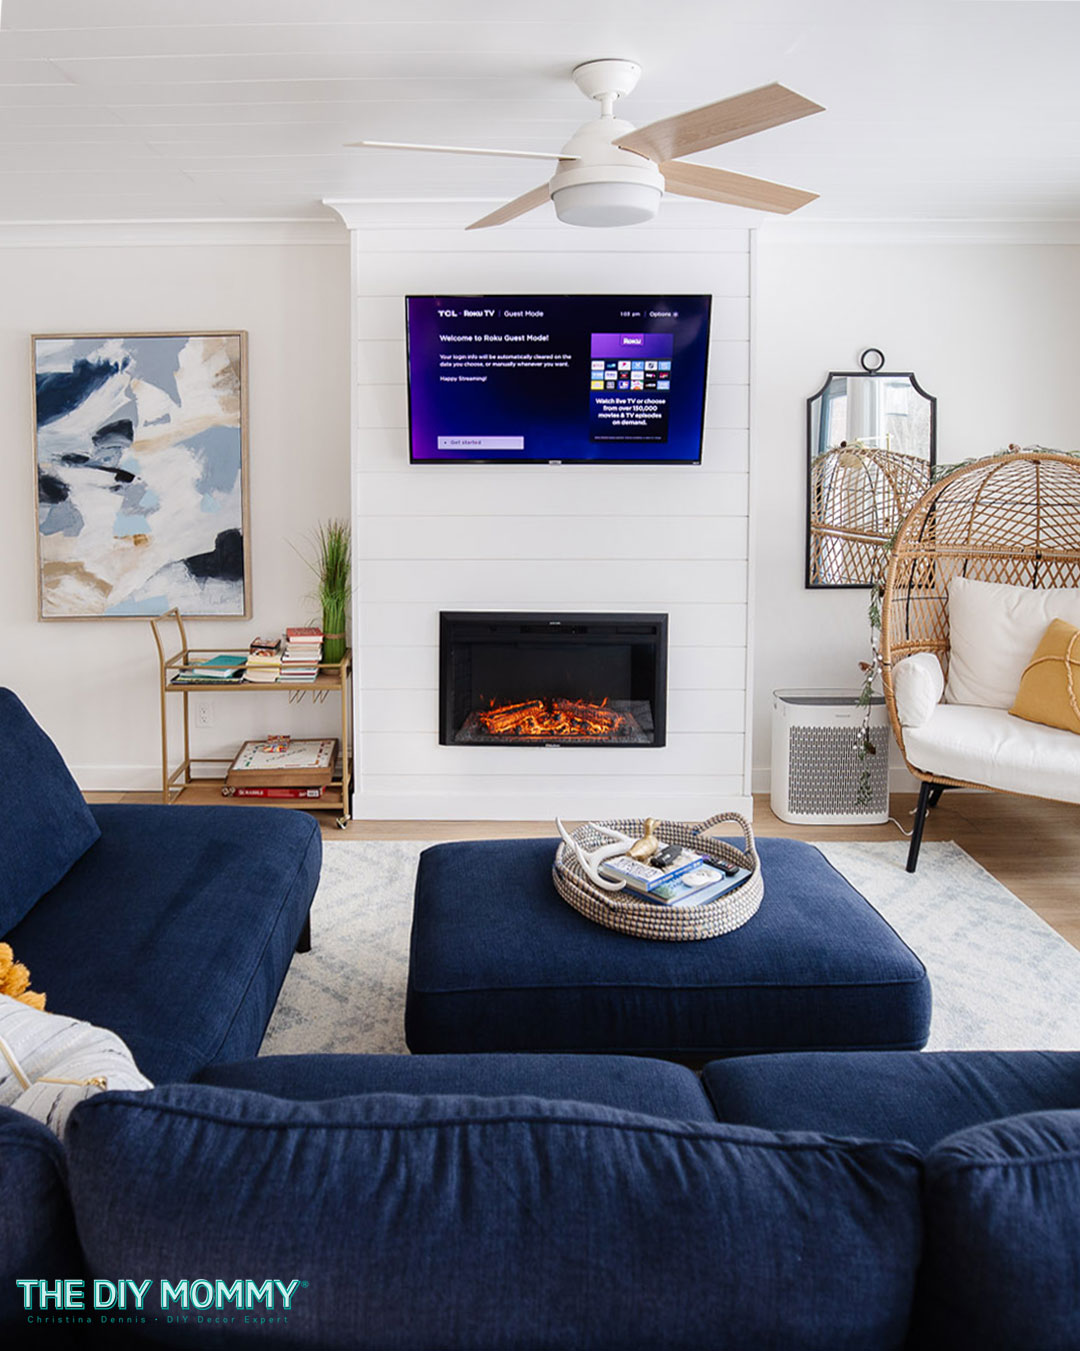
Want to create a beautiful focal point in your living room? Here’s how we made a stunning DIY electric fireplace and TV wall in our lake house rental.
A couple of years ago we renovated our first vacation rental – the Little Lake House! You can click right here to see the entire renovation from start to finish. Since then, we’ve been happy to host over 100 families in the cabin. One of their favourite features? The fireplace & TV in the living room! All our guests love the smart TV, and when it gets cold there’s nothing better than the cozy fireplace.
My husband and I built this feature ourselves, and in today’s blog post I’m sharing exactly how we built the DIY electric fireplace and TV wall from start to finish. Let’s get started!
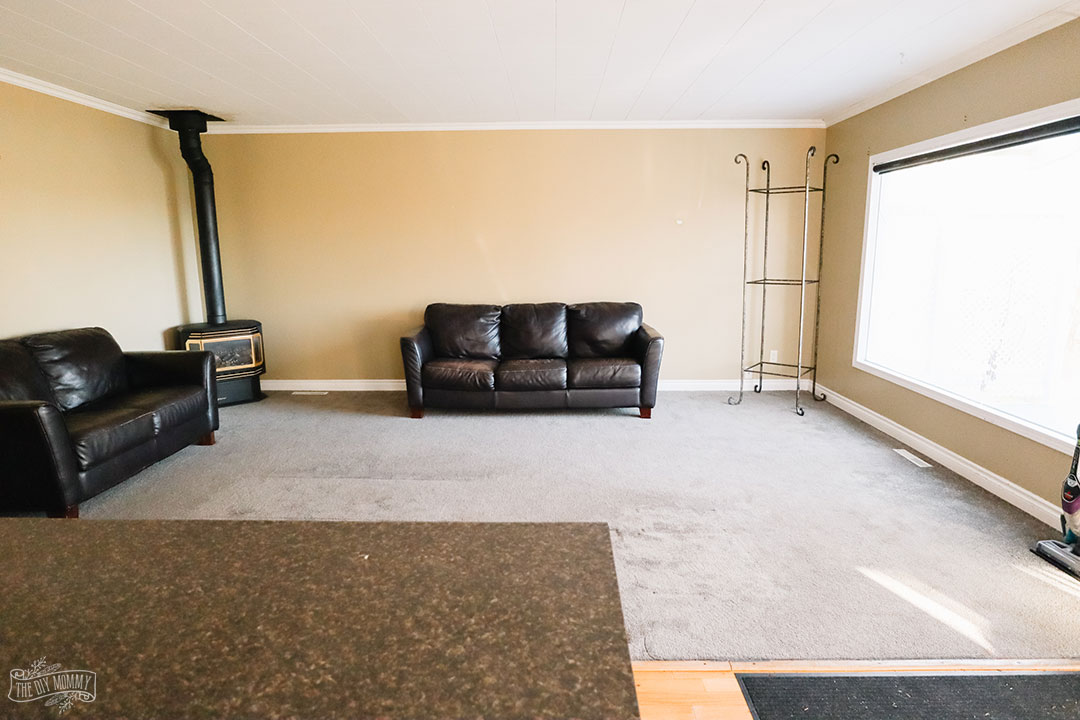
Here’s how our living room wall looked before:
There was a gas stove in the corner, and the long wall was completely bare. We wanted to remove the gas fireplace to make the home safer as a rental, and we wanted to somehow make the long wall more of a focal point.
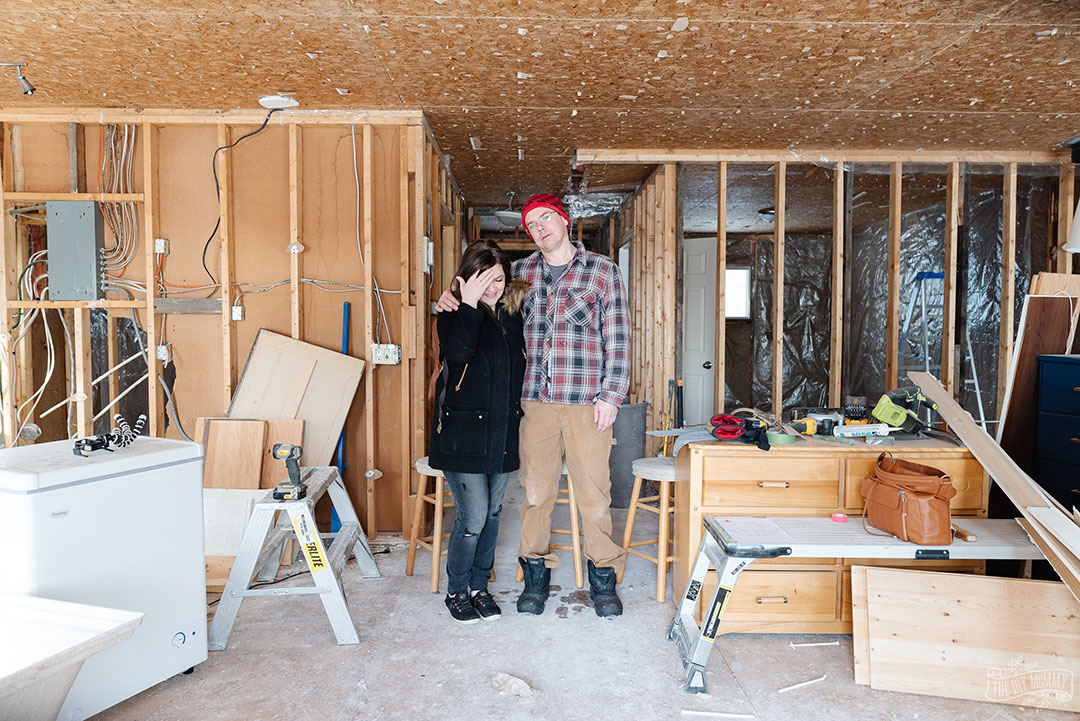
To begin, we completely gutted the living room. We gutted this entire cabin as it was poorly insulted and had rodent damage in most of the walls! After removing the drywall, old carpet, ceiling tiles and insulation, we had the living room professionally spray foam insulated.
I wanted to create a cozy DIY fireplace wall in this room. I love the idea of having an electric fireplace built into a bump-out for added heat and a relaxing vibe to this space. There’s nothing better than enjoying dancing flames (even if they’re faux!) on a cold day by the lake. There are lots of realistic looking electric insert fireplaces on the market today, and most have an optional heater built right in.
How we built our TV & fireplace wall feature
Supplies & tools needed:
- 2×4 lumber for framing
- 2×8 lumber for horizontal braces
- electrical elements (wiring, outlet)
- drywall
- drywall screws
- MDF shiplap
- MDF crown molding & baseboard
- MDF outside corner trim & quarter round trim
- electric fireplace insert
- TV mount & TV
- nail gun
- finishing nail gun
- nails & brad nails
- caulking & paint
Framing the fireplace bump-out
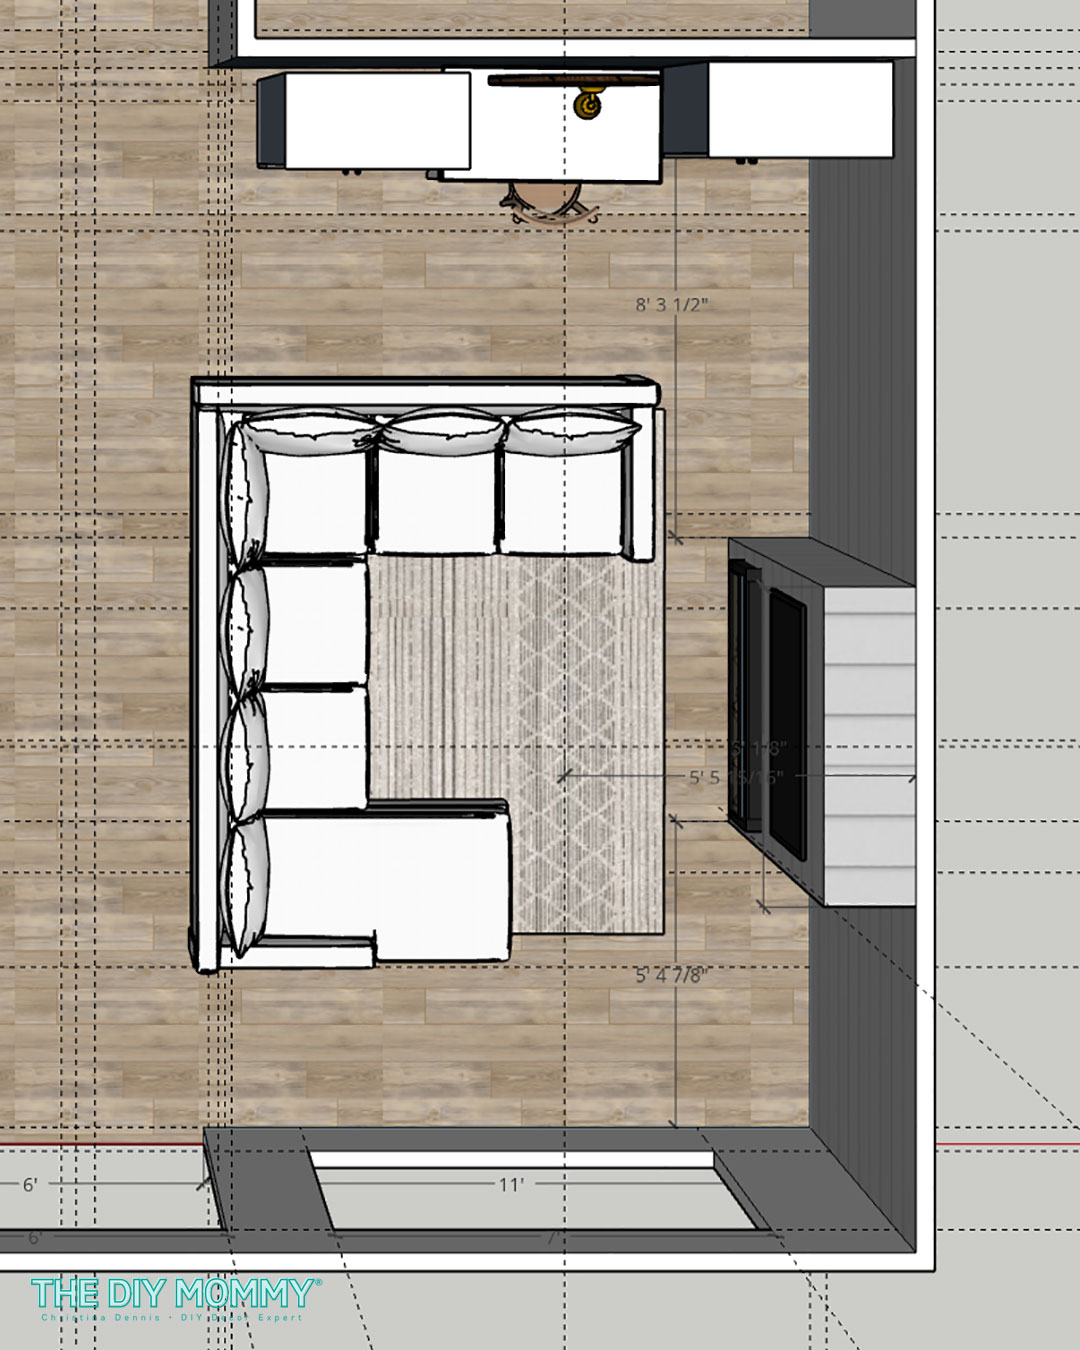
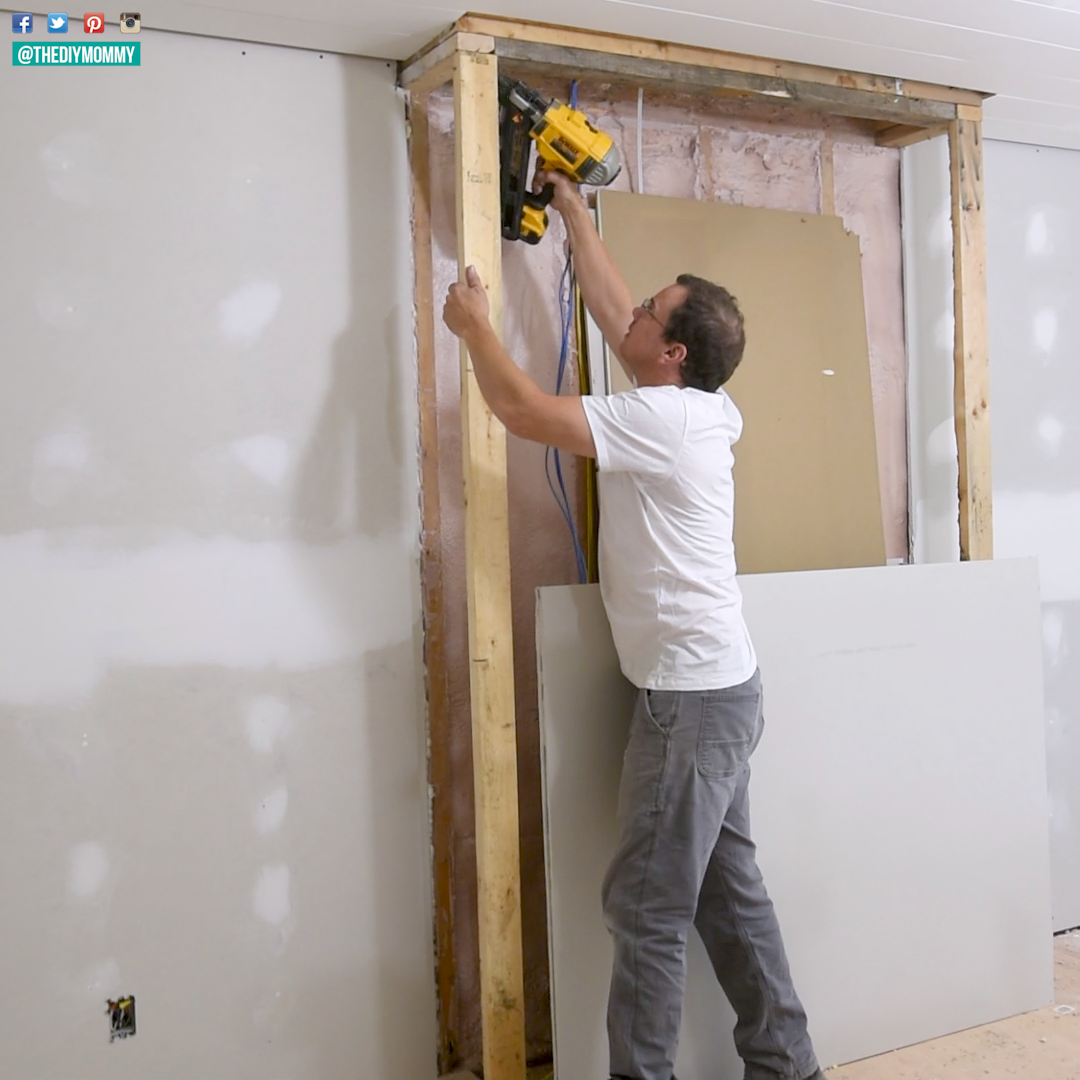
To begin creating our built-in fireplace wall, my husband Sean framed out the fireplace with 2×4 studs. We made it slightly off center on the wall as I wanted some IKEA cabinets to be installed on the left hand side to create an office nook.
The dimensions of our fireplace bump-out are:
- 12 inch depth
- floor-to-ceiling height
- 60 inch width (5 feet)
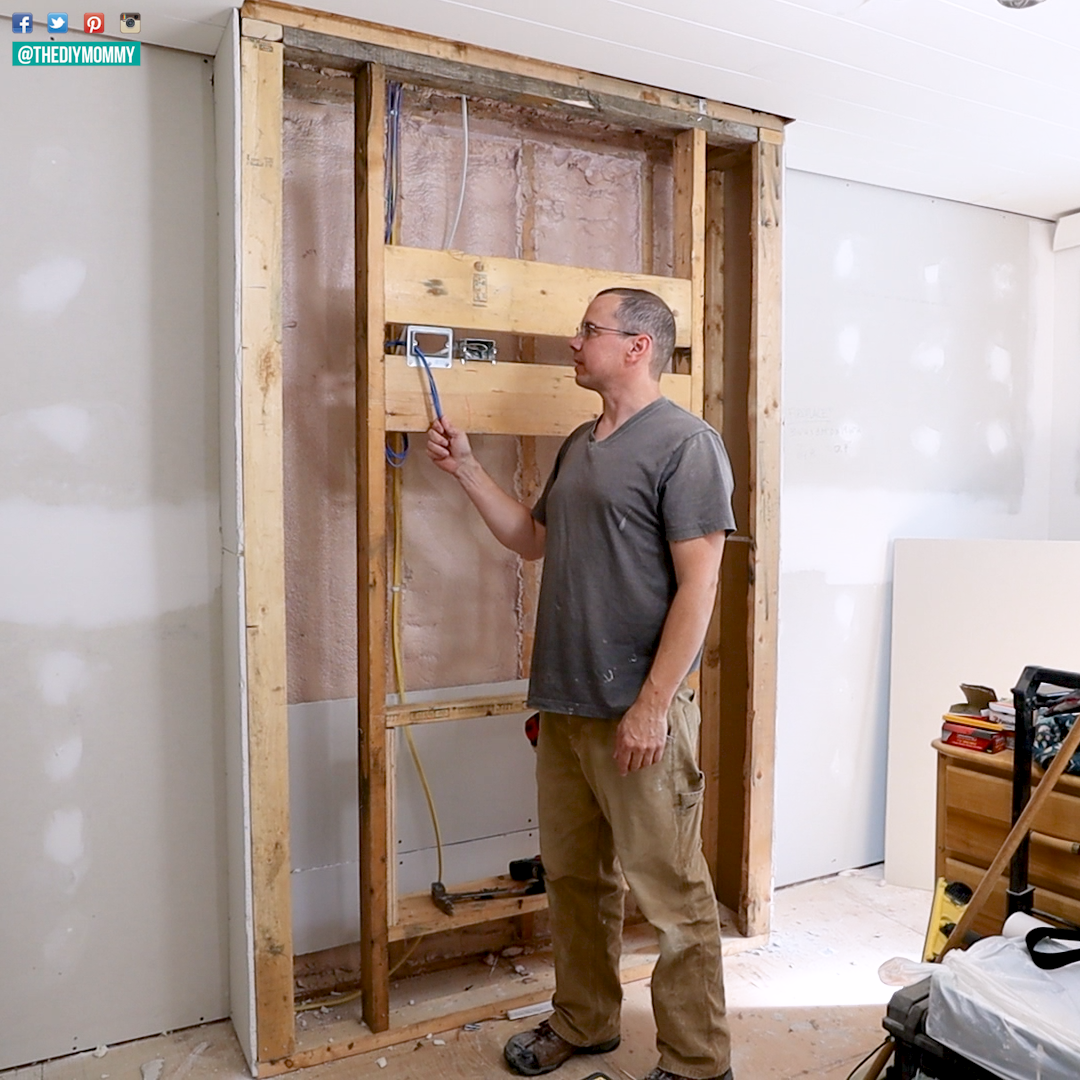
Sean added some braces in the front center of the framed area to mount the TV, and he also installed some communication wires for the TV and internet if needed. For the horizontal braces, Sean used 2 x 8 lumber but you could also use plywood cut to size.
He installed an outlet for power for the TV, and a main power line for an electric fireplace. With all the electrical built in to the bump-out, there won’t be any cords showing from the outside. Sean is a professional electrician (I’m lucky!), but this may be part of the job that you want to hire out if you’re not skilled with electrical work.
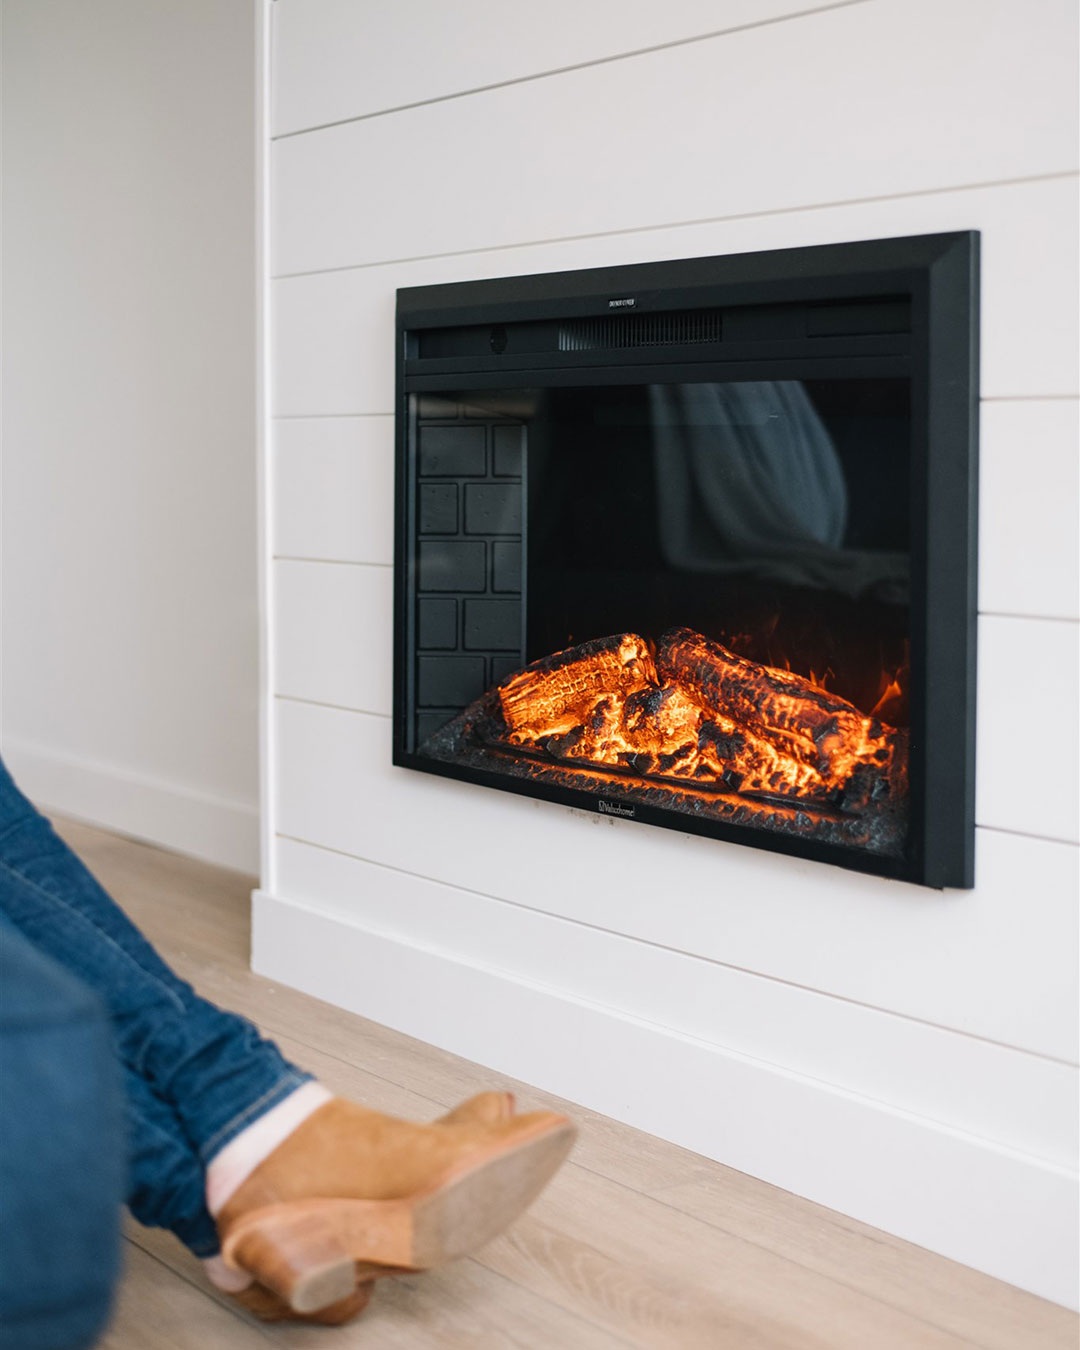
Next, Sean framed a square on the bottom center for the fireplace. He added a horizontal piece of lumber where the fireplace would rest. We purchased the fireplace in advance so that we knew exactly the size of nook we’d need to frame out for the insert unit. Here’s the 36 inch wide electric fireplace that we used!
Installing drywall & shiplap
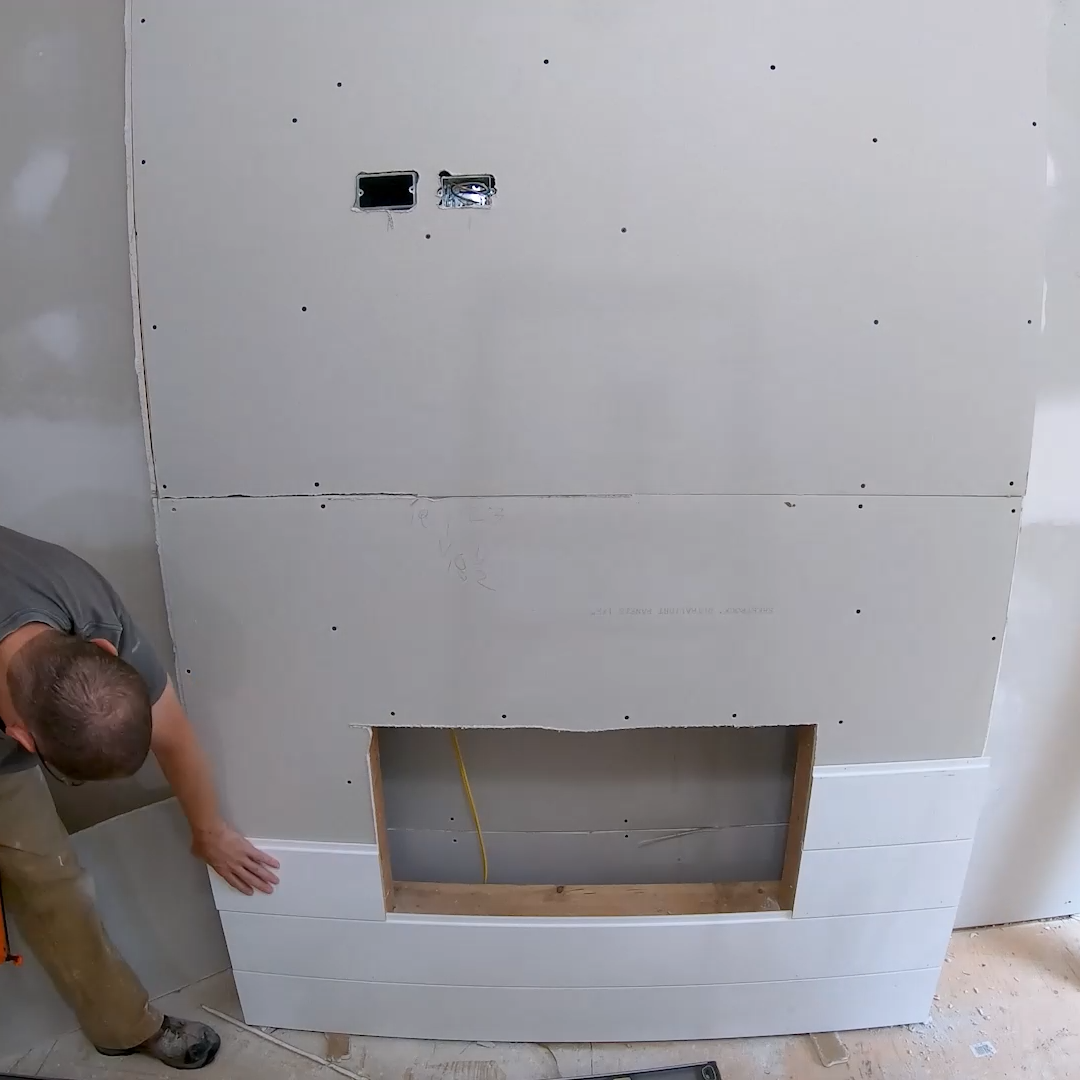
To continue, we installed drywall on the sides and front of the fireplace bump-out. We didn’t add any drywall mud or taping because we knew we wanted to add shiplap over top for a modern farmhouse coastal look. We left a hole for the fireplace insert to pop into the front of the bump-out.
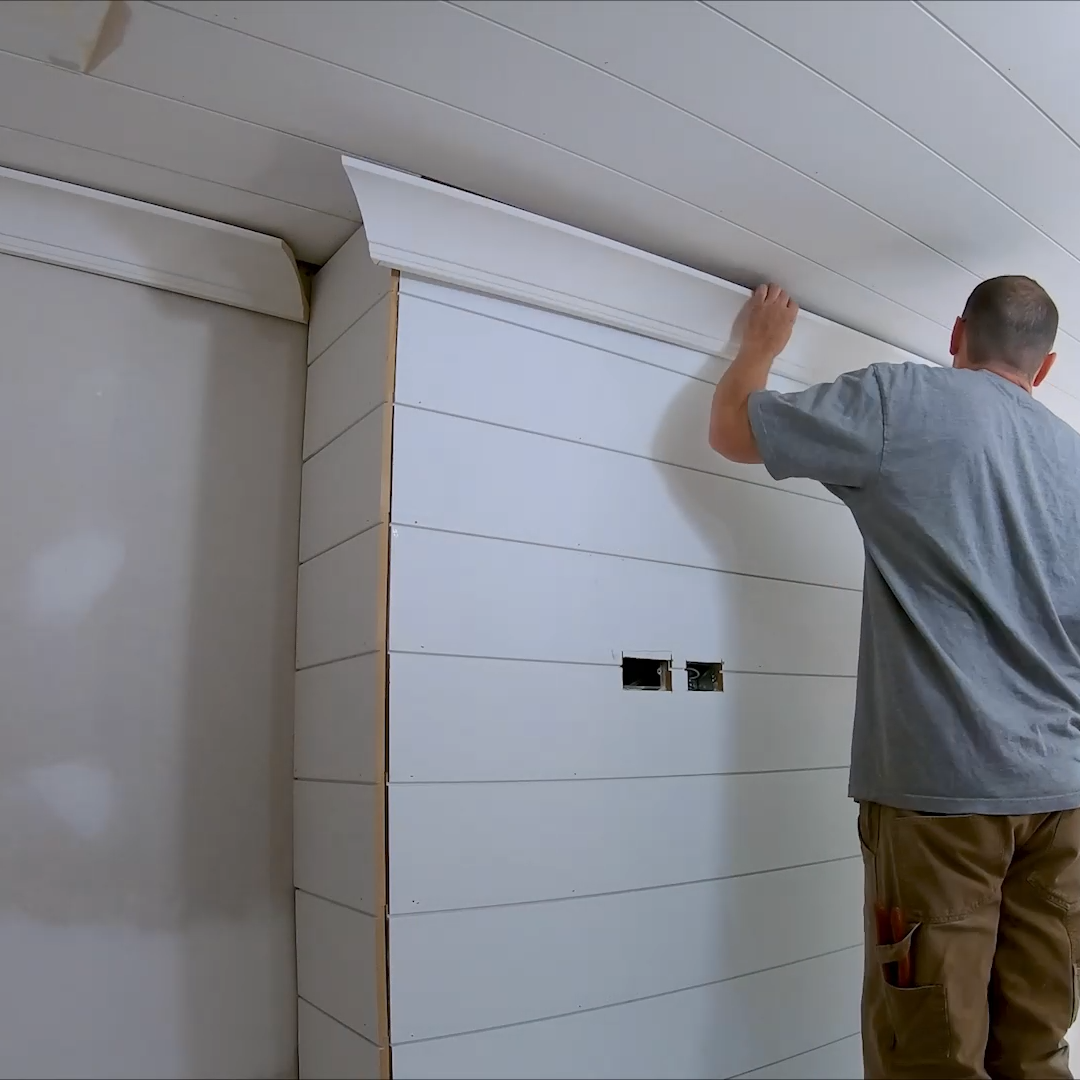
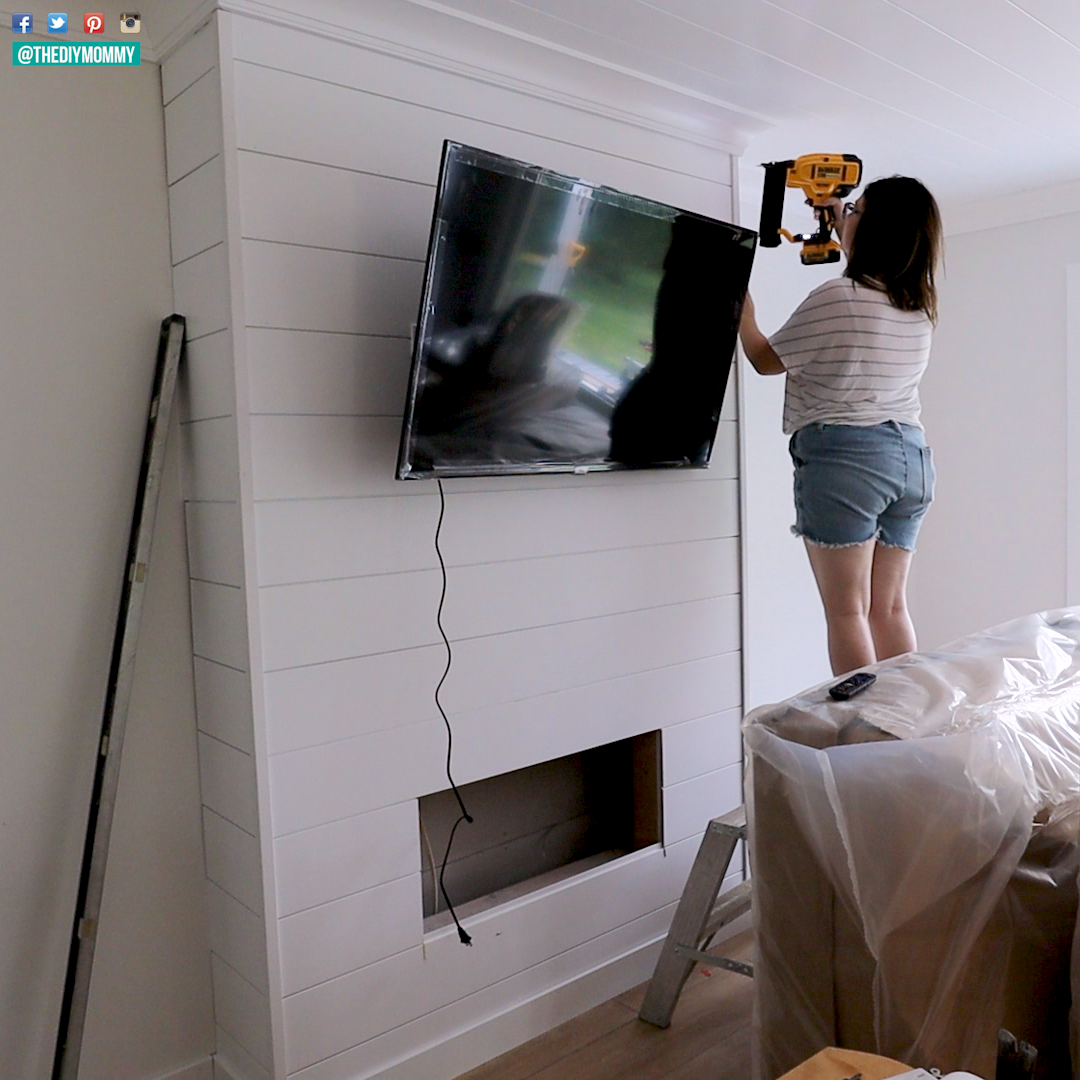
Then, we installed MPF shiplap panels over the drywall on the sides and front of the fireplace area with a finishing nail gun and brad nails. We didn’t miter the corners of the shiplap because we wanted to add some MDF corner trim. However, you could miter yours where they meet on the two corners for more of a modern look. We added some crown moulding on top, and then I caulked all of the seams to make the trim look seamless.
Finishing the fireplace bump-out
Next, I installed some baseboard around the bottom front and sides of the fireplace. I added some outside MDF corner trim for the outside corners of the fireplace, and 1/4 round MDF trim for where the bump-out meets the wall.
I finished the DIY electric fireplace and TV wall off by carefully caulking all the seams and painting it with a satin finish interior latex paint. The white colour I’ve used is Behr Ultra Pure White. This contrasts very slightly with the wall colour in our lake house: Behr Silky White.
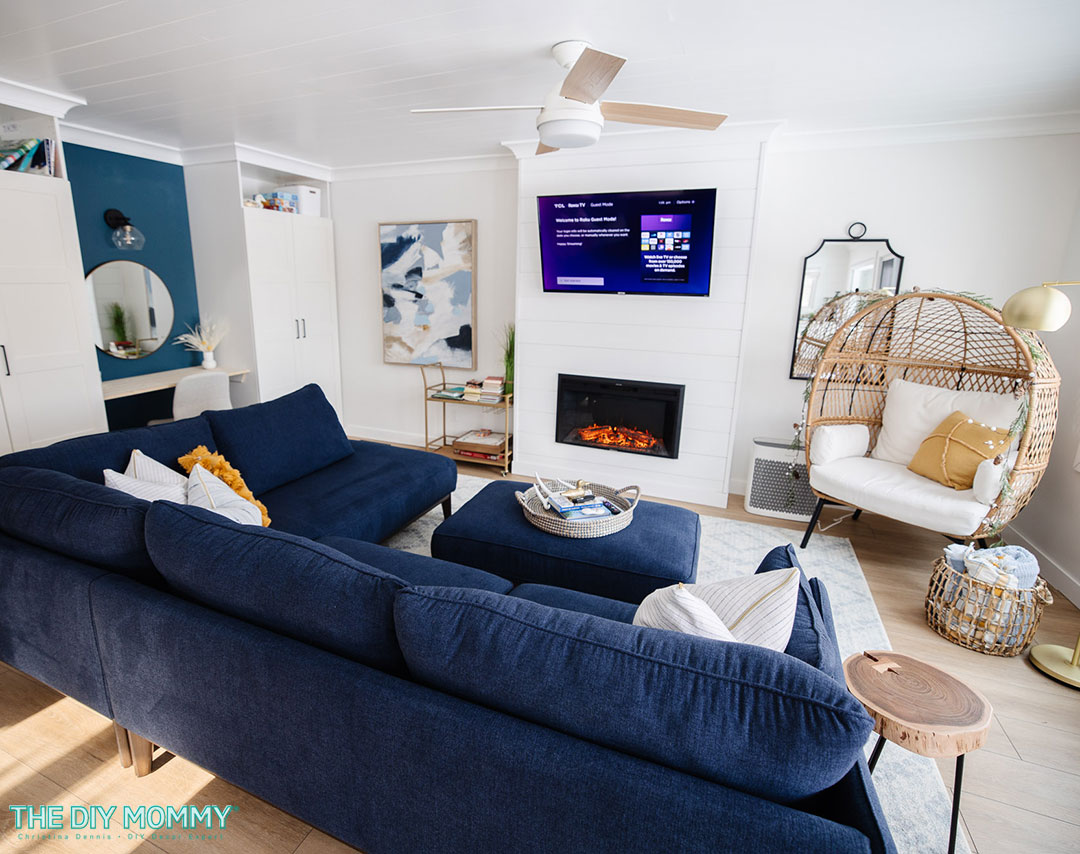
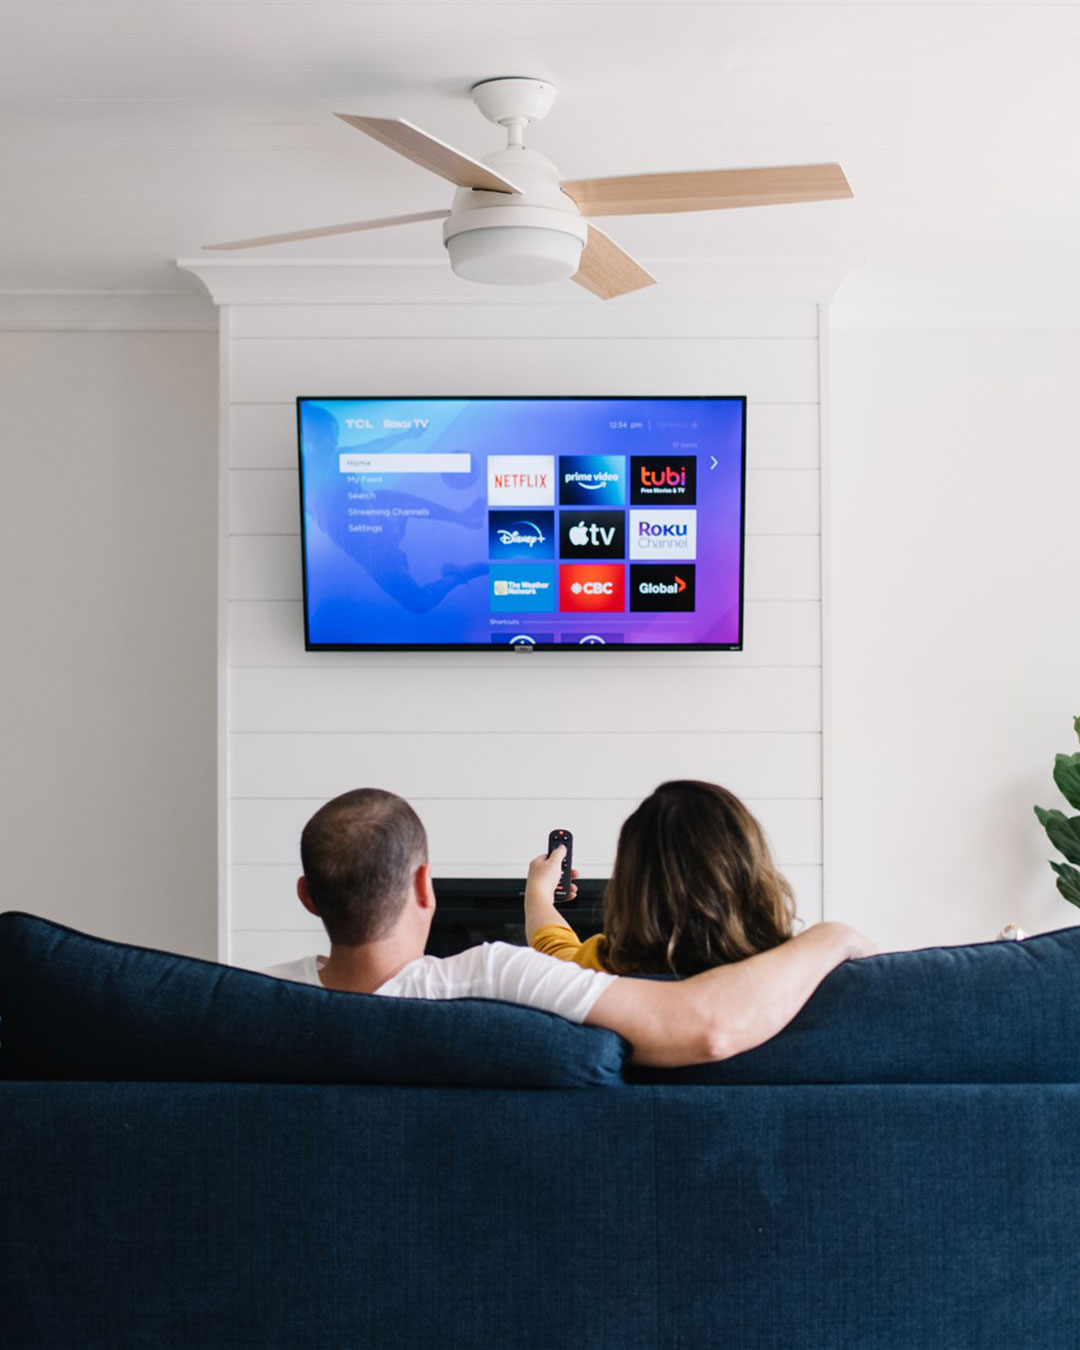
We bought a 50″ smart TV and attached it to a TV mount over the fireplace area. We then popped the electric fireplace insert into the opening we left for it and made sure to plug it in before pushing it in all the way.
I was considering adding an oak mantel overtop of the fireplace, but I actually ended up liking the clean look of this wall without a mantel. I may add one in the future, though!
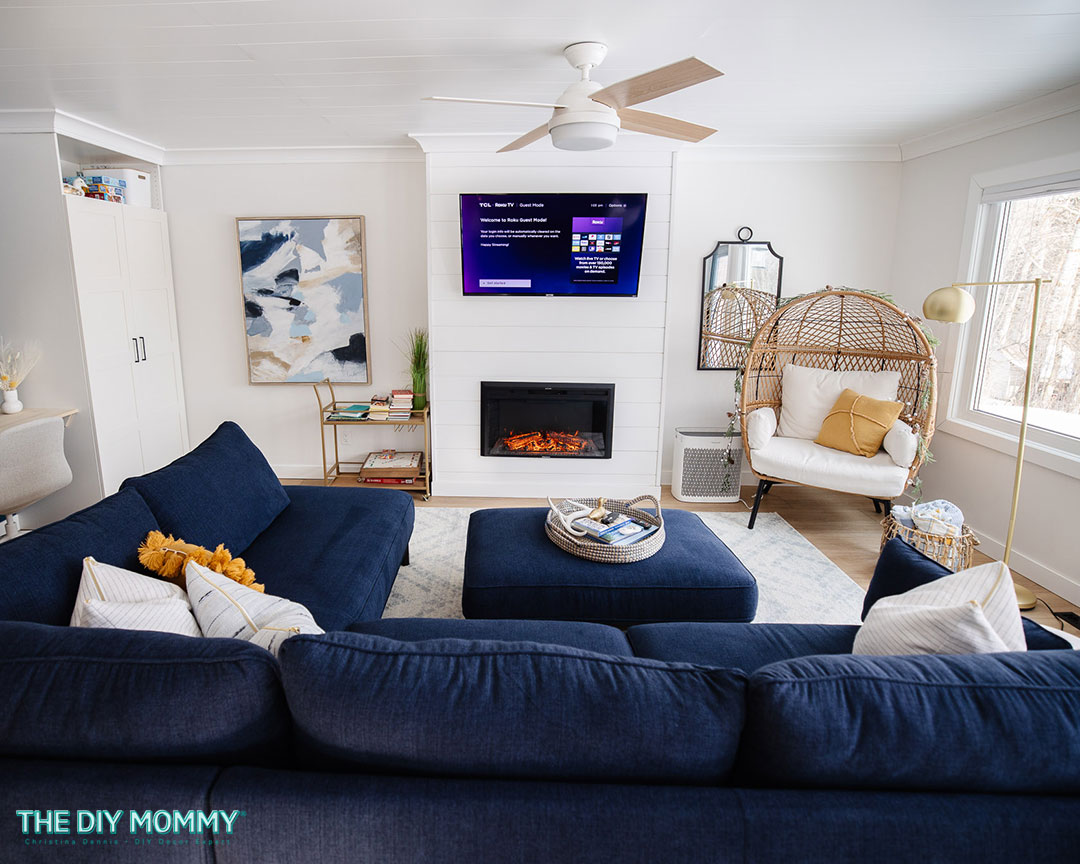
We are so happy with how this fireplace feature wall turned out in our Little Lake House. It’s simple and clean looking, but it adds just enough interest to this space to make it a feature. Our rental guests love the ambiance of the fireplace, and the TV is well used by all!
Let me know what you think of our fireplace wall in the comments. Would you ever want to DIY something like this in your home?
To see what else we did to this living room space with links to the items used, click here.
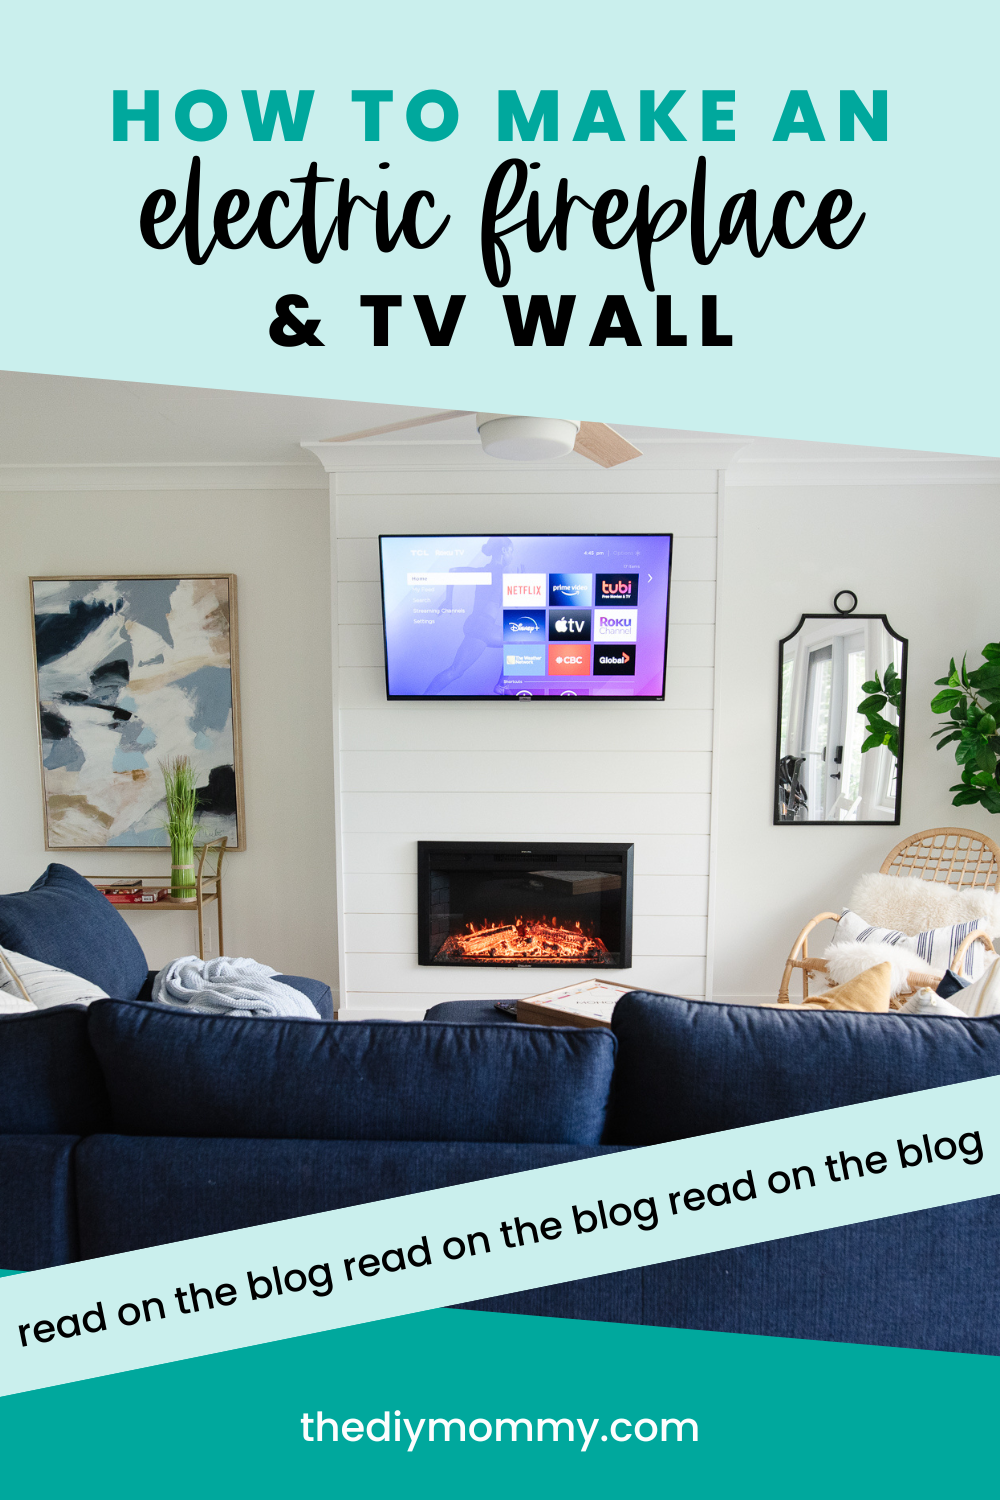
PIN ME:

Hi Christina,
This is a genius idea that might just solve a few problems i have in my home in the uk I’ve recently moved into. built on the 1960’s it has and no fireplace or focal point.
I wanted the tv fixed to the wall (so my 3 year old can’t reach it !) but didn’t like the idea of seeing all the wires either , so this look would work perfectly I’ll cost it up and see when I can afford to do it! I don’t know if we have Mdf shiplap in the Uk but I’m sure I can improvise!
Ps love all your posts and get some great inspiration from your Reno’s and tutorials
Heather ?