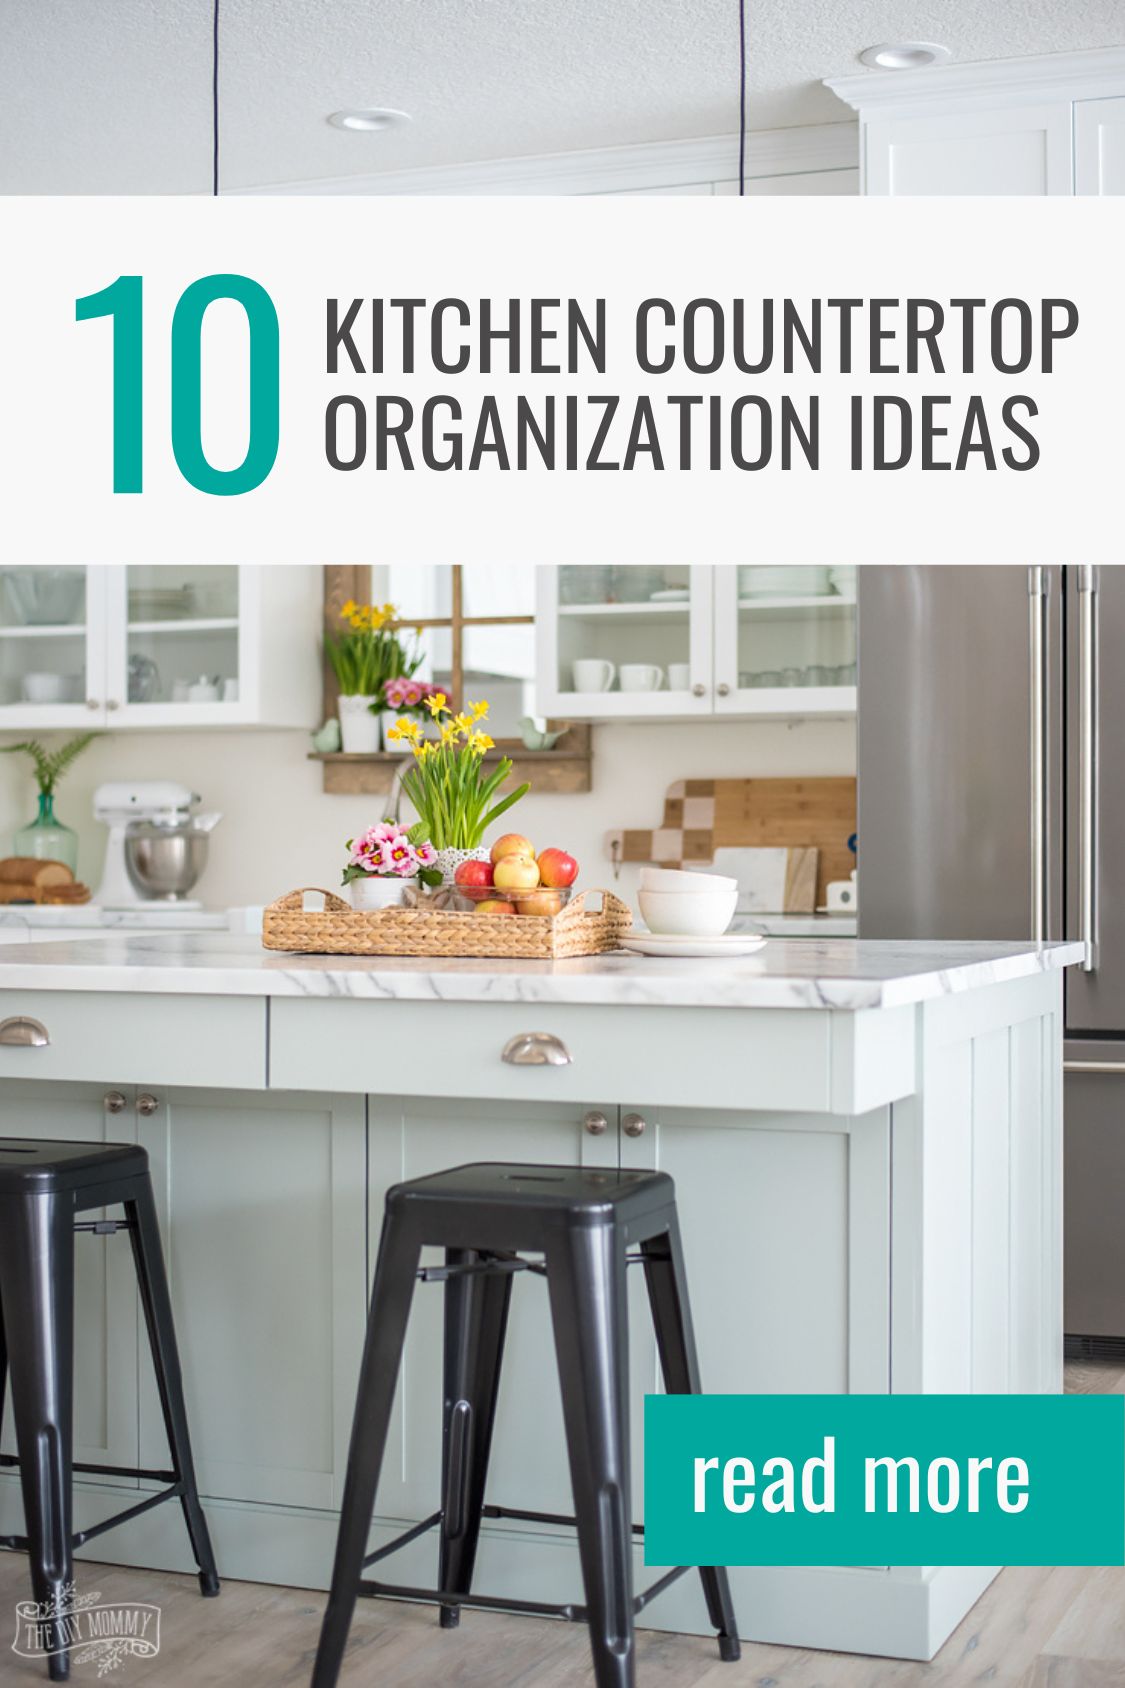
10 Best Kitchen Countertop Organization Ideas (Easy!)
This post may contain affiliate links · This blog generates income via ads
Are your kitchen countertops feeling messy and cluttered? Here are my favourite counter organization ideas that are easy to implement and maintain!
My kitchen is probably one of the busiest places in my home, and keeping it organized can be challenging! Countertop space is limited, and it can be tough finding the perfect spot for everything. Keeping my kitchen countertops organized is essential, especially for food prep. I don’t want cluttered countertops when I’m making dinner!
In this blog post, I’m sharing ten of my favourite & best kitchen countertop organization ideas that will make your kitchen look and feel much better!
Utilize a tray
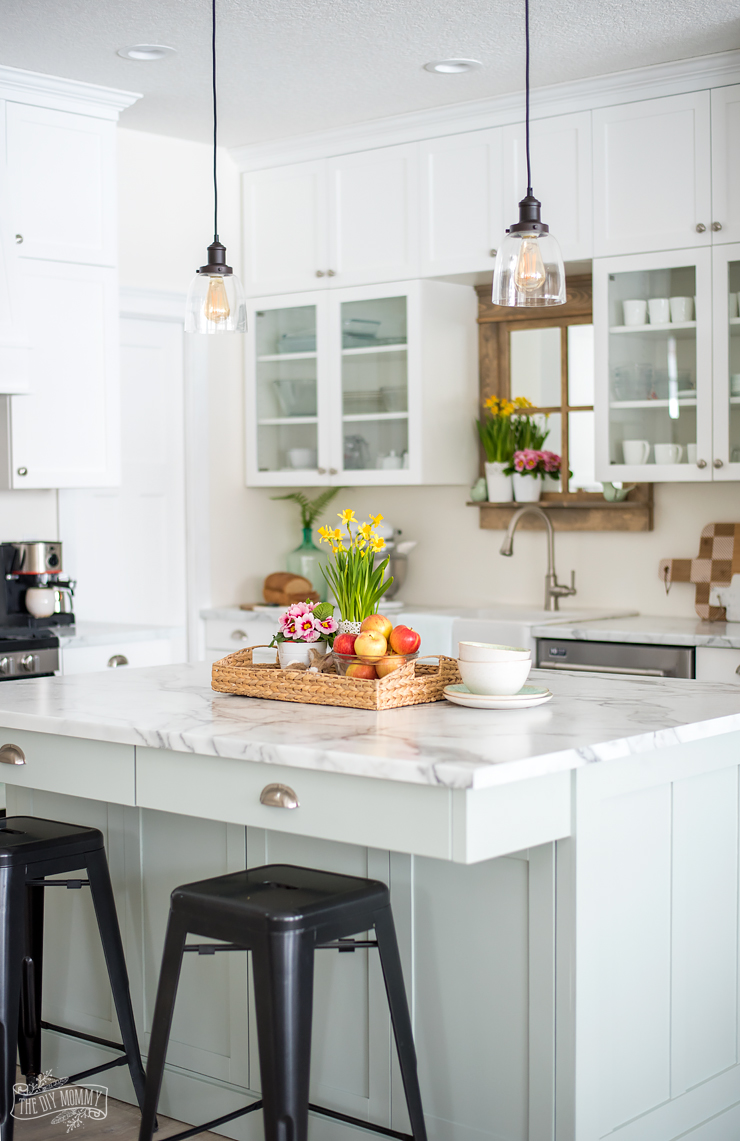
Consider using a tray to bring order to your countertop. By using a tray as a landing space for frequently used items, you can keep your countertop free from unnecessary clutter. Place your cutting board, cooking oils, salt and pepper shakers, and other frequently used items on the tray, and store the tray in a cabinet when not in use.
You can also place decorative items in your try, like my mom did above. Flowers are always a beautiful addition to any kitchen tray! They can be real, or I’m a fan of a high-quality, zero maintenance faux floral. Choose your tray to coordinate with your kitchen’s design style.
Don’t know your home decor style? Click here to take my simple 2 minute quiz that will help you determine what your style is and how to start creating a home that brings you joy.
Workstation sink
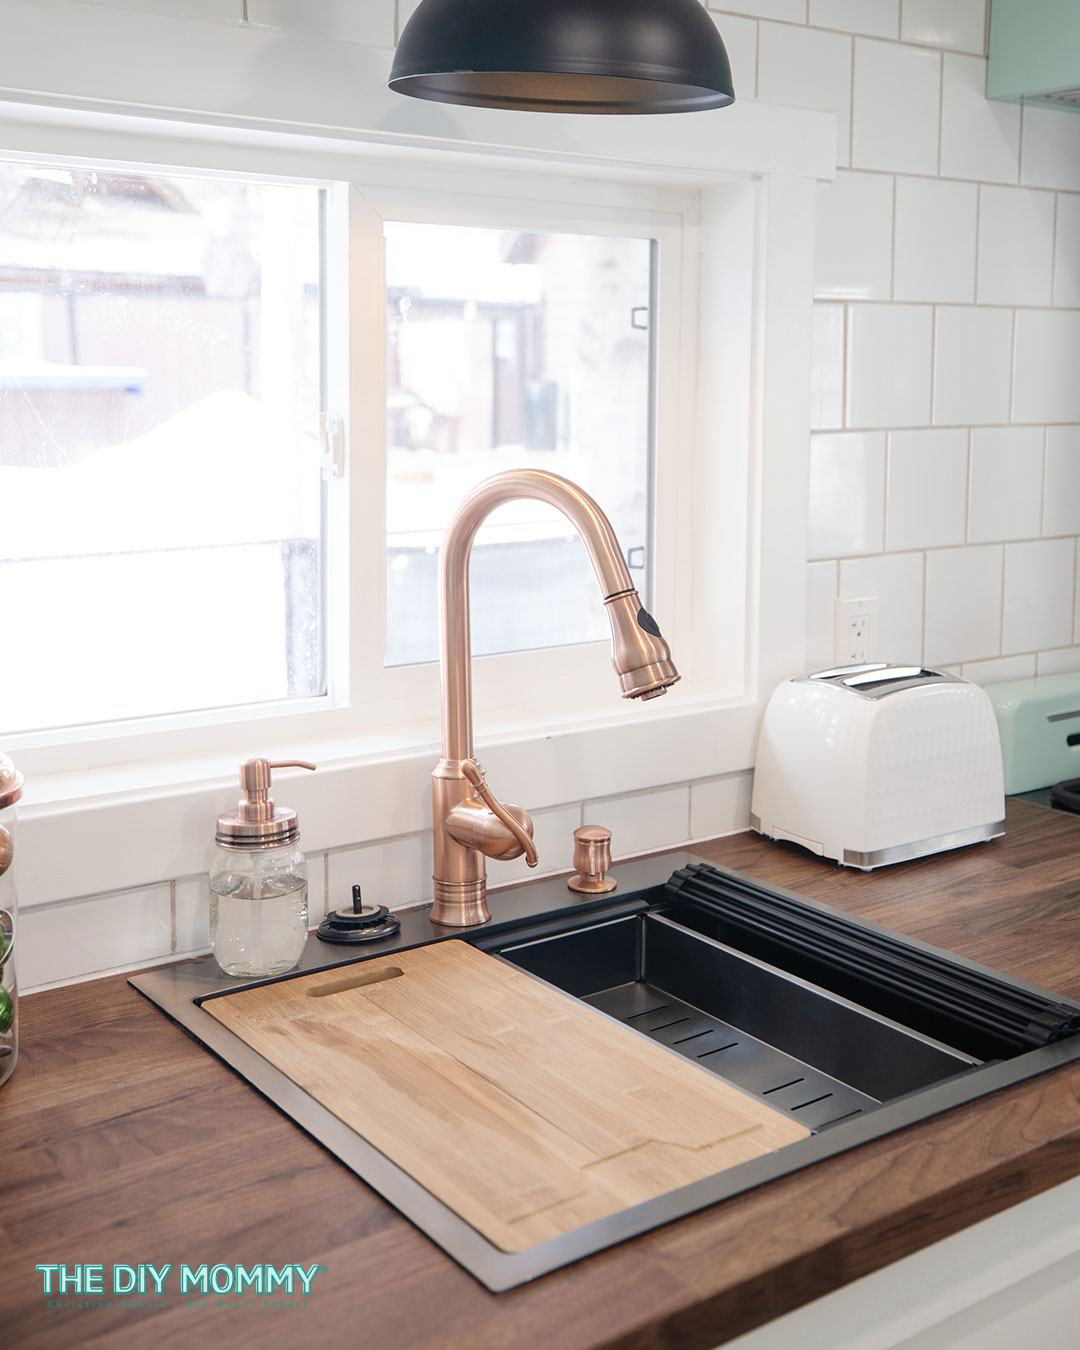
A workstation sink with multiple attachments like a cutting board and draining rack can save a lot of counter space. Instead of having to use a cutting board on a counter, you can fit one right into the ledges of a workstation sink. It’s the same with a drying rack! The workstation sink we used at our Tiny Lake House renovation saves a lot of counter space in the small kitchen. It has a cutting board, a rolling drying rack and a strainer that can sit right into the sink.
Any double-duty item you can include in your kitchen is a benefit when you’re living in a small space. In the case of this workstation sink – it has MULTIPLE functions! I’ve also seen similar sinks at places like Costco and Wayfair. You can find a workstation sink in almost any size to suit your kitchen layout.
Hang your cutlery or mugs
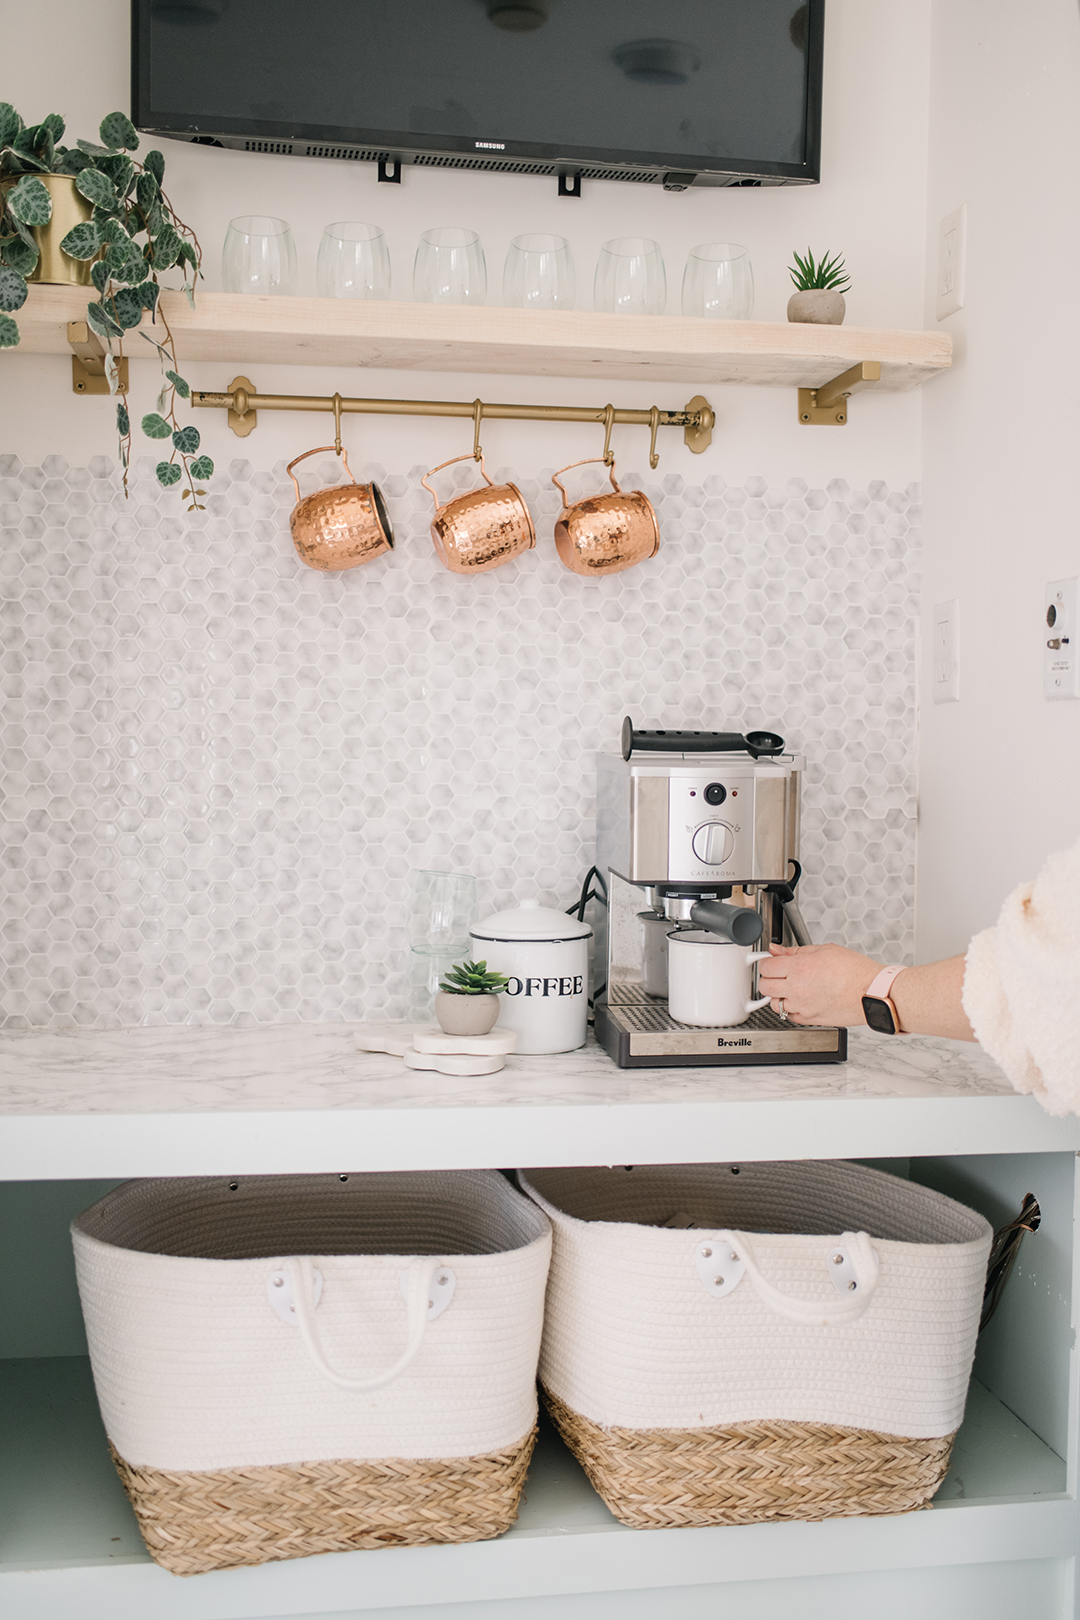
Instead of stacking mugs or cutlery on your counters, why not free up your countertop and hang them instead? You can do this by installing a rail with hooks beneath your cabinetry on on your backsplash. My favourite rail system is the HULTARP Rail with matching accessories from IKEA.
I’ve used this idea in both of our RV makeovers (check out my latest one here). RV kitchens are incredibly small, so moving as many items up & off the countertops is essential. I have an IKEA rail in our newest RV coffee station area to hang mugs, and I had one in our old RV kitchen to hang cooking utensils. I’ve also used a HULTARP rail in my home kitchen by our coffee machine to hang even more mugs!
I haven’t used one in any of my kitchen renovations yet, but you can also find magnetic knife holders. These can be mounted to the wall and are a clever way to store knives so that you can have more counter space.
Rolling cart
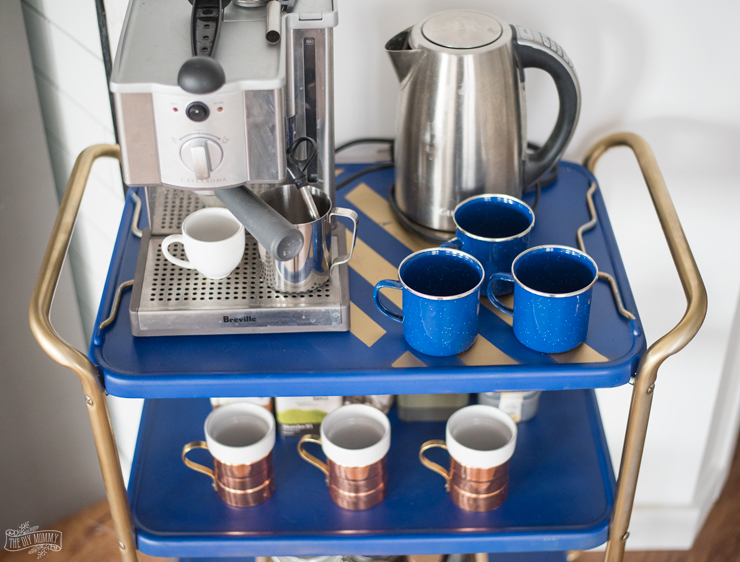
A rolling cart is the perfect solution if you need more counter space but don’t have the budget for a full kitchen renovation. You can use it as an extra prep area, storage for appliances, or even as a mobile bar cart.
IKEA has a few of these to choose from if you’re on a budget, or you can do something like my sister did above. She wanted to keep her countertops clear, so she thrifted this rolling cart and gave it a new life with some spray paint. On top, she placed her espresso machine, a kettle, some mugs and some tea. It’s such a cute little statement piece in her kitchen, and adds some extra storage space.
Utensil holders
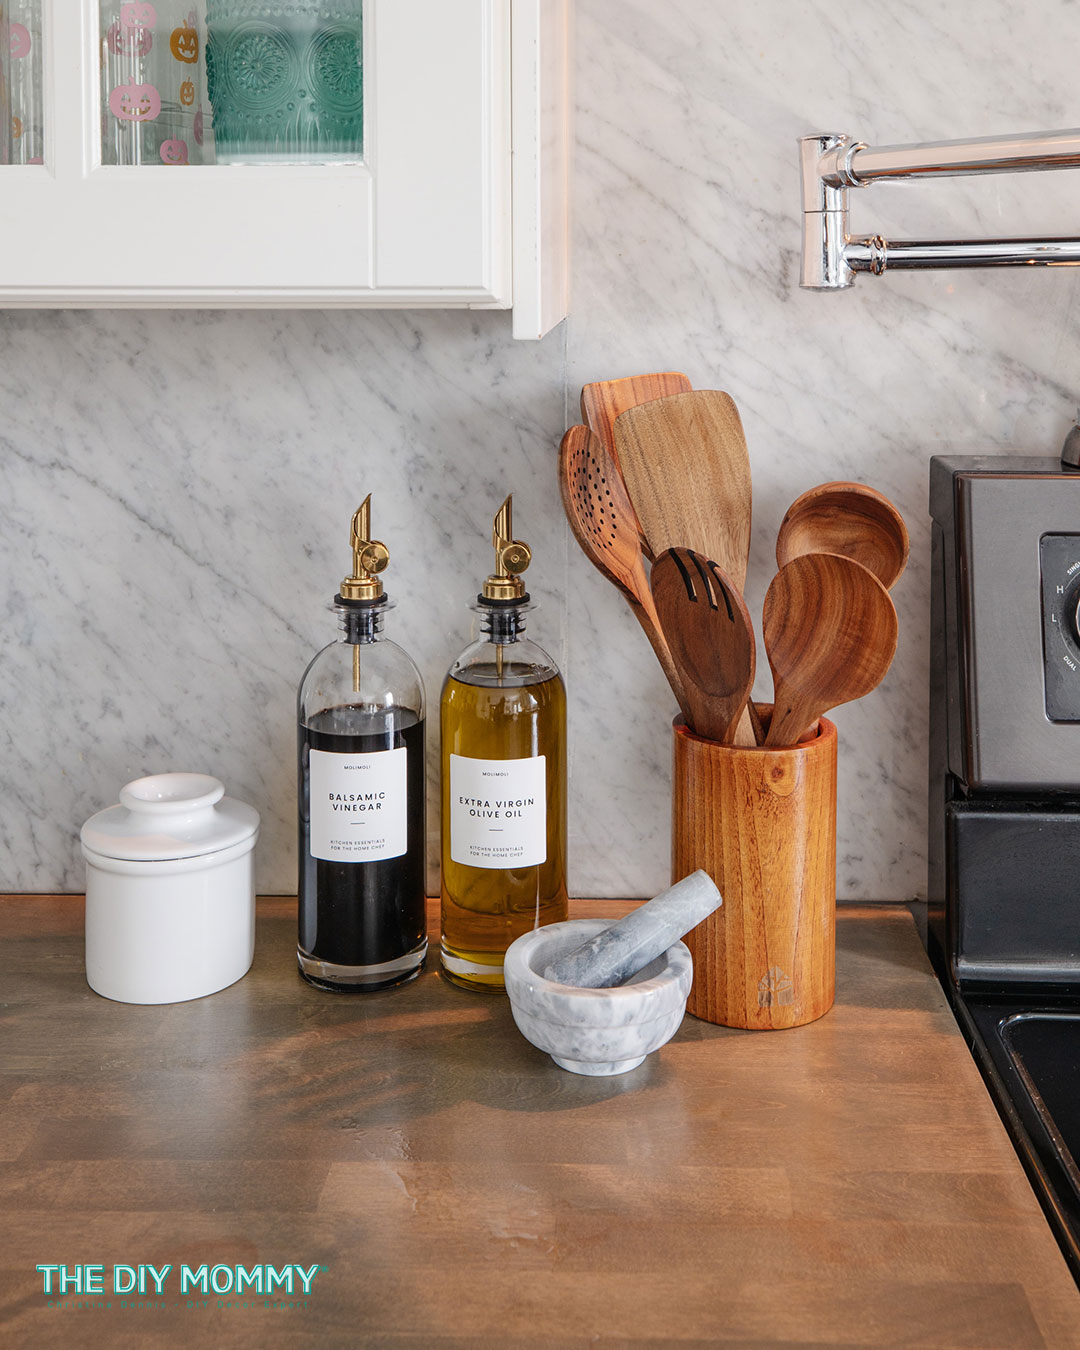
Utensil holders are excellent for organizing spoons, spatulas, and other cooking tools while keeping them within reach. They can also add a decorative touch to your countertop. I love this wooden utensil set that comes with a holder. It adds a natural vibe to my kitchen while keeping all of my wooden spoons and spatulas near my stove.
You could also DIY your own utensil holder on a budget! How about upcycling a large mason jar into a holder? You could leave it as-is, or give it a fun spray paint finish. Consider using a unique vase as a utensil holder… no one will ever know! The thrift store is always a wonderful place to find vases and containers you can turn into utensil holders.
Pedestals
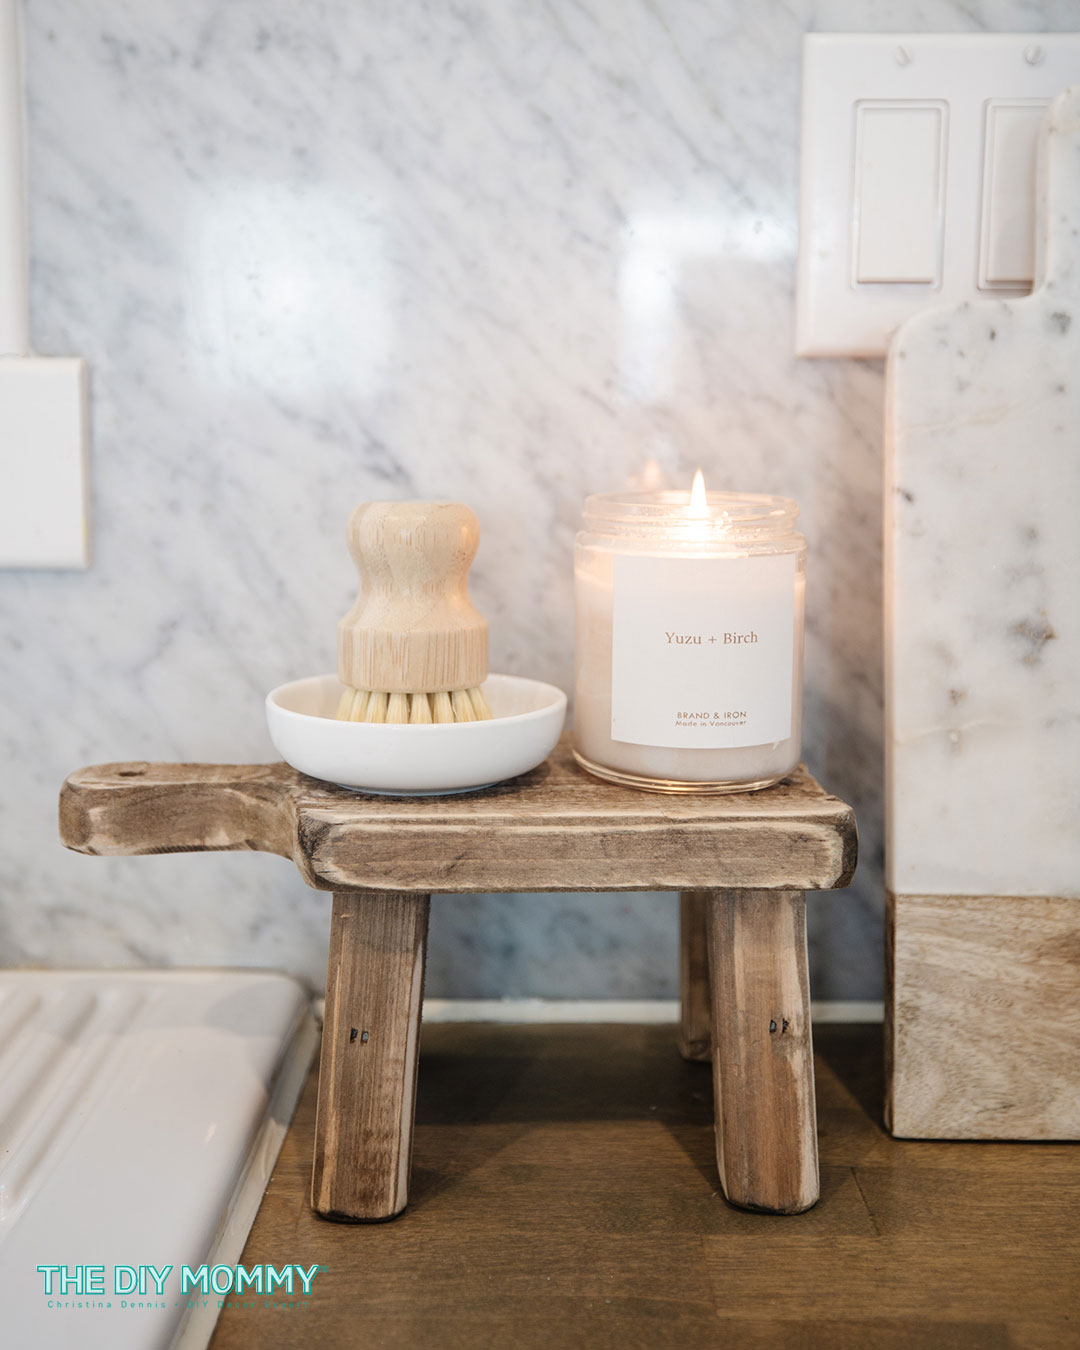
Any sort of pedestal is a handy addition to a kitchen counter. This sweet wooden pedestal is from Amazon, but you could even use a small thrifted cake stand for the same effect.
The benefit to adding a pedestal is that it adds another surface on top of your counter. Now you can place things both on top of the surface AND underneath! Here, I’ve used this one to display my cleaning brush and a candle by the sink. Underneath the pedestal I’ll usually place some more cleaning brushes and a sponge. You can also place items like dish soap, spices, and any of your smaller kitchen accessories on top of a pedestal.
Acrylic risers or tiered trays are similar items that have the same benefit. They both help create an extra vertical surface that can be so helpful when you have limited counter space!
Hang pots & pans
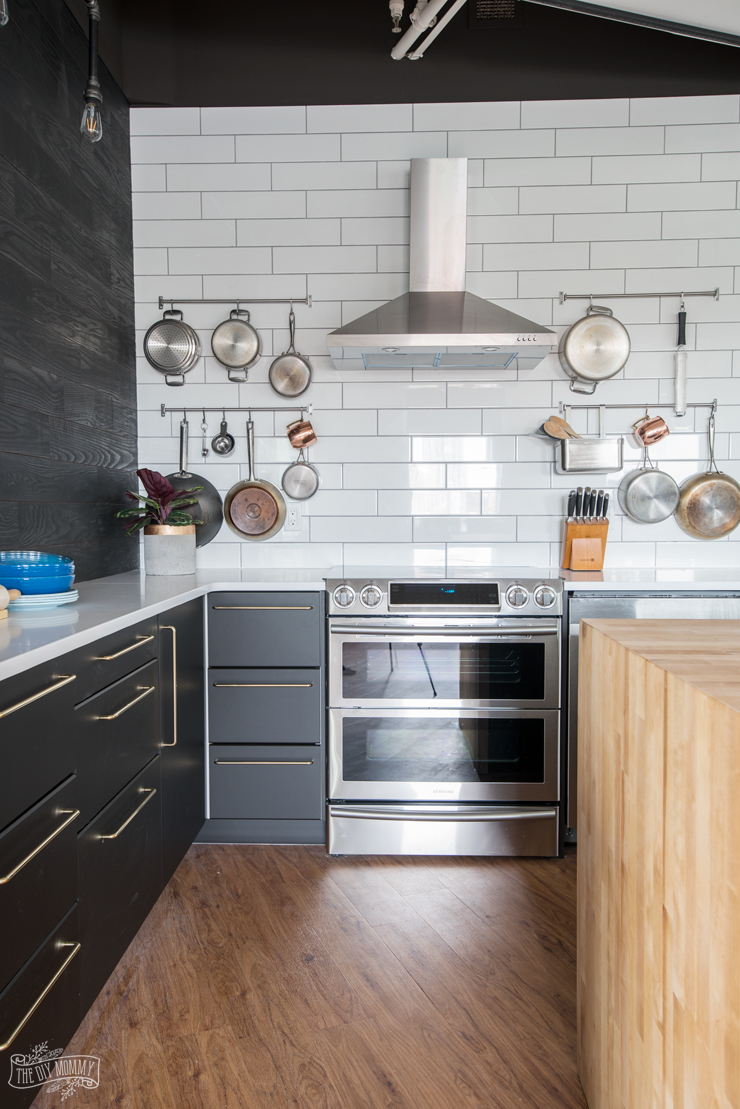
Just like hanging mugs and utensils, getting your pots and pans up and off your kitchen surfaces is a clever kitchen countertop organization idea. Here in my sister’s condo kitchen, she used IKEA rails on her backsplash to hold all of her cookware, and there are even some caddies for utensils.
This is also a great solution if you have a lack of drawers in your kitchen. Rather than placing your pots & pans in cabinets that are hard to organize, having them on the wall makes them much more accessible.
Baskets
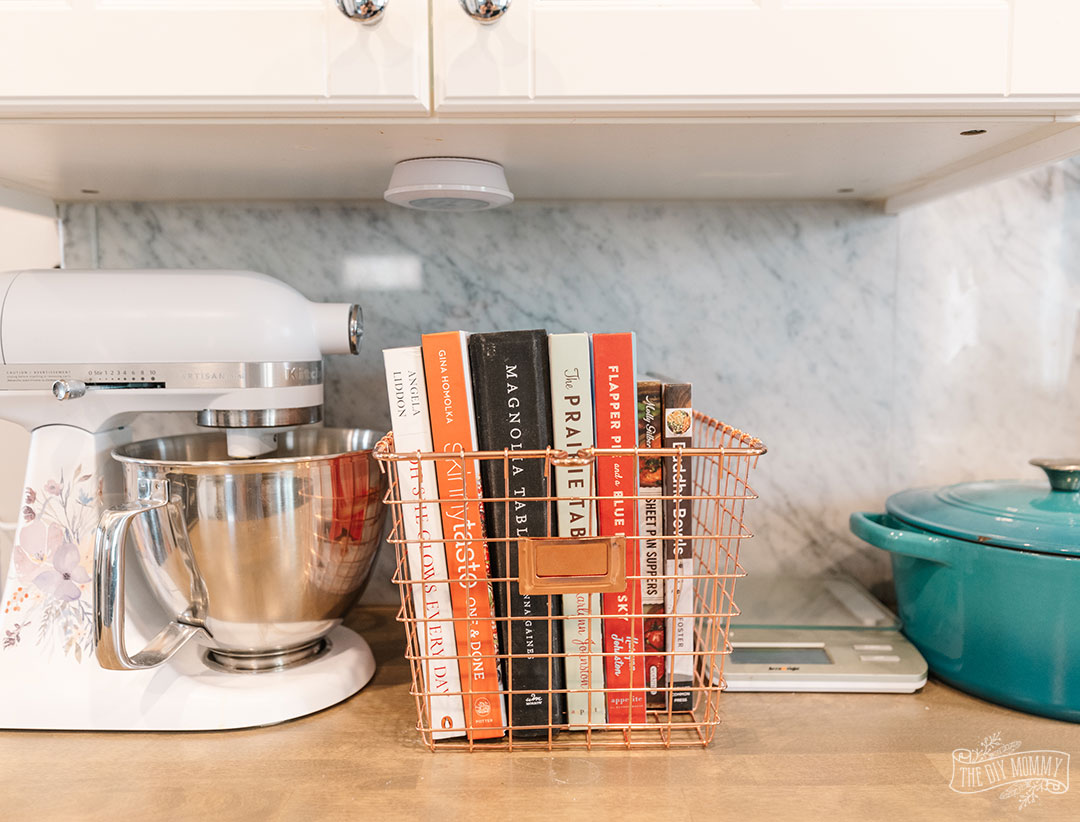
Use baskets to corral like items together and help them take up less room on your kitchen counters. You can find a colour and style that matches your aesthetic. I love this copper wire basket by our stove to keep all of my recipe books together! It looks so cute by my stand mixer, and it keeps my books accessible when I’m ready to bake something.
If you want a place to store mail before you have a chance to sort it, an opaque basket might be a better choice. A beautiful rattan basket in the corner of your kitchen can hide paperwork and electronics while keeping your countertops looking clutter free!
Clear countertop canisters
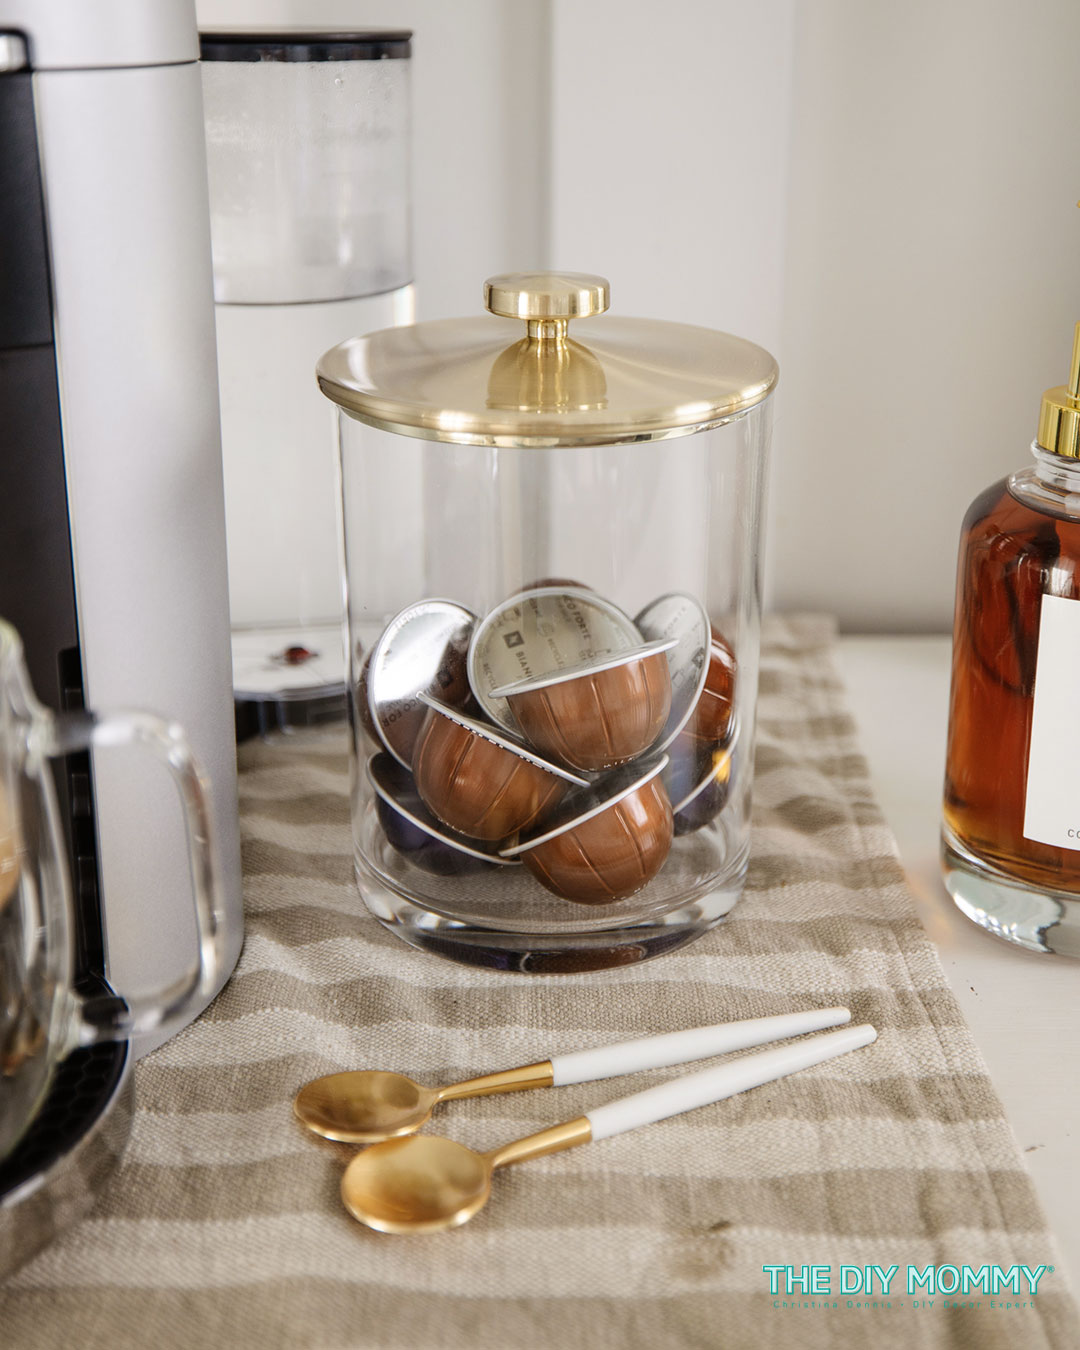
Investing in clear countertop canisters is an ideal way of keeping your countertop organized while at the same time showcasing your most-used ingredients like flour, sugar, coffee, and more. I have these gold lidded canisters in my kitchen to store my favourite snack (nuts!), and one on my coffee station to store my Nespresso pods.
I’m a fan of clear containers when the contents are pleasant to look at, but if you’re storing something uglier (sorry, bags of snacks!) use an opaque canister.
This is also a good chance to make a decor statement. Choose a canister with a lid that highlights your decor style. You can find ones with gold lids, silver lids, copper, or wood… there are so many options!
Floating shelves
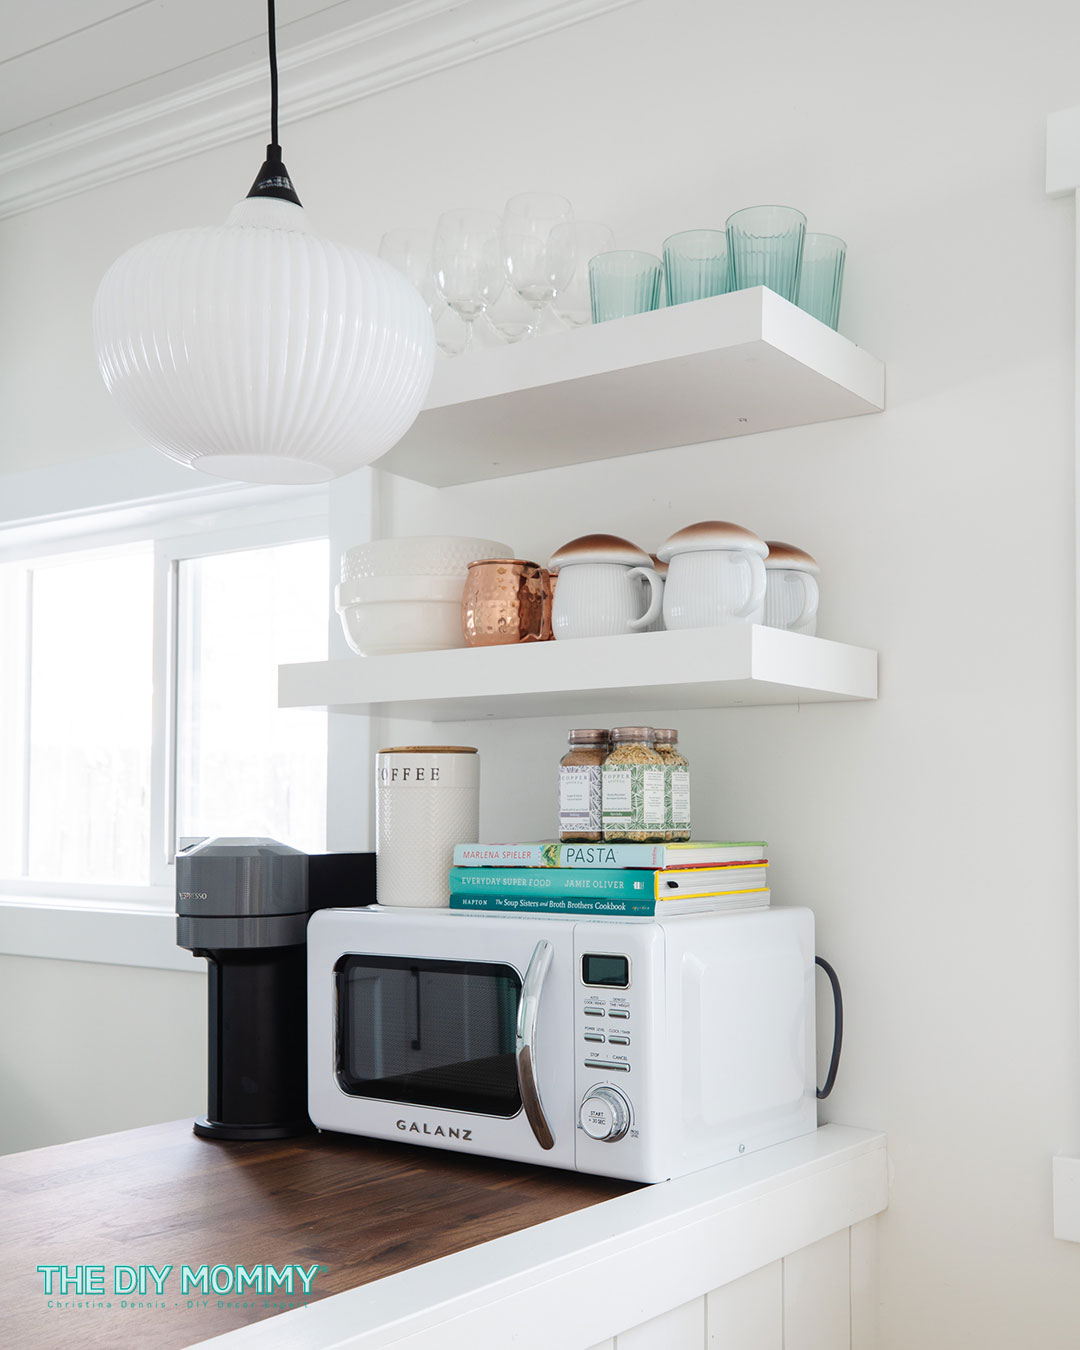
Last but not least, why not use that unused wall space to create more storage? Wall-mounted floating shelves are perfect for storing small items like measuring cups, cutting boards, glassware, bowls and other kitchen essentials that would otherwise clutter your countertop.
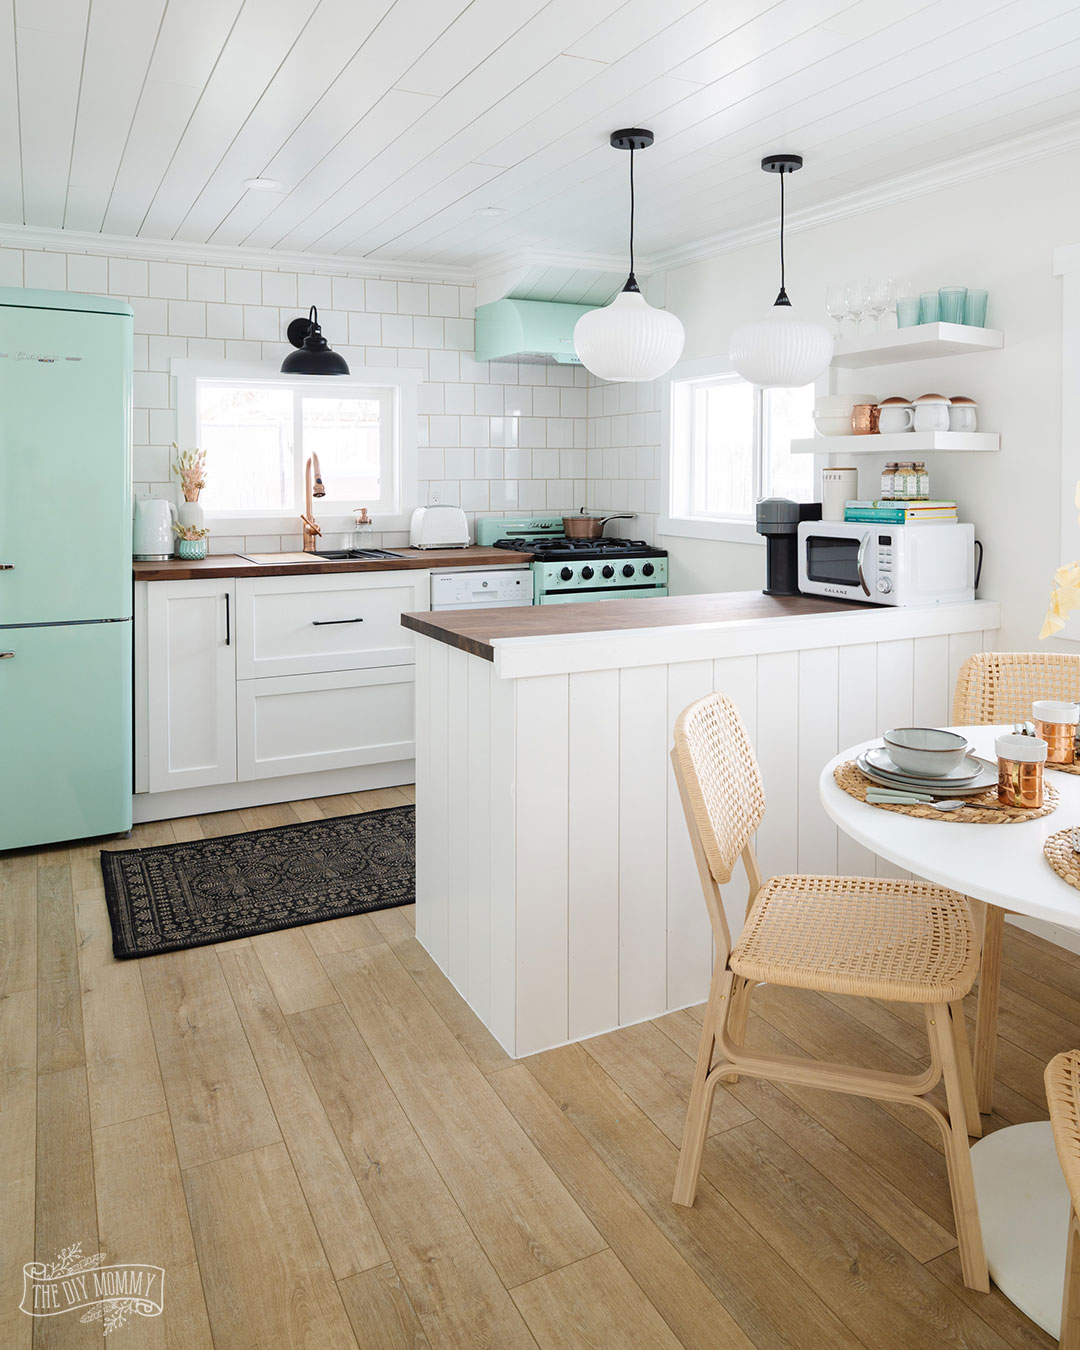
We installed a couple of floating shelves in the kitchen at our Tiny Lake House renovation. We had to be smart with the storage in this kitchen since it’s only 6 by 9 feet and there’s no pantry. There wasn’t much room for any upper cabinetry, so installing two floating shelves from Home Depot was an easy and handy way to add more storage. This keeps the countertops clearer, and I also love displaying cute mugs on the shelves!
To install floating shelves:
I use these ones from Home Depot.
- Decide where you want the floating shelves to hang on your kitchen wall.
- Locate the studs in the walls where you want your shelf to hang and mark them.
- Attach the bracket that comes with the shelf to the wall using a drill and the supplied hardware. Ensure the screws go into the marked studs.
- Slide the shelf casing onto the mounted bracket. Secure in place by tightening the screws underneath each shelf.
I hope you enjoyed my best kitchen countertop organization ideas! Let me know which one is your favourite in the comments below. If you have any further tricks to keeping your kitchen counters tidy, I’d also love to hear them in the comments. Cheers to an organized kitchen!
PIN ME:
Want more kitchen design ideas?
Click below to get more inspiration for a well-designed, clean & organized kitchen:

