Make an Outdoor Fall Fairy Garden
This post may contain affiliate links · This blog generates income via ads
Not only are fairy gardens adorable, but they’re fun for kids to create and play with! Learn how to make a beautiful but easy fairy garden outside this Fall.
Disclosure: This post is sponsored by STIHL. As always, all of the opinions here are my own.
We finally had a break in our premature winter wonderland and enjoyed a gorgeous week of sunshine and normal Fall temperatures! We were able to finish up some yard cleaning and do something fun – create a little fairy garden in our woods for the girls to play with outside!
Come take a tour of our mini Fall fairy garden. Plus see how to build your own for the ultimate imaginary fun play time!
The first thing I did was found a nice thick tree in our woods to act as the center of our little garden. If you don’t have a grove of trees in your yard, you could use a log or stump as your base.
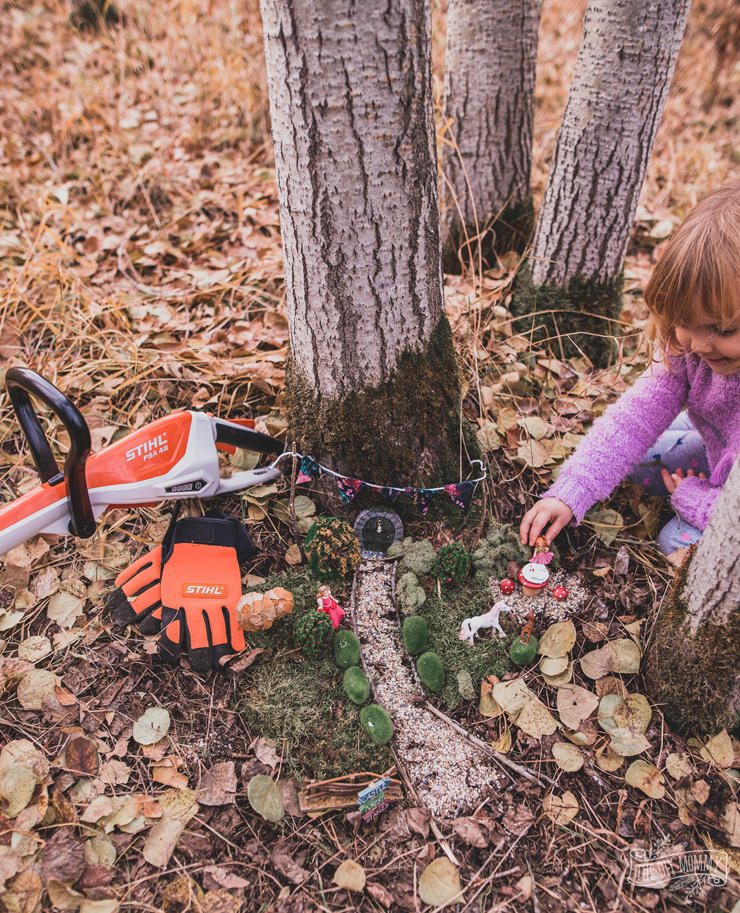
Next, I used my STIHL Lithium-Ion Grass Trimmer to trim down all of the grass around the site. I love that this trimmer is battery operated so I don’t have to worry about any tricky start-up or cords, and that it’s lightweight and easy for me to use in awkward areas like this.
I’ve been using our STIHL trimmer all summer long this year to trim around areas like our patio, the deck of my studio, and around the trees in our yard, too. It comes with an integrated battery and charger for ease-of-use. I really like how you can pivot its head for different applications. It’s definitely had a work-out in our yard this year, and I absolutely love it!
The next thing we did for our fairy garden was gather some miniatures that all the girls and I liked. Now’s a great time to shop for fairy garden supplies at craft stores because they’re almost all on sale!
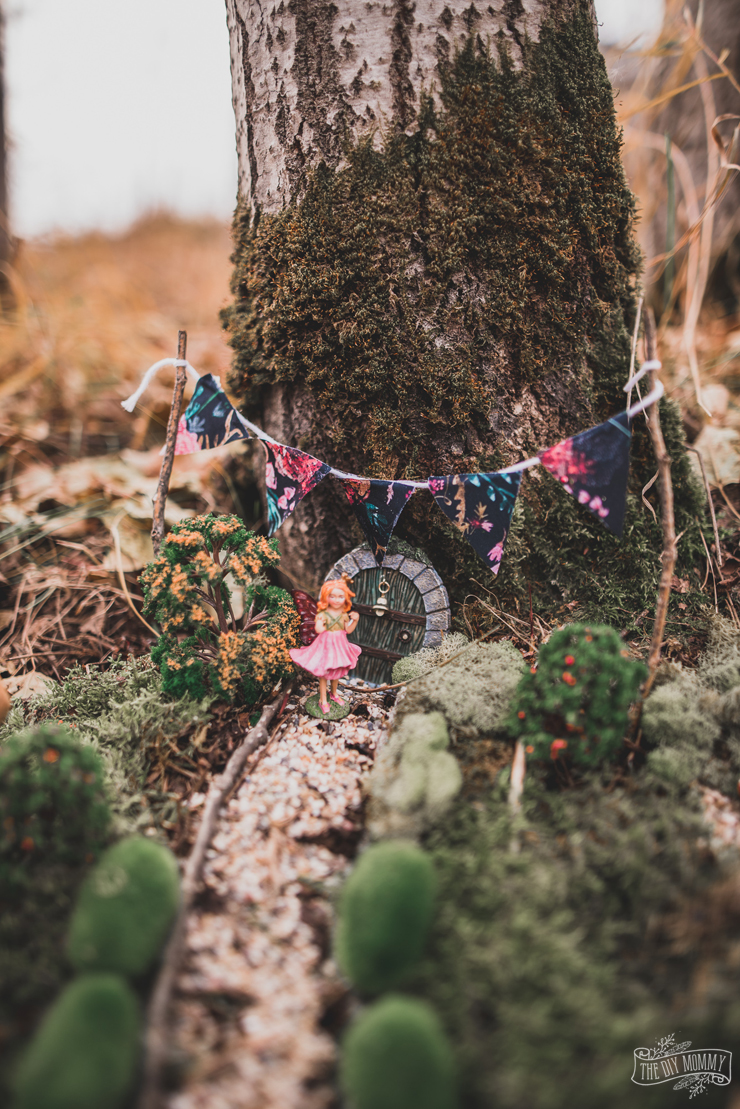
We also made a very simple bunting banner with twigs, yarn, scraps of fabric and a hot glue gun.
Back at the fairy garden site, I cleared away the top layer of leaves beneath our tree.
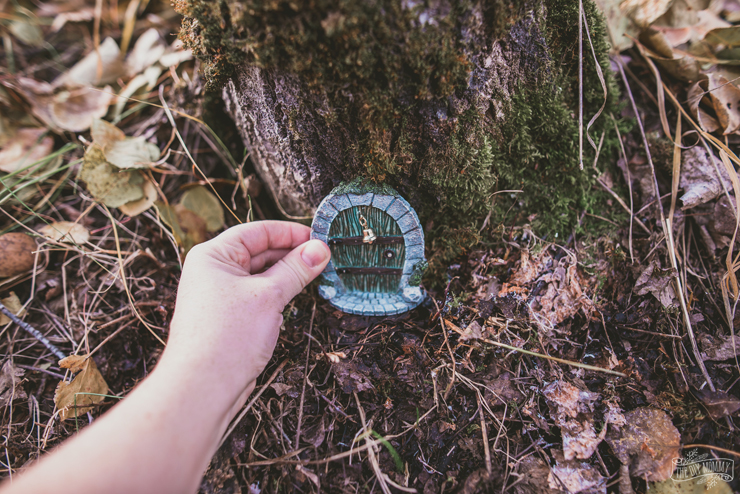
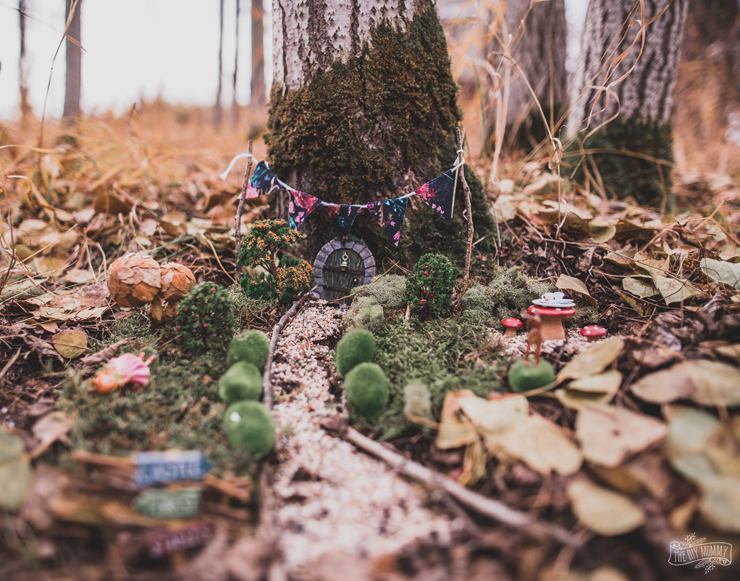
Then, Little B and I placed a fairy door we found at the base of the tree.
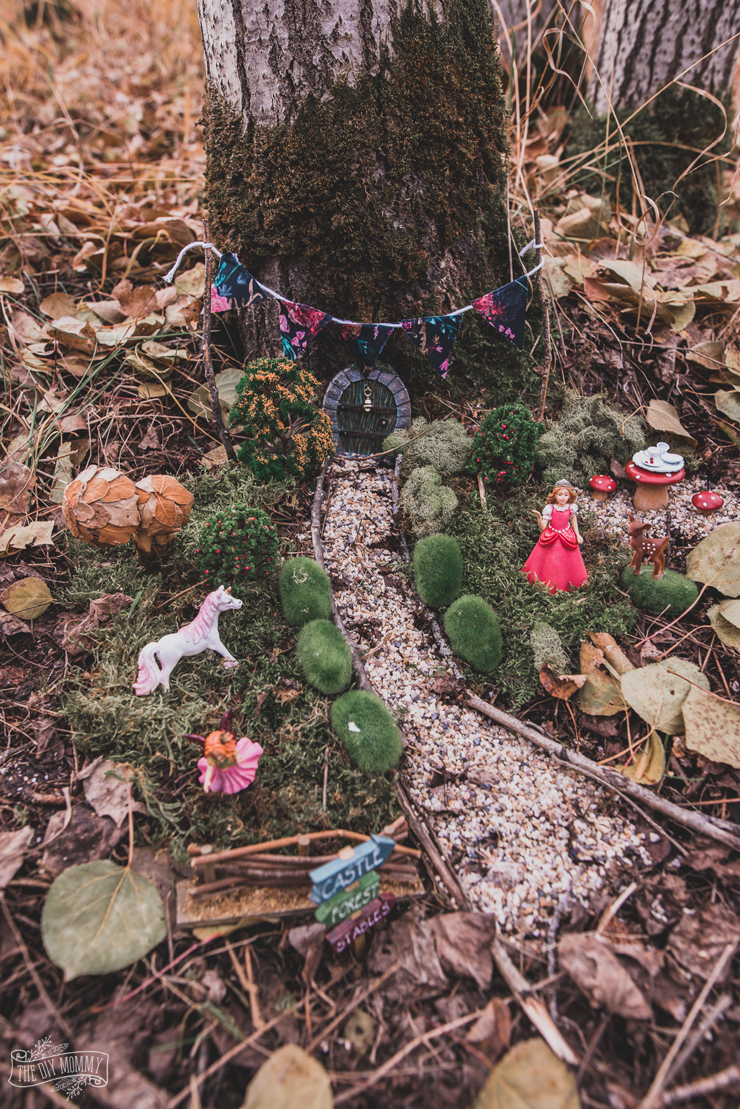
Next, we laid some twigs from the door to create the outline of a path and filled in the path outline with some small pebbles.
Then, we harvested some moss from nearby trees. Then we used it to cover the ground and make some grass for our fairy garden. You can also purchase moss at a craft store.
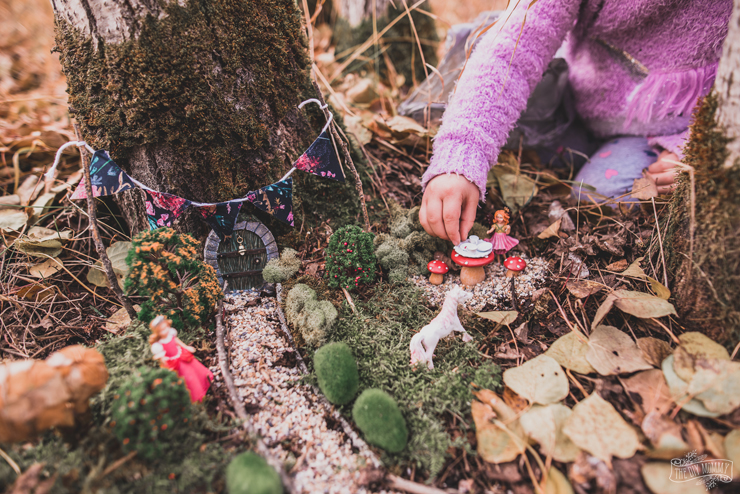
Finally, we placed our DIY bunting banner and all of our fairy garden characters and accessories in place.
After we made the fairy garden, my girls played with it for an hour and had so much fun! We’ll cover it up when the snow flies again for a treasure we’ll find in the Spring.
For now, we’ll enjoy this gorgeous Fall weather by playing with our secret and magical fairy garden in the woods… and getting a little more Fall yard work and clean-up done too!
You can find more info on the STIHL Lihium-Ion Trimmer right here, and head over here to see more of their lithium-ion battery operated tools that are perfect for the gardener.
Now tell me: Have you ever made a fairy garden? What are your favourite yard tools to use in the Fall?
Pin Me:
More Fairy Garden Ideas
Make a Fairy Garden in a Thrifted Teacup













Hello CHRISTINA, Your idea is great and wonderful. Its helps our children refreshing, enjoyable and responsibility. I like your ideas and photos. Thank you for sharing this great post.
For a polished look, put down a layer of Scotts bagged mulch. Or, you can put down straw, shredded leaves, pine straw, or some other locally available material.
Great ideas!
This is wonderful! I’ve featured it today at Thursday Favorite Things. Thanks for sharing!
Thanks so much, Pam!
Oh Christina, this fairy garden really is adorable. We all need a pinch of magic in our lives… especially our little ones!!
Thank you for sharing it at Create, Bake, Grow and Gather this week. I’m delighted to be featuring your outdoor fall fairy garden at tonight’s party and pinning too.
Hugs,
Kerryanne
Thanks so much!