Our DIY Camper: A New Mattress and a Big Mess
This post may contain affiliate links · This blog generates income via ads
If there ever was a makeover that’s going to make me lose my mind, it’s this one – Our DIY Camper. For such a tiny square footage, this project has been a TON of work! In case you missed it, we bought a 1993 5th wheel travel trailer this Spring that needed a lot of upgrading and fixing. Let me give you a quick update on where it’s at today, plus show you our pretty new mattress we got for the camper.
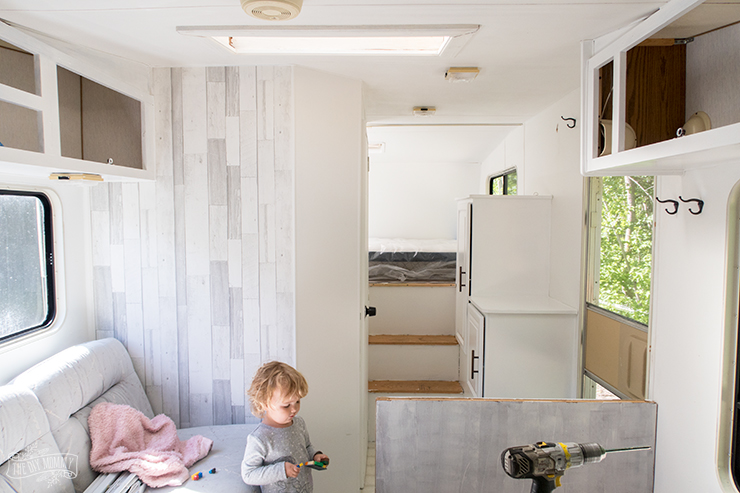
While my hubby has been working on ripping the entire backside of the camper off to replace the water damaged frame (ugh!), I’ve been working on the interior of the trailer.
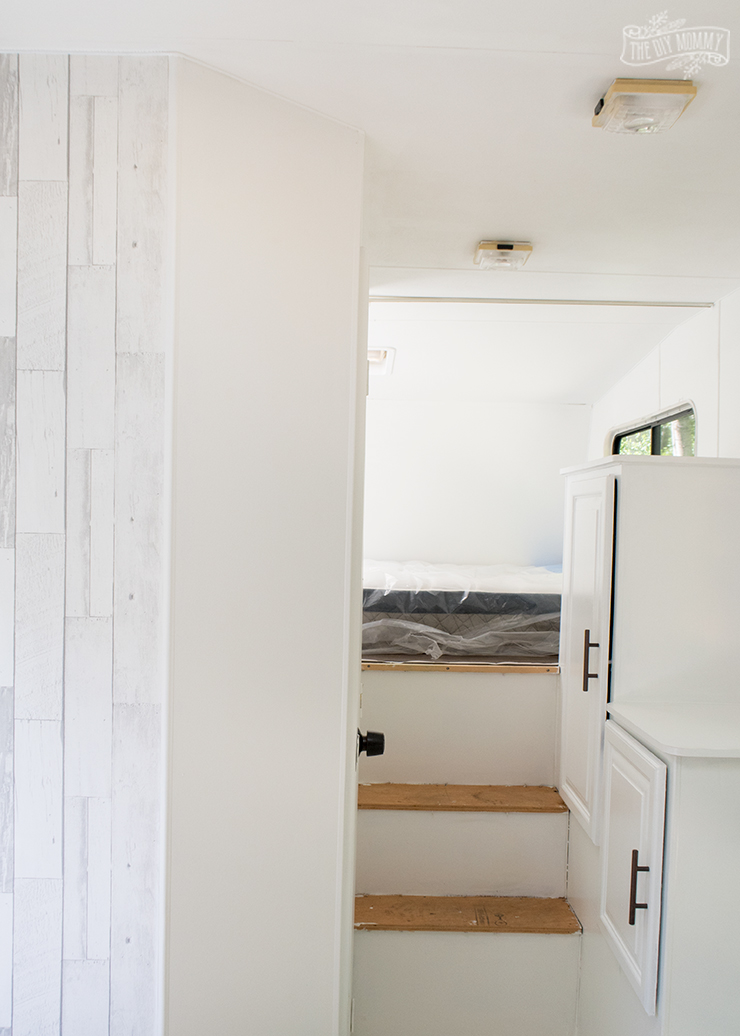
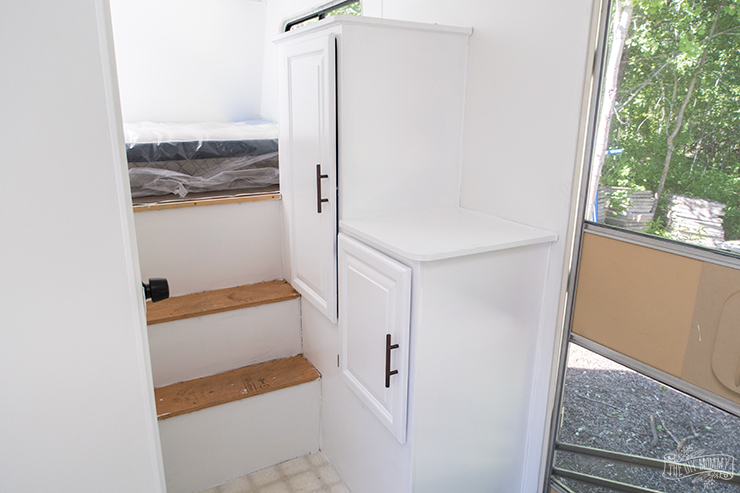
I feel like I’ve been painting for days and days (which I have been – I’ve probably put over 30 hours of painting into this baby already), but it’s looking so much better already, don’t you think?
If you haven’t seen the “before” pics, you can see them right here.
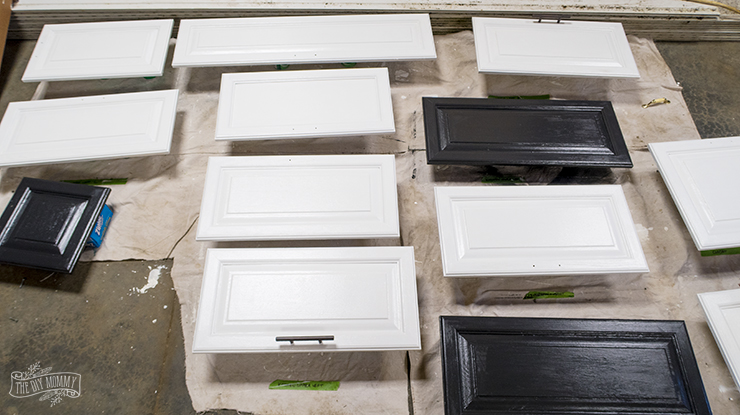
Rather than buying new paint, I used some leftovers that I had on hand from a variety of projects. The walls are Simply White by Benjamin Moore, and the cupboards are Ultra White by Valspar (in a semigloss so that they’re easy to wipe. The lower cabinets in the kitchen will be Noir by Valspar.
Painting cupboards is always a huge undertaking, but I wanted to do a good job so that we wouldn’t have to fix these up again. I think I need to dedicate a separate blog post to how I painted the honey oak cupboards in our camper, so I’ll do that once they’re all done!
I also ripped out all of the old drapes, cornice boards and carpets. I think the less textiles to get dirty in here, the better! I’m going to lay some peel-and-stick vinyl plank on the stairs and the floor.
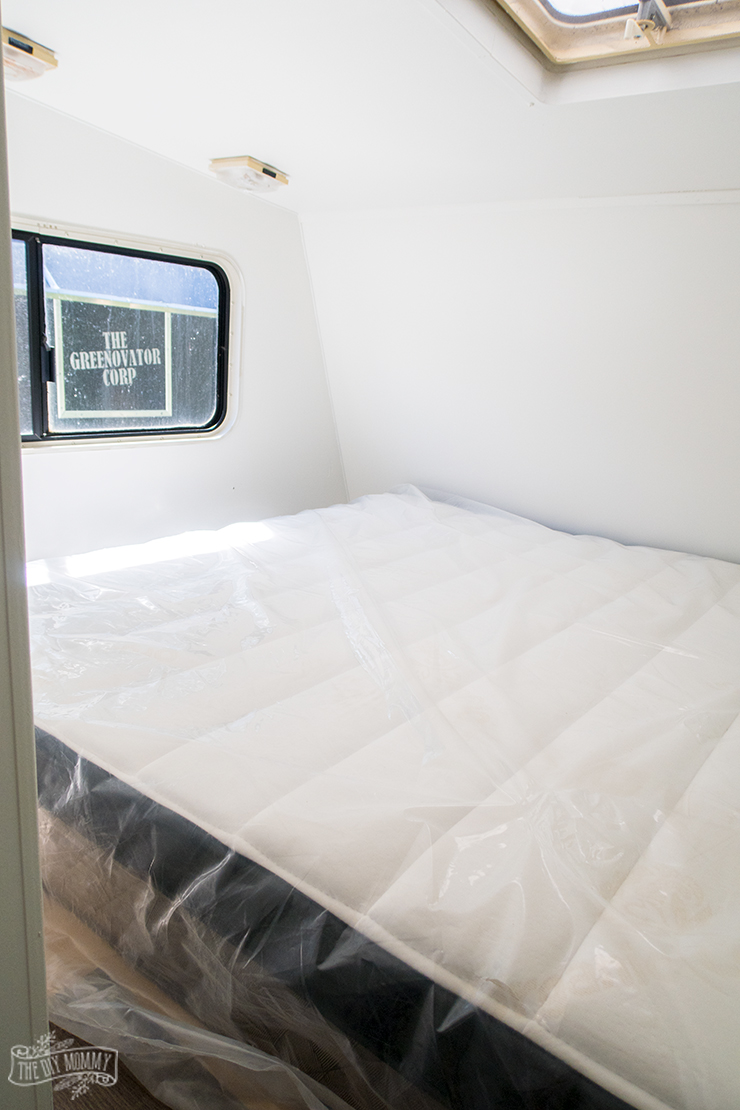
Our “master bedroom” also good a beautiful and important new addition – a mattress! We chose to go with the Springwall Endeavour 3 Euro-Top Firm Queen Mattress from The Brick because it’s a thinner profile than lots of mattresses, and it’s nice and firm so it should last a long time in our camper. It has an 8.5-inch layer of comfort foam supports and contours to your entire body, and it’s definitely a huge upgrade from what was in here before!
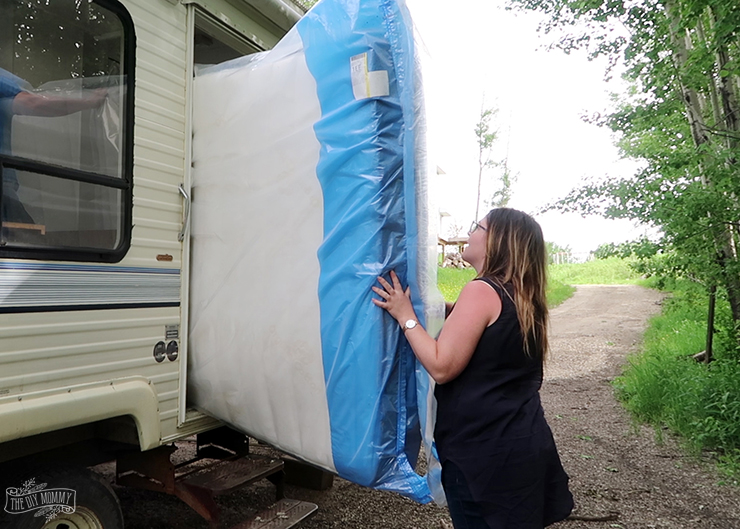
It was an interesting job trying to get the mattress into the camper – lots of crawling and climbing was involved – and you can see more of that along with more footage of the camper updates in the video below.
Our first camping trip with our trailer is very soon, and I’m pretty disappointed that we won’t have the whole thing done in time. We will have it safe and clean by then, however, so I’m going to celebrate that and enjoy the adventure with our little family!
What do you think of our camper renovation so far?
Disclaimer: This post is sponsored by The Brick. As always, all of the opinions here are my own.

It’s looking SO amazing Christina! All that hard work is totally paying off!!!
Thank you so much, Kristi 🙂
It’s goregous! The “before” is definitely more along the lines of what I think a camper looks like. I’m loving what you’re doing. So much cleaner, brighter, and more modern.
Thank you so much, Julie!
Your cabinet doors are looking awesome, Christina, and so professional! I’m helping a friend redo her cabinetry,I and I hear you when you say it takes time! But your camper looks so fresh and modern! Well done!
Enjoy your first camping trip. Sorry the back window broke! Hope it’s a relatively easy fix!
Thank you so much, Sheree. It most definitely is a lot of work but well worth it when your done 🙂
Looks very cool! I like how the paint really brightens it up inside. 🙂 You’ll have so many memories in this camper! 🙂
Thank you, Bonnie!!
It looks so good, Christina! I can only imagine the amount of work that it has taken. We own a new trailer now, but I wish when we’d had our tent trailer that I had thought to do a reno of it. I just didn’t think it could be done (I have NO idea why – these were the days before Pinterest!), and it would have been a sweet “little” project to do.
Enjoy that fun new space with your family – memories of camping trips will be with your girls for the rest of their lives. 🙂
Thank you so much, Kathleen. Christina is so excited for all the camping trips for her family. Thank you for stopping by and following along with her camper progress.