FAQs About Our DIY Camper
This post may contain affiliate links · This blog generates income via ads
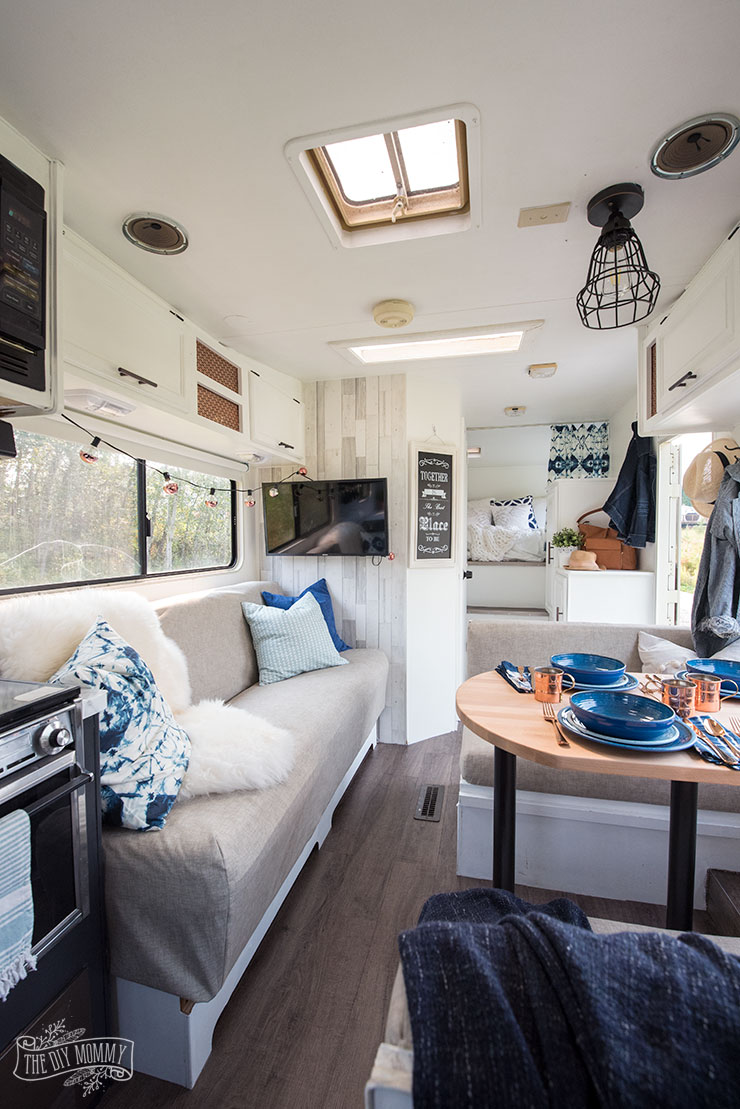
Summer will come again soon… right?! It doesn’t really feel that way right now as we’ve been experiencing some incredibly cold weather here on the Alberta prairies, but I certainly can’t wait for warmer weather and a chance to take Our DIY Camper out on the road again! Today I wanted to address some frequently asked questions about our RV renovation, plus let you know that I’ll be at the Edmonton Renovation Show this weekend giving even more tips… and our camper will be there, too!
This weekend, January 26-28th, is the Edmonton Renovation Show. You can read all about it right here, and make sure to grab some tickets if you’re local! The show will feature tons of vendors that will give you product ideas on how to renovate your home, plus there’s a main stage with lots of exciting speakers, and a fun feature called “Camping Chic” where Our DIY Camper will be displayed! You’ll be able to peek inside our renovated fifth wheel along with a couple of other RVs.
I’ll be speaking on the Main Stage at 3:00pm MST on Friday and 7:00pm MST on Saturday about How to Renovate Your Camper on a Budget. I hope to see some friendly faces there! I can’t wait to share my tips in person with you, but meanwhile let me answer some common questions I get about our renovated camper. If you’re local and come to the show, I’d be happy to answer questions in person, too!
If you’re new to Our DIY Camper project, you can read all about it here. I’ve tried to put as much info & resources in that blog post and video as possible, but here are some common questions I receive about the project:
How much did your RV renovation cost?
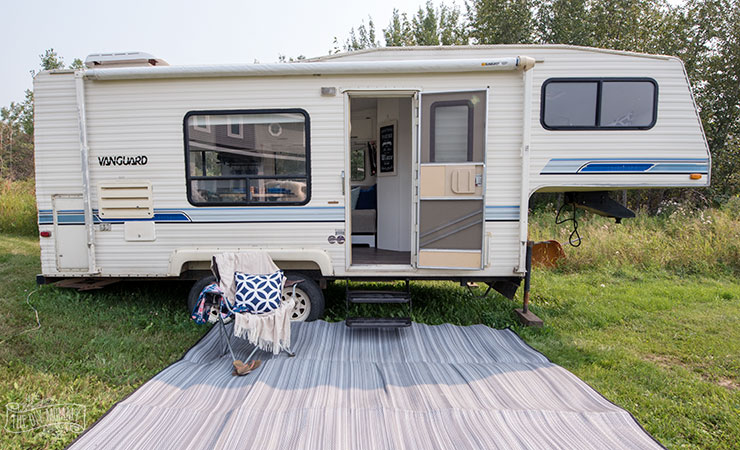
We spent $1000 to buy this 1992 Vanguard 5th wheel, and then another $1000 to renovate it (NOT including our labour)! We did just replace all the windows in the camper which added another $600 to our renovation cost.
How do you hang things on the walls?
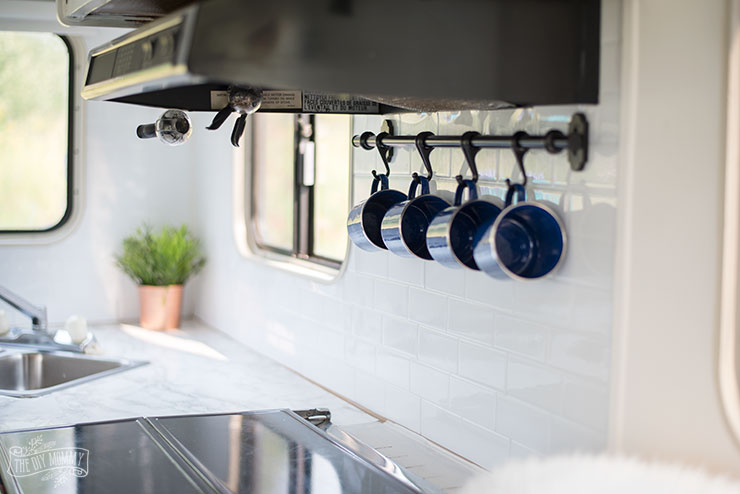
We’ve used sturdy screws for the rods, TVs and hooks, and then I used Command Picture Hanging Strips and Hooks for the smaller pieces of art.
Did you paint right over the vinyl wallpaper?
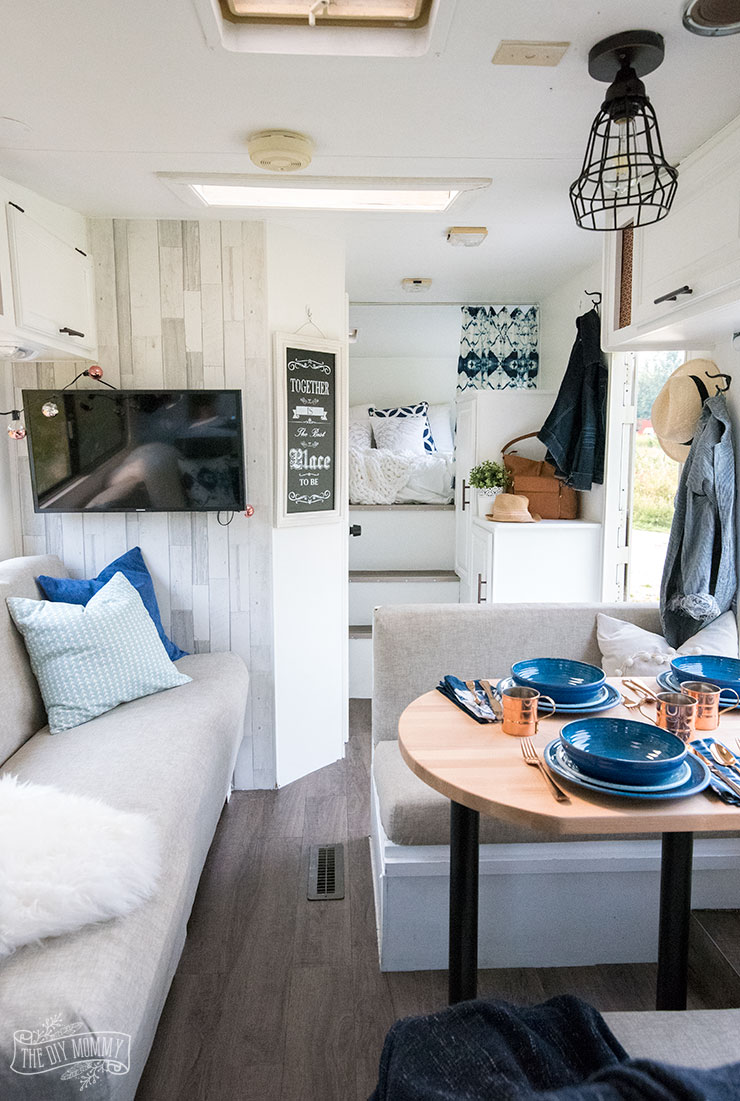
Yes, but I used an oil-based primer first which really helps the paint stick. I also learned that I needed to prime under the wallpaper I put up in some spots, so I had to re-do some of the wallpaper.
What sheen did you use for your paint, and how is it holding up to wear?
I used eggshell on the walls and semi-gloss with a semi-gloss sealant on the cupboards. So far everything is holding up well, though I wish I would have put a semi-gloss on the walls to make them easier to wipe down.
How is the contact paper on the counter holding up?
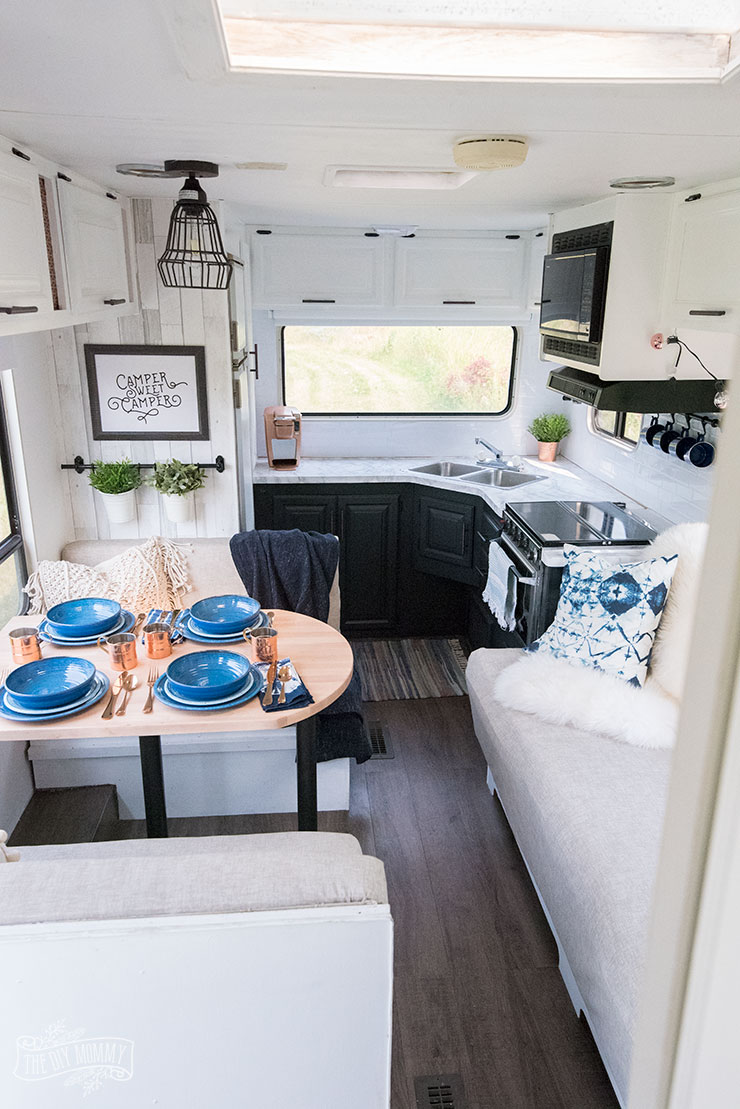
So far, so good! If it gets really ratty looking or I have a hard time removing it from the counter tops later, I’ll just replace the counter tops (which was what we were considering in the first place anyhow).
Did you prep and paint the fridge the same way you did the cupboards?
Yes! It’s just primer, paint and sealer (Varathane). Luckily it already had a neutral coloured silver trim.
How was the Smart Tiles back splash to install?
It was easy! All I used was a utility knife, scissors and a ruler to cut the tile and it’s sticking really well so far.
Do you plan on updating the exterior of the camper as well?
Maybe. We don’t really know. I like how the colours of the exterior match the interior right now, but it’s pretty dirty and dingy in places. I’m not sure it would be a good investment, but we’ll see!
Watch my video to hear more about our renovated RV:
See you this weekend!


Christina, what a great DIY camper idea you have shared! I just thank you to make such ideas and sharing with us. I had a dream of such one! I had some question about it, your article has made the best solution for them!!!
Oh wonderful, Rebekah. ?
We just purchased a used camper in need of some TLC. I watched your video on replacing chair covers. I was a little confused about the times two. Can you elaborate for me? Excited to get started on this project! Love your videos.
Love your posts!!! I’m at the tail end of my Reno and putting in lock and click lvp. My question is how do you secure the last row of lvp that will be going partially under the slide out. Thank you!
In this RV, it is just glued down like the rest of the flooring.