DIY Small Kitchen Makeover Step by Step | Our DIY Camper 2.0
This post may contain affiliate links · This blog generates income via ads
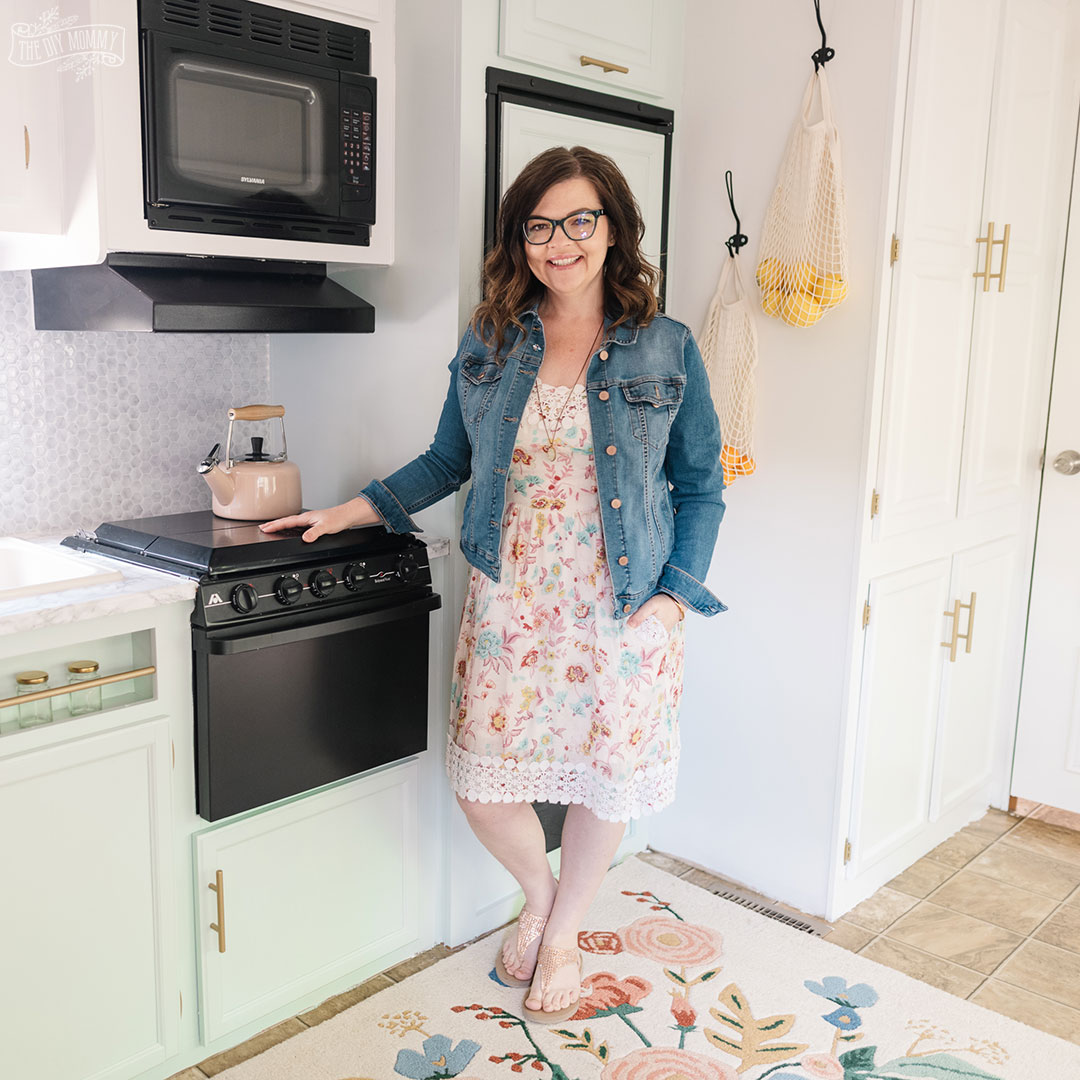
Let me show you how I made over our camper’s kitchen with the power of paint! Our RV kitchen went from dated looking, to fresh and vintage glam, and I’ll share all of the steps I took to make the paint job last.
The video embedded in this blog post was sponsored by Behr. Behr provided the paint used in this project for promotional purposes. This post contains affiliate links. When you purchase an item via these links, I receive a small commission at no extra cost to you.
Last month, I introduced you to Our DIY Camper 2.0 – a new-to-us fifth wheel that I’m renovating for our family. On week one, I removed window cornices, wallpaper borders and MORE than I originally planned from the camper. Last week, I started painting the camper and updated its adorable little kitchen with peel & stick back splash and countertop. This week, I’m so excited to share the camper’s finished kitchen with you!
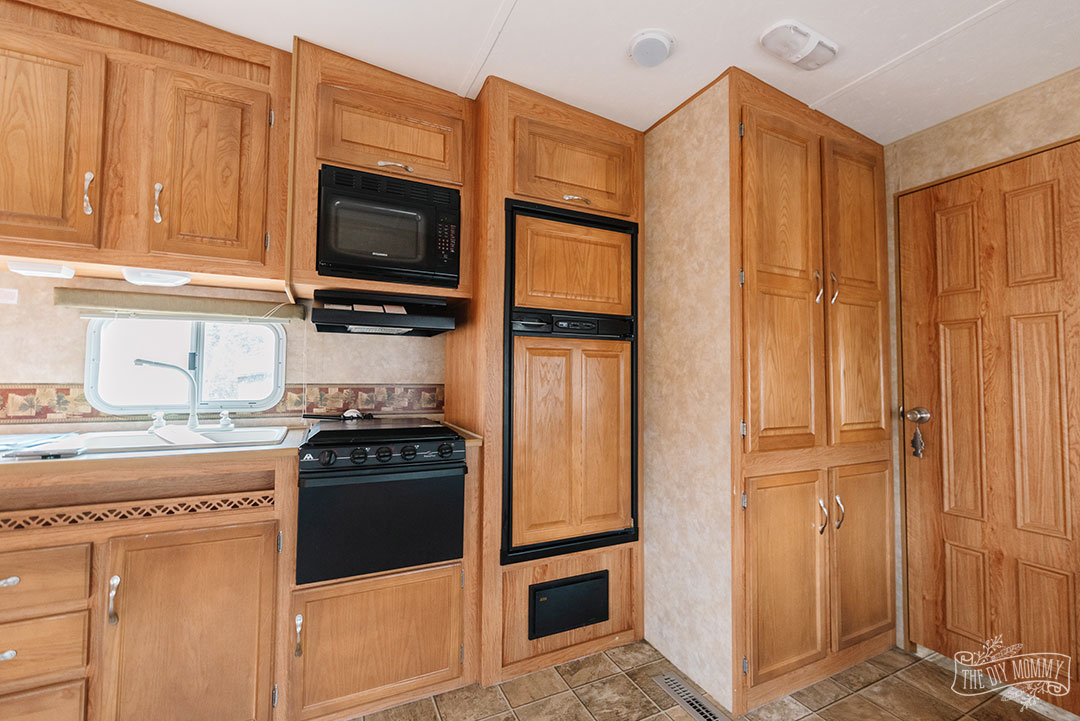
Here’s how the kitchen camper area in our RV looked originally:
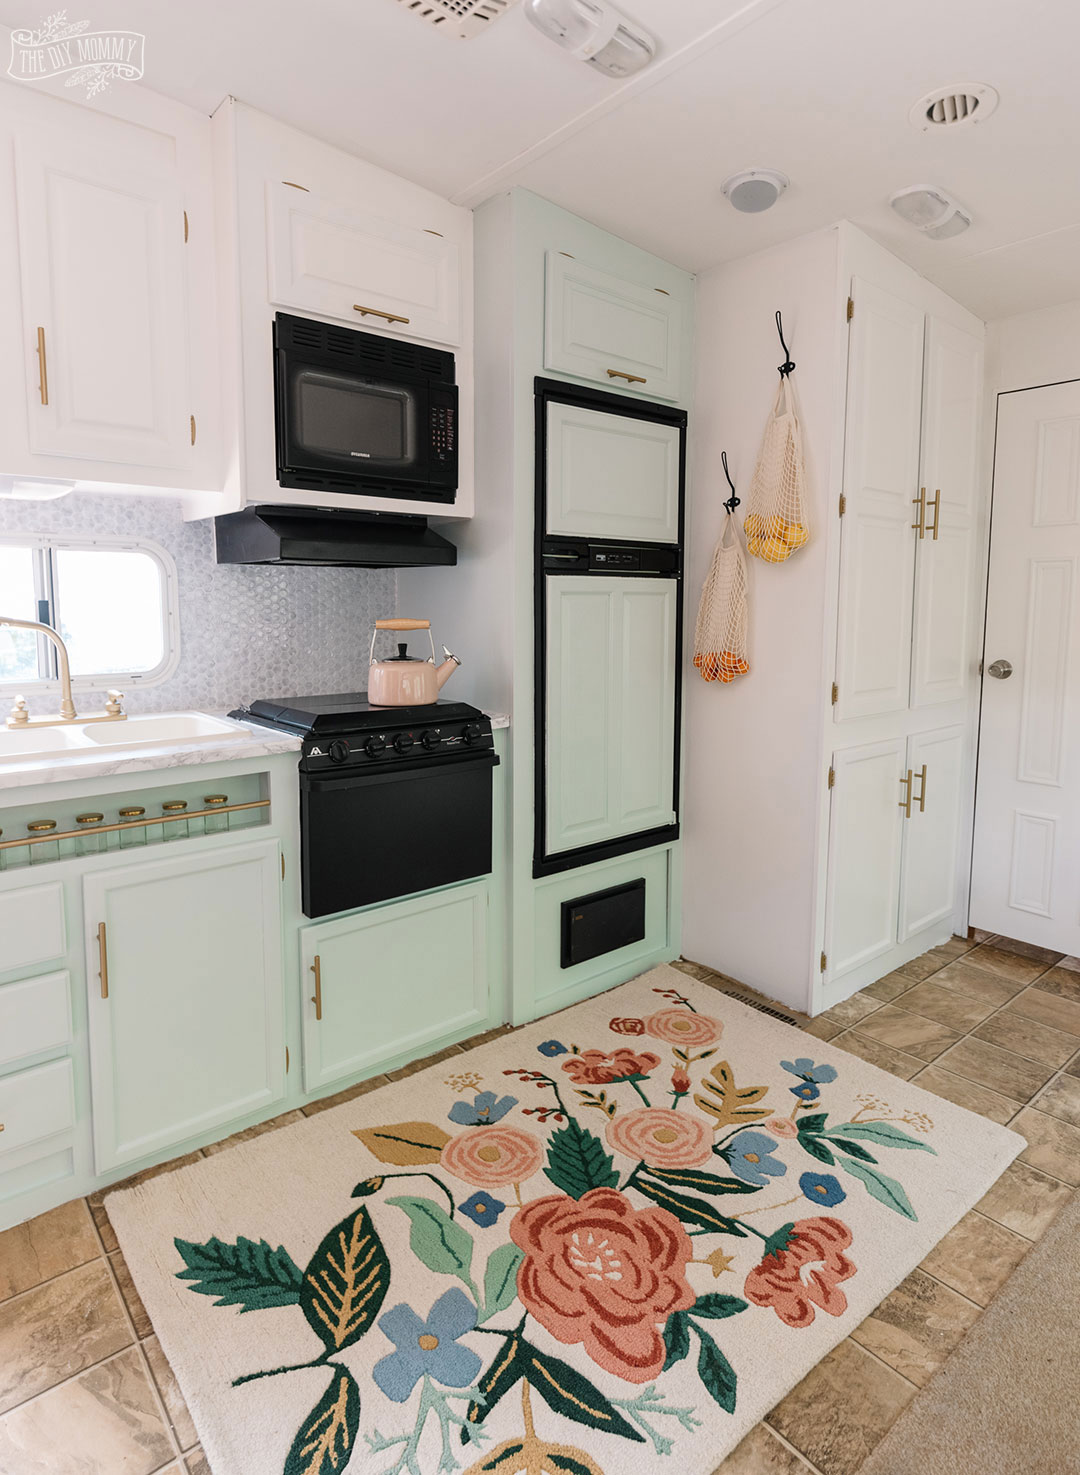
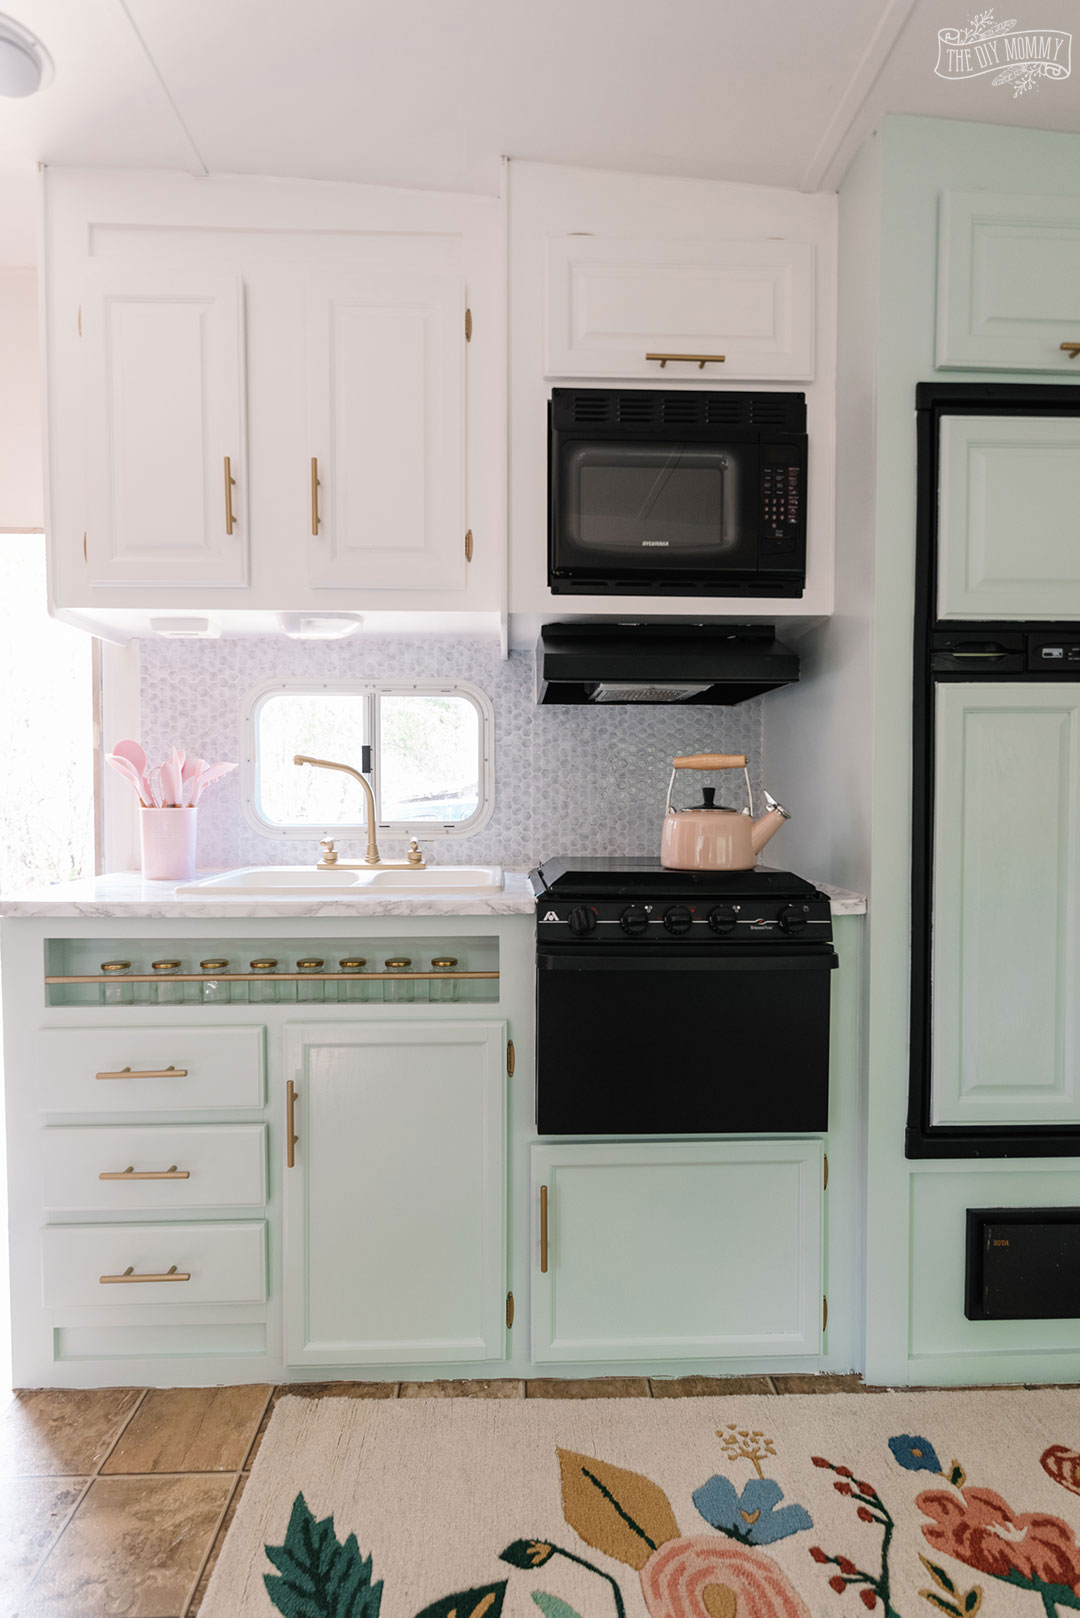
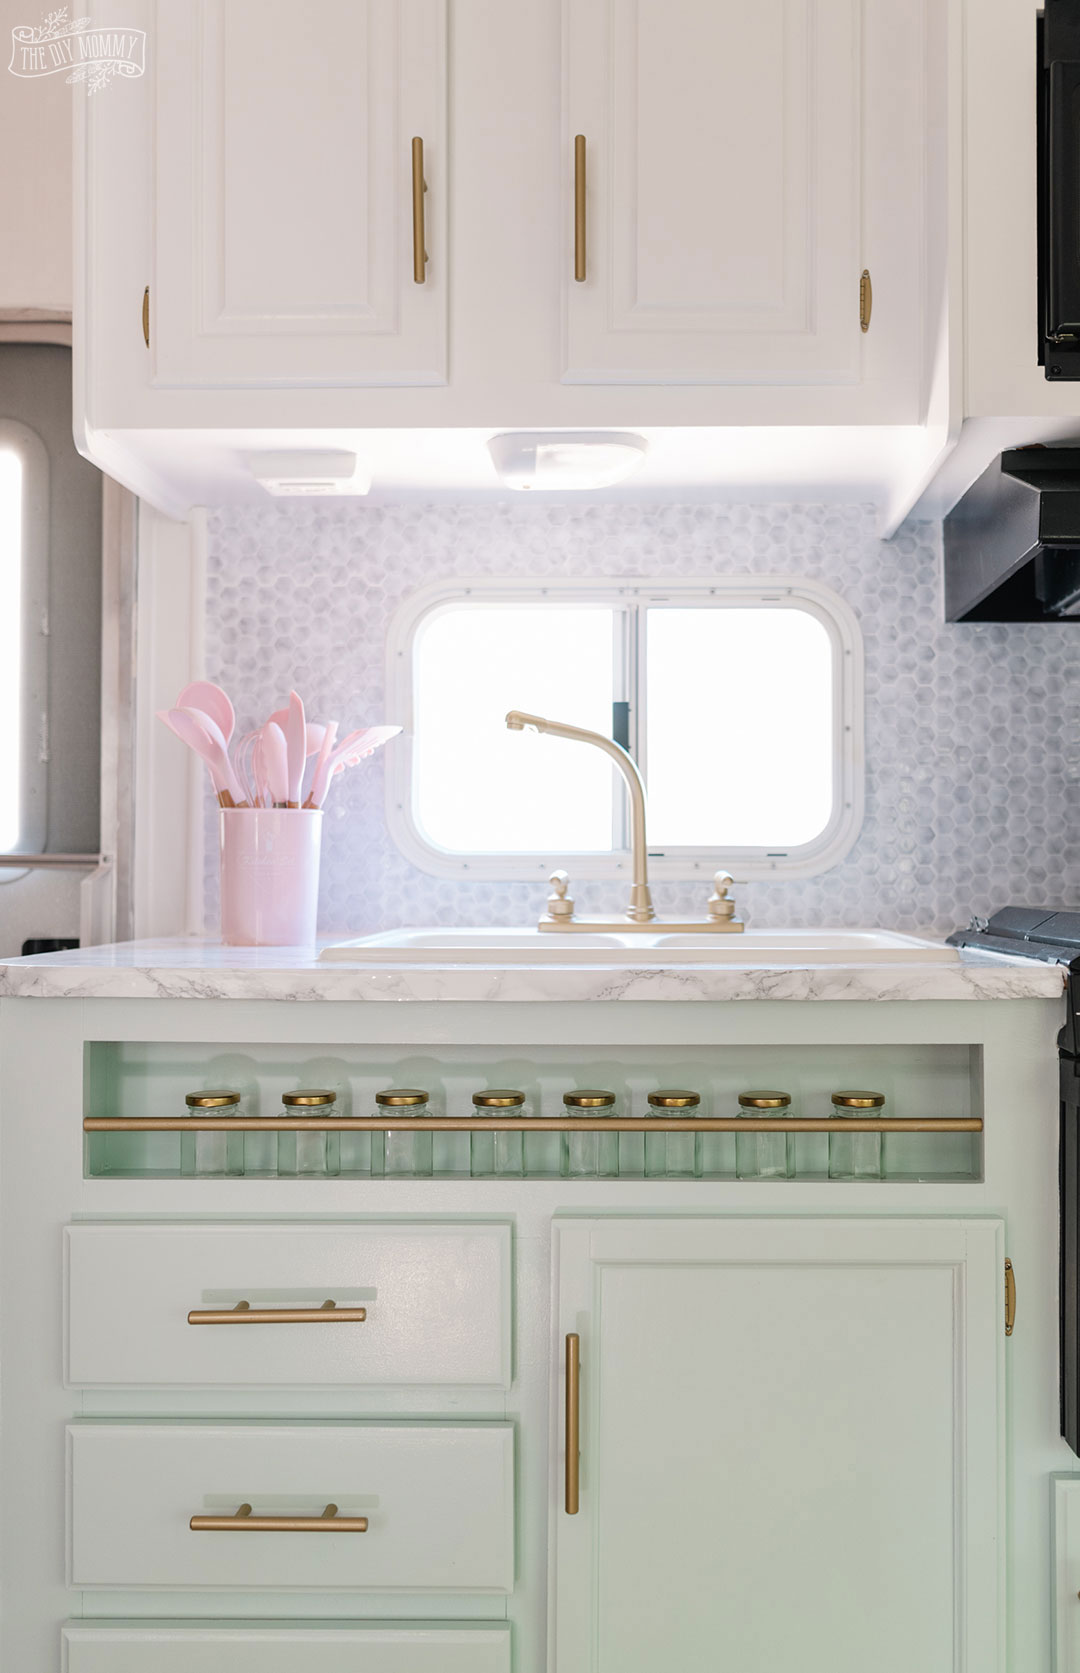
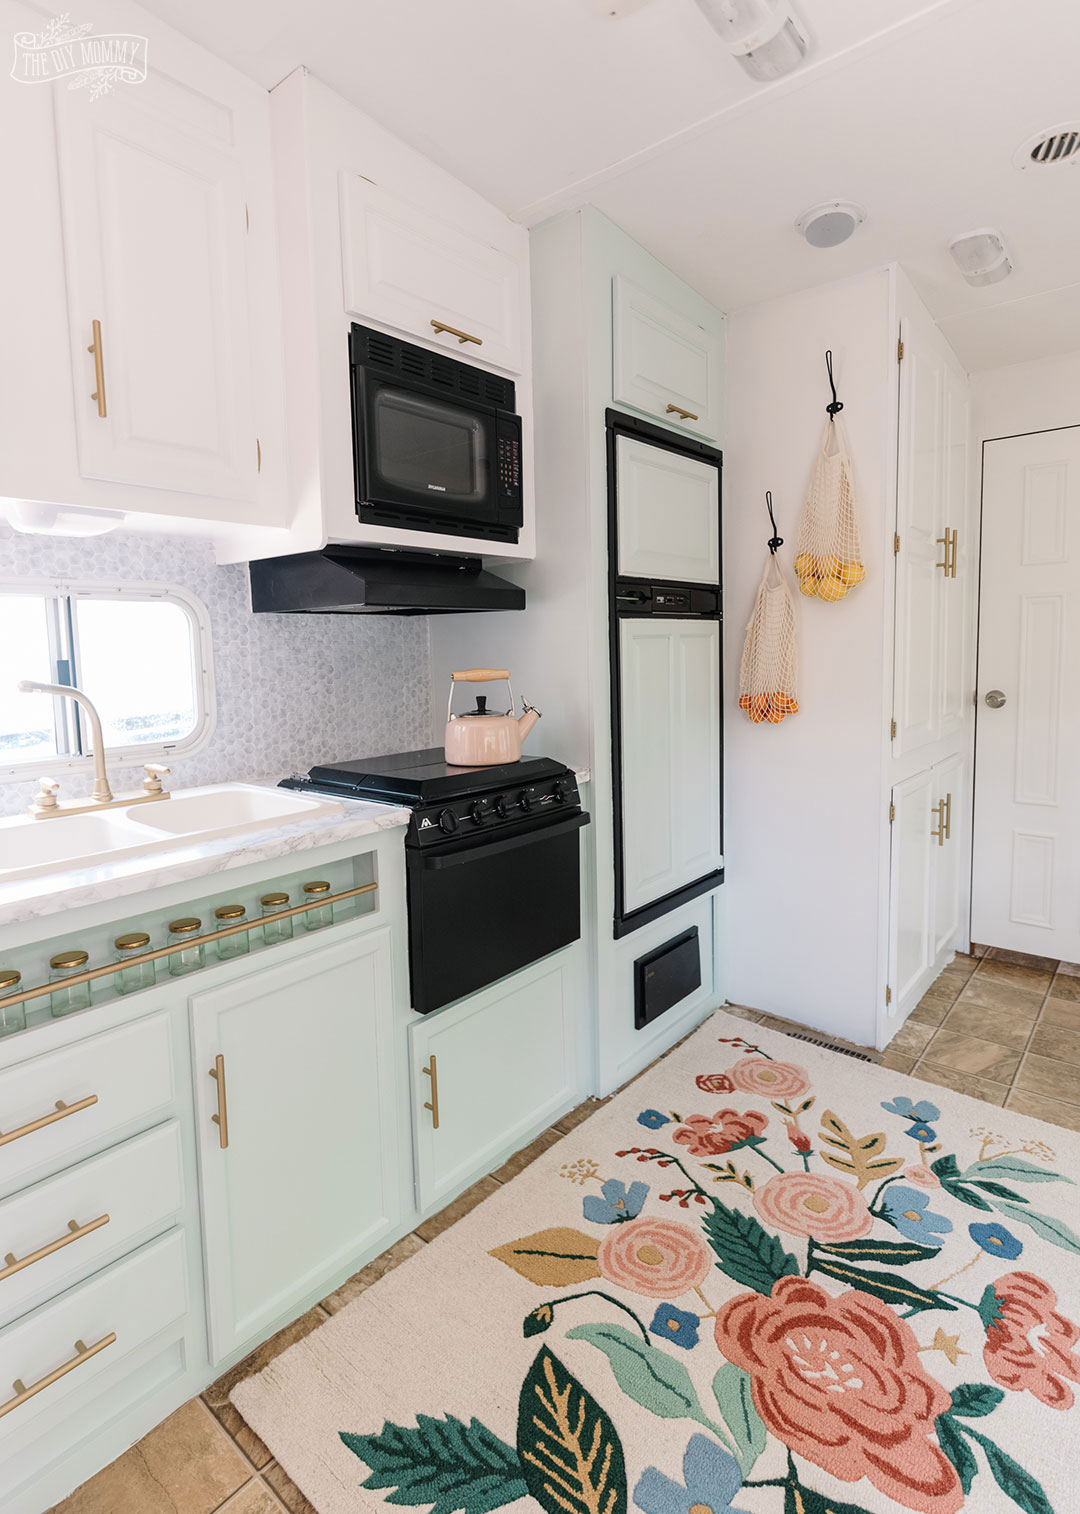
And here’s how the counter area looks NOW:
It looks so much different, hey?! And this was achieved mostly through a whole lot of paint!
I’m going to be putting new flooring in the space and I’m still waiting on the material, so imagine the bottoms of the cabinets trimmed out next to some new vinyl plank in a soft, natural shade.
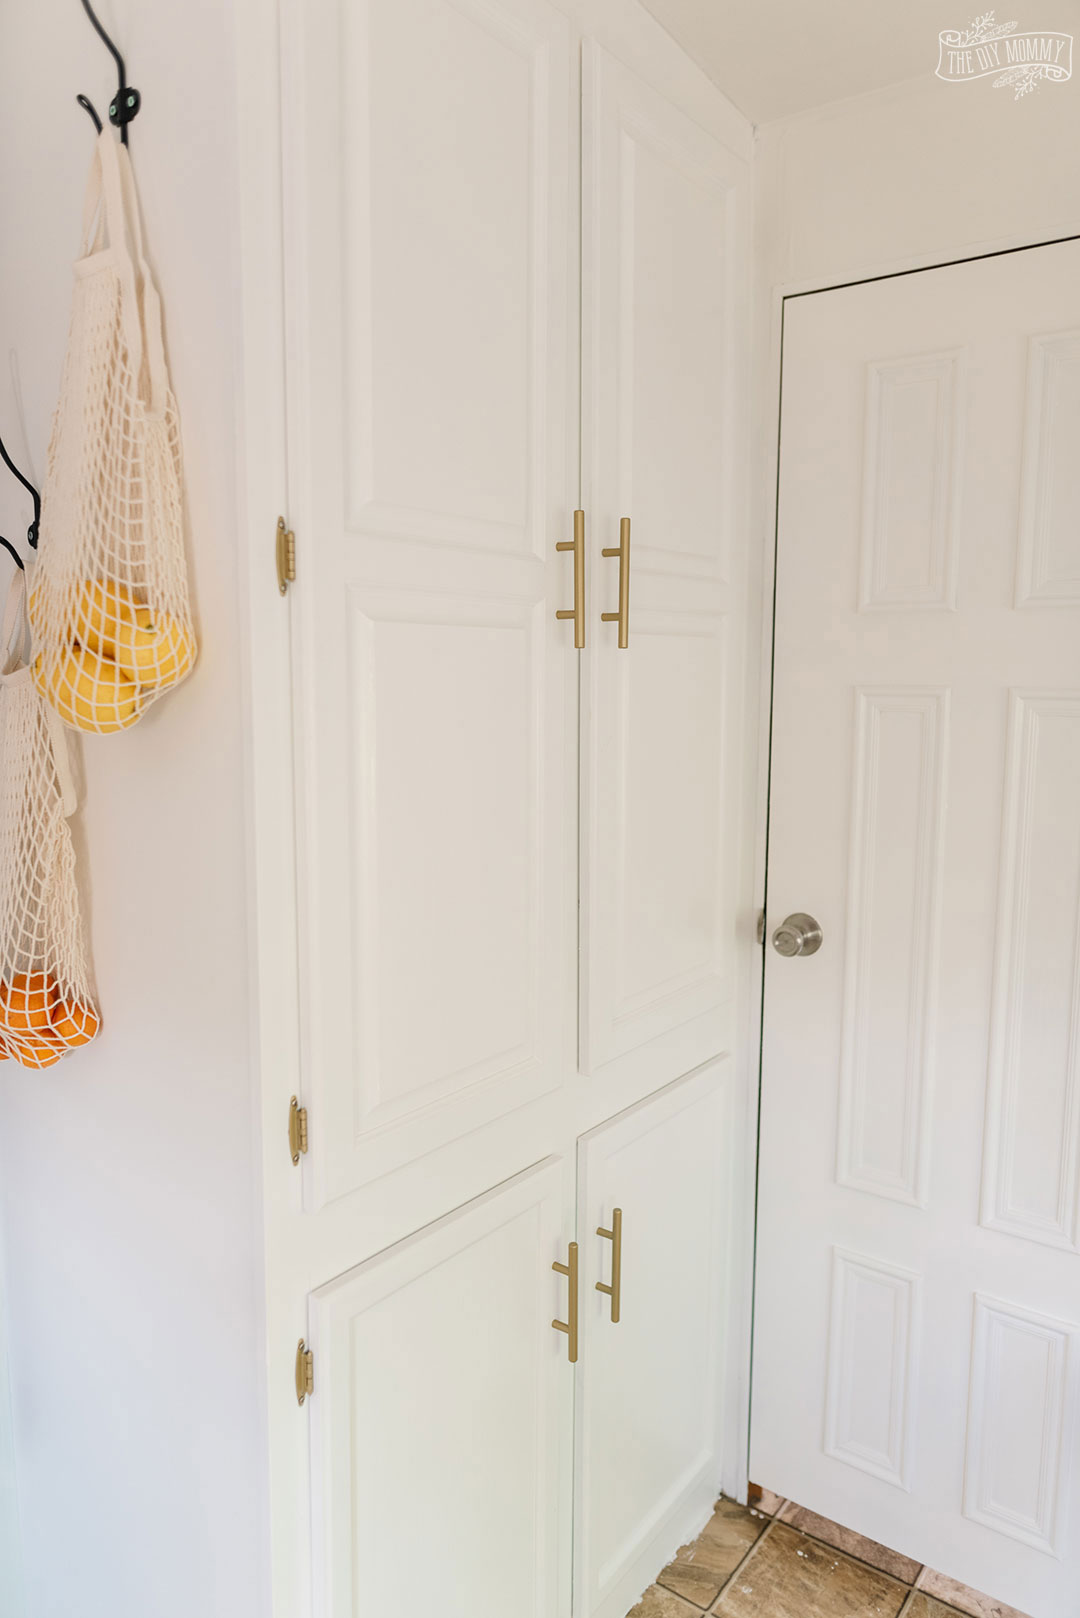
As you can see, I went for mostly white paint in this camper (just like my last camper renovation) to help make the space feel so much bigger. This white is the same white shade that I have on all the trim in my home: BEHR Simply White.
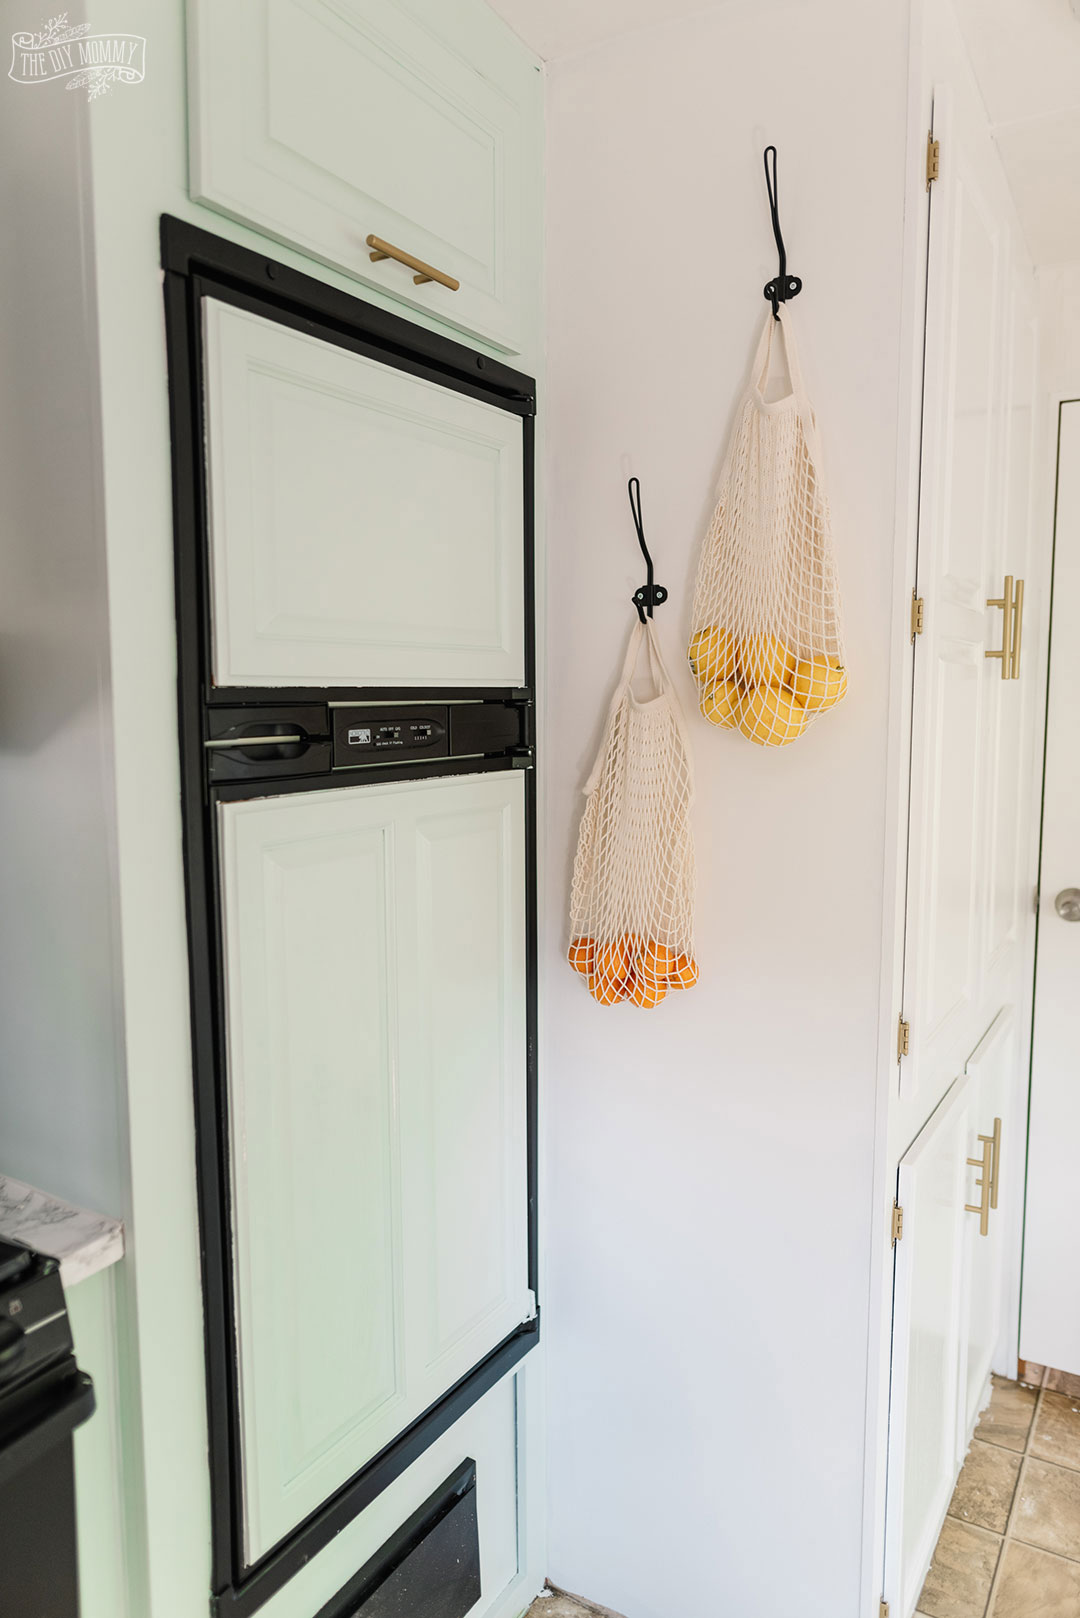
I decided to paint the base cabinets and the fridge in a soft mint green for the vintage glam look I wanted. This green is BEHR River Mist.
The handles are upcycled from our first camper, and I spray painted them in Rustoleum’s Pure Gold metallic spray paint.
Here’s how I prepped & painted my RV kitchen:
- Remove all of the cabinet doors
- Remove all handles and hinges from cabinet doors
- Sand the cabinet doors (they’re wood) and cabinet bases (they’re laminate) to remove some gloss
- Clean all cabinet doors, cabinet bases, RV walls & RV ceiling with a de-greasing cleaner
- Paint all cabinet doors & cabinet bases with primer (I used BEHR Kitchen, Bath & Trim Interior Stain-Blocking Primer & Sealer) using a foam roller and angle brush & let dry
- Paint all cabinet doors & cabinet bases with kitchen & trim enamel (I used BEHR PREMIUM Cabinet & Trim Interior Semi-Gloss Enamel Paint) using a foam roller and angle brush & let dry
- Paint RV walls and ceilings with latex paint – note that I didn’t prime because these surfaces were flat and rough, but prime if you have walls that have any sort of gloss (I used BEHR ULTRA ™ SCUFF DEFENSE ™ Interior Extra Durable Flat Paint & Primer)
- Once all paint is dry, replace hardware on the doors and re-hang the cabinet doors
I used one coat of primer for this project, 3 coats of white paint and 2 coats of the mint green paint.
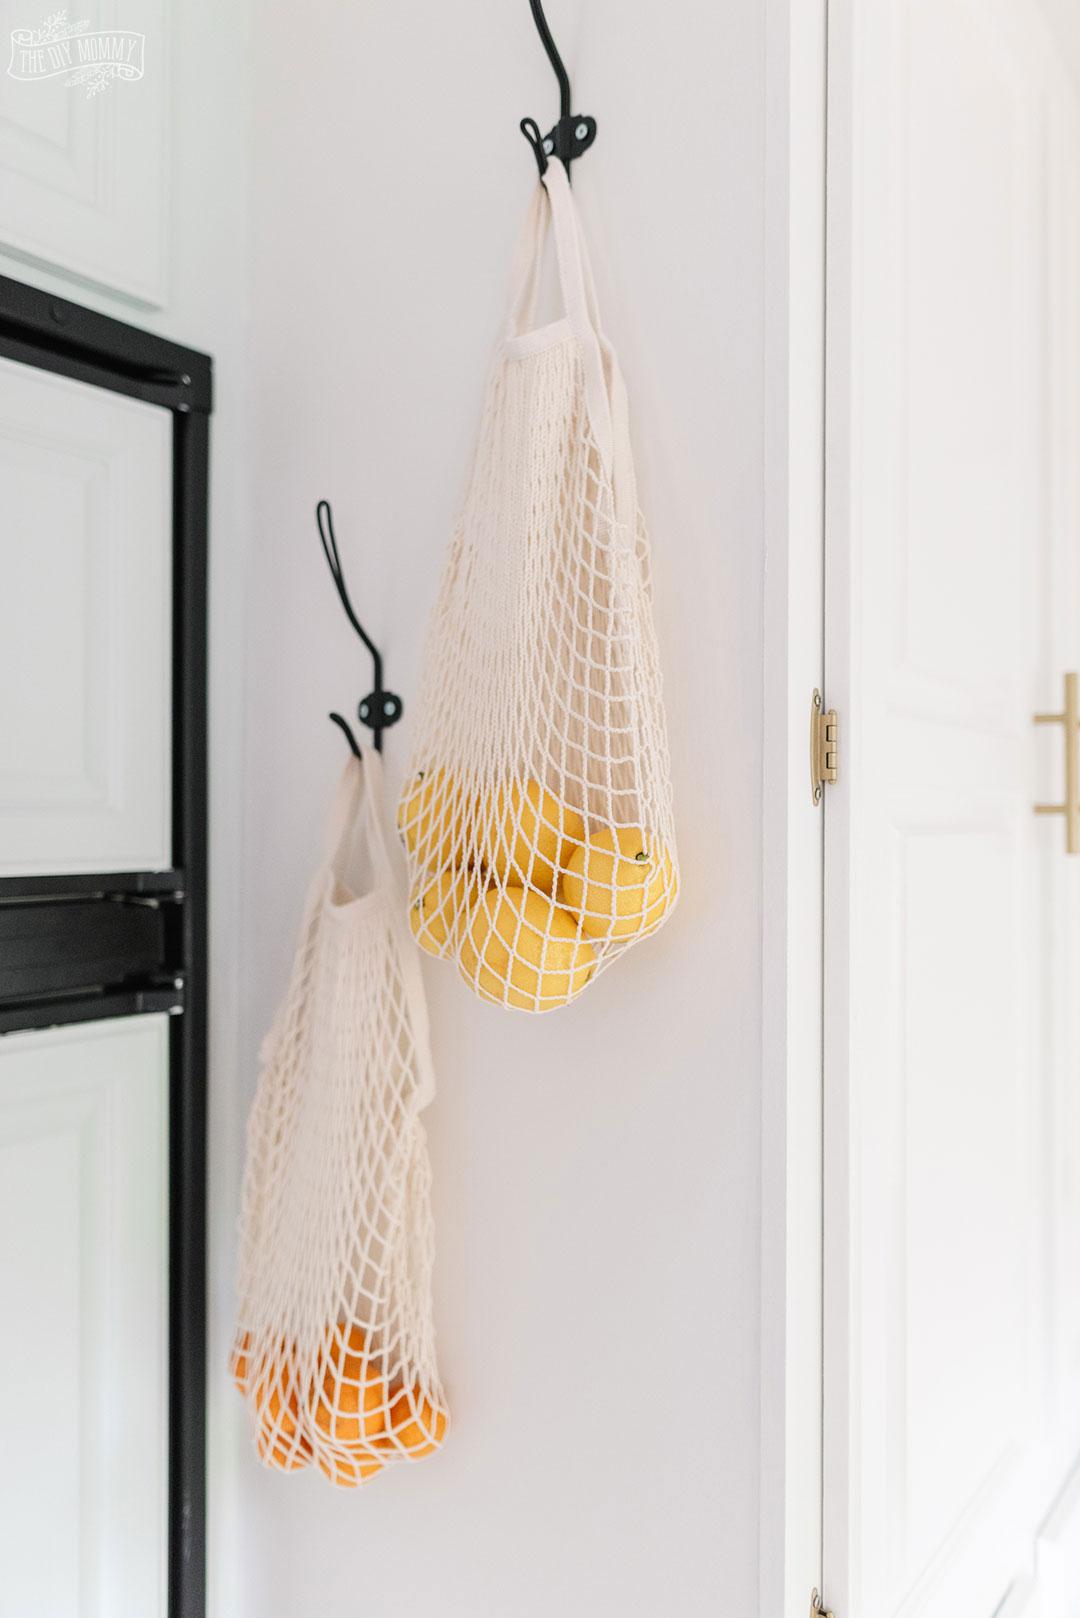
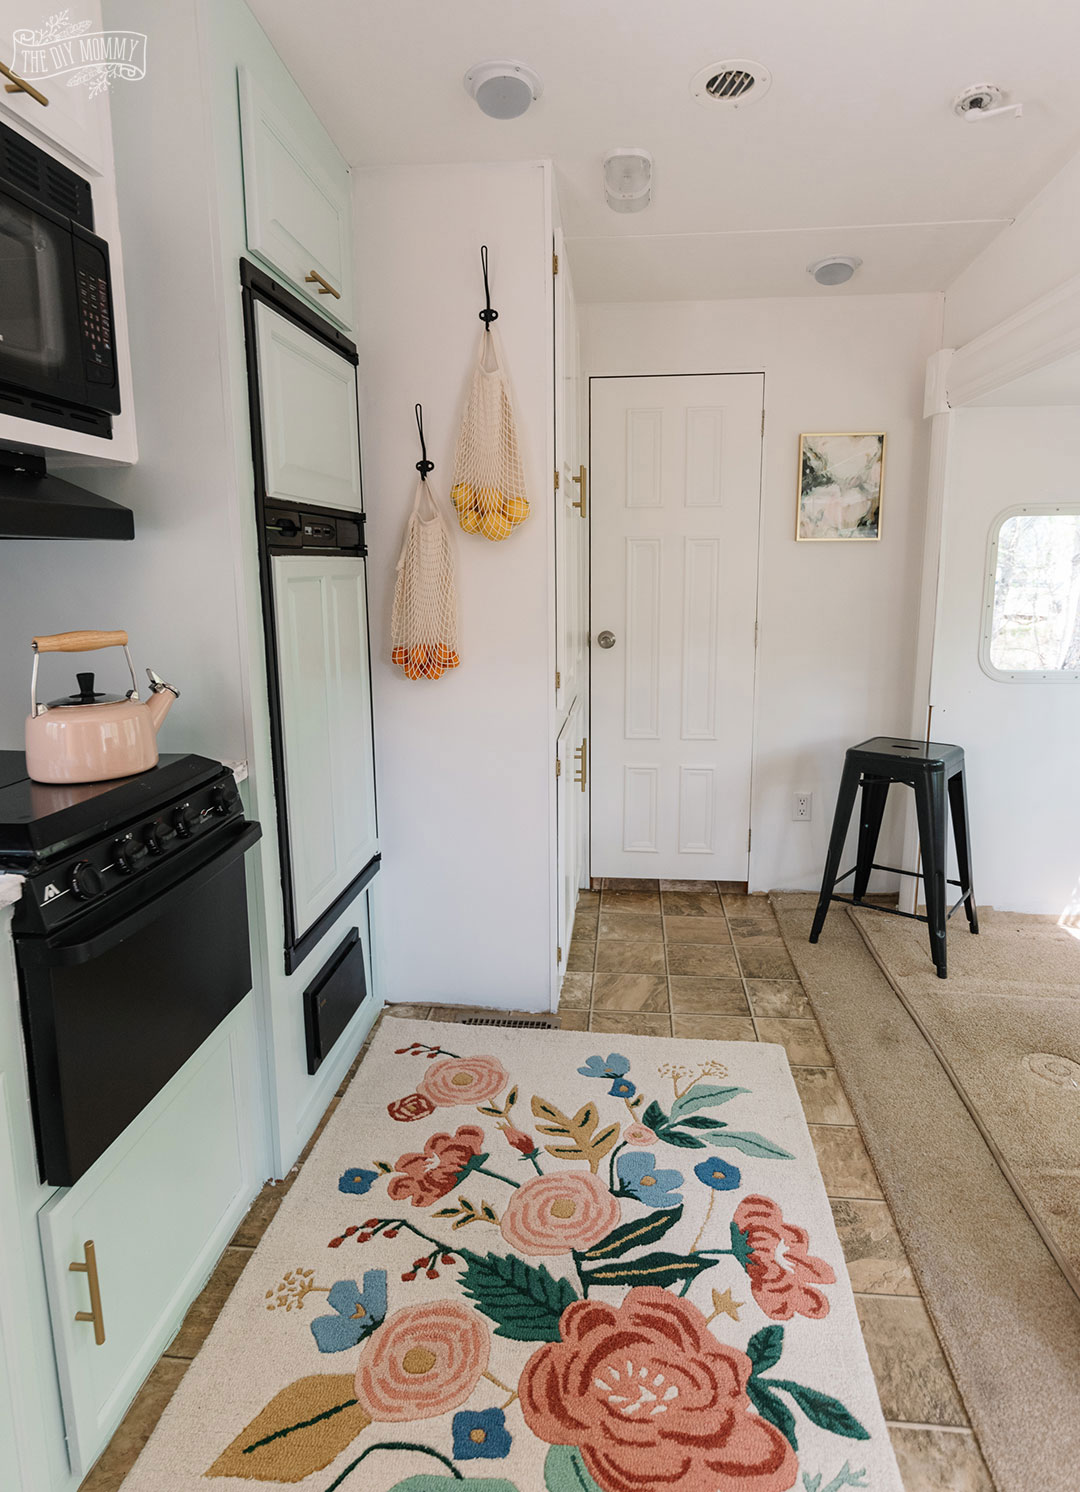
I also added some hooks on the side of the pantry for more storage.
These adorable market bags are from IKEA.
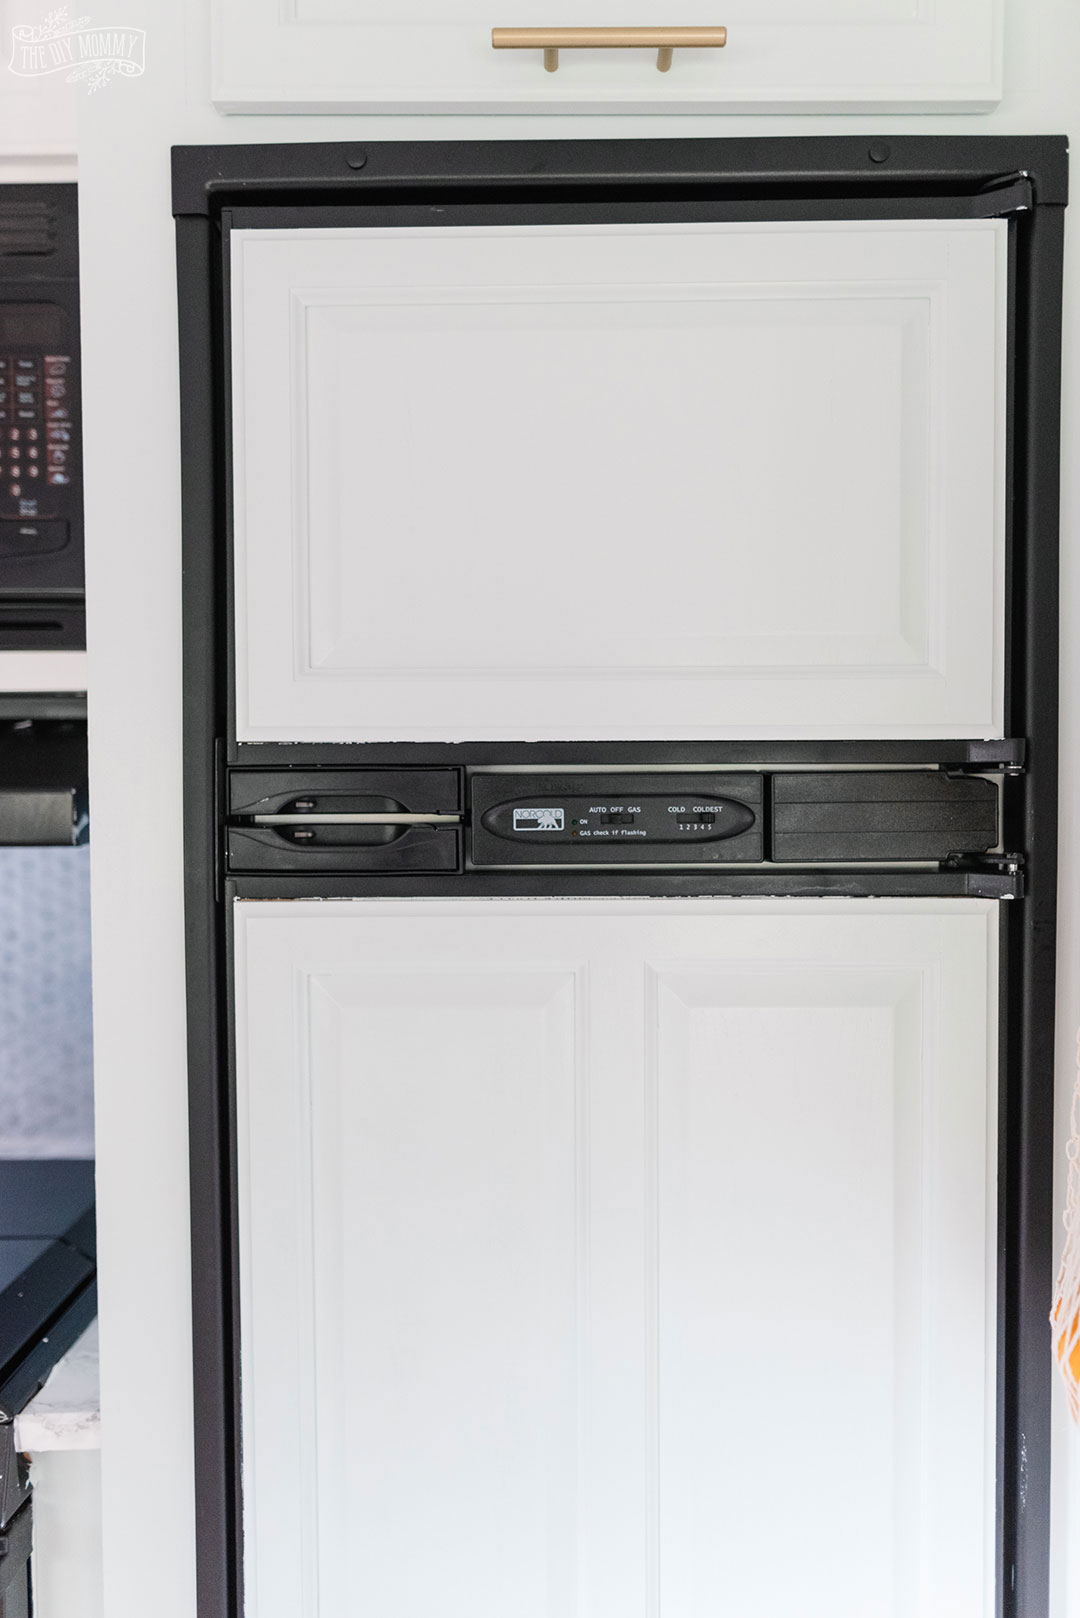
The paneled fridge was prepped and painted in exactly the same way as the cabinets:
I also spray painted a wooden dowel with gold spray paint and glued it to the inset area under the sink to make an updated spice rack:
Watch my YouTube video to learn how to paint an RV kitchen from start to finish:
This rug is from Rifle Paper Co, and you can find it right here. I don’t know if I’ll keep it in here for fear of it getting ruined, but it sure looks cute with the mint green and gold! The tea pot is from Crate + Barrel.
Now, I can’t wait to add new flooring, trim, and work on the other side of this main space in the camper!
What do you think of this kitchen makeover with paint? Stay tuned for more progress!

Hi Christina,
I love the make over. I am actually getting married in a few months, and we will be shifting to our new house after the marriage. We have decided to do fully custom makeover to our kitchen, as that’s where the magic happens. Can you give me a rough idea about the cost involved? It will help me a lot to plan things properly.
Your makeover is just perfect and lovely! Working on our “elder” motorhome. Needed to see how vinyl floors went down.. but I’ll probably paint OR wallpaper the bathroom first.
This is the exact layout that my camper has. Mine is dark and drab and have always wanted to updo it. Husband will not let me.
Yours looks lovely and of course I’m over here smearing it in his face! haha.
Lisa
What do you do with all the decor when you are moving?
Some of it is cleverly stashed where the slide comes in and the heavier items, like the table, she just turns it upside down and it does fine 🙂
I love this idea! We are working on doing a trailer reno right away…and I have to ask…how does the paint hold up? I have seen quite a few people do a degreaser on the walls and cabinetry before priming, does this help?
This is beautiful. I am intimidated and excited to try. How many gallons of each type of paint did it require for this project? Thank you!
Hi Sheri! You can find link to everything that I used in the camper here 🙂
https://thediymommy.com/shop-our-home/
Hey! Planning a camper reno this fall with a lot of your ideas! Just to confirm the blog says the wall/cupboard paint is ‘simply white’ but the video says ‘whisper white’ can you confirm what colour you used?