Vintage Glam RV Makeover Reveal! | Our DIY Camper 2.0
This post may contain affiliate links · This blog generates income via ads
Eeeeek! I’m so excited to share the final look of our camper’s main room with you today. It’s taken over two months to complete this RV makeover, but I love this vintage glam look. Come see how the main area makeover of Our DIY Camper 2.0 turned out, plus all the steps it took to get here!
All “after” photos in this blog post are by Tracey Jazmin.
This May, I introduced you to Our DIY Camper 2.0 – a new-to-us fifth wheel that I’m renovating for our family.
Here’s what I’ve done in the camper so far:
- removed window cornices, wallpaper borders and MORE than I originally planned
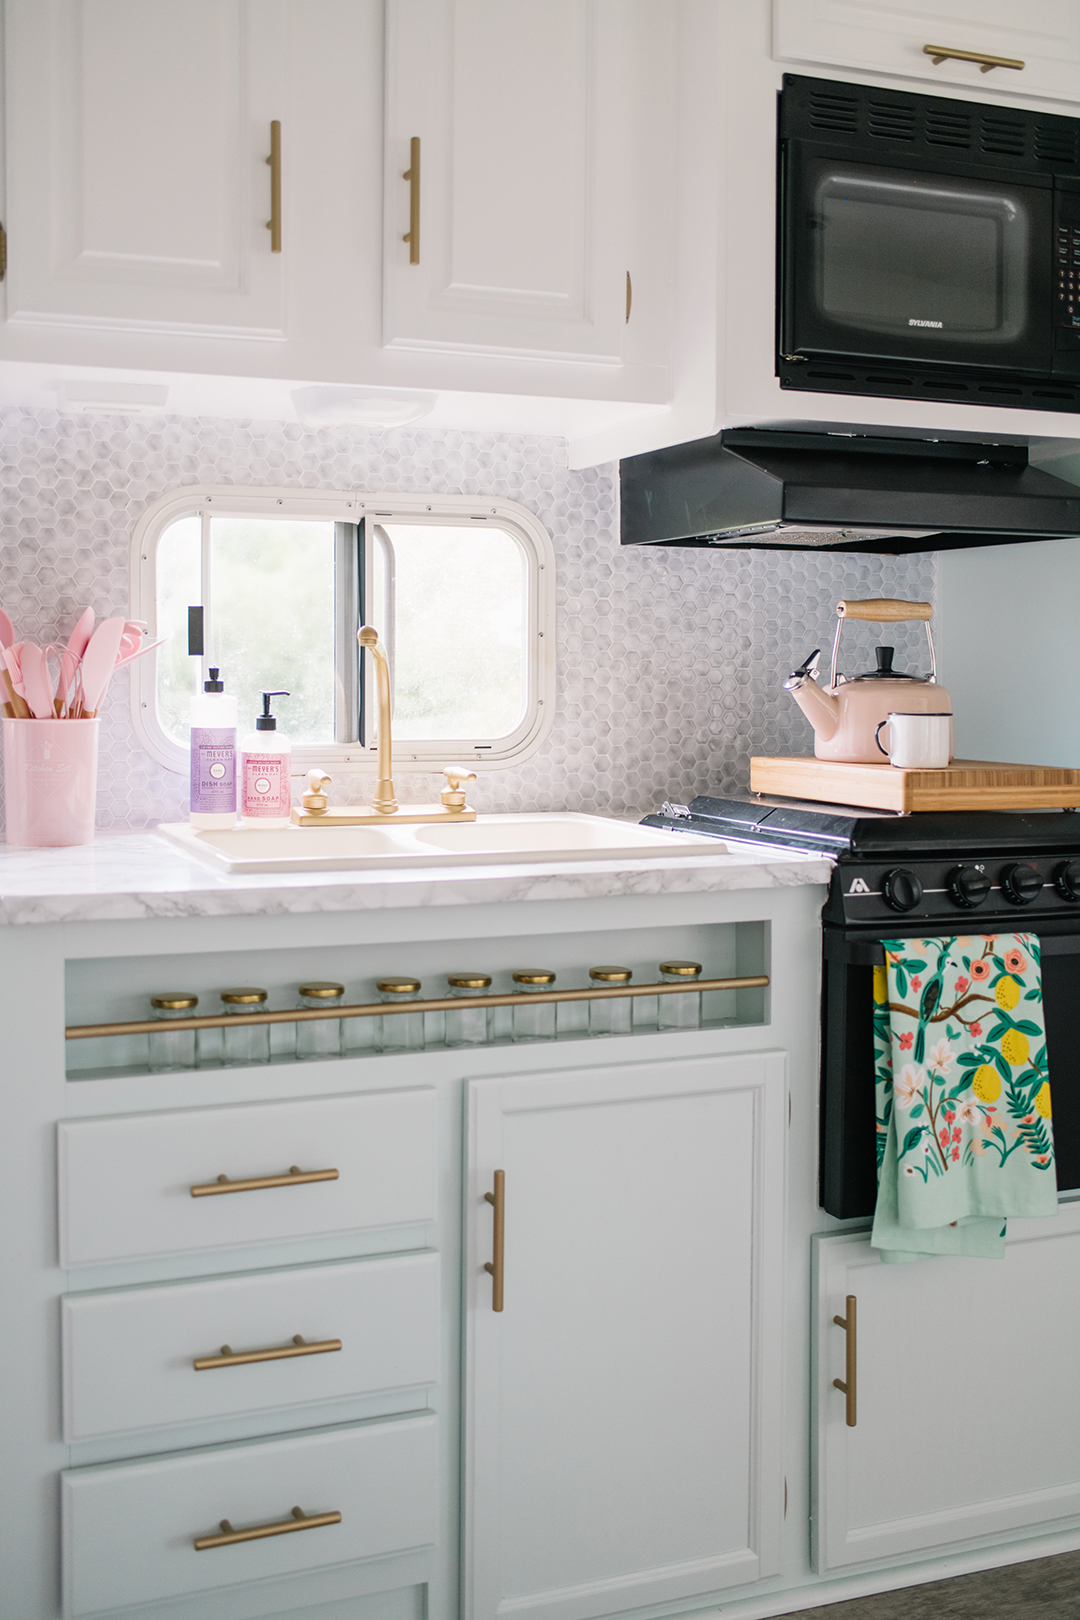
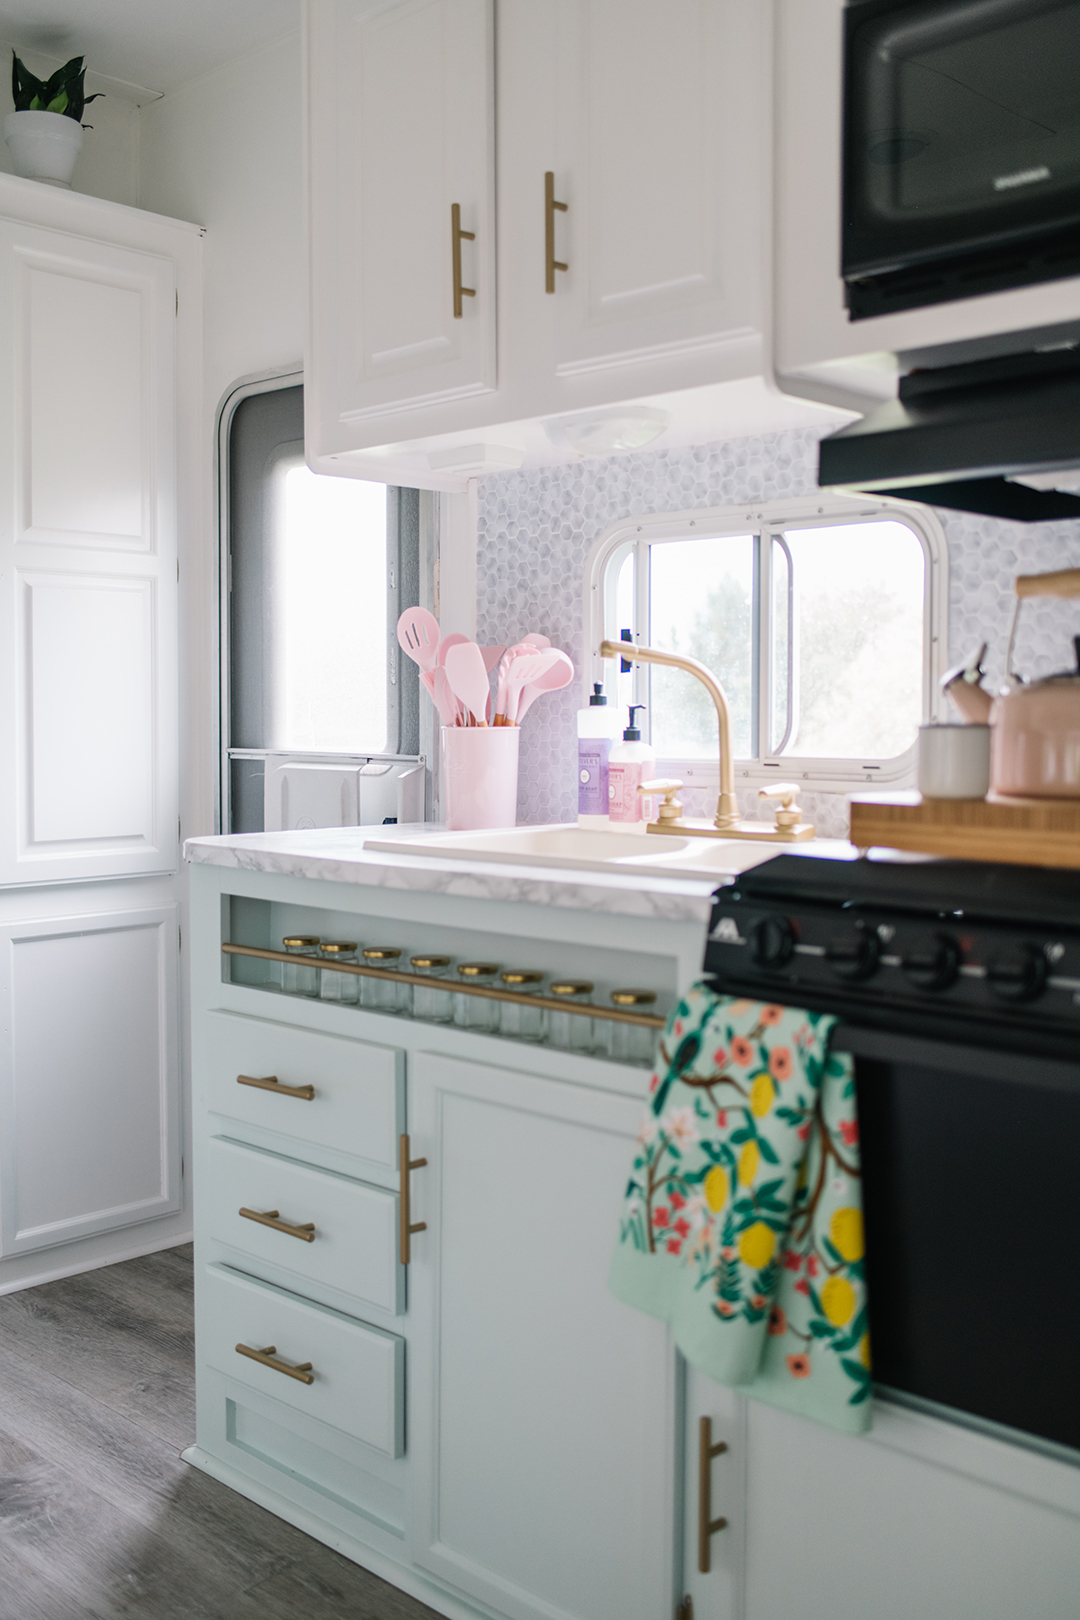
- updated the kitchen with peel & stick back splash and countertop
- painted all the walls, trim and kitchen cabinets
- laid new vinyl plank flooring throughout the main area
- transformed the light fixtures into beaded boho features for only $7 each
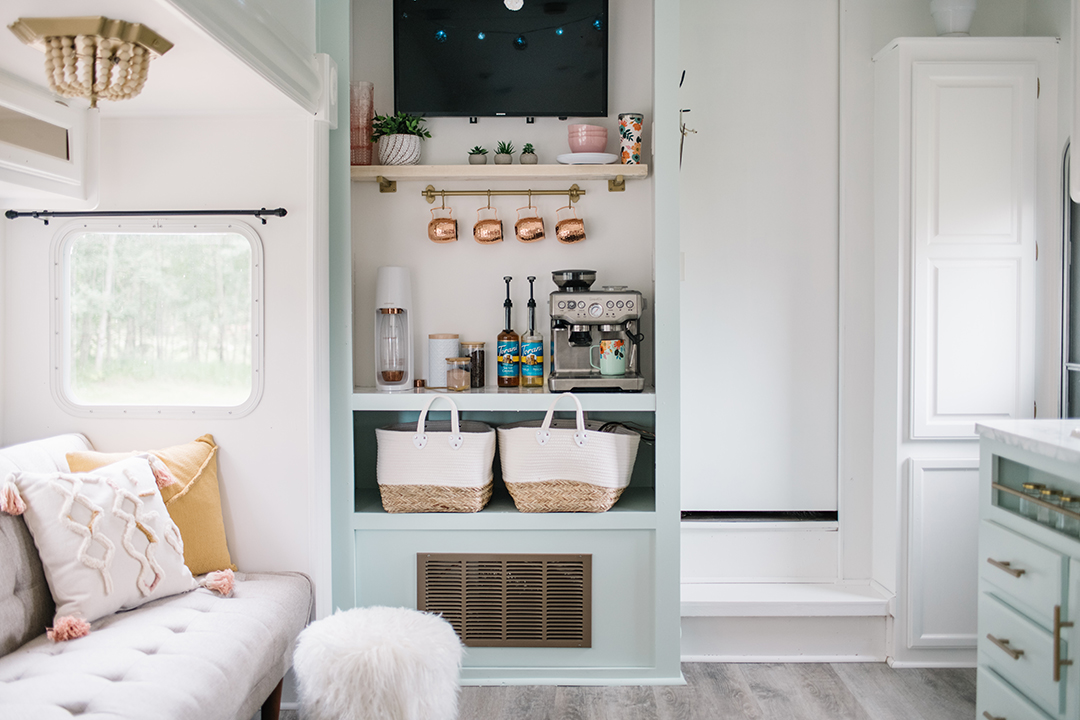
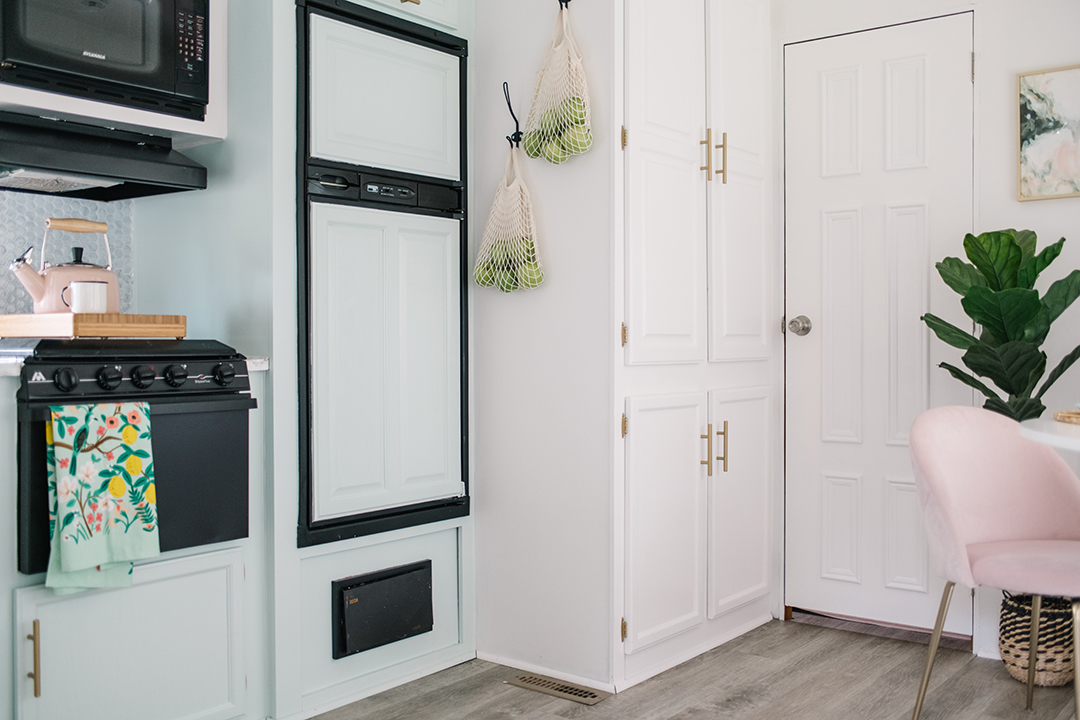
- converted the entertainment unit into a coffee & drinks bar
Today, I’m thrilled to share the final look of the RV’s main room with you!
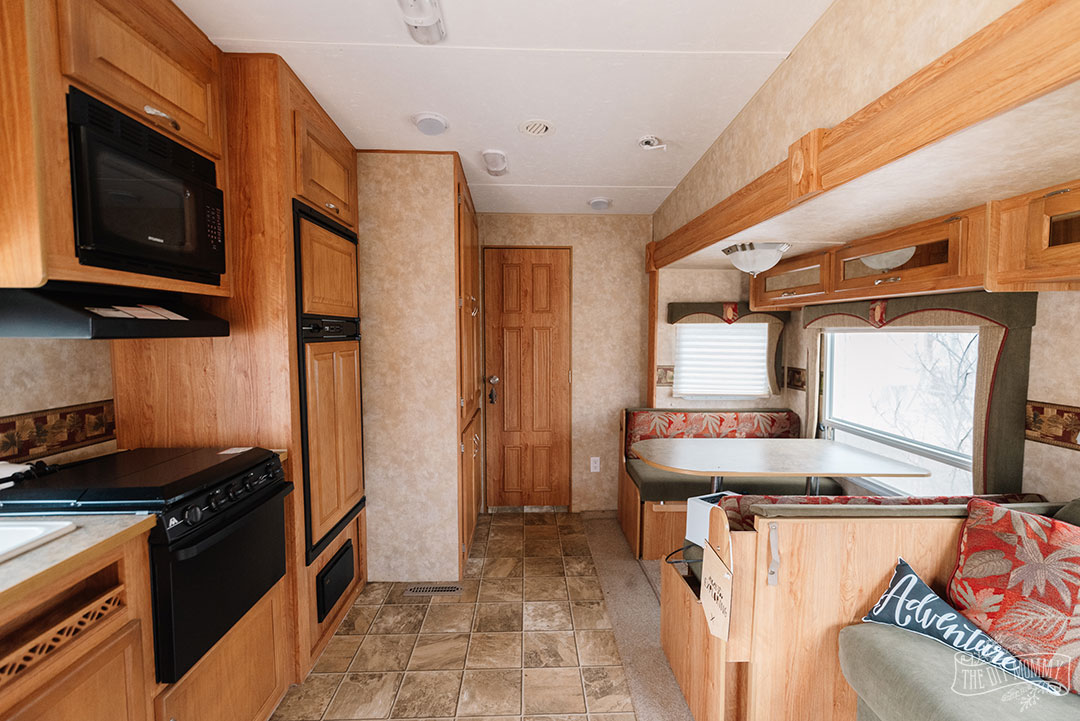
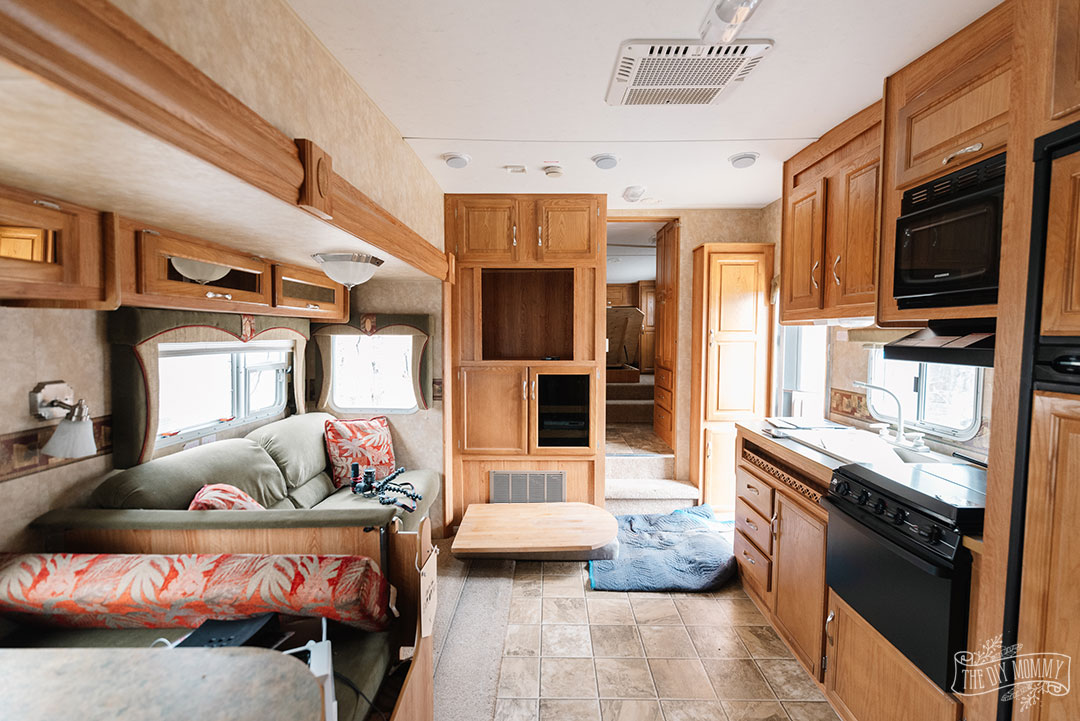
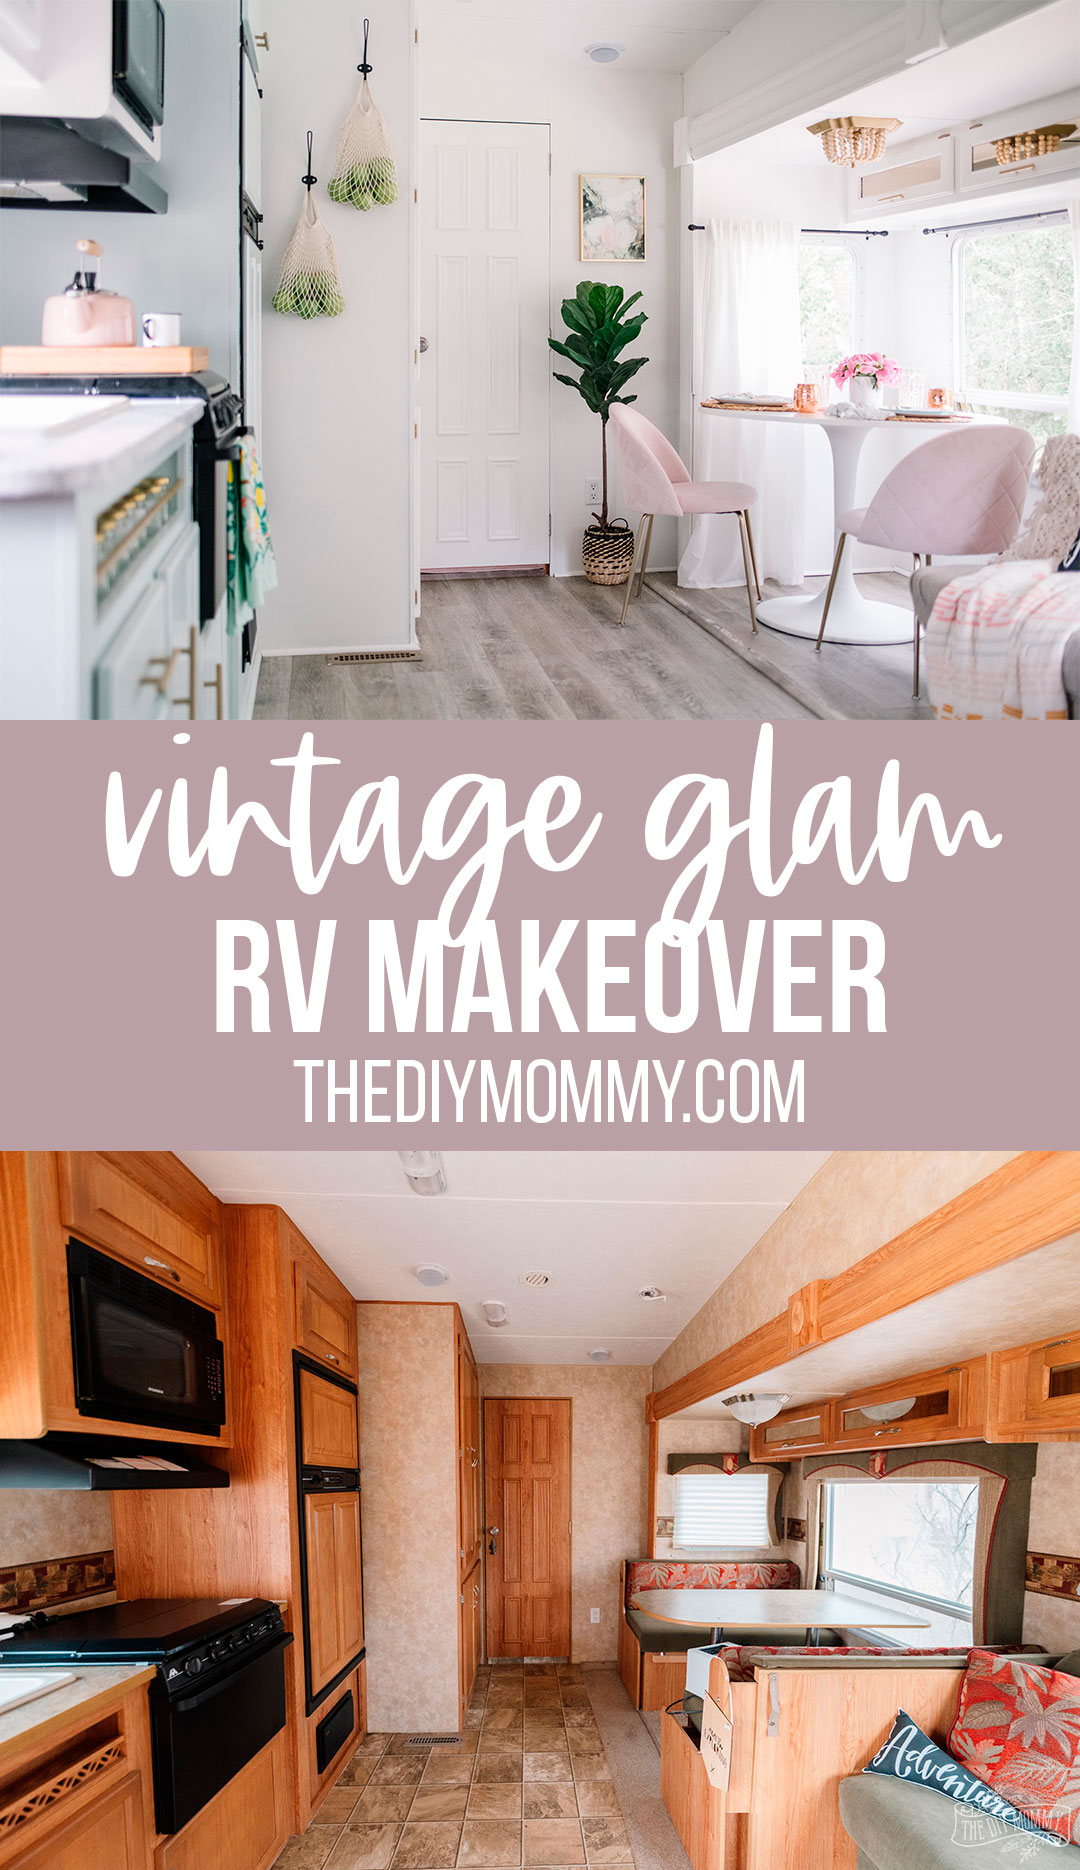
Here’s how Our DIY Camper 2.0 looked before:
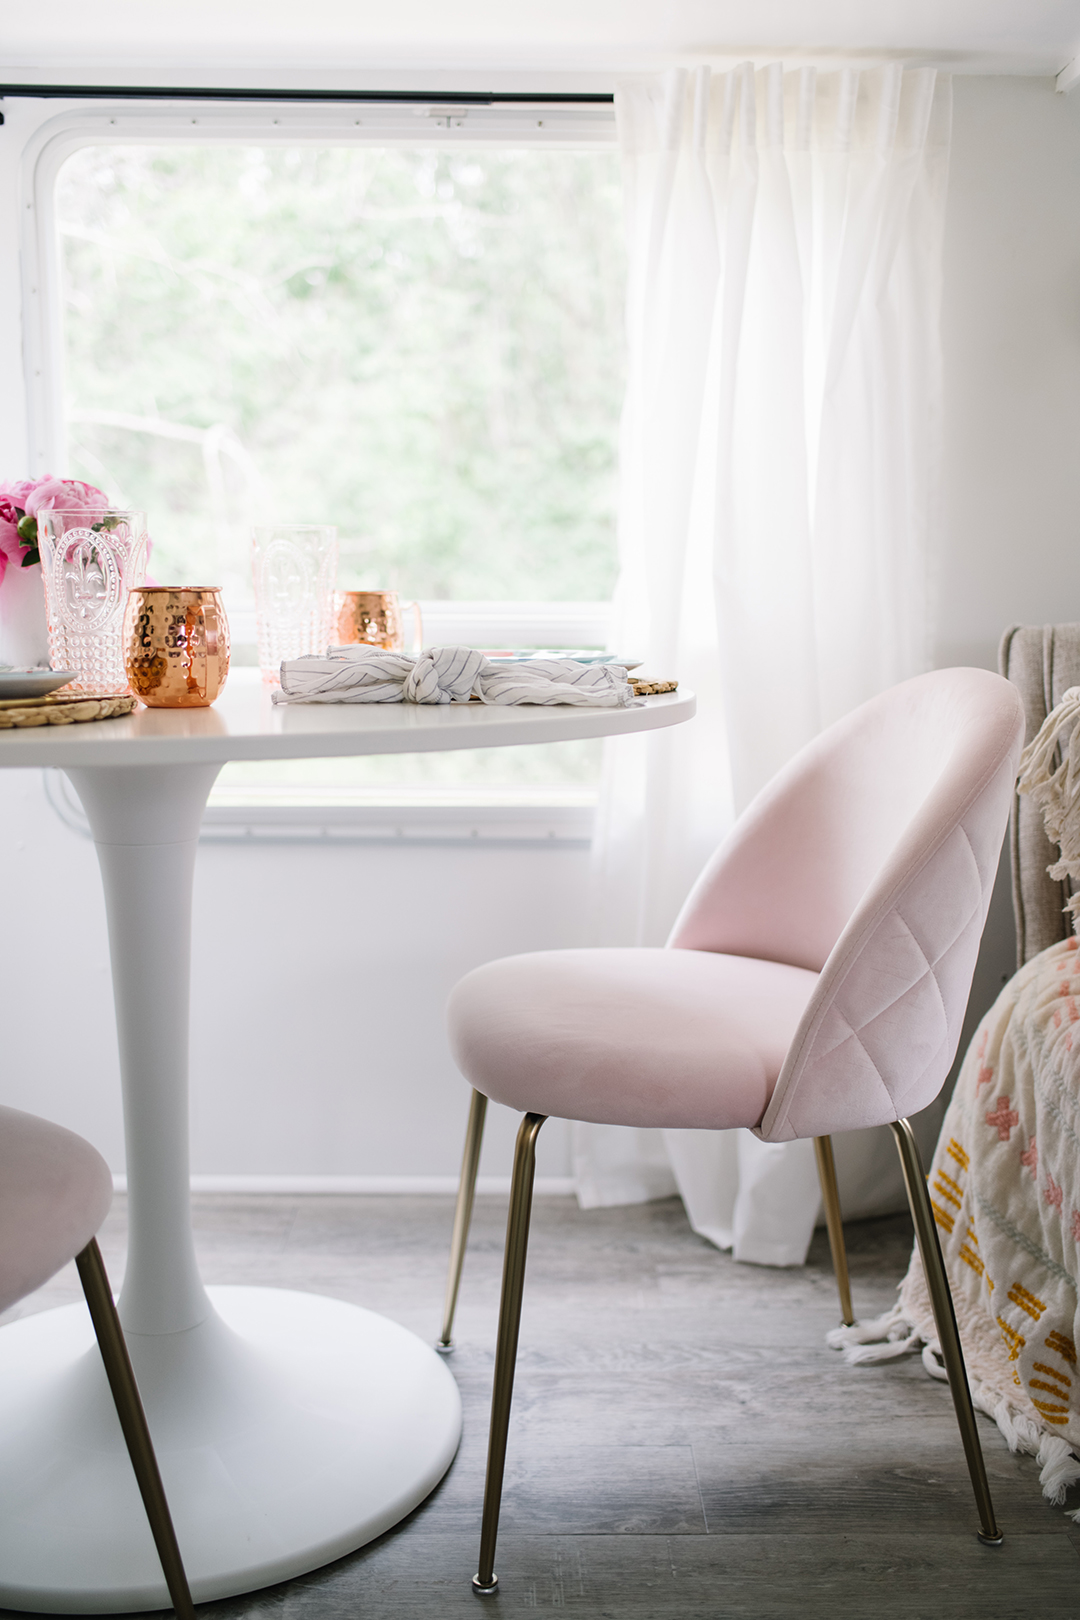
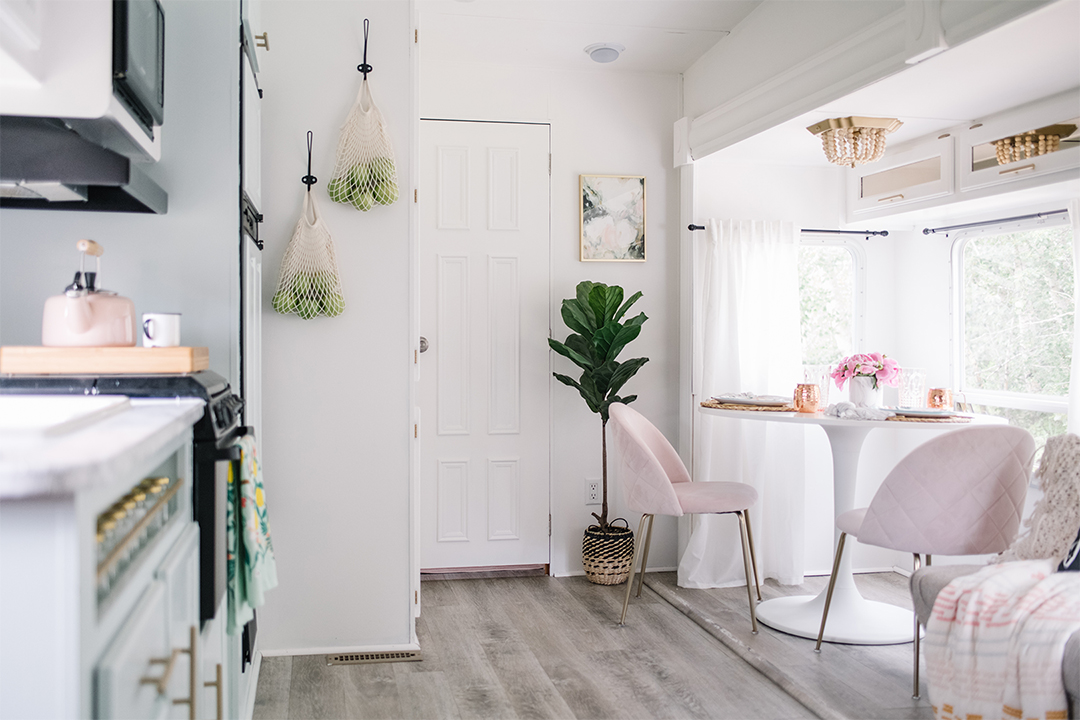
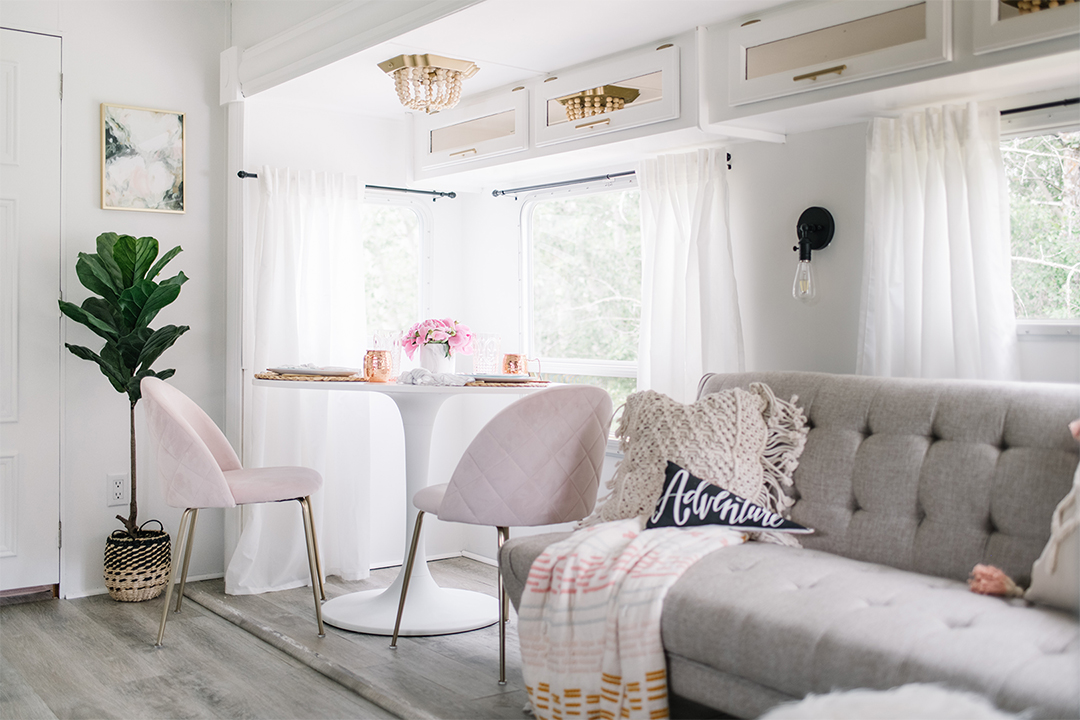
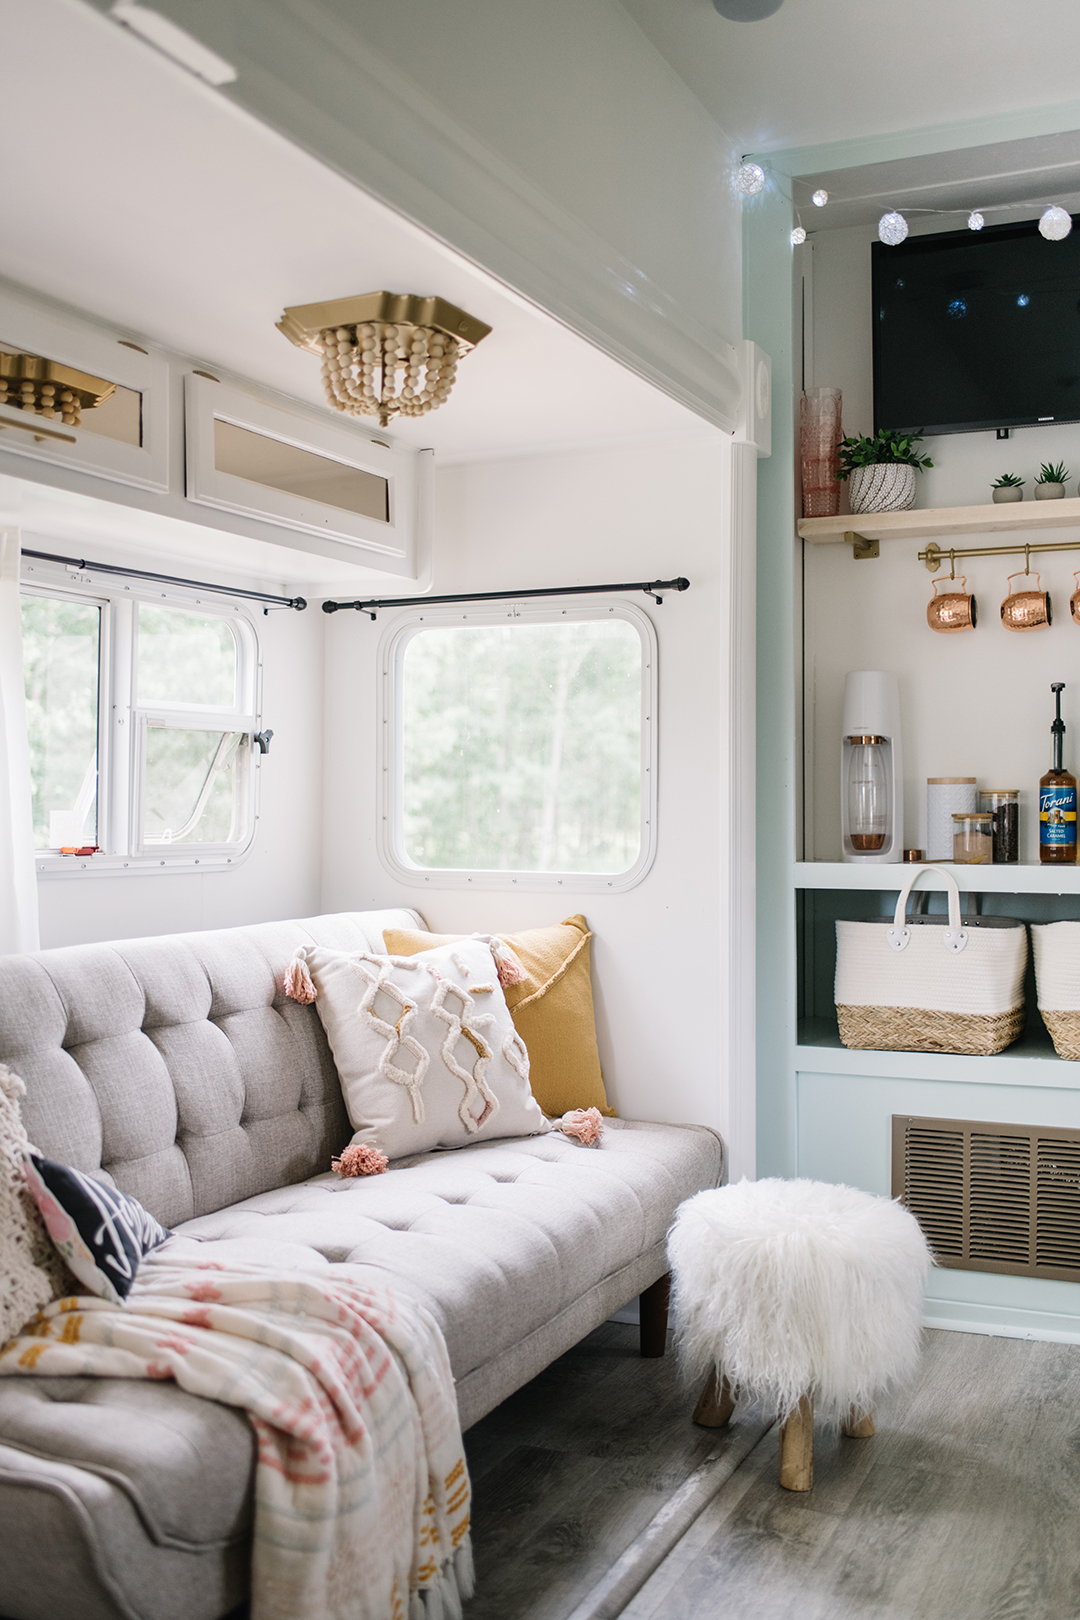
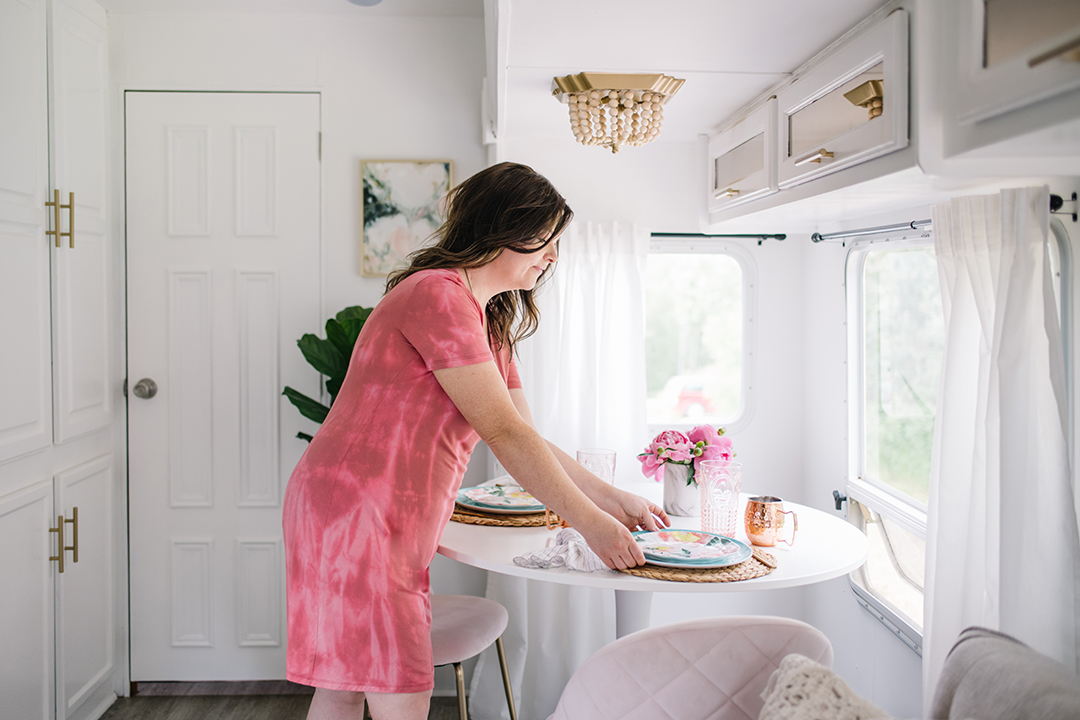
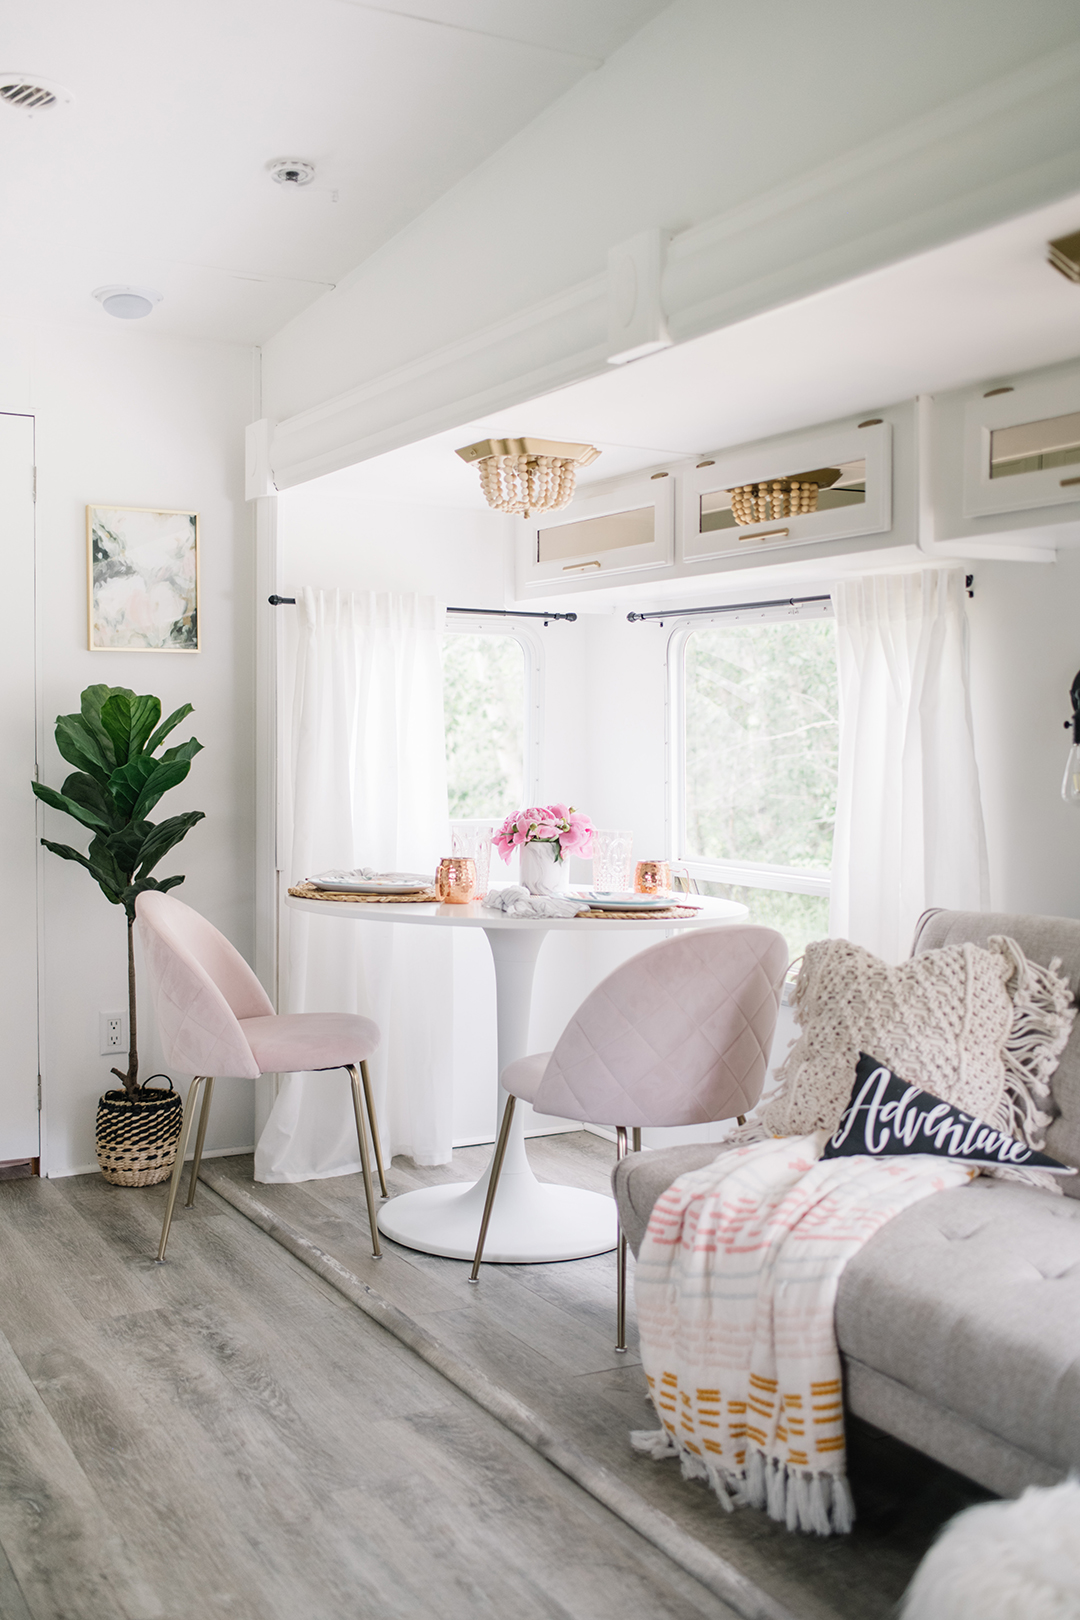
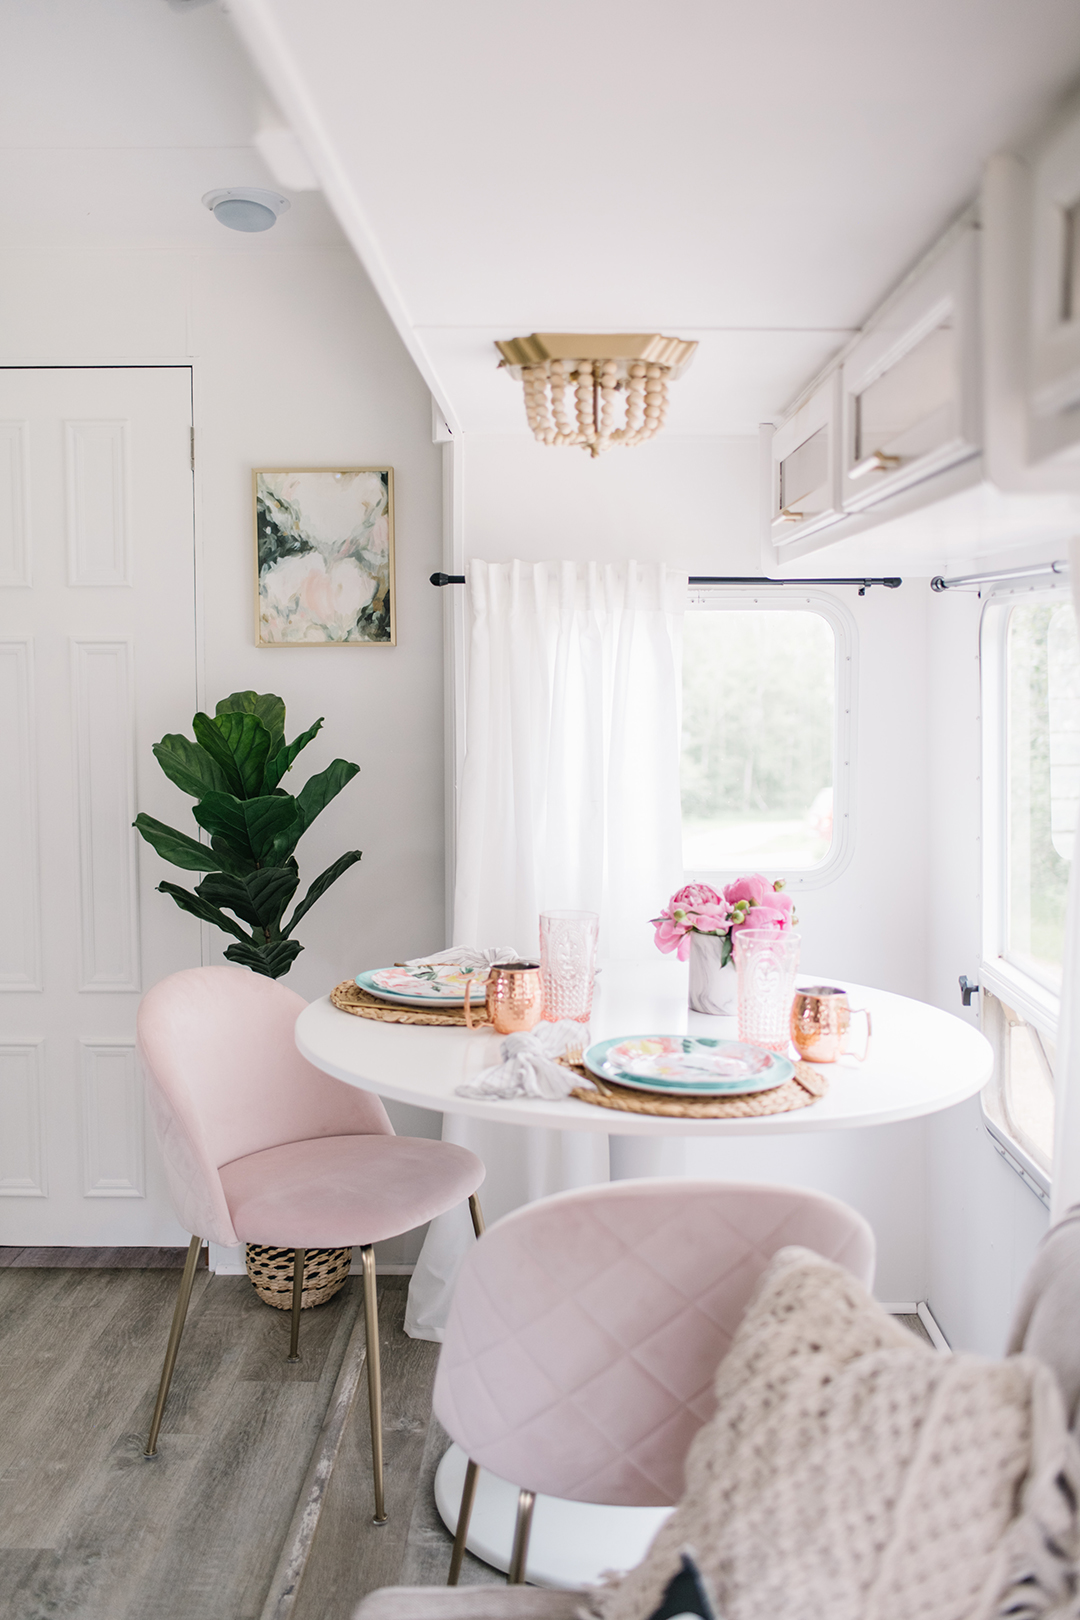
And here’s our camper NOW:
I’m completely enamoured with this light, bright look and all of the soft & feminine accents!
Watch the video below & then keep reading to learn more about our vintage glam RV makeover:
What do you think of the difference? I feel like it’s a whole new space, and my girls and husband adore it. We took the rig out once already, and we love how it functions for our family.
As you know, sourcing and shopping for products has been a huge challenge lately, and there are still a few things in here that I didn’t get a chance to complete. There are a couple cupboard handles missing, and I’d love to build a corner bench for more seating around the table. Other than that, I’m sure proud of how this space turned out! It was a TON of work, but definitely worth it in the end.
Our DIY Camper 2.0 RV Makeover Product & Materials Source List
Here’s a list of all the products and materials I used in this RV makeover. You can visit the links listed at the top of the blog post to read & watch how I made over each area of the camper (the painting, flooring etc.).
This post contains affiliate links. When you purchase an item via these links, I receive a small commission at no extra cost to you.
- vinyl plank flooring from Costco Canada (I used the colour “Sea Salt”)
- reducer trim from The Home Depot
- BEHR Kitchen, Bath & Trim Interior Stain-Blocking Primer & Sealer for the cabinet primer
- BEHR PREMIUM Cabinet & Trim Interior Semi-Gloss Enamel Paint in Whisper White & River Mist for the cabinets
- BEHR ULTRA ™ SCUFF DEFENSE ™ Interior Extra Durable Flat Paint & Primer for the walls
- faux marble hexagon peel & stick tile from Amazon for the kitchen backsplash
- faux marble contact paper from Amazon for the countertop
- small glass jars in spice rack from Amazon
- Rustoleum Pure Gold Metallic spray paint for the cupboard handles, faucet, hinges & light fixtures
- wooden beads & macrame cord for the light fixtures from Amazon
- brackets from Amazon for the coffee station
- IKEA Fintorp rail for the coffee station
- black wall sconce light fixture from Amazon
- 12V edison light bulb
- grey tufted futon from Structube
- faux fur stool from Structube
- round dining table from IKEA
- pink velvet chairs from Structube
- cafe curtain rods from The Home Depot
- curtains from IKEA (no longer in stock) & hemmed to length
My favourite part of any room makeover is styling it at the end, and our new camper was no exception! I ordered the furniture from Structube and IKEA a while ago, and I was so happy when it all arrive. I think it fits the space well, and it was all very affordable (the IKEA table was on sale for $140 when I got it!).
Most of the other items here are things I already had on hand from the dollar store, grocery store, and my random collection of accessories. I’m digging this pallete of pink, gold and mint green that my daughters helped me choose!
For travel, I store many of the accessories in the baskets and cupboards we have in the RV, the sofa stays loose (so far), and I flip the dining table upside down.
There’s still the kids bunk room, the bathroom, and the main bedroom to renovate, but I’m so happy this main area is complete! I might do the bunk room this summer, but leave the rest for next Spring. We’ll see how energetic I feel!
What do you think of this vintage glam camper makeover? Happy summer! We can’t wait to make more memories here.
PIN ME:

Love this! Do you have a link to the textiles? (Pillows, throw and dish towel)
I think it is beautiful, am surprised by the colours on the chairs with 3 children. I have camped most of my life and know that sand, and wet bathing suits can take a tole on the campers. We always had blankets and towels across the banquet seats to keep them clean.
Enjoy your camper and I love watching the transformations. Keep up the good work and I love it.
Great looking makeover!!
I love the interior of camper, everything looks perfect whether its color combination of sofas, pillow, wooden things. Great piece of work
WOW! So fresh!!! You did an amazing job and it looks so roomy! Please let us know how the countertops hold up—-I really want to try that.
She did them this way in her previous camper, and they held up well!
NICE POST!
THANK YOU FOR SHARING….
Thank you Sarah! I followed your RV makeover also! It was beautiful!
Amazing job! Great ideas. Thank you for sharing. I am in the process of our first DIY of a popup and cannot wait to finish it. From Canada too! 🙂
Where is that throw from! It’s so cute!!!!
Looks amazing! Great job!
Oh, beautiful makeover! I could live there?
Pat
You’re so talented and you’re taste in decor is beautiful! Such a great job!
Gorgeous!! This inspires me to get one for myself and glam it up. I thought I needed a companion to justify getting a camper trailer, but after seeing this beauty, I can go by myself! I would love to see a post with the everything in it’s place and sliders in, ready for the road. How it would look pre-set up.
Thank you so much for all video s on rv remodel. I learned so much and was able to redo our RV and I am so happy with the results. You are very talented and your RV turned out beautiful. FYI I used Behr paint and loved it. Thanks again.
wow, that transformation is out of this world, are all my dreams for a house in the near future, I know is an RV but is so perfect. this colours.
I am so impressed by your vision for your camper and how you manifested such an amazing transformation. Truly inspiring! love everything you did, I could live in it ~
Such a wonderful blog about vintage glam rv makeover reveal our diy camper 2 and I appreciate your effort for bringing this in to notice. Great blog indeed, will visit again future to read more!!
I don’t see a link to where you purchased the couch. Please let me know.
You can find links to everything right here: https://thediymommy.com/shop-our-home/
The couch is from Structube 🙂
you did such a great job?