10 Best RV Remodel Ideas to transform your camper!
This post may contain affiliate links · This blog generates income via ads
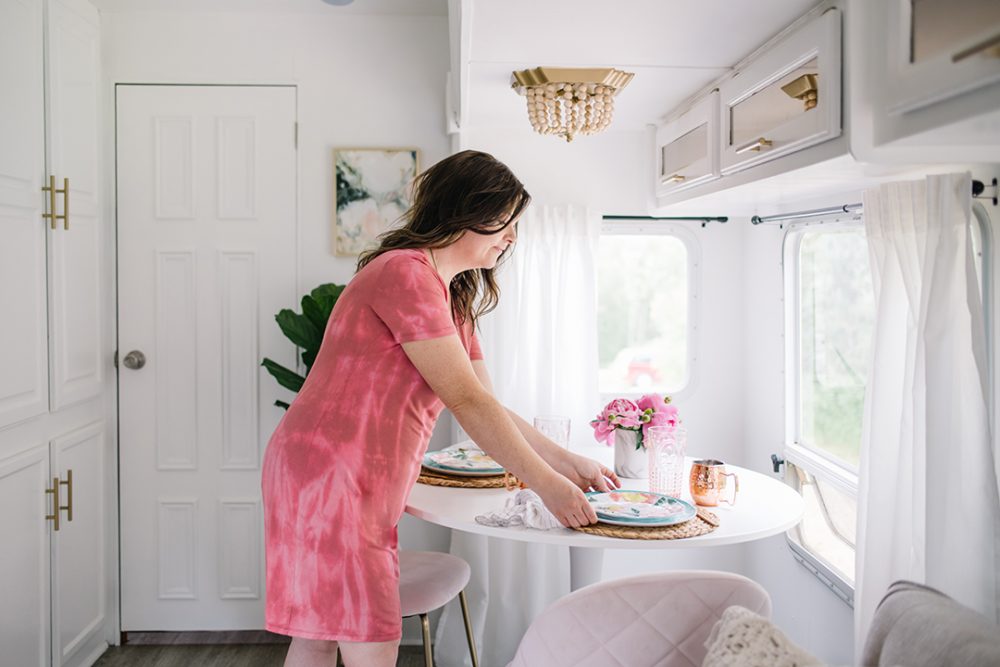
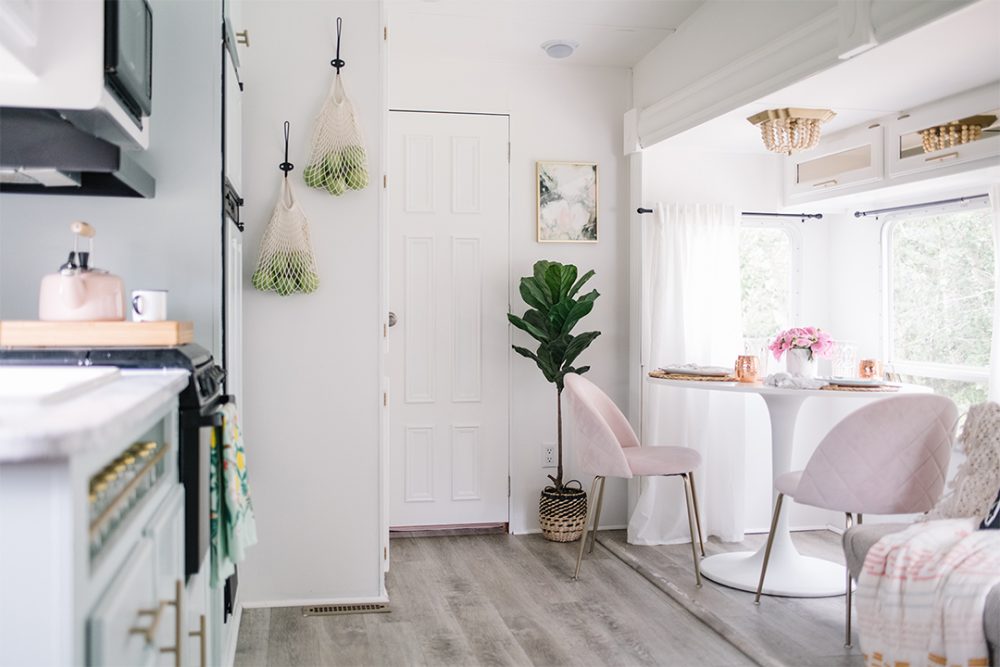
Transform your camper into a cozy, stylish home on wheels with a few simple upgrades. These RV remodel ideas will make your space look amazing for relatively little cost.
LISTEN TO TODAY’S PODCAST to hear me chat about how to remodel your RV:
SUBSCRIBE TO MY PODCAST:
My Favorite RV Remodel Ideas
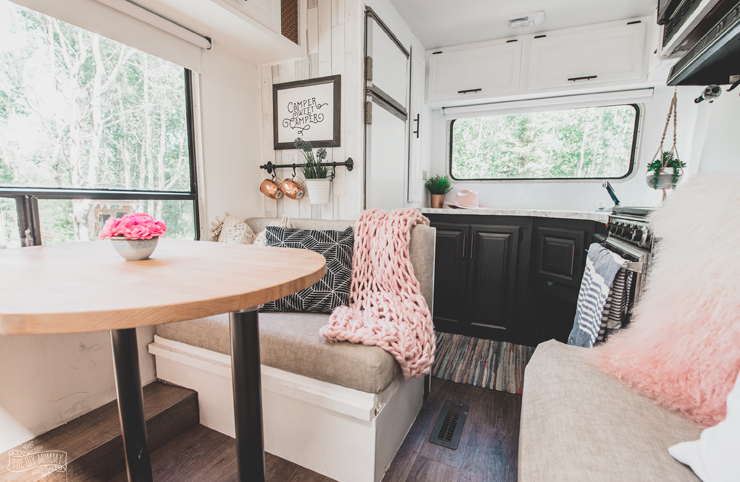
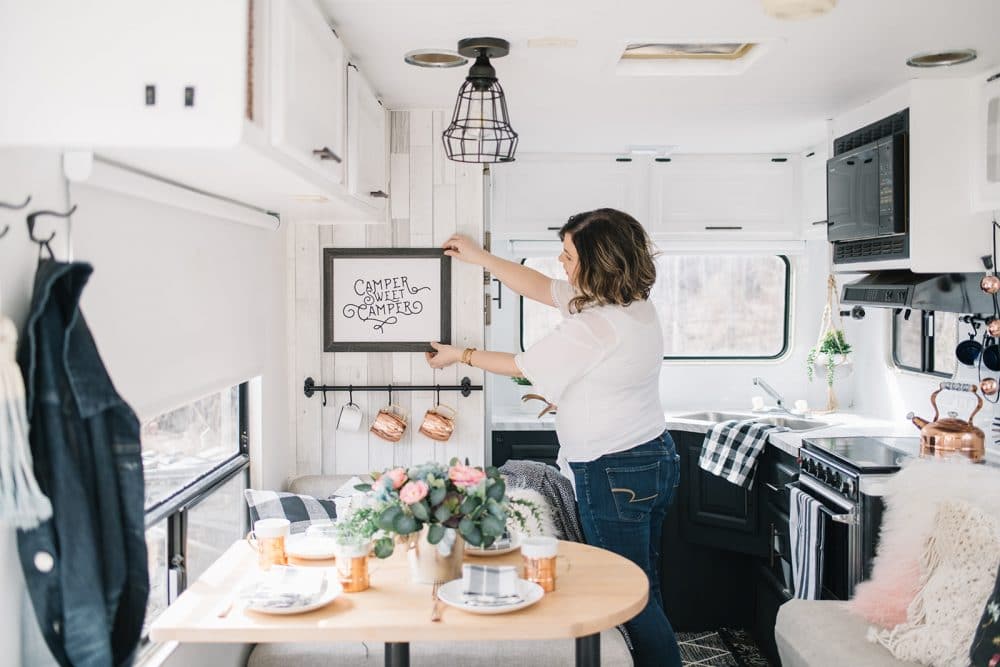
I’ve renovated 2 RVs (well, I’m almost done the second), and I’ve learned so much in the process. From painting the interior to reupholstering bench seats, there are many ways you can make your camper look more like home (and feel SO comfortable!). Here are my TOP 10 best RV remodel ideas that will completely transform your camper on a budget!
1. Give your RV a good clean
It’s amazing how a thorough cleaning can make any camper look 100% better. When buying a used camper, I recommend deep cleaning your camper right after purchase before doing anything else. This will help you determine what you may want to replace, or what actually looks good now that it’s sparkling clean! Start from the top to the bottom of the interior of your camper, and don’t forget to clean inside all of the storage areas.
2. Remove old window coverings
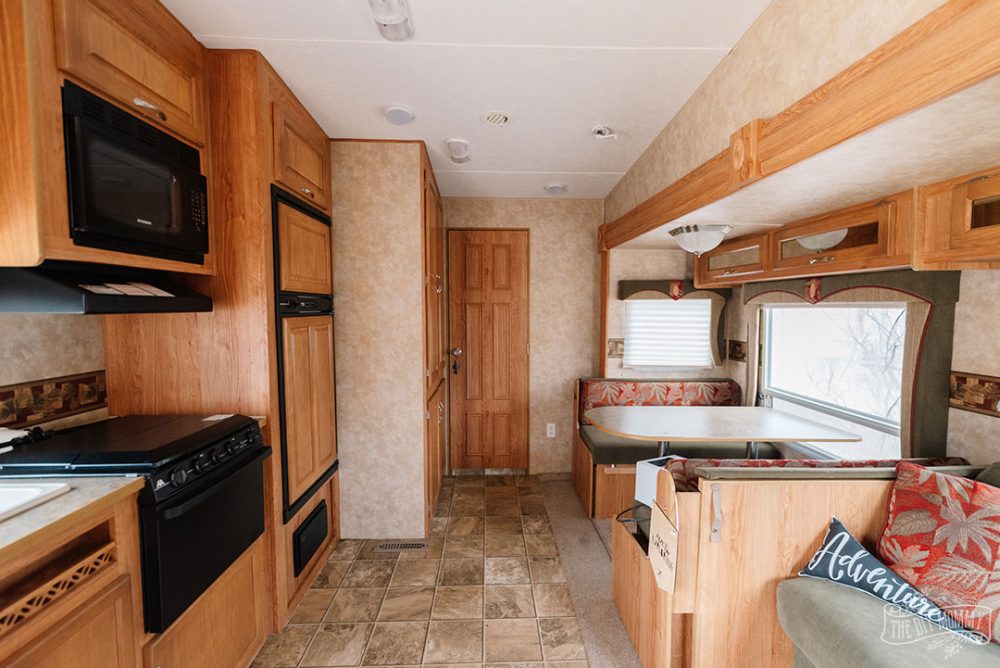
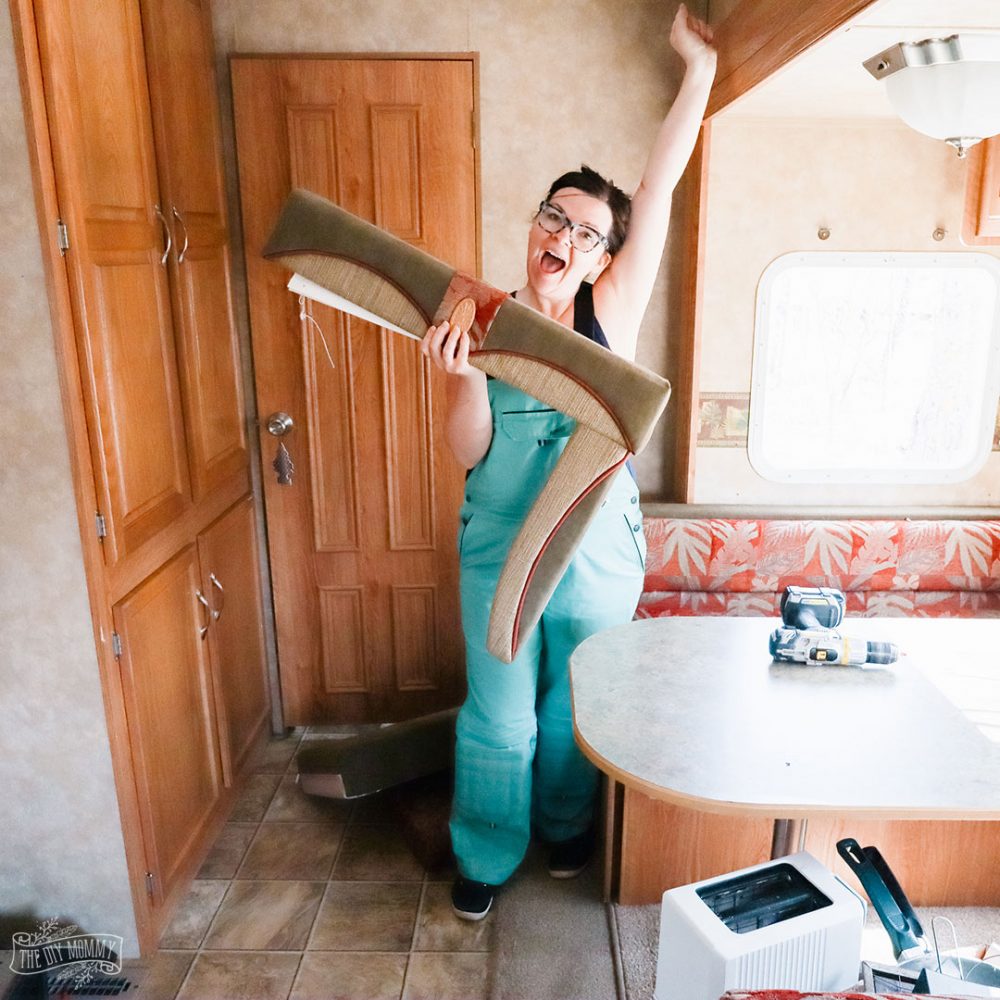
Nothing says “1992” more than old RV window cornices and curtains. Heavy, dated window treatments can make a camper look tired, and they’re hard to clean. These can usually be easily removed with a drill; they’re often attached with screws to the wall. You can replace them with cafe rods, and then hem IKEA curtains to the right length for a budget friendly update. Click here for my no-sew curtain hemming hack. If you prefer something with more privacy, install blackout blinds over the windows with screws. You can find a variety of sizes & colours of blackout shades at IKEA, Amazon, or any home improvement store.
3. Recover RV seat cushions
Original upholstery can be a little gross, and simply make an RV feel OLD. Pieces like dinette cushions, couch cushions and even folding sofa beds can be recovered in new fabric. You can also sew a slipcover for these pieces for a washable alternative. I like to use indoor-outdoor fabric for any RV upholstery to make it extra durable and easy to clean. See how I recovered RV dinette cushions here.
I’ve found that our dinette and couch cushions have been in good enough condition to recover, but I always recommend replacing any RV mattresses for brand new ones. A new mattress is worth its weight in gold!
4. Paint your RV interior
Most campers have paneling on the walls and ceiling that can look dated. In both the RVs that I’ve remodeled, there was a marbled, beige paneling on the walls. Painting these IS possible, and a fresh coat of paint will instantly make your RV interior feel fresh and homey. This is one of my RV remodel ideas that will make the BIGGEST impact to your space. To paint camper paneling, it’s always a good idea to start with a primer made for vinyl, and then use a durable top coat. I’ve used this primer and this paint & primer as a top coat on my camper walls with much success.
I like to stick with white or lighter colours for RV interiors because it makes them feel so much bigger. I think I’m going to create a darker, more dramatic accent wall in our latest camper bedroom though!
Click here to see how I painted my camper interior step by step.
I don’t recommend painting over loose wallpaper or wallpaper borders. I’ve removed these by heating them up with a hair dryer, peeling them off and removing any excess stickiness on the wall with Goo Gone.
5. Replace the flooring in your RV
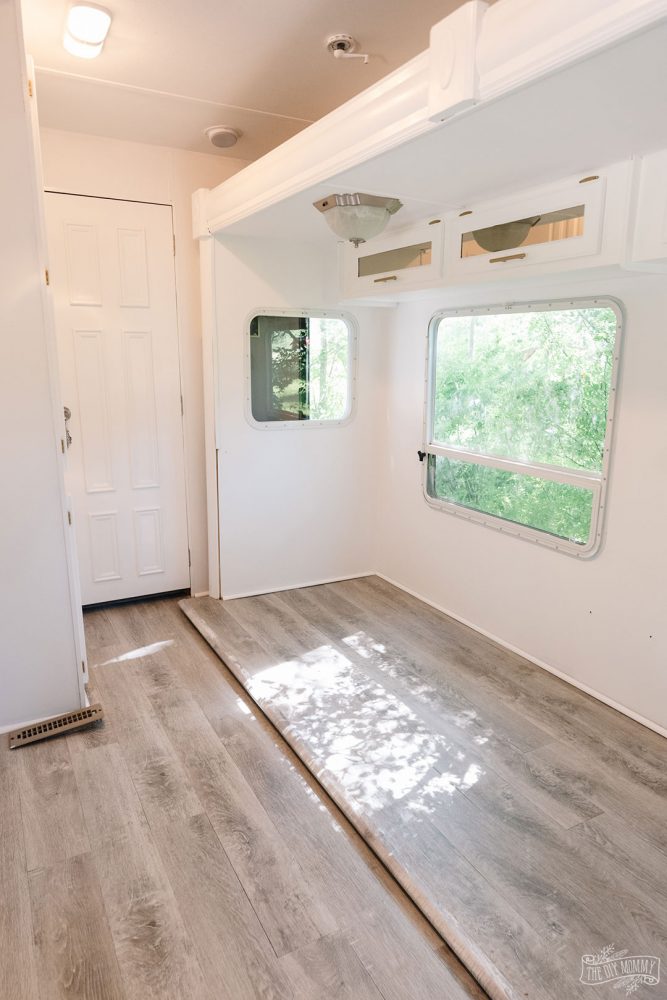
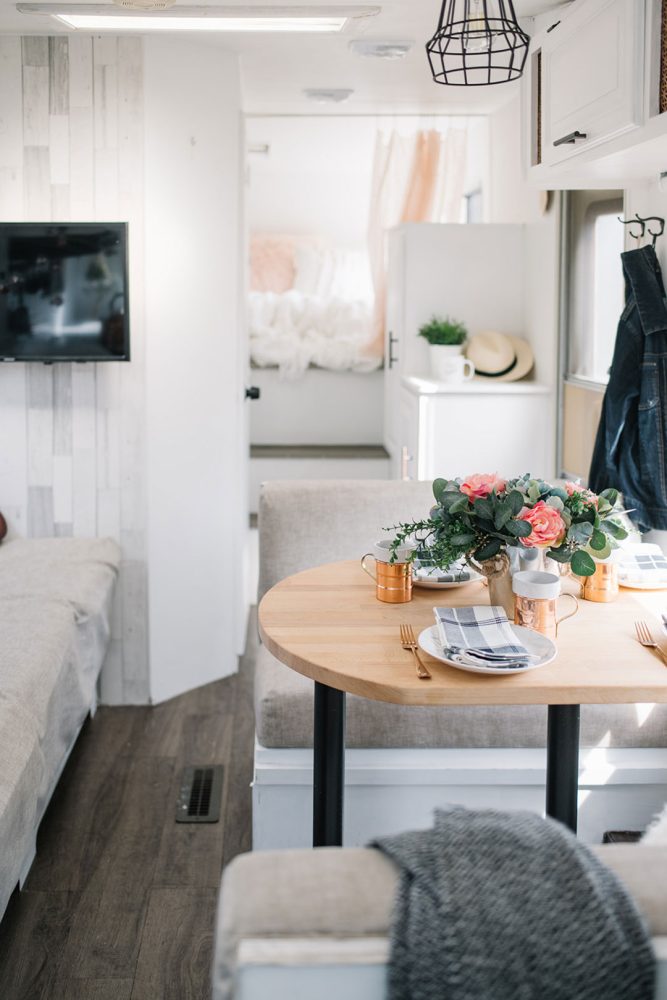
Can we all agree that carpet in RVs is a little gross? The amount of dirt, sand and water that end up on our camper floor is atrocious, so something easier to clean makes more sense to me. I love using vinyl plank in campers because it’s easy to install and water resistant. It’s easy to clean, and it looks beautiful! I’ve also seen people use laminate flooring, but vinyl flooring is lighter weight and more durable.
For our first camper remodel I used a vinyl plank from Home Depot, and one from Costco in our second. For both, I used PL construction glue to adhere them right over the old vinyl flooring. I ripped out all of the carpet in both campers prior to installing the vinyl plank. New flooring makes a substantial difference in how RVs look and feel.
Click here to see how I installed vinyl plank flooring in our RV with a pull out!
6. Swap out the light fixtures
Many people don’t know that you can use pretty much any light fixture in an RV. The only caveat? You have to use a 12 volt bulb! You can easily buy RV compatible 12v light bulbs from Amazon. Swapping the light fixtures in your camper will instantly elevate the look of the interior. I did so on both of ours, and I love how they made both RVs look so much more modern! I’m lucky because my husband is an electrician, so he did the installation of the new fixtures, but they’re easy enough to do by watching a tutorial on YouTube. Just make sure the power’s disconnected while changing light fixtures in your camper.
Want even more of a budget friendly idea? You can hack old RV light fixtures into boho beauties with this tutorial!
7. Paint the cabinets for the ultimate RV remodel
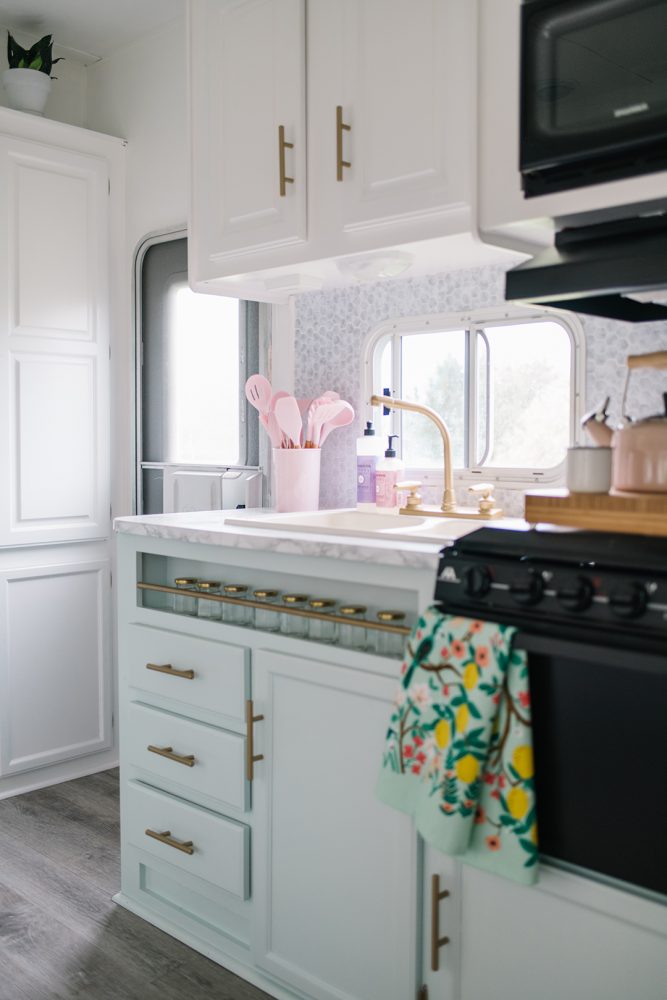
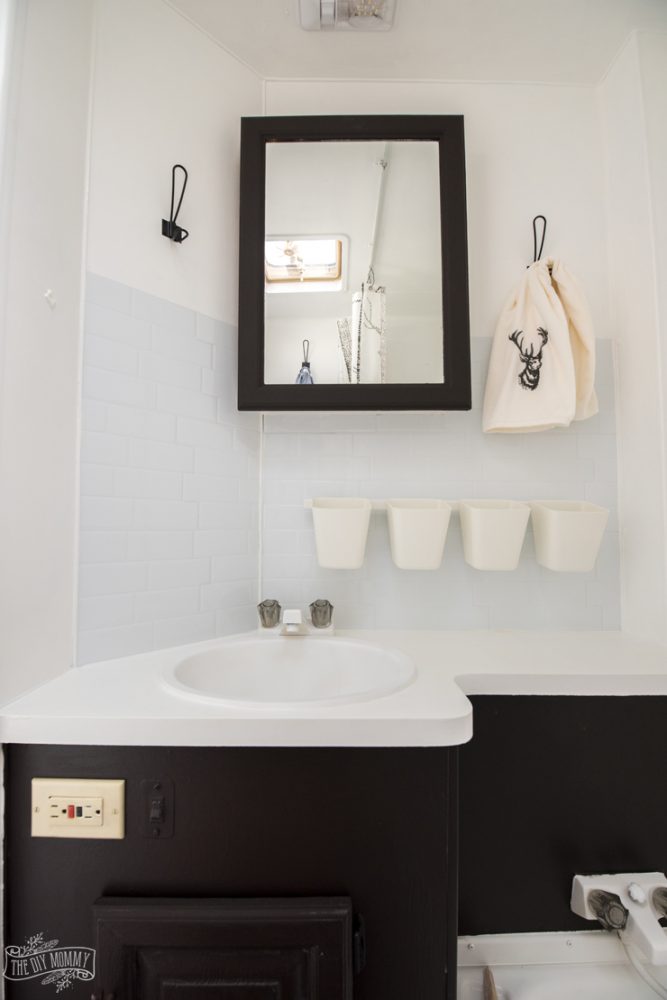
Like painting your RV walls, painting all of the cabinetry can make your camper look BIGGER and more luxurious! In both my campers, I painted the dated wood-look cabinetry white. It was amazing how much larger both campers felt after this change, and I’d recommend it to anyone.
You do need to lightly scuff sand and prime RV cabinets before painting them to ensure a durable finish. Click here to read my step-by-step guide on how to paint cabinets so they actually last.
Painting the insides of the cabinetry is also an option, but I find that it isn’t necessary after I give them a good clean.
8. Cover old countertops in your camper
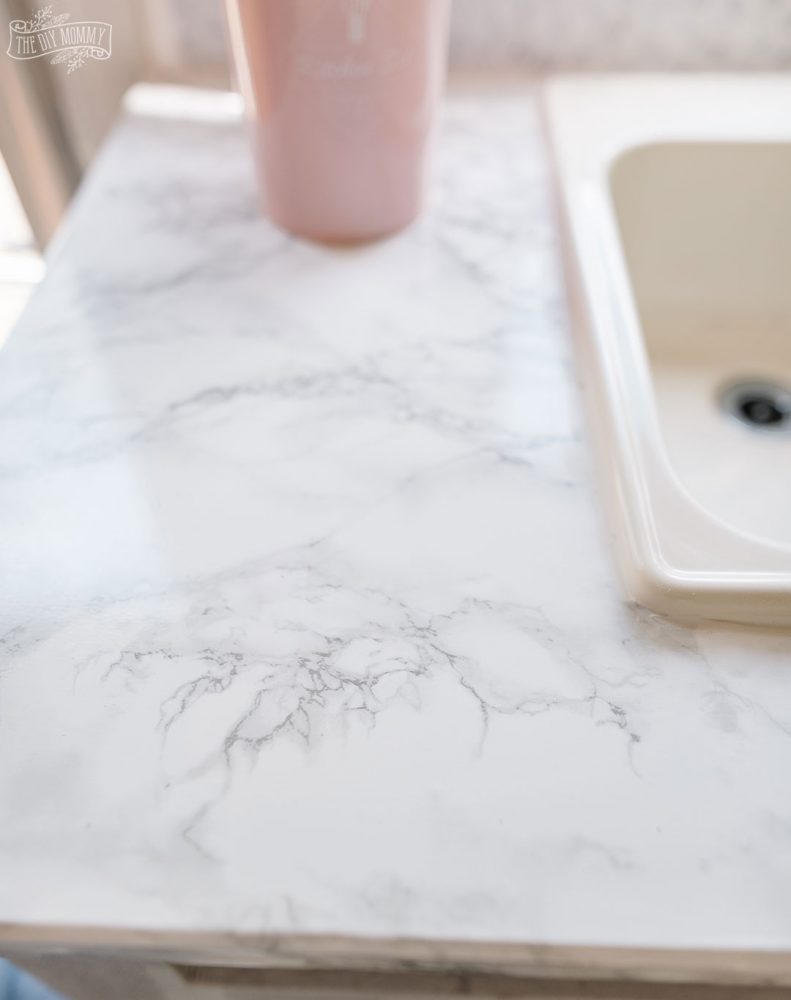
If you don’t want to completely replace your laminate camper counters, covering them with contact paper is a viable option. It looks fantastic, and I’ve found this particular vinyl contact paper to be surprisingly durable. I used this product on both of our campers, and they’ve lasted for years. Ensure your surface is perfectly clean before applying this product, and then caulk any seams around the sink or backsplash for even more durability. You can apply contact paper to your RV kitchen countertops as well as the bathroom counters.
Read how I install marble look contact paper countertops here.
9. Use peel & stick tiles in your RV remodel
Traditional tiles are usually too heavy for a camper, and can easily break as the camper moves. One great option is to use peel & stick vinyl tiles to cover old backsplash or create interest on your RV walls. My favourite peel & stick tile is anything from Smart Tiles. I find these to be the longest lasting, and they haven’t budged in our wild temperature changes throughout the years.
Use these to cover old kitchenette backsplash, to add a feature wall, or to create a backsplash over your bathroom sink. Click here to read all of my peel & stick tile installation tips.
I wouldn’t recommend installing these anywhere there’s excess moisture, like a shower. Instead, you can use an epoxy type paint to refinish areas like RV showers, toilets and sinks.
10. Decorate your camper in a cozy yet practical way
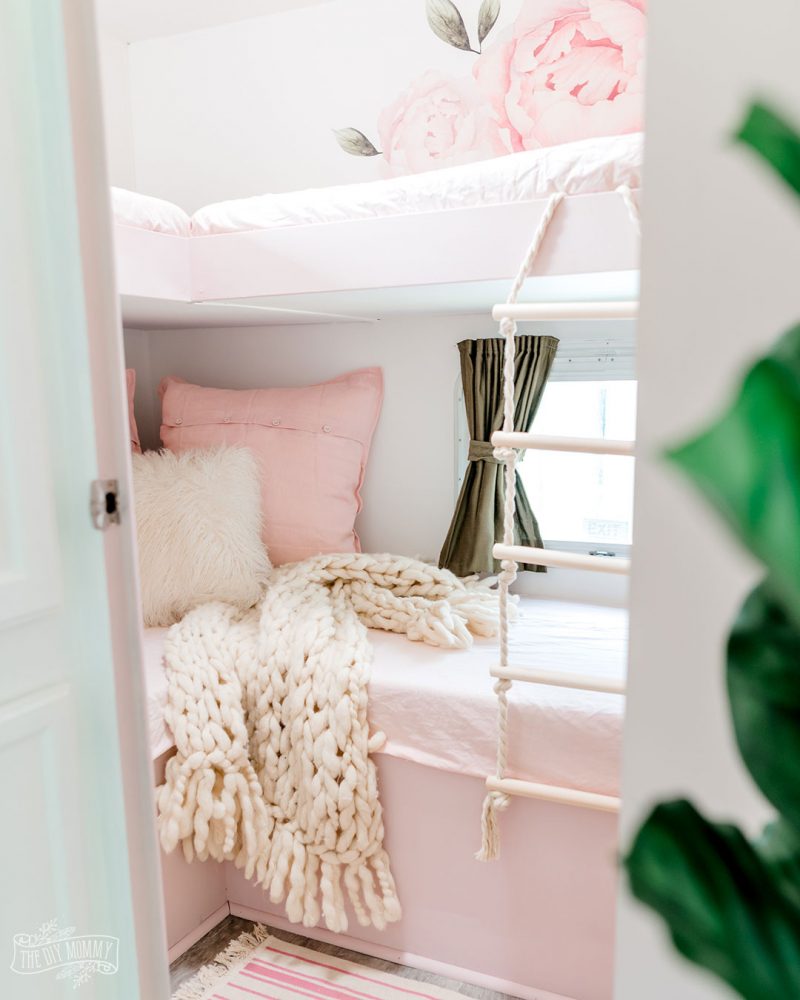
Even if you don’t want to paint or recover anything in your RV just yet, simply decorating your rig will make it look more like home. Add some cozy throw pillows and blankets to your space, or even some faux greenery. We bring our own bed linens while camping so that our RV feels just like home. Look for high performance fabrics that are easy to wipe or machine wash, and consider DIYing your own accent pillows.
I hope you enjoyed these RV remodel ideas and that they gave you inspiration for your own camper makeover!
This week’s challenge:
If you have a camper or are thinking of getting one, consider which of these 10 RV remodel ideas you could try this Spring. Let me know which one you’ll tackle in the comments below!
Happy DIYing!

Christina, this article was so well done! I loved the tips. My mother-in-law just got an RV that she loves, but it definitely needs some touch-ups. I think it would be a good idea to get her done for her RV for Mother’s day. Thanks for the ideas!!
We just got a 1997 Wilderness. It’s been in one family ownership since 2002 and has not only been used for camping, but for permanent living. It is showing the wear and tear of the years. Your article is great and we are just at step one. A good cleaning will take at least a full week. Then we’re doing repairs and then the fun stuff. I will be using your guidelines. Thanks!
I will be using your advice and tips, all 10 of them!!
We’re looking at buying a camper and I stumbled on your blog & youtube. Funny enough I love in Alberta too, so I’m going to be doing a deep dive through your content!! Love your style and easy tips and tricks!