How to Start a Room Makeover (from a professional home decorator!)
This post may contain affiliate links · This blog generates income via ads
Need help knowing where to begin when redecorating or renovating your home? These six steps will help you get going; they work for me every time! Let me show you how to start a room makeover to design the home of your dreams.
One of the most common questions I get asked about decorating a room is “How do I even START?!” I use 6 steps when I begin a makeover to help me get focused, help me STAY focused, and create a professional and cohesive looking room. Ready to go?
1: Identify Your (Physical & Emotional) Needs
The most important step to beginning any room makeover is nailing down how you’ll be using the room. And how do you want it to feel? Think about the practical, physical needs of the room like seating, floor space & table or desktop area. Then, think about how you want this space to make you, your family and your guests feel. You could identify three key words that will describe the feeling of your room (for example: cozy, romantic & unexpected). Use these to help you narrow down images for the next step – gathering inspiration photos.
2: Gather Inspiration
One of the first things I always do when I’m planning a room makeover is gather inspirational images of other rooms, items, and lifestyle photos. My favourite tool for this is Pinterest. I usually create a “secret” Pinterest board that only I can see when I’m planning a makeover. You could also go old school and clip out magazine photos and pin them to an actual bulletin board! After you’ve gathered all of your inspiration photos, you can look them over and identify reoccurring elements (wall colours, furniture styles, fabric patterns, accent colours, light fixtures etc) that you’ll include in the next step – making your mood board.
One trick to finding images that suit your style? Narrow down your home decorating style and use that phrase to search for images! If you don’t know your dominant style, you can click right here to take my 2 minute quiz.
3: Create a Mood Board
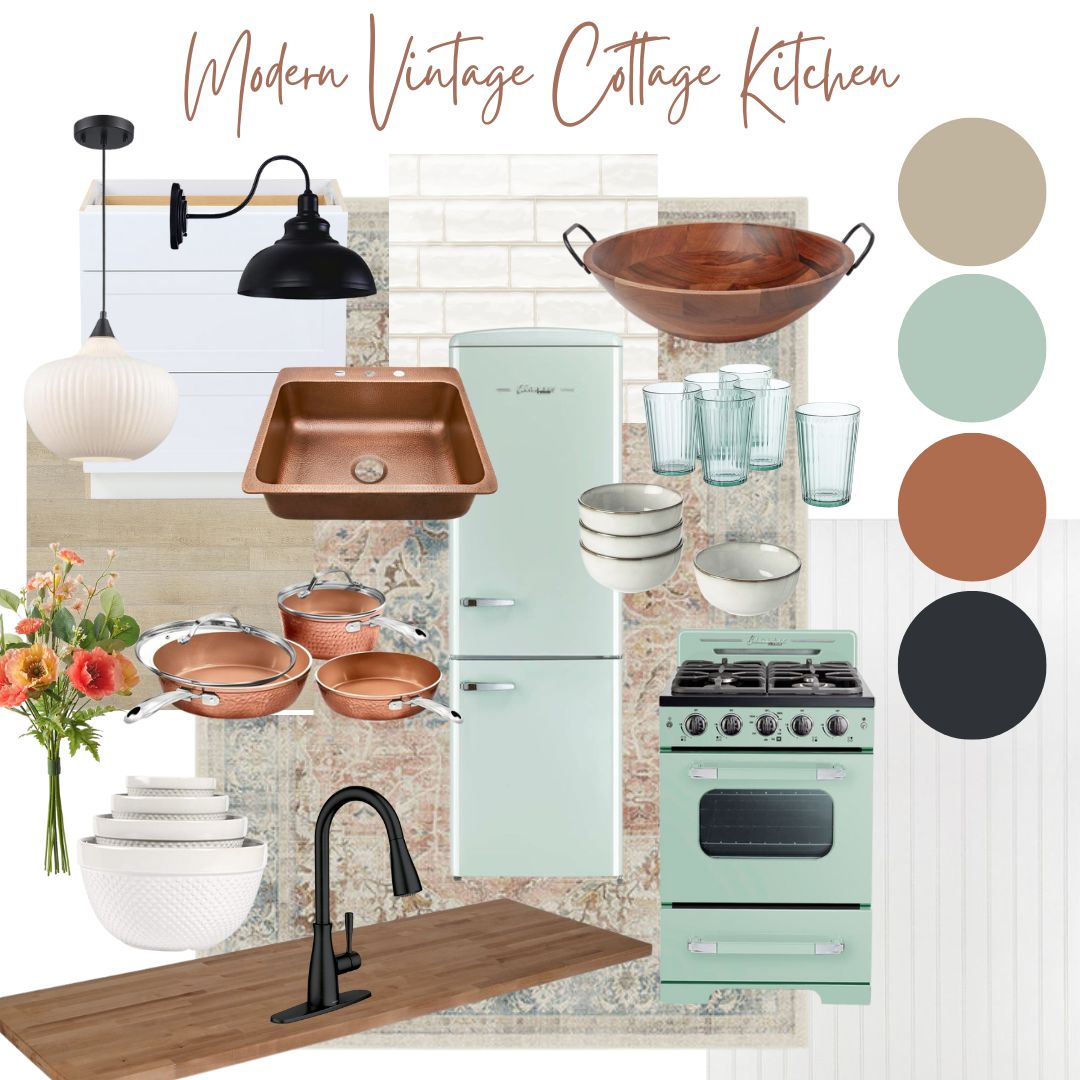
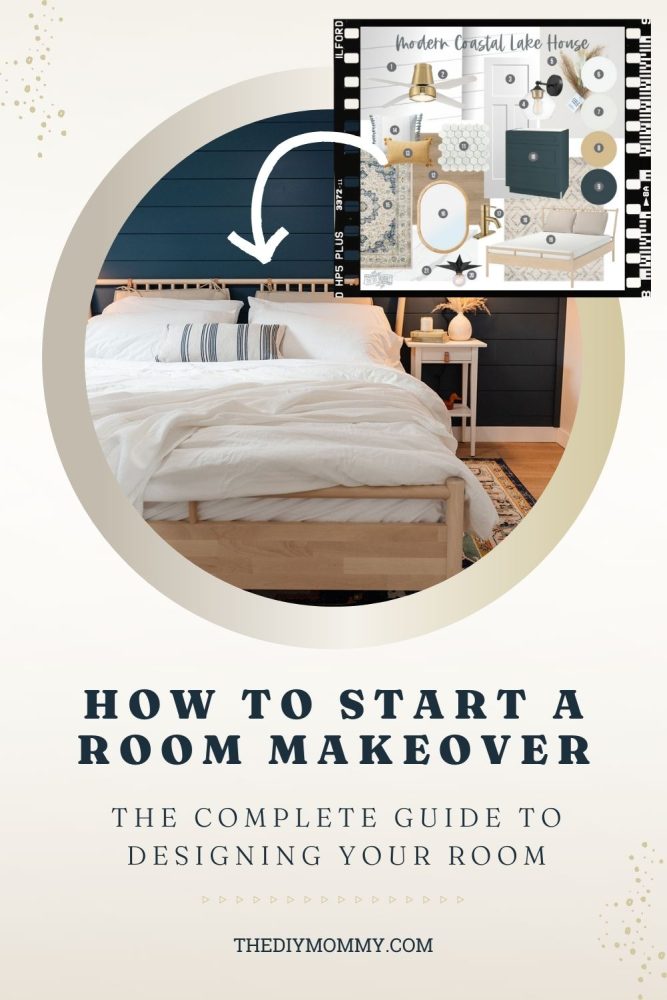
This is one of my favourite things to do! This step will really help keep you focused as your gather and purchase items for your room makeover. I love creating mood boards. I make mine in Canva – a free online graphic design program that is incredibly user friendly. Pull in some photos of furniture, paint colours, accents, accessories, rugs and artwork into a collage graphic to see how it works together. If something doesn’t coordinate, you’ll be able to see it when everything’s side-by-side.
Need help creating your mood boards?
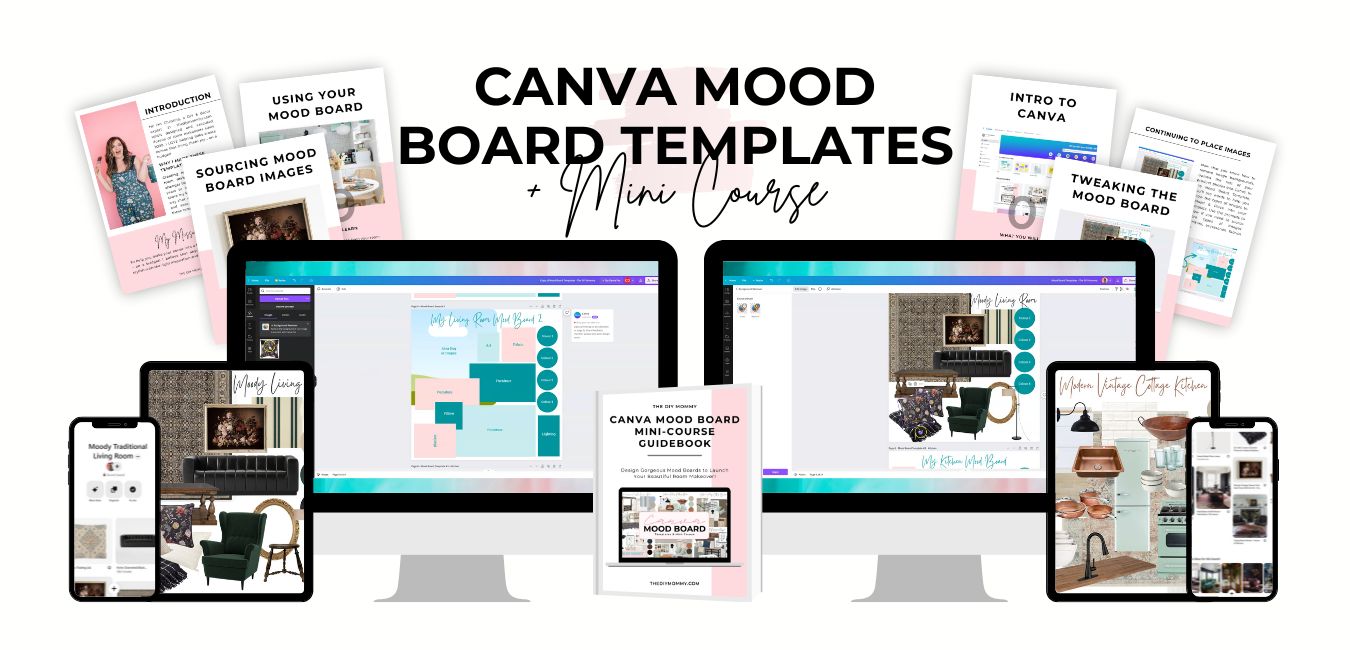
My NEW signature Canva Mood Board Templates & Mini-Course will give you all the information & motivation you need to create gorgeous looking mood boards for your room makeovers. With one click, you can start learning how to make stunning mood boards to start your room transformation off right.
It’s all here in one place: my Canva Mood Board Templates & Mini-Course!
4: Make a Floor Plan
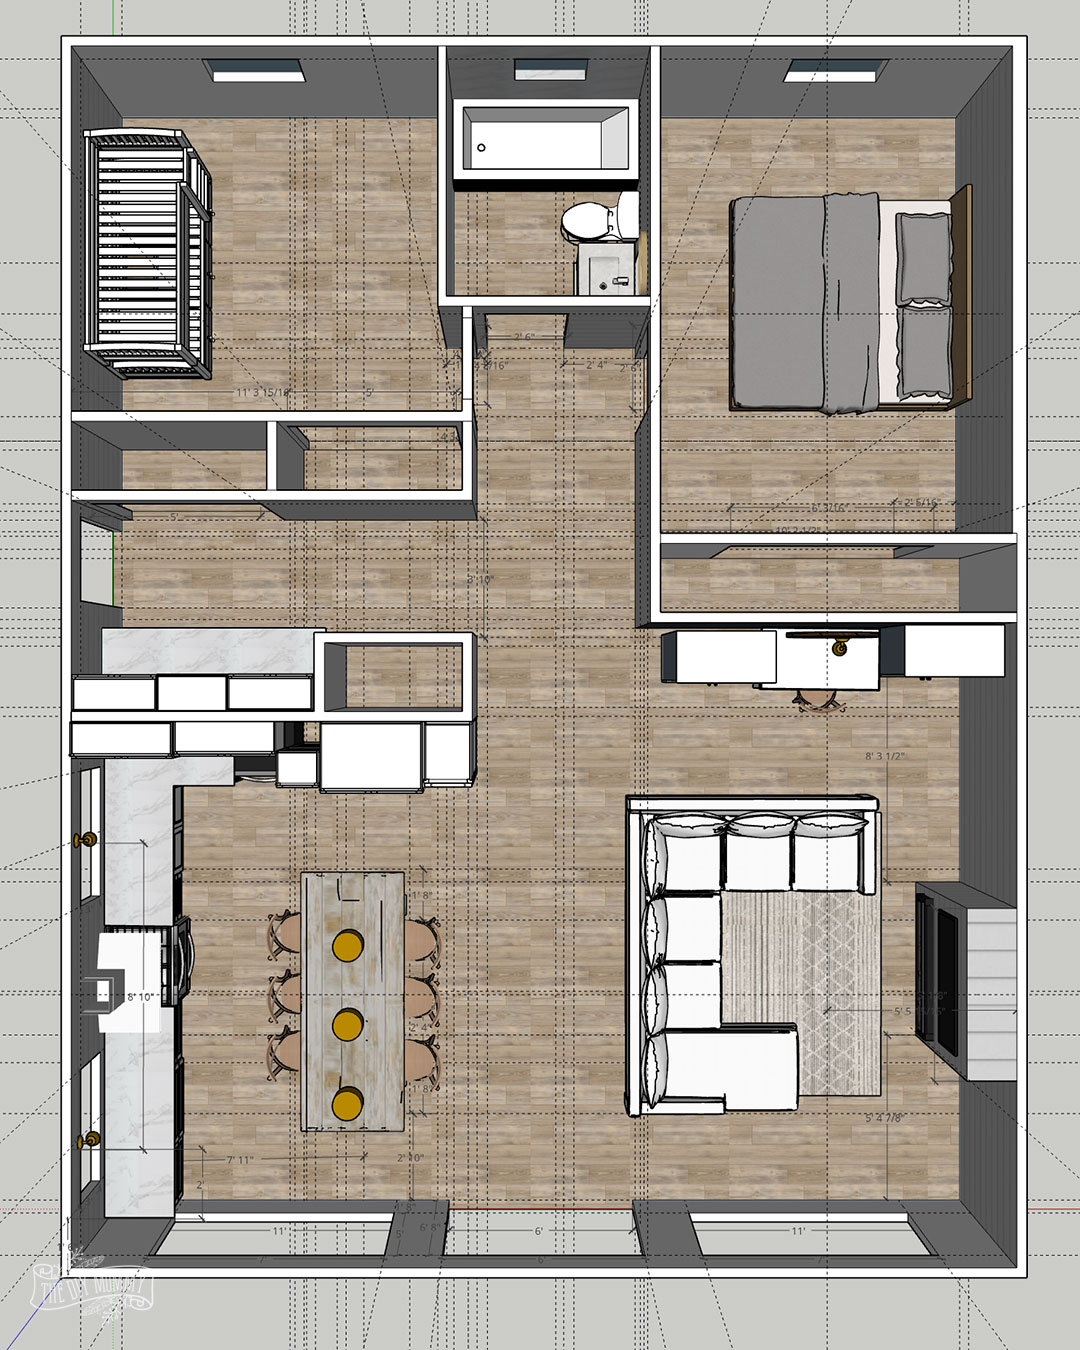
Because I’m often so focused on look and feel this is a step that I can forget, but it’s really important! Measuring your room and creating a floor plan will help ensure that you find or buy furniture and accessories that will be the right size for your space. Measure the length, width and height of your room and draw it out on a piece of paper or on your computer. I use both Sketchup (most versatile, but a big learning curve) and Floorplanner (less versatile, but easy to use) to make my floor plans. Then, when you have prospective furniture for your space, you can draw it into your plan to see if it will fit and if the scale looks good in your room.
5: Create a Shopping List
Now that you’ve identified how you want your room to be used, how you want it to feel, and how big your room is, you can create a shopping list for all of the items you’ll need for your space. Take inventory of what you already have that can be used first, and then create a list to fill in the holes. What you need will really depend on your room and personal taste, but add things like large furniture, small furniture, artwork, rugs, small accessories, light fixtures, drapery and plants to your list. At this point you can identify any items you might want to DIY to save money or create something unique.
6: Set Your Budget & SHOP! (And keep your eye out for your muse!)
Now it’s finally time to shop! Decide upon your budget, and with your list in hand and the items you already own in mind, start shopping. Shop at obvious places like furniture & big box stores, but don’t forget to look online, at antique stores, at thrift stores, and on local buy & sell sites for used items that could use some DIY love. Mixing old and new pieces helps give your room character! Also, keep your eye out for an eye catching piece of art, furniture or fabric that can give your space some personality and help you choose your paint colours and final accessories near the end of your makeover.
Going through these steps is a great way to start any room makeover – they’ll get you focused and help you create something you love!
Watch my video for more home decorating tips (these decor rules changed my life!):
SUBSCRIBE TO MY PODCAST:
Pin Me:
This week’s challenge:
Do you have a room in your home in dire need of a makeover? Go through the steps above and let me know if it helped you gain clarity!
Happy DIYing!

Dear Christina
Please please please. Could you tell me where the rose pattern wallpaper is from in your latest post about your next makeover.
I would be so grateful to know where it’s from.
Many thanks and regards.
Lindsay Schofield in the UK.
Great points and thank you for sharing this, definitely creating your checklist for your make-over is essential. Love this post. Cheers!
So glad you liked it!
Great post, I want to redo a couple of rooms and this was very valuable information. Thanks, I really enjoyed everything.
So glad you liked it!
These are great tips – this! We’re talking about rearranging all our bedrooms so I’ve bee looking for ideas. 🙂
How exciting!!
Very very wonderful article, I really enjoy your article, Thanks for sharing with us.
I would love to see a tutorial for creating moodboards in Canva. I love your style and your presentation. You explain everything so clearly in an “I can do that” type of approach!
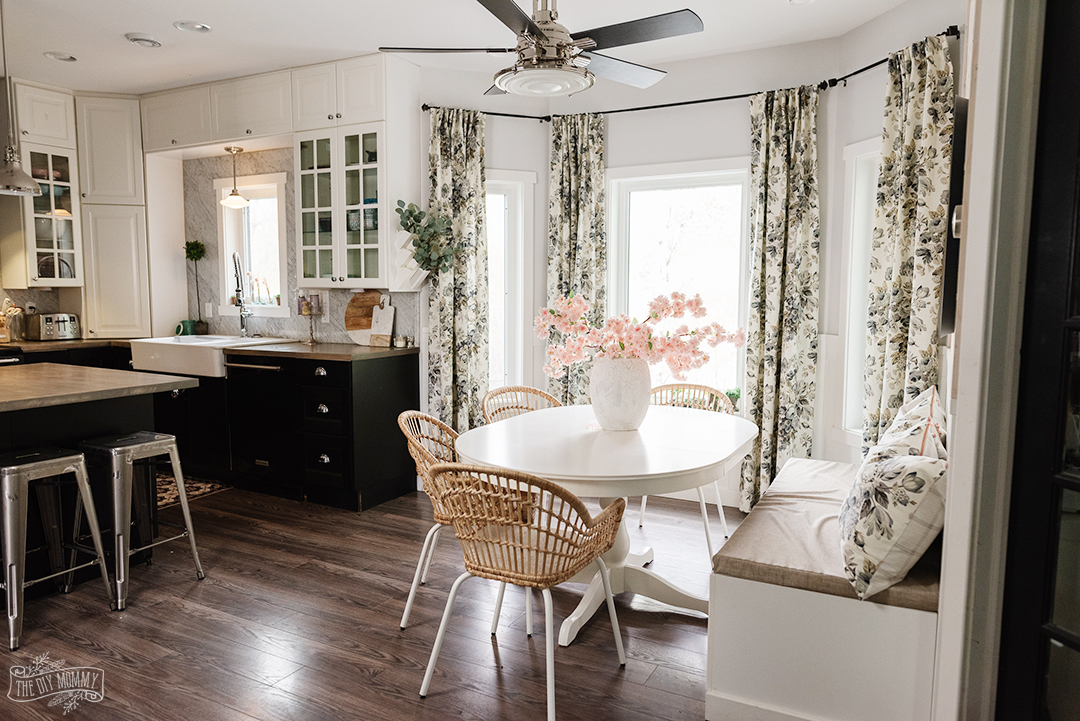
I love love the black and white drapes in kitchen area!!! Where did you buy ?
These were DIY. You can see the full tutorial here https://thediymommy.com/how-to-sew-drapes-with-pleater-tape/