How to Make an Arm Knit Blanket with a Fringe (Video) #12MonthsofDIY
This post may contain affiliate links · This blog generates income via ads
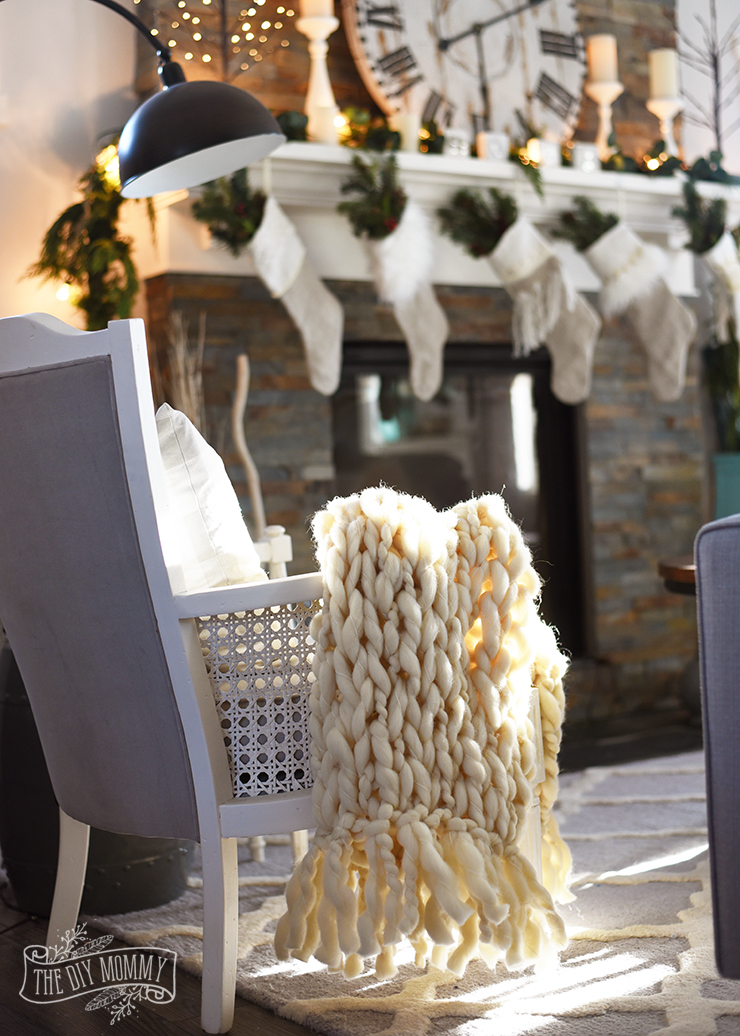
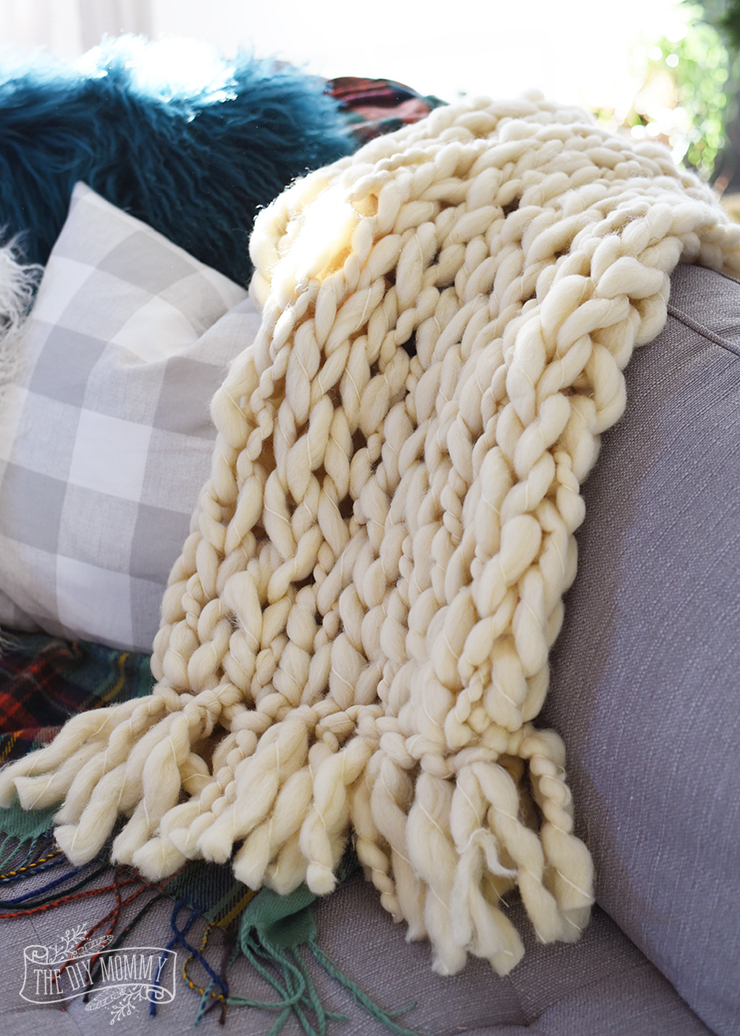
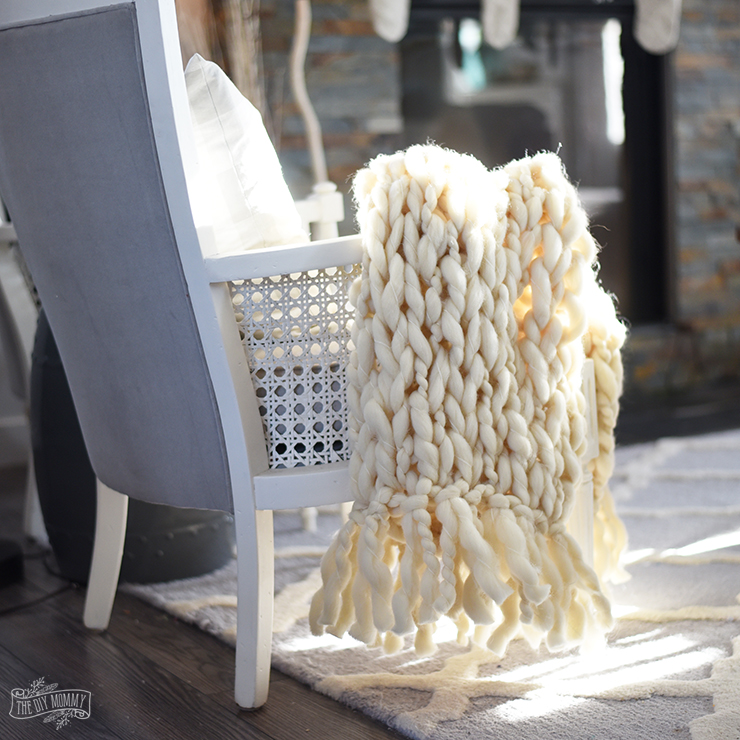
One of my most favourite projects and the one that been the most popular on my blog this year is my arm knit blanket from January. As a cozy, final project for #12MonthsofDIY, I thought it would be perfect to re-visit this project, spruce it up a little, and share with you how to make an arm knit blanket with a fringe. Make sure to check out all of the other wonderful projects my blogging friends have made with our material this month – yarn!
I learned how to arm knit by watching this video by Simply Maggie. If you want to learn how to arm knit, she is the queen of it!
I thought I’d put my own spin on an arm knit blanket by adding a luxurious fringe on the ends.
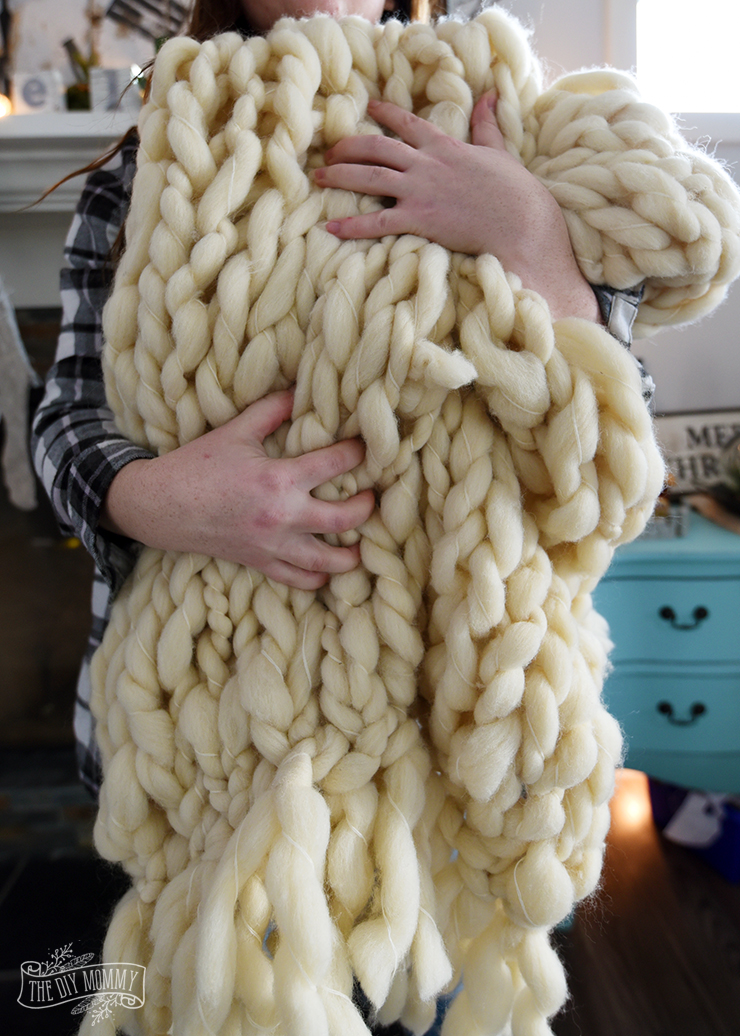
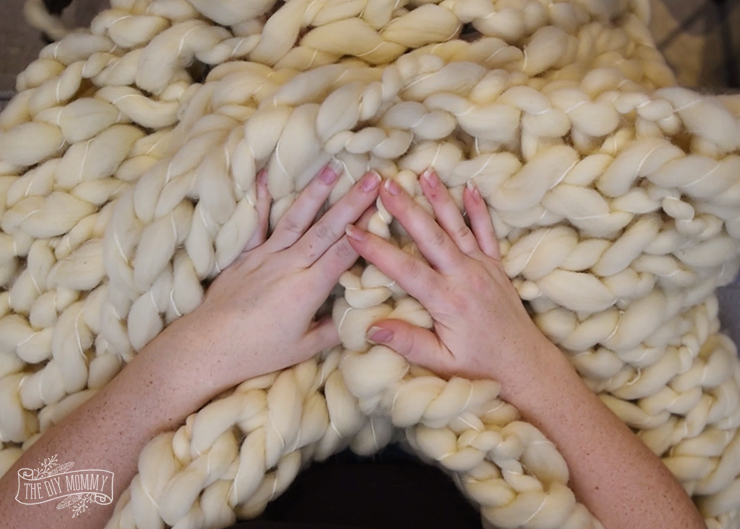
I made this fringed arm knit blanket in a couple of hours. Let me show you how easy it is to make a soft & squishy blanket like this!
This is a long tutorial, so if you’d rather watch it in video form, here’s a video how-to:
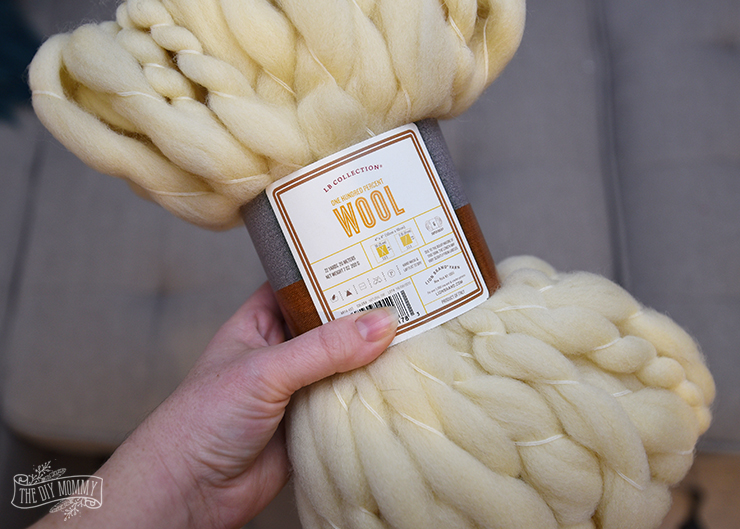
For this project, you’ll need an extra bulky yarn. I used this beautiful yarn from Lion Brand Yarn called LB Collection® Wool Yarn. Five skeins made my lap-sized blanket with a fringe. I love the way this yarn gets thicker and thinner in parts to give this blanket even more texture.
I did a test swatch, and the gauge of this yarn was 0.5 stitches per inch. If using a different yarn, you’ll need to make your own test swatch to see what your guage is and determine how many stitches you’ll need to make your blanket. For a lap-size blanket (about 36″ wide by 40″ high), I made my blanket 18 stitches wide by 20 stitches long.
To begin, measure out about 18 arm lengths of yarn for your tail, and then create a slipknot.
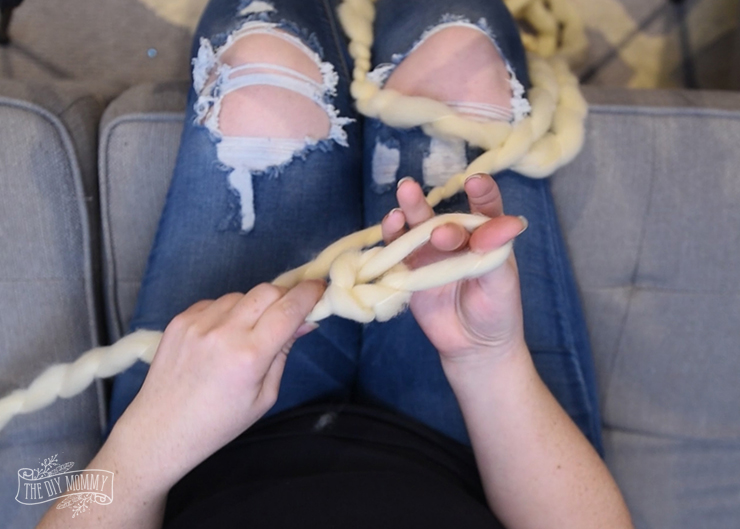
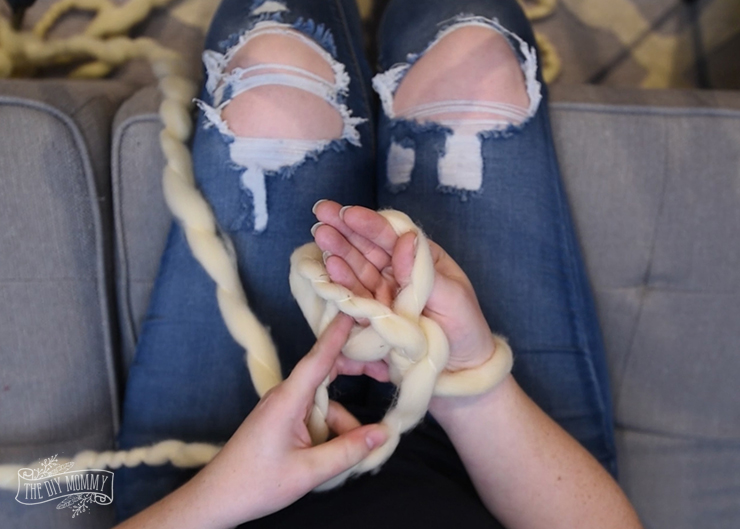
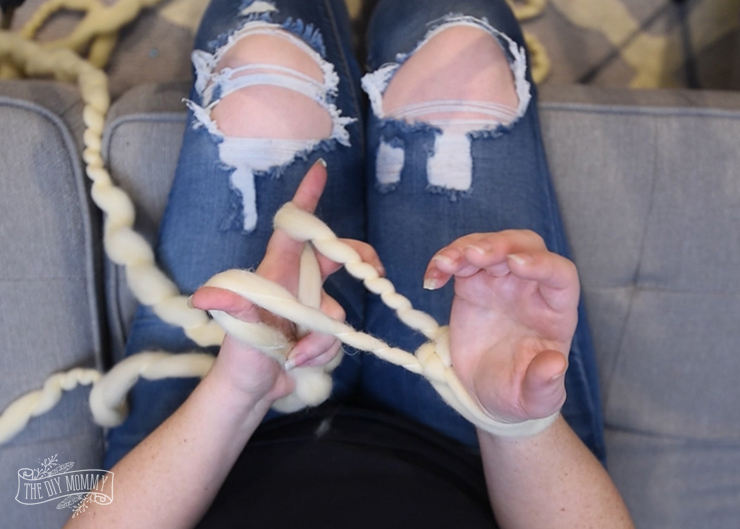
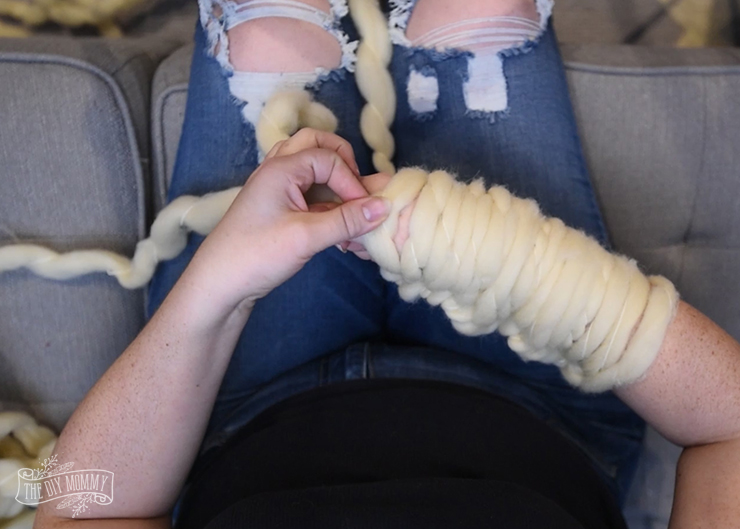
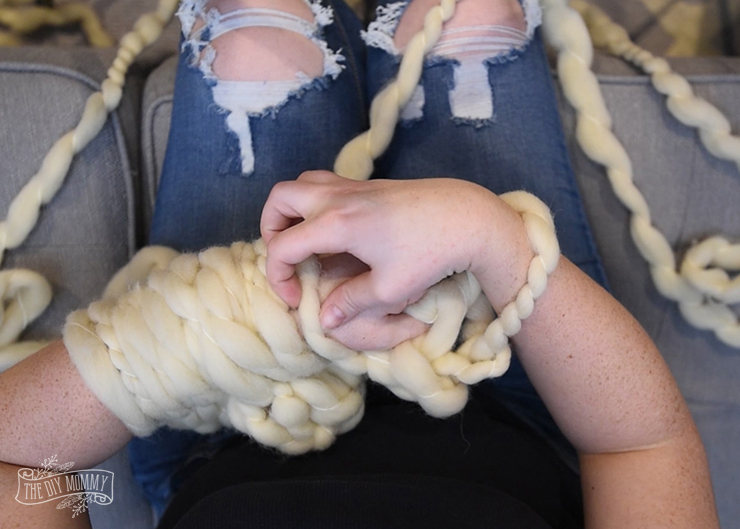
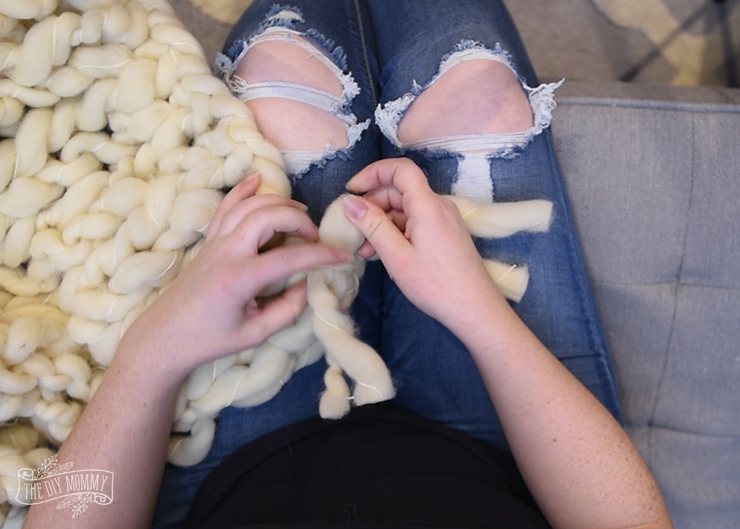
Then, create a V-shape with the working yarn and the tail with your left hand. Slip your right hand under the working yarn on the left hand as shown above.
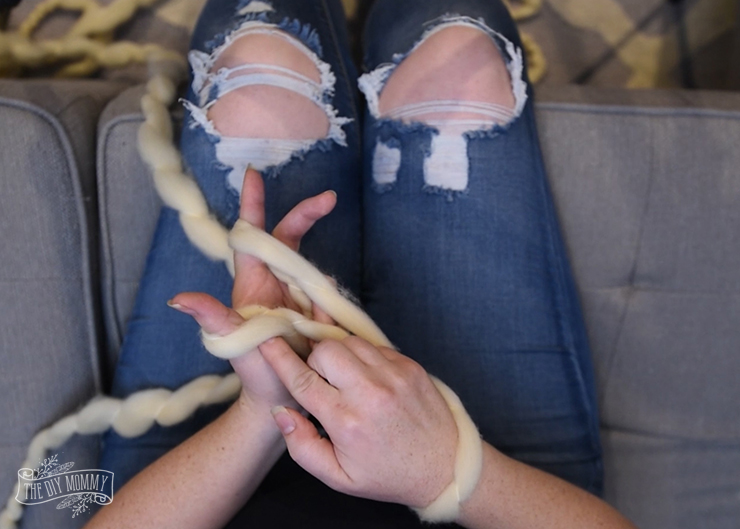
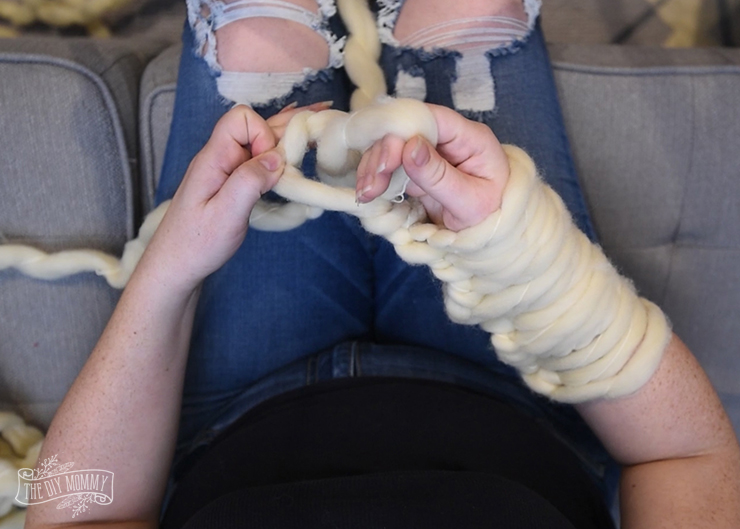
Then pull the yarn from the tail through the loop you’ve created like this.
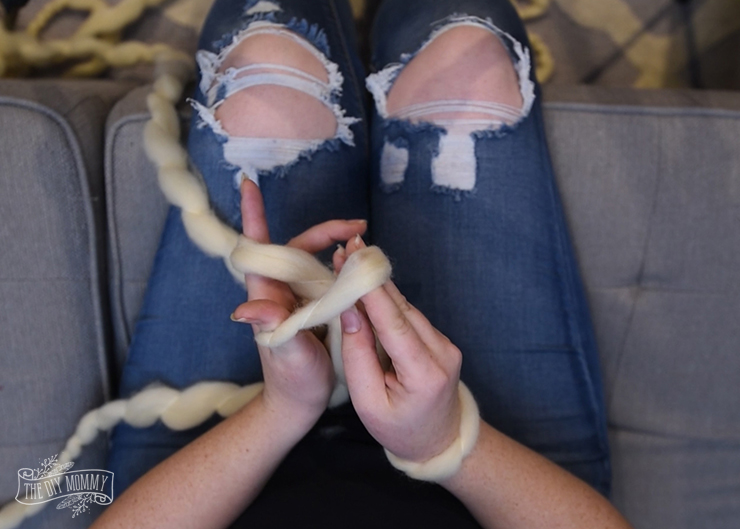
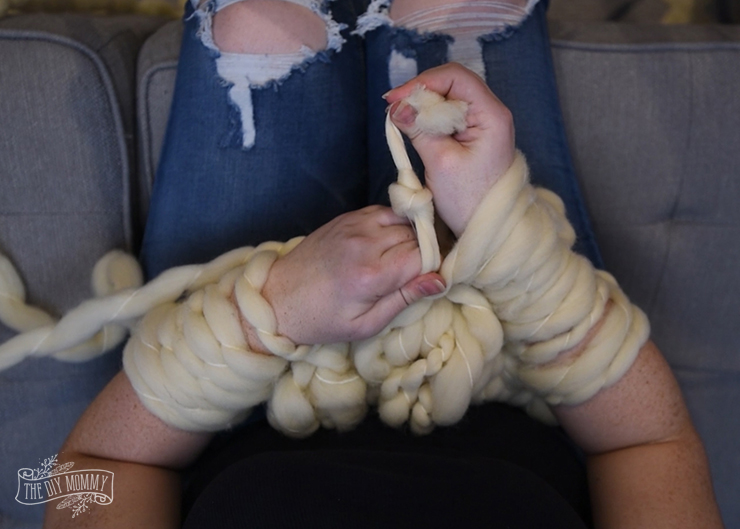
Gently pull that loop up and over your right arm.
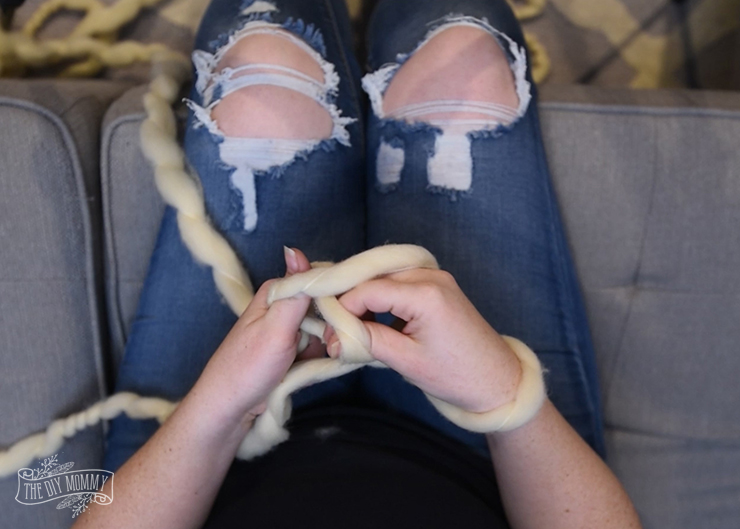
Tighten it a little, but no so much that you can’t push it up your arm as you make more loops.
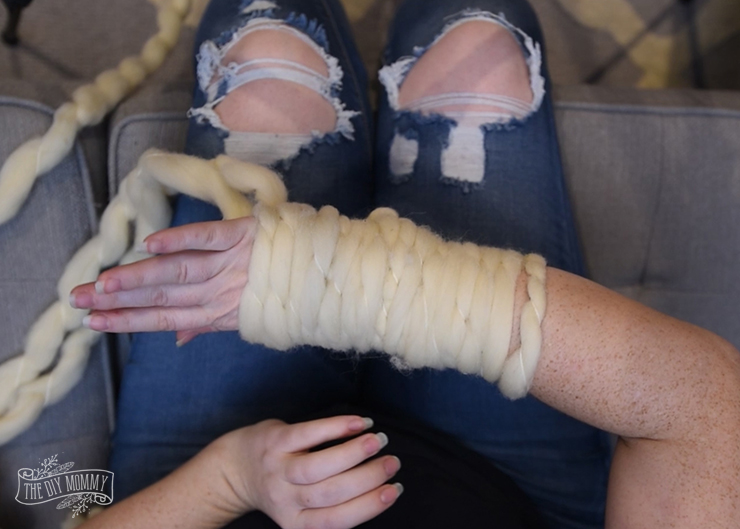
Continue casting on in this way until you reach your number of desired stitches.
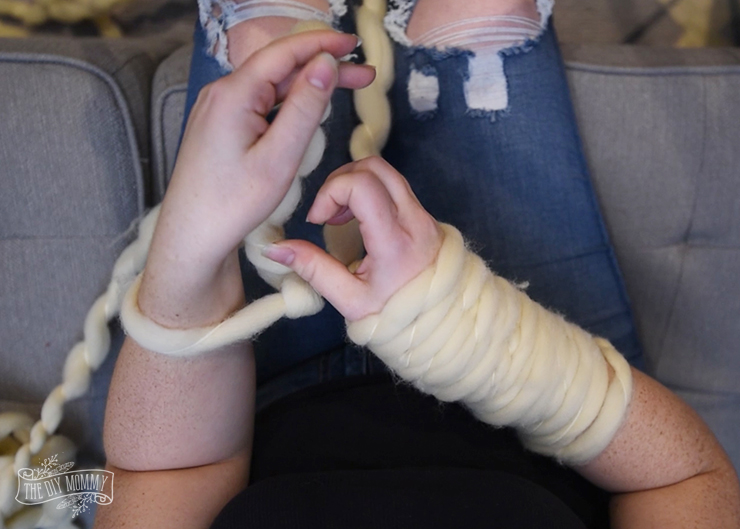
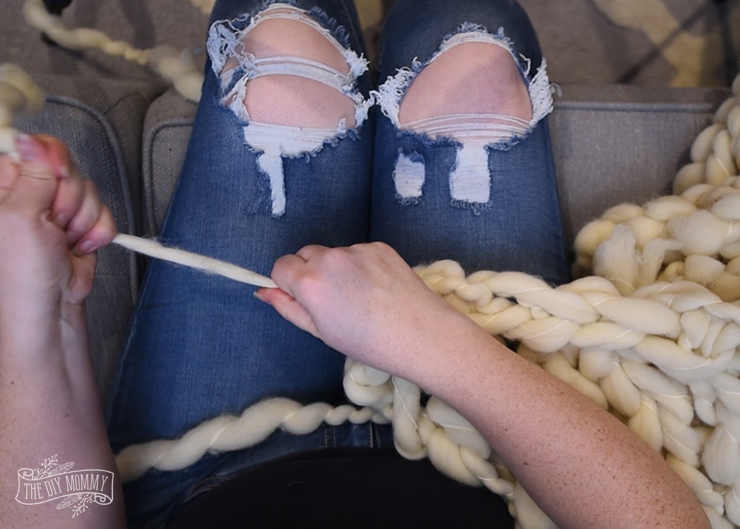
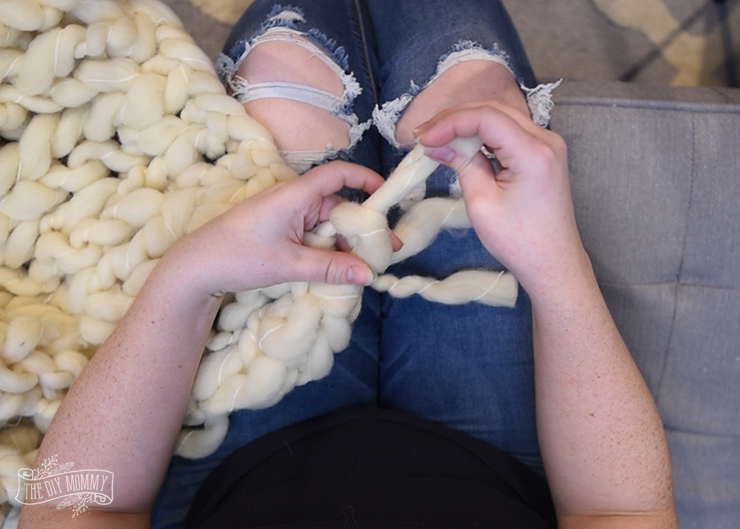
To start the first row, grab the working yarn with your right hand like this.
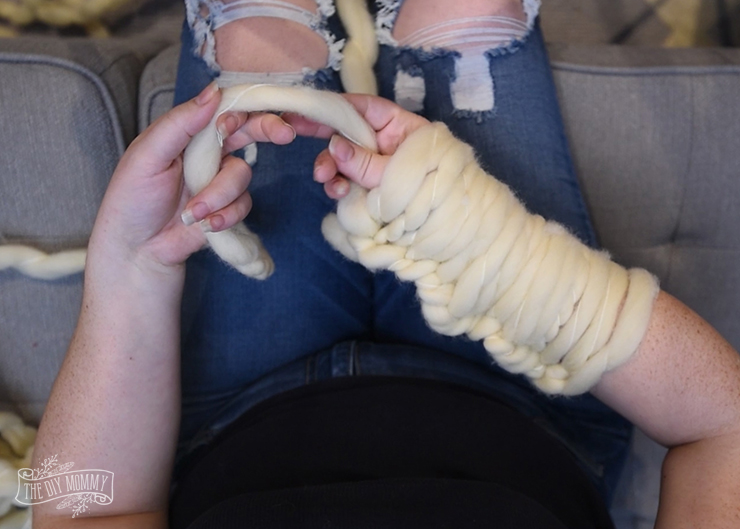
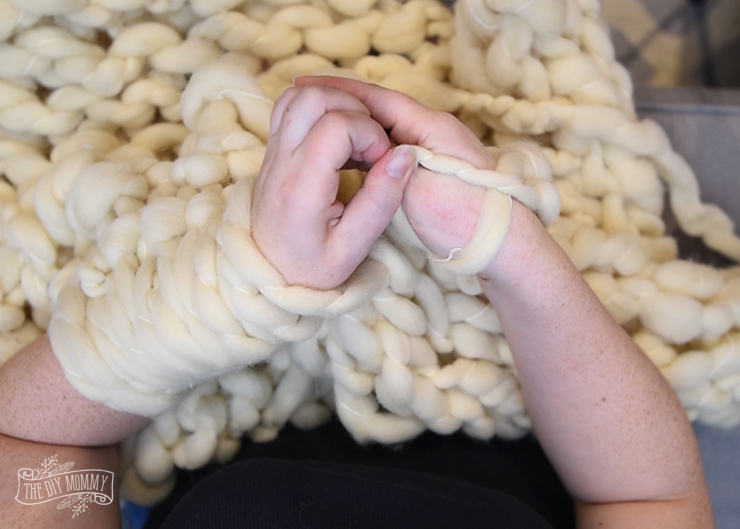
With your left hand, gently pull the first loop of yarn on your right arm over the working yarn you have in your right hand.
Pull the working yarn up to create a loop.
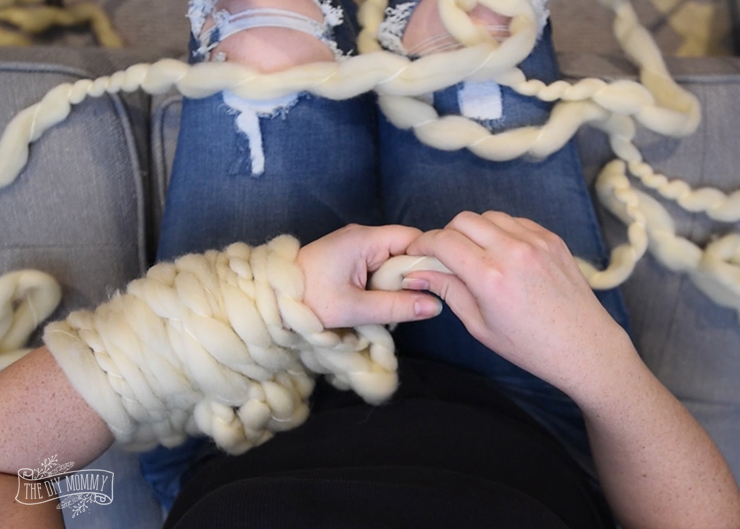
Turn the loop towards yourself, and then put it onto your left arm.
Continue in this way until all of the stitches are on your left arm.
Go back and forth in this way from arm to arm until you’ve reached your desired number of rows.
When you need to start a new skein of yarn, simply tie the ends of the skiens together with a knot and make sure the knot is at the back of your work as you continue knitting.
When you’re done, you’ll need to cast off. To do this, knit two stitches as you normally would, and then slip the first stich up and over the second like this. Knit another stitch, and then slip the prior stitch up and over this one. Continue until you only have one loop on your arm left at the end.
Slip your arm out of this final loop, cut your yarn, and then pull the tail of your yarn through the final loop and tighten it to secure your work.
So soft!
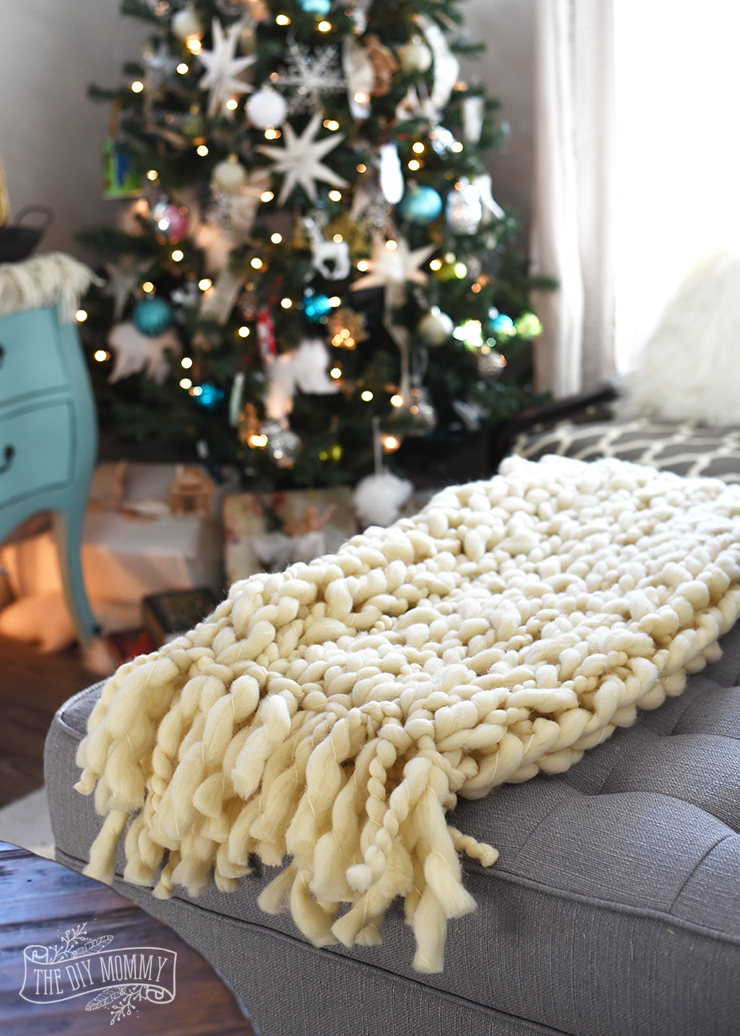
To make a fringe, cut several pieces of yarn that are about 8″ long. Fold a piece of the yarn in half, and insirt it loop-end-first into one of the bottom stitches of your blanket.
Pull the tails of the piece of yarn through the loop you’ve created, and then continue on in this way until there’s a fringe in each stitch on the top and bottom of your blanket.
Now simply enjoy your soft, fringed blankie by the fire!
Pin Me:
Now it’s time to see the rest of the DIY YARN project ideas from my Canadian blogging friends.
From the top left, they are:
Crochet Cowl from Brooklyn Berry Designs
DIY Chain Yarn Garland from Woman In Real Life
Easy Arm Knit Reading Blanket from Heather in Heels
Creative DIY Art Using Yarn from Love Create Celebrate
Easy DIY Faux Macrame with Wool from Vin’yet Etc.
DIY Pom Pom and Tassel Stockings and Tree Skirt from PMQ for Two
Free crochet coaster pattern for beginners from Sustain My Craft Habit
Beginner Crochet Infinity Scarf from Fresh Crush
DIY Yarn Wall Hanging from Lifeovereasy
How to Make an Arm Knit Blanket with a Fringe from The DIY Mommy
Make Embellished Yarn Wrapped Glass Bottle Vases from Time With Thea
Christmas Front Porch from Life Is A Party
Disclaimer: This post is sponsored by Lion Brand Yarns. As always, all of the opinions here are my own.




Everyone is killing it with these large arm-knit blankets! I think the tassel adds a little something extra.
Thanks, Ariel! I always love a good fringe or tassel!
the fringe is the piece de resistance on this blanket! adds such fun! I think I may just add a fringe to mine now – maybe in a fun colour? ohhhh…the brain is churning now:)
Thanks, Heather! Great minds think alike, right? 🙂 This is the perfect yarn for an arm knit blanket.
It turned out beautifully, Christina! Your video is super helpful with a lot of great tips. I can’t wait to make one of these!
Thank you, Sonja. You will have to let us know if you make one and how it turns out.
Oh my goodness, I want this blanket in my house!! You have my address, right? lol seriously though I think I may have to make this with that gorgeous yarn, I LOVE the fringe so much… I think you may be the new queen of arm knitting, IMO! Haha Off to pin this and watch the video!
You are too funny! You will have to let us know if you make one. There is room for another arm knit blanket Queen 🙂
Gorgeous blanket! I have a lot of throws, and love using them all. But this one takes the cake for coziness!
Awe, thank you Dani
I love your blanket….like I want it. I kind of want a do-over on the yarn challenge, to make one too, haha. Great job. Looks amazing, so cozy, and the fringe -awesome.
i saw this on Instagram and loved it! it’s so beautiful!
This blanket is beautiful Christina! I would fight my dogs for this one!
Thank you, Joann
Hi Christina,
You state you use 5 skiens of wool. Do you recall the weight of those skeins?
I found a site in the UK with valls of 25g – 200gs. I’ve never used this wool before so am not sure what to aim for.
Thanks