Build a Board & Batten DIY Hook Wall
This post may contain affiliate links · This blog generates income via ads
We moved into Our DIY House on July 1st – about 6 weeks ago. We took a relative break for a month (because we were exhausted and I had morning sickness all day). This month, we’ve finally got the ball rolling again on finishing everything up. We have some painting, trimming, our master bath, and some random finishing to do yet. My goal is to get the majority of it done before Christmas!
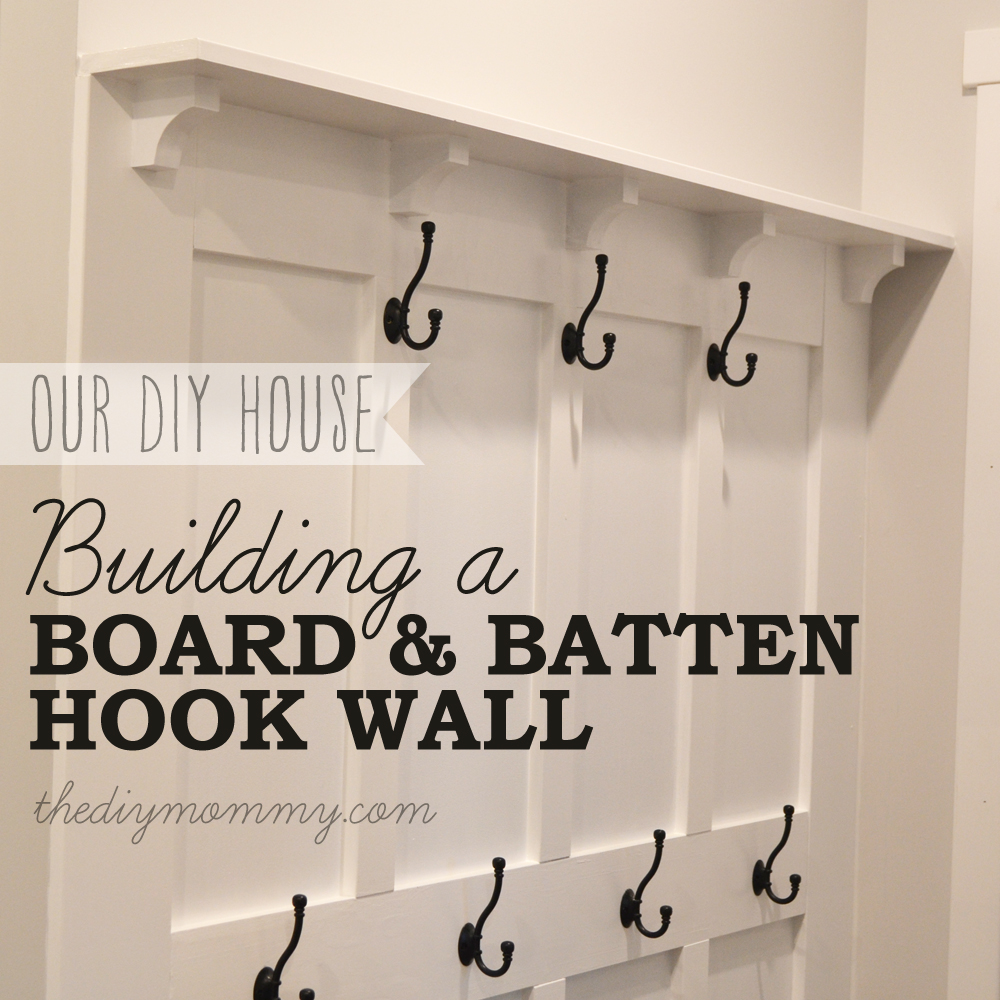
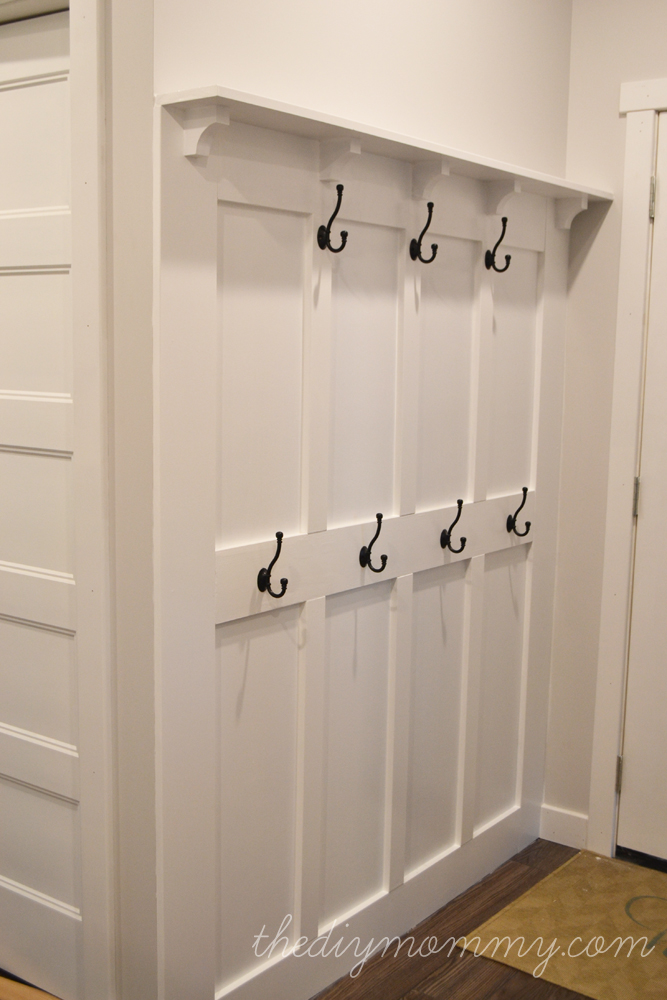
One of the things I wanted to get done before school starts for the year was a DIY board & batten hook wall for our back entry. I thought it would be wonderful to have a place where my little girls could hang up their things by themselves and a spot for us to quickly hang up hoodies and jackets. I didn’t want just a plain row of hooks, I wanted something with a little more character and that matched the craftsman feel of our home.
I found inspiration from Casa de Lewis’ Board & Batten Detailed How To. I love how she used simple strips and added a shelf to the top of her hook wall. I was pretty sure I could do this with the help of my handy mom who loves woodworking!
I found the project to be relatively easy with a few annoying bits (including the fact that it took a little longer than I wanted it to), but overall it was a lot of fun!
Here’s what I did:
Materials:
- 1 x 6″ MDF strips (see my instructions for the amount – I bought 2 12′ strips and 3 8′ strips)
- 1 x 3″ MDF strips (see my instructions for the amount – I bought 2 8′ strips)
- MDF scraps & bandsaw for optional corbels OR brackets for either end of the shelf
- hooks (see my instructions for the amount – I bought 7)
- nail gun & finishing nails
- circular saw
- wood glue (I used Gorilla Glue)
- caulking
- paint (I used a white semi-gloss)
- small foam paint roller
- small paint brush
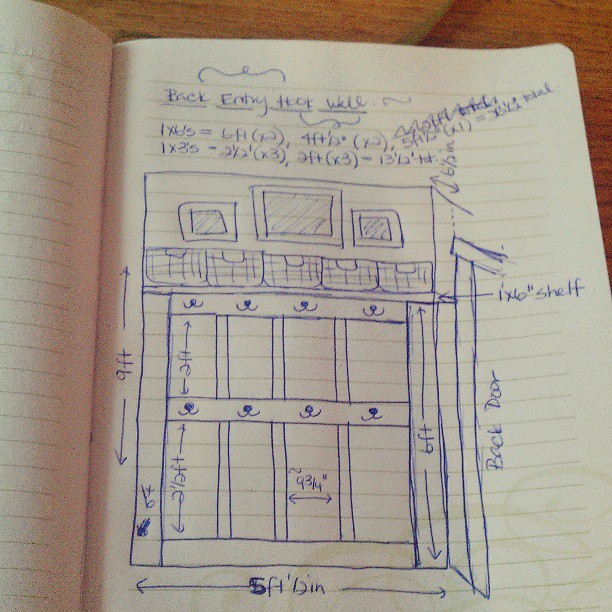
One of the hardest parts of this project is calculating how much material you need (well, maybe it’s just hard for me because I’m a HORRIFIC mathematician).
Here’s how I did it for my 5 ft wall:
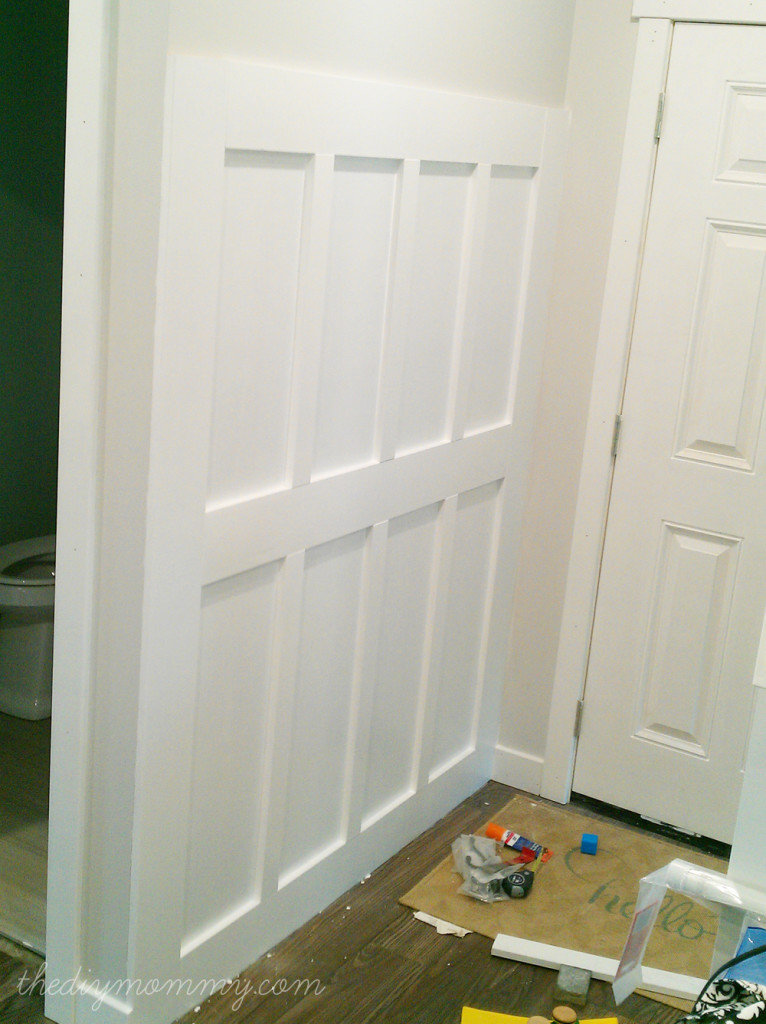
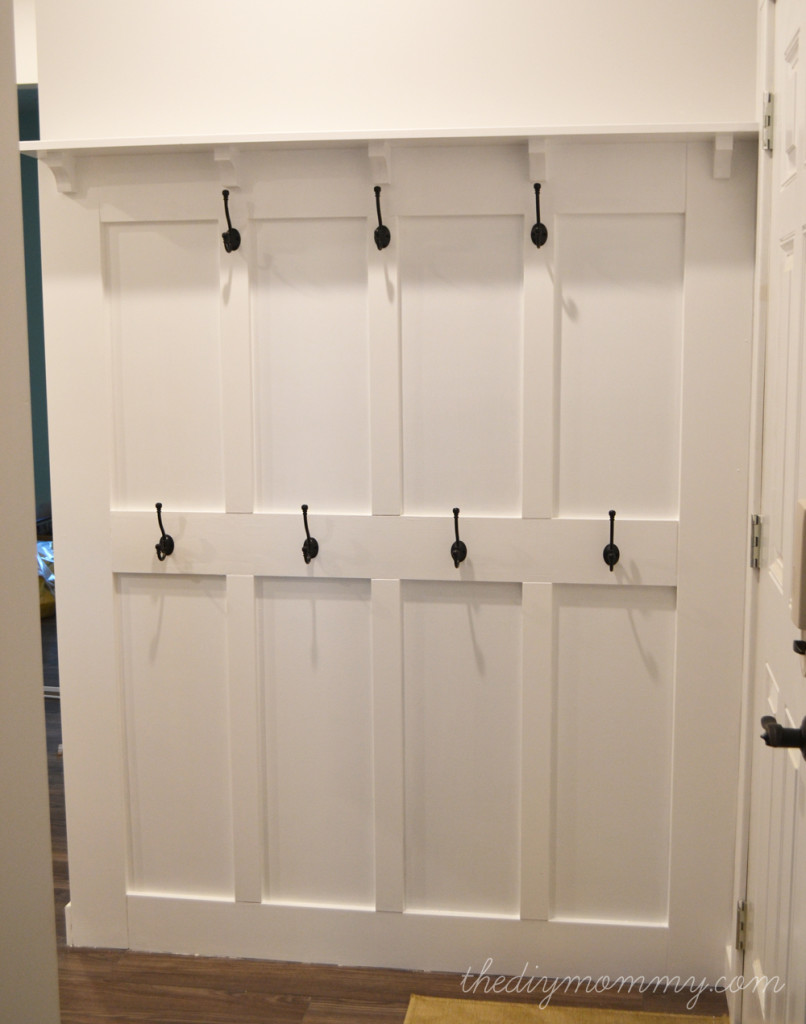
I decided to make my board & batten wall 6 feet high because I wanted it to be 2/3 my wall height (9 feet). So, I calculated that I needed two 6′ 1×6″ MDF strips for the vertical side pieces. Then, I measured the distance between those strips on my wall for my horizontal pieces. Keeping in mind that the 1×6’s are actually 5 1/2″ wide, I calculated that I needed three 49″ 1 x6″ MDF strips PLUS a 6′ piece for a top shelf.
For the smaller vertical strips, I decided where I wanted to hang my middle horizontal 1 x6″ (in my case, it was around the 3 foot mark) and then I measured the vertical space above and below the middle horizontal piece and calculated how much 1×3″ MDF I needed for these 6 strips. In my case, two 8′ long pieces of 1×3″ MDF did the trick.
You can usually buy MDF in 8′ and 12′ strips and sometimes you can even get them to cut them down to size for you at the home improvement store. I used a circular saw at home to cut mine to size, which I like better since you can cut them using trial and error if measurements are slightly off!
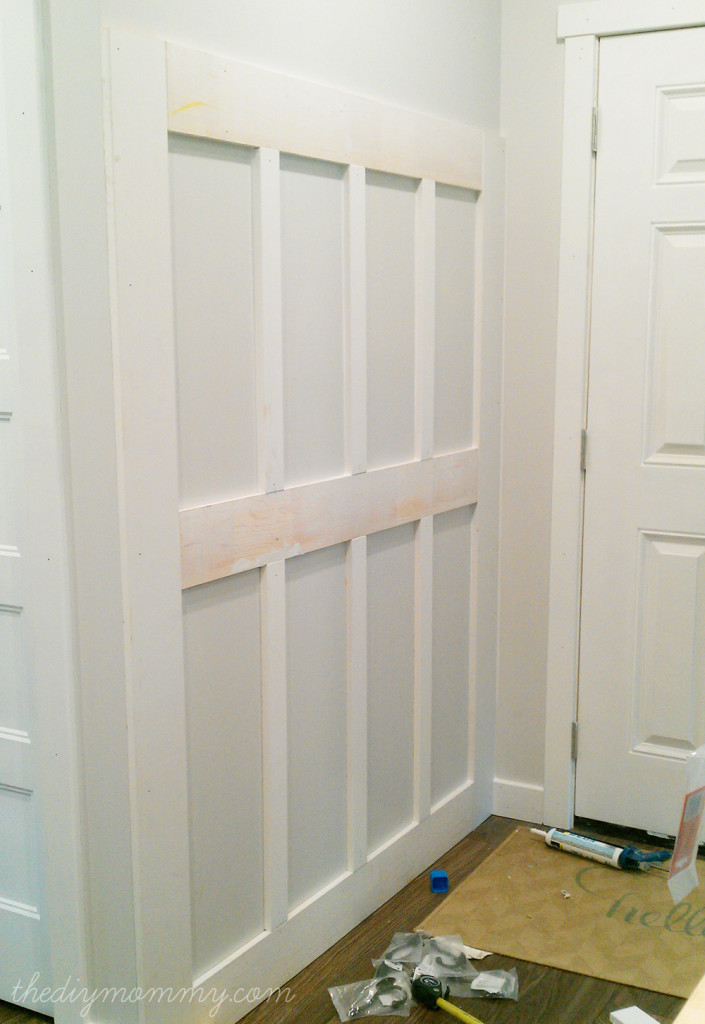
To prep my wall, I ripped off the baseboard (which was kind of sad because we just put it in). Then, I cut the two vertical side pieces to 6′ and air nailed them to the wall (because there were studs on each side).
I then measured the horizontal space between the vertical pieces again and cut three strips of 1 x 6″ MDF and nailed those into place (on the studs). I put one flush with the floor, one at about 3′ and one flush with the tops of the vertical pieces.
Next, it was time for the smaller vertical strips. After I re-measured and cut them to size, my mom helped me glue them to the wall in place (because there were no studs behind all of them).
After that, I sanded all of the strips with a medium grit sanding block to make sure they were smooth.
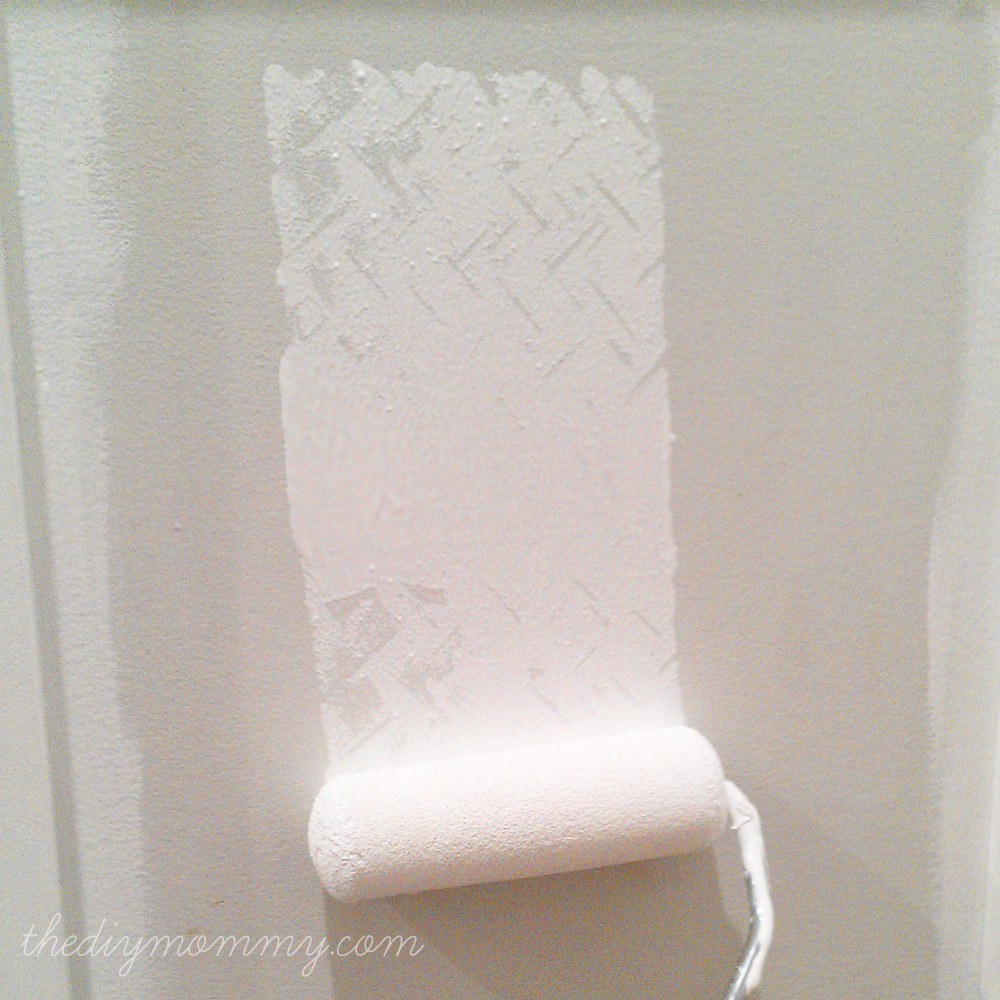
Then, I caulked all of the cracks, let it dry, and painted the entire thing (including the wall between the boards) with semi-gloss white paint. I used a foam roller and a small brush for the cracks.
I painted 3 coats to achieve the look I wanted. After the first coat, some bumps and scratches that I missed sanding appeared, so I sanded those before I continued with my next coats.
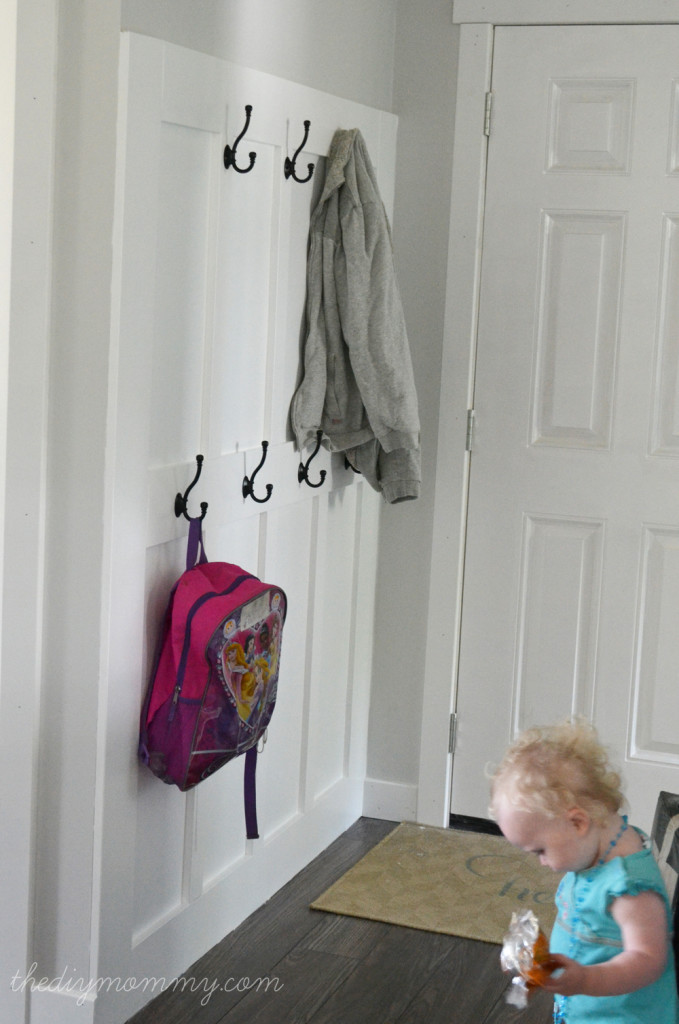
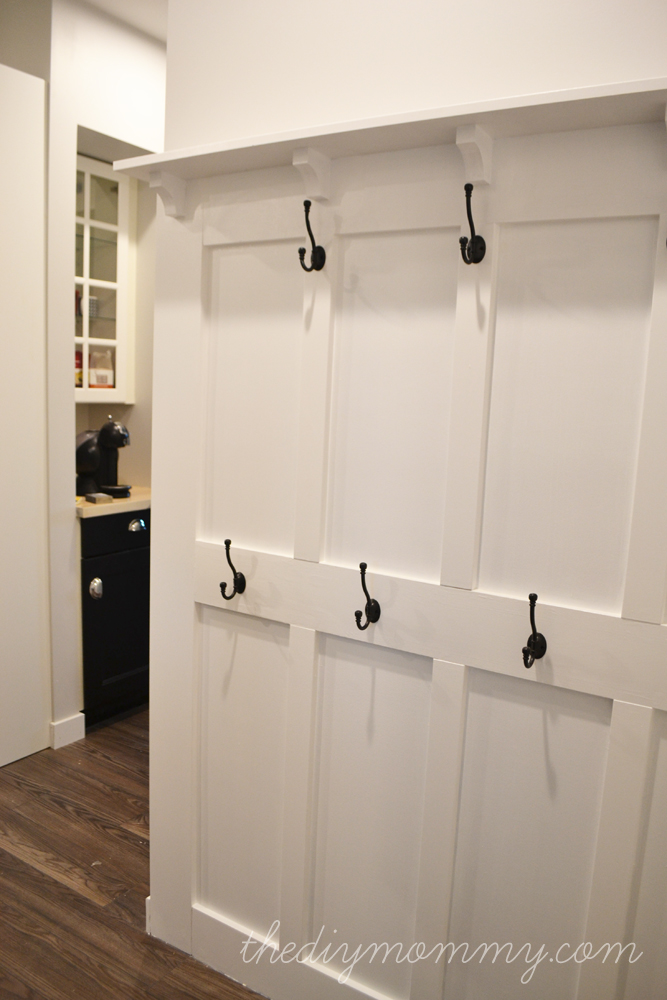
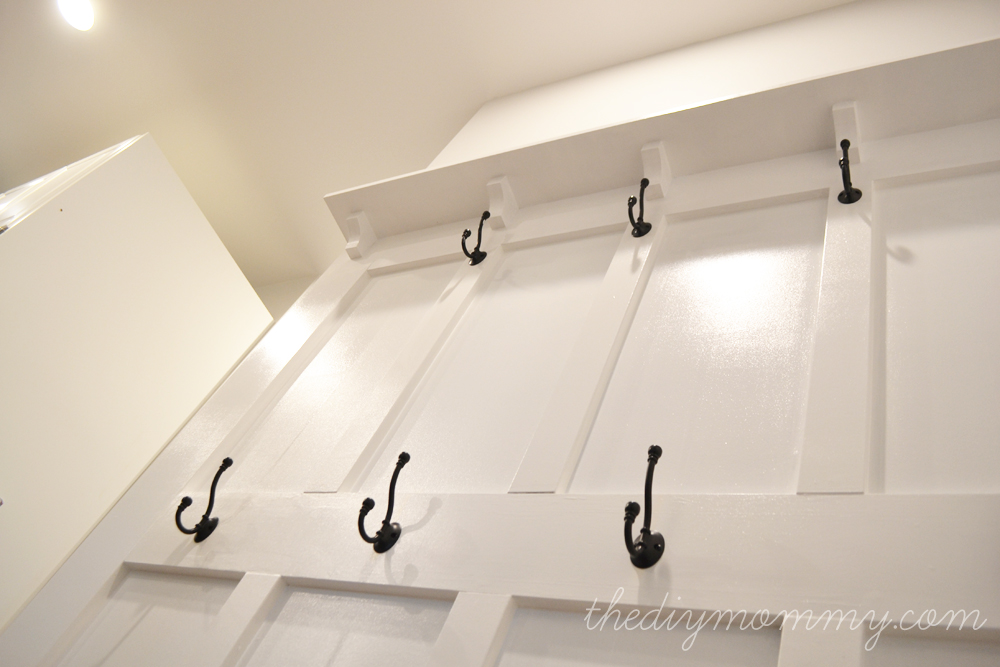
After the paint was dry, my hubby and I installed the hooks. We installed 4 on the middle MDF strip, centered over the 4 boxes, and we installed 3 just below the top strip, centered on each of the small vertical strips. I love how this worked because the four lower hooks are a perfect height for my daughters, and the three upper hooks work for my hubby and I (and they’re low enough that the shelf won’t interfere with hanging things).
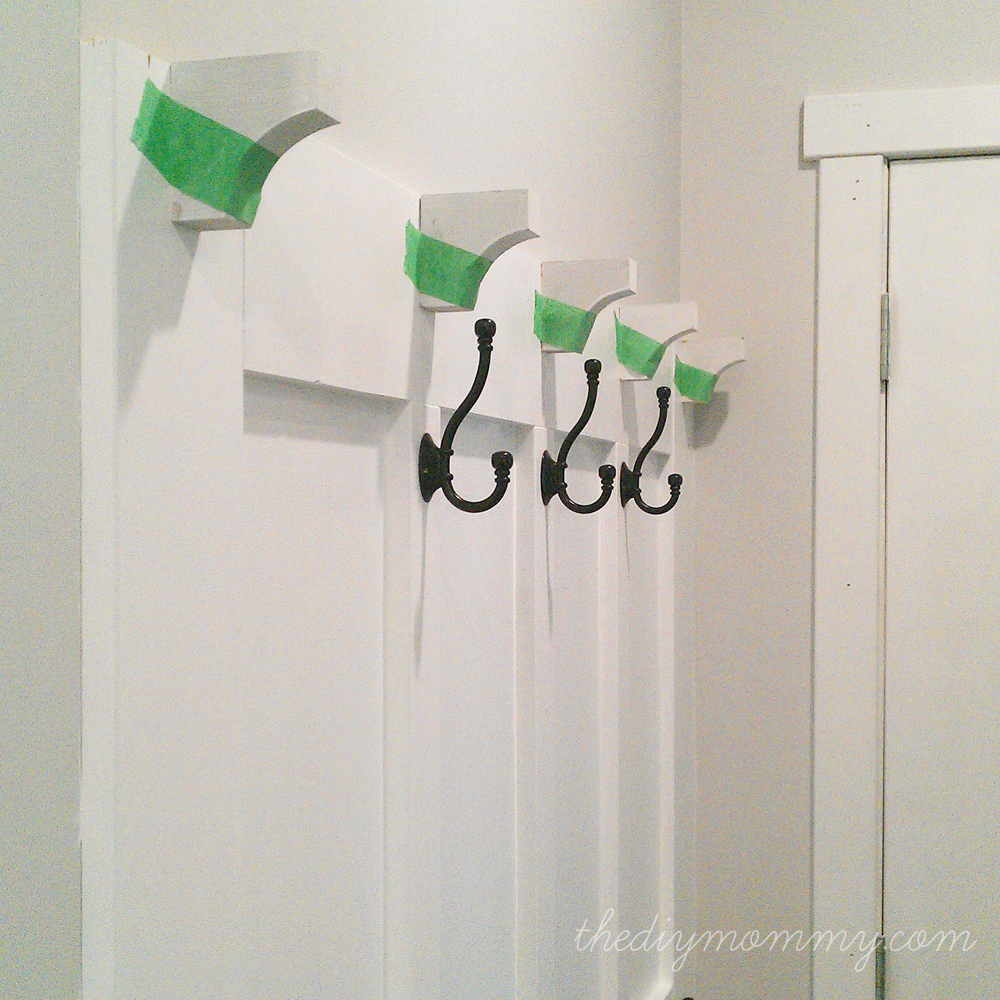
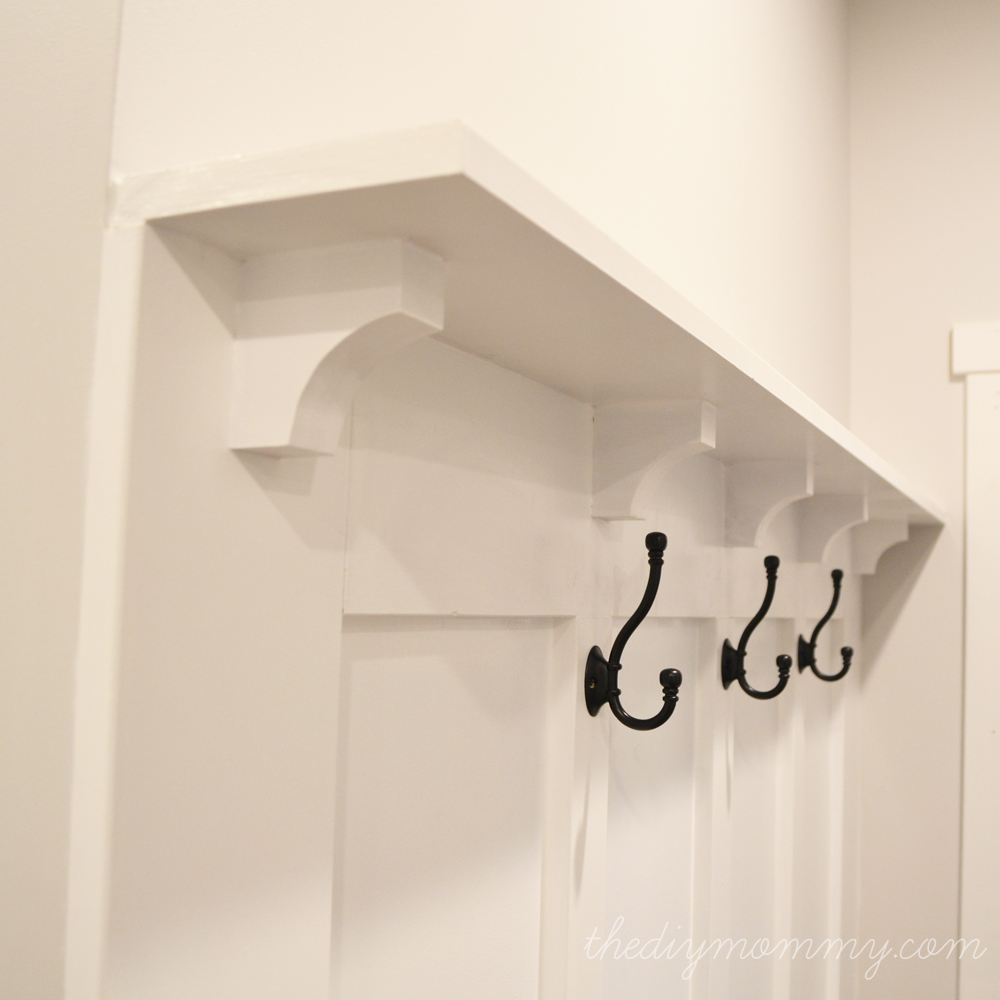
My talented mother made corbels for me out of scraps of MDF laminated together. They’re 3×3″ with a curve cut out of one side with a bandsaw. These are optional – you could also use shelf brackets on either end of the shelf.
I glued the corbels so that they were flush with the top of my board & batten wall and centered over all 5 of my vertical MDF strips.
After they dried completely, I cut my final piece of 1×6″ MDF to size, placed it over the corbels, nailed the back of it to the top of my wall and glued the bottom to the top of my corbels (I put the glue on the tops of the corbels first).
Finally , I caulked all of the cracks around the shelf and corbels, let that dry, and then painted those with my white semi-gloss paint using a small brush and foam roller.
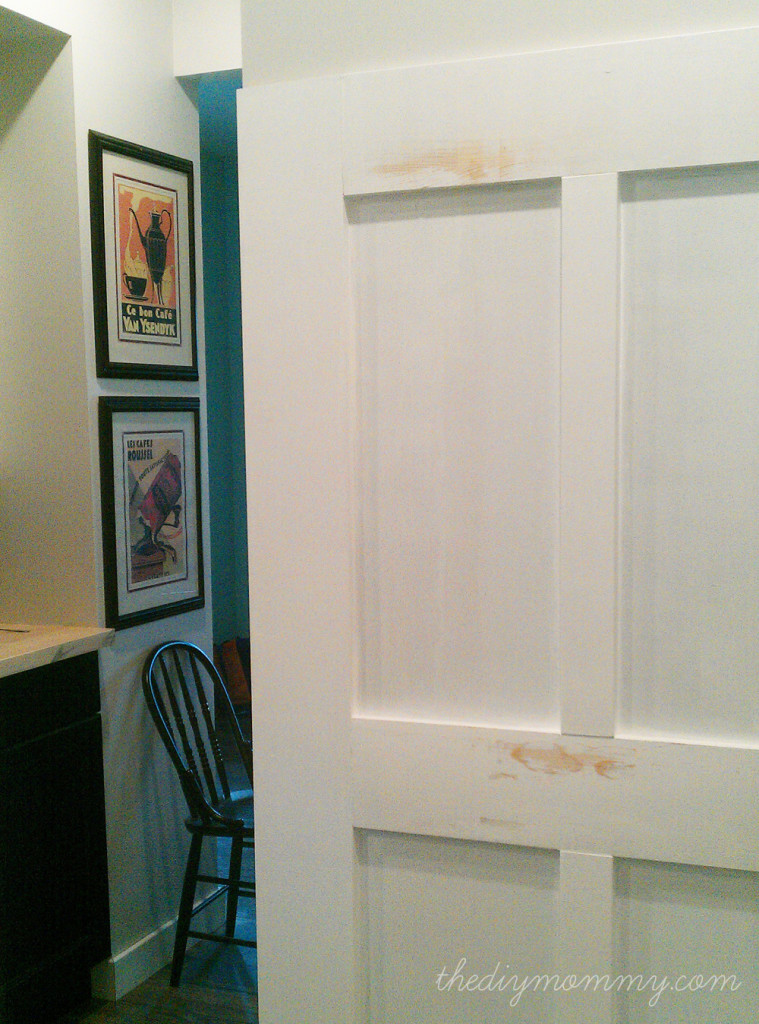
I am ECSTATIC with the result! This is going to be such a practical storage wall, and it’s lovely to look at from my kitchen.
The corbels under the shelf echo the detail on my DIY fireplace mantel, and the simple craftsman character of this wall blends in so nicely with the feel of our home.
I’m really proud of this little corner! Now – how should I style it? I’m thinking it needs some handmade baskets or bins on the shelf to house accessories, and some artwork on the wall above!
Pin Me:




My back entry (mudroom) looks identical to yours from what the pictures say and I’m DEFINITELY going to get hubby to do this for me (I’m not as DIY as you;) ) this winter in his off-season! Just love the look and so practical for storage, I ALWAYS need more storage, especially for the zillions of hoodies in this house! Thanks for the tutorial.
Yes, it’s so practical. We’re using ours all the time already and I still think it looks pretty even with the jumble of coats and bags on it. 🙂
I noticed the parallel between the corbels here and on your fireplace mantel, too! It’s those details that really take interior design and decor to the next level. Great job!
Beautiful job! Could you tell me how you made these new baseboards meet up with your old baseboards on the adjoining wall? Thanks!
Beautiful work! Please tell me where you got the hooks from. I am looking for these exact hooks to add to my mudroom.
Thanks.
Thanks a bunch, Krystal! I found the hooks at Lowe’s and they were under $5 – bonus!
Love this project! Are the hooks lined up and screwed into the wall studs? Or just into plank and drywall?
Great project! I’d love to do this, too! Keep up the good posting, Christina!
Thank you, Robert
I always love to do DIY work. Your project is awesome I like it very much. Now I can busy to DIY project because now I’m trying to build a board & batten diy hook wall according to your tips. Hope I make it successfully.
Thanks for your amazing tips.
You’re welcome! Feel free to share it with us on Facebook or Instagram when you’re done! We’d love to see it 🙂
Hi, can you tell me how the hooks screwed into the mdf has held up over the years? I was told that mdf will not keep anything secure and break down . I’m so hoping that’s not the case!
Love this article. I got some good idea about building a board & batten DIY hook wall. I love to do DIY work your article inspired me to do some DIY works.
Thanks for your amazing article.
Thanks Sam!
Your wall looks great! Do you have any problems with the hooks being screwed into the MDF boards… Can they hold weight (like a backpack)?
Thanks!
Hi
Love your wall! I was wondering about hanging wet coats on it and if that would be a problem with dripping against your sheetrock ?
Thanks.
Lana
Perhaps if the caught was really wet and trapped behind other coats you could run into difficulty? One coat left on a hook to dry should be no problem at all!
Thanks for sharing this,
My girls and I now have something to do in the upcoming holidays.
Awesome DIY guide!
I noticed multiple people posted about the hooks being supported enough to hold weight, but I didn’t see an answer. Are your battons secured into studs? And is this what holds the weight of various hanging items?
Doing my wall right now! Thanks!
It’s either secured to studs or wood glue was added on the pieces that needed it.
Really great DIY ideas its a pleasure to read this
Very Impressive. This is an amazing article to read & I personally like DIY work so I enjoyed this article very much. Thank you very much for sharing this article with us
Really amazing DIY project idea thank you man for sharing with us this resource.
LOVE this! Using your plans to create this in my house! Thanks for the help!
Your drawing was so helpful! I showed it to my husband and he said as soon as our hardwood floor refinishing is done we’ll get started on this project! I’m so excited!!