How to Make a Wooden Shiplap Rustic Farmhouse Sign
This post may contain affiliate links · This blog generates income via ads
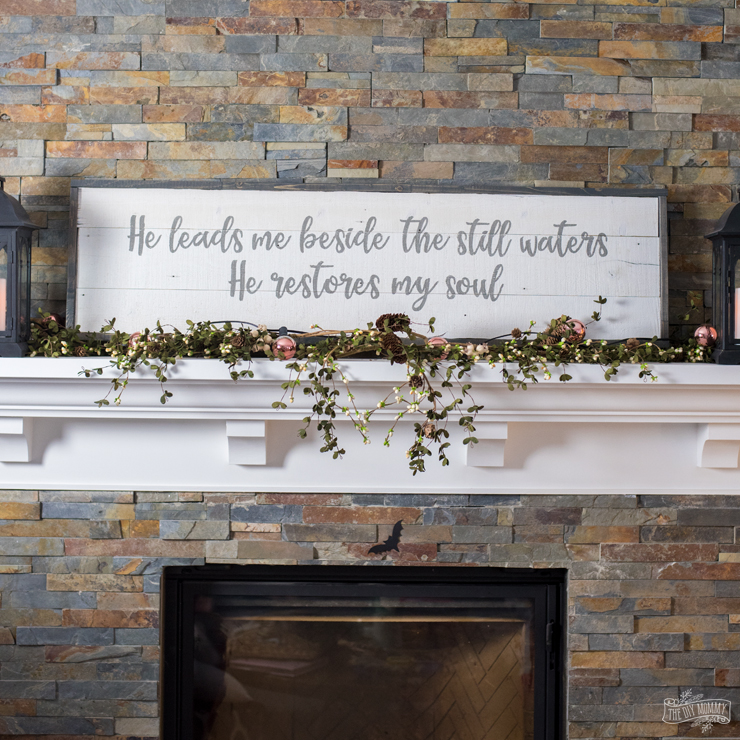
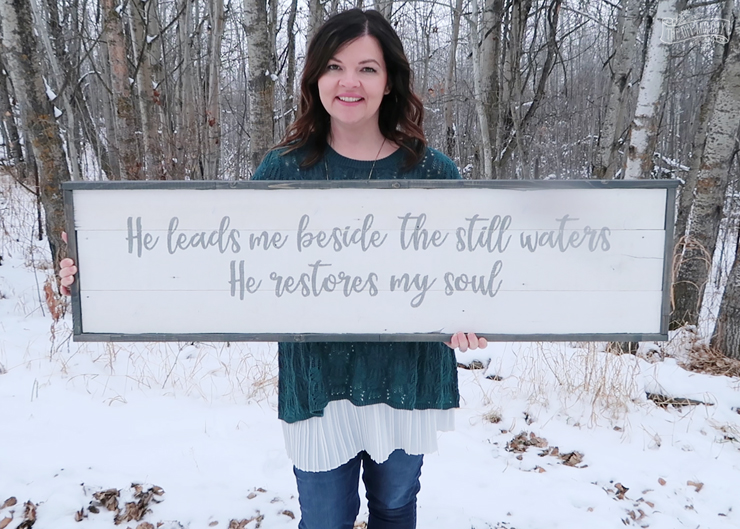
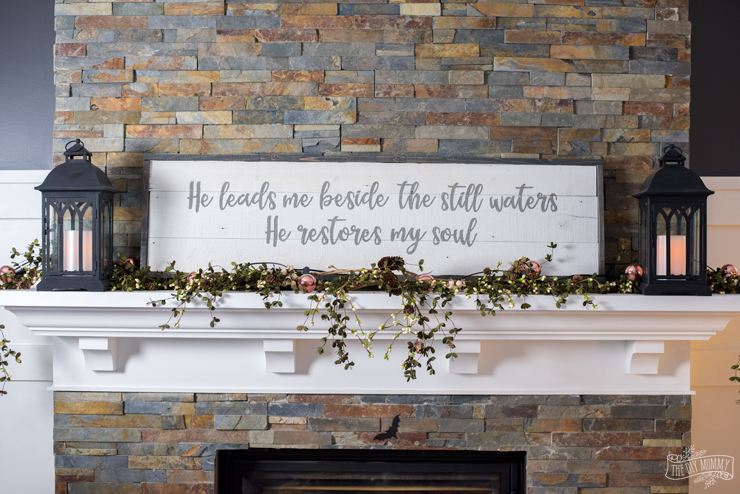
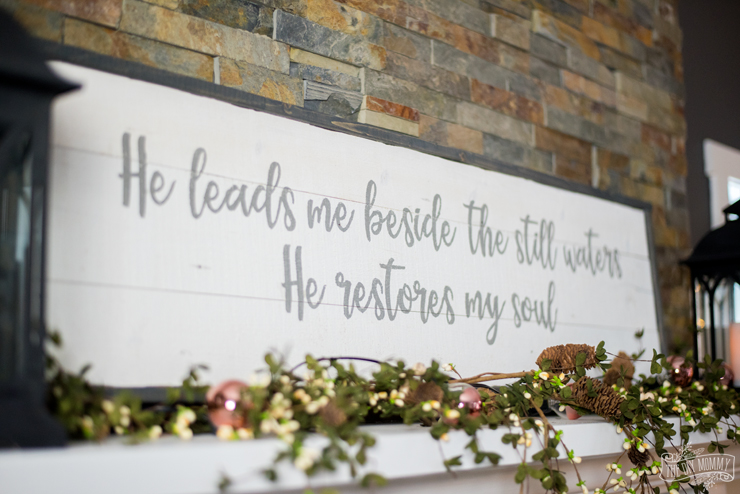
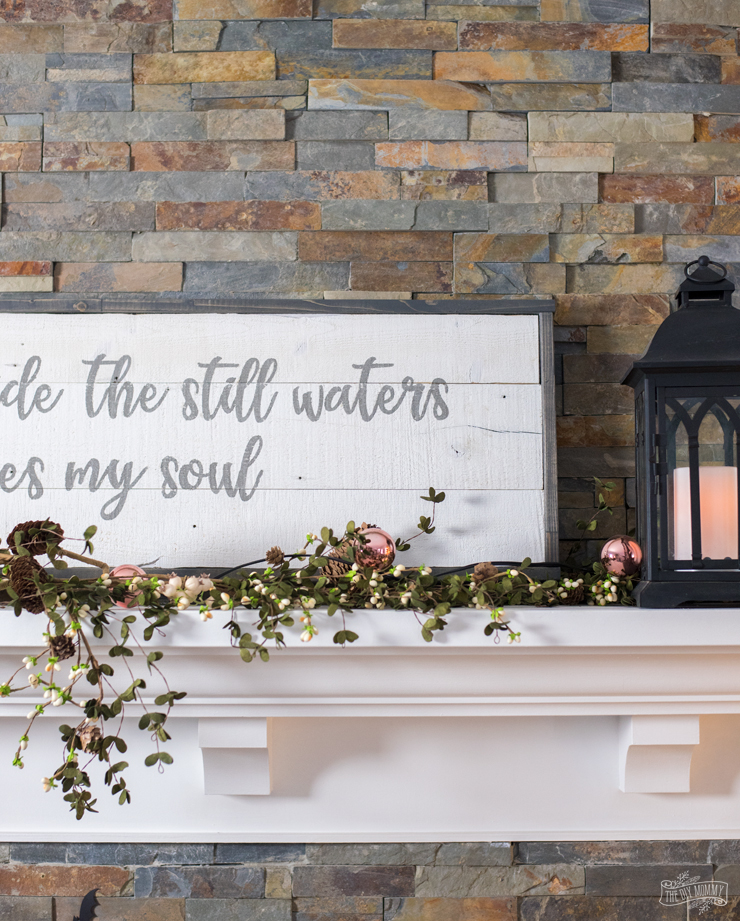
When my mom mentioned that she’d love a sign for her new house (see all of my #MomsLakeHouse posts to see the house progress!), I knew that I had to make one for her. Since we used white Hamptons Stikwood to clad the ceiling of their new master bedroom (that’s almost done!), I thought it would be fun to use some of the leftovers to make a wooden shiplap rustic farmhouse sign for my mom & dad. It was so enjoyable to make that I think I need to make one for our home soon, too! Here’s how to make your own rustic shiplap sign.
To make your own rustic wood shiplap sign, follow the directions below or watch the step-by-step video at the bottom of this post.
Supplies Needed:
❤ 1/4″ plywood
❤ 1 x 2″ pine or spruce
❤ Cricut (or similar cutting machine): http://amzn.to/2ywa1uO
❤ Vinyl: http://amzn.to/2yUzHpj
❤ Transfer tape: http://amzn.to/2jjgRB8
❤ Mod Podge: http://amzn.to/2jmKVfm
❤ Grey chalk style paint (I used FAT paint, but here’s another option): http://amzn.to/2yzgLbh
❤ Foam brushes: http://amzn.to/2htZSf7
❤ Carbon grey stain: http://amzn.to/2yuWKTt
❤ Finish nailer: http://amzn.to/2zAjKUl
❤ Hamptons Stikwood: http://rstyle.me/~aaAzC
❤ Uitlity knife: http://amzn.to/2yuXbx5
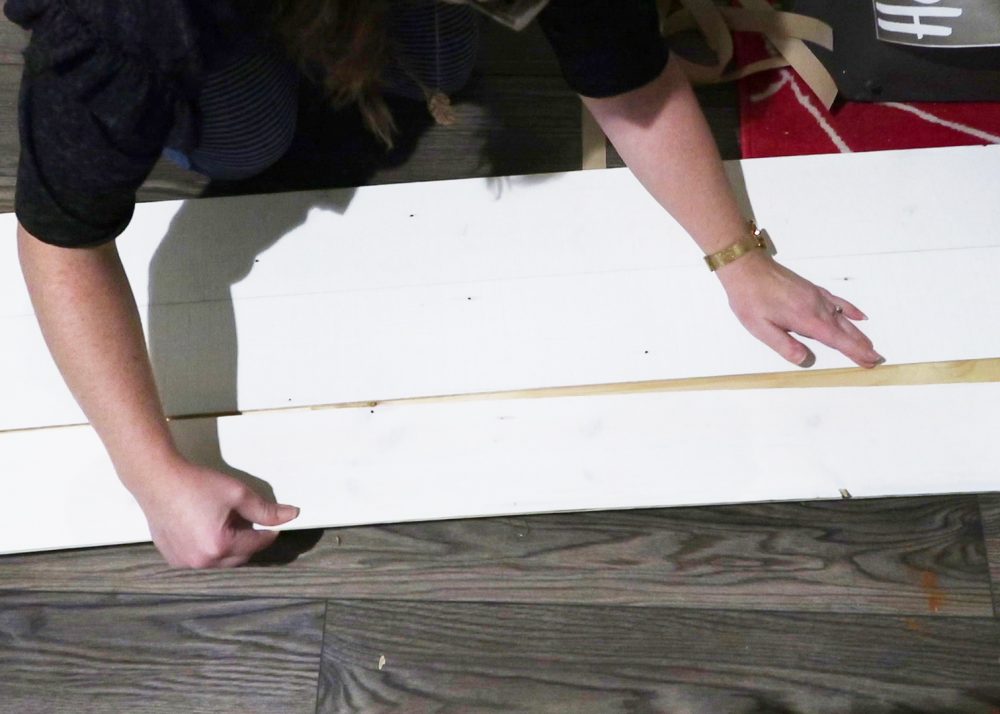
First, cut a piece of 1/4″ plywood to the sign you’d like your sign to be (minus the frame). I decided to make this sign 48″ by 12″. Next cut some Stikwood pieces (sticky-backed thin barnwood – I used three pieces) to size and stick it to the plywood. If you don’t want to use Stikwood, you could use another piece of plywood cut into strips & painted to create this shiplap effect.
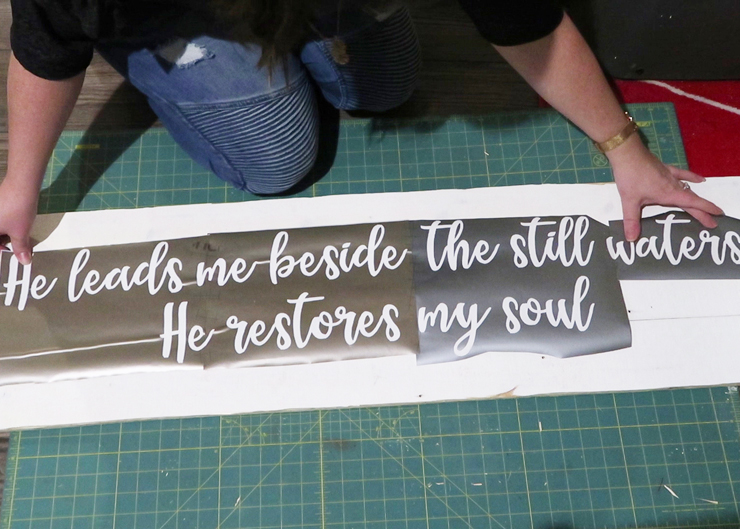
Use a Cricut machine to create a vinyl stencil with your desired saying. If you want to use this Bible verse like I did, you can go right here to use my design for free.
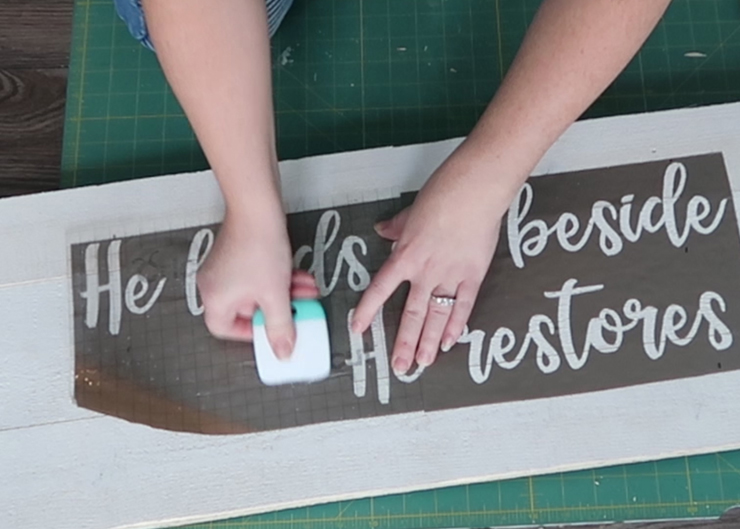
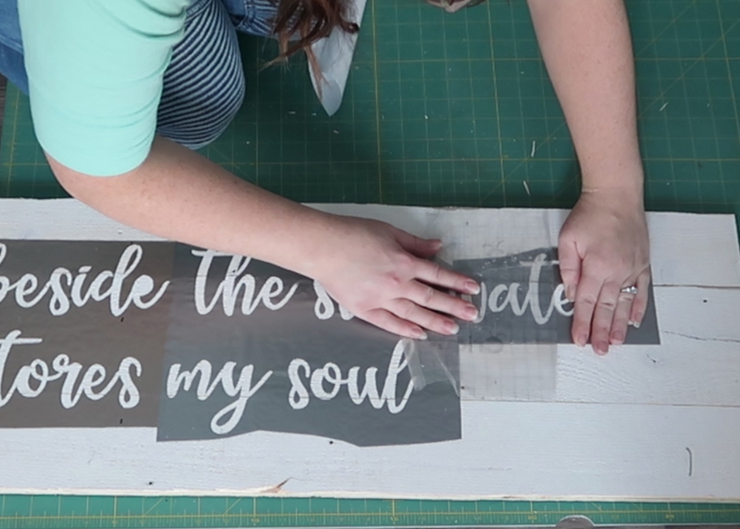
Apply transfer tape on top of your vinyl stencil, peel off the paper backing, and apply the vinyl stencil to your sign. Make sure to measure and mark you sign and stencil so that your design is centered.
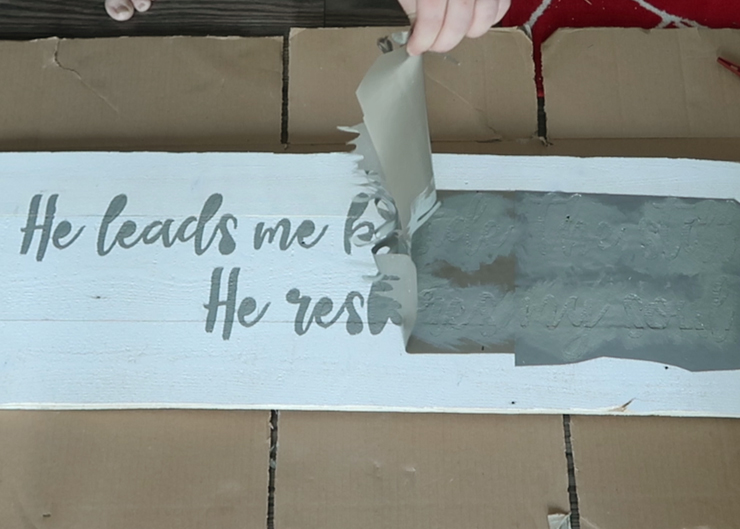
Next, carefully peel the transfer tape off of your vinyl stencil. This can be a little tricky, so use tweezers or your fingernails to gently put things in place on your wood as needed.
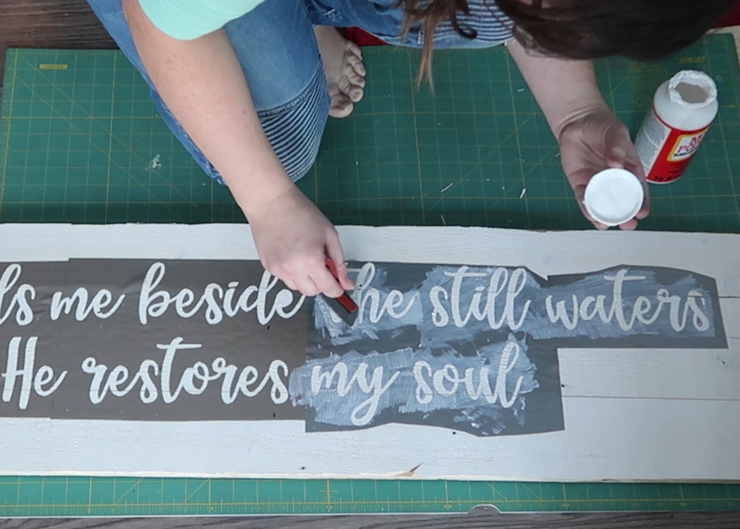
If you’re using rough wood like I am, it’s a good idea to go over your stencil with Mod Podge first. This seals up any lifting that might be happening where the stencil meets the wood.
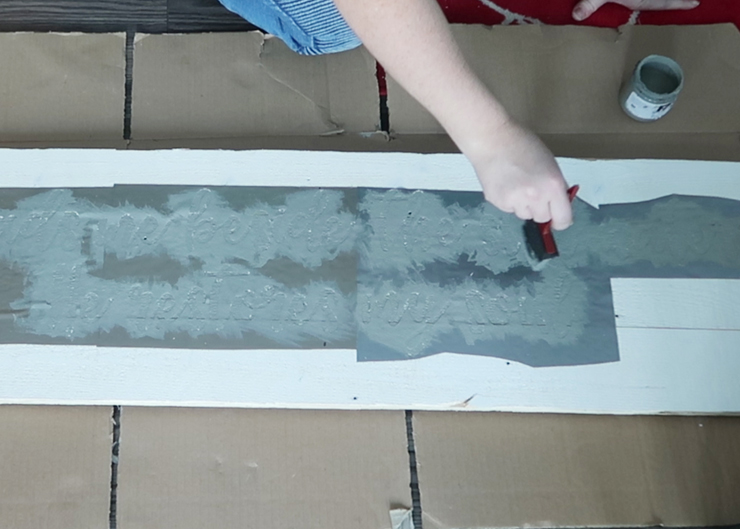
Once the Mod Podge is dry, go ahead and use a sponge brush & chalk style paint to paint over the stencil. I painted 2 thin coats on my sign.
Next, pull off your vinyl stencil to reveal your design. This is the BEST part!
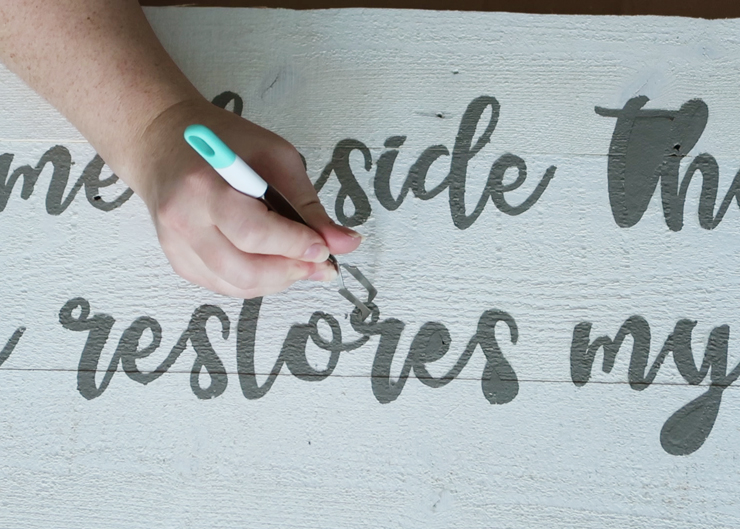
Use tweezers to remove any small vinyl details from your sign.
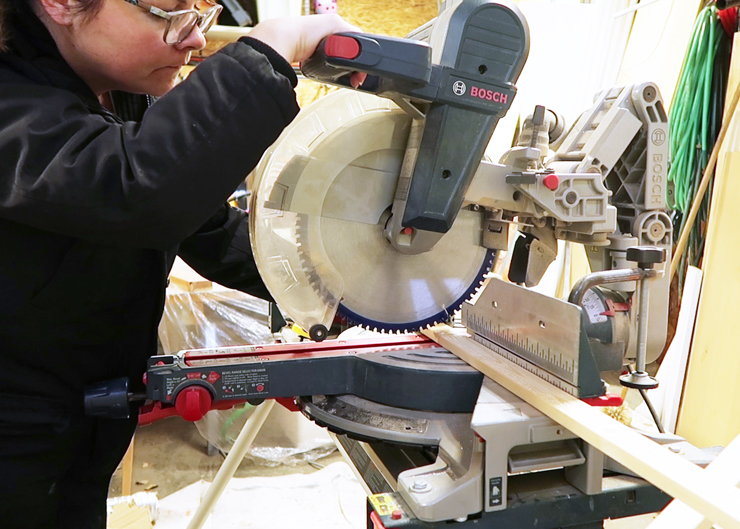
To make your sign frame, measure the vertical sides of your sign and cut 2 pieces of 1 x 2″ pine or spruce to that length. Then, put the sides of the frame in place, and measure the horizontal side of your sign PLUS the side frame pieces. Cut 2 pieces of wood to that length.
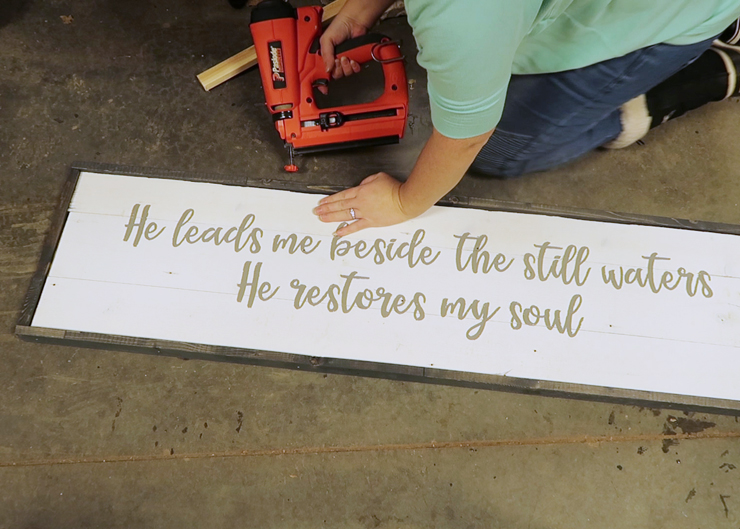
Then, stain your frame pieces if desired, and when they’re dry, use a finishing nailer to nail them to your sign. I raised my sign up first with some scrap pieces of 1 x 2″ wood so that there was a lip at the back and front of my sign when I nailed on the frame.
If you desire, you can sand the lettering on your sign slightly to give it a weathered look.
And that’s it! Your beautiful farmhouse style sign is complete.
I really love how this turned out, and even though it looks so pretty on our own mantel, I can’t WAIT to share with you where it’s going to go in my mom’s lake house!
Watch the video tutorial below to learn how to build this rustic wooden shiplap sign:
Disclosure: This blog post contains affiliate links. When you purchase an item via these links, I receive a small commission at no extra cost to you.

I am trying to Download your Cricut templatefor this project, but I’m just getting a link to the App Store
To download Cricut (even though I’ve already got the Cricut app downloaded). I can’t seem to connect to the template at all.
Please Help! Ty!!
Thanks Leslie so letting us know. We will look into this ?
What brand is the finishing nailer? Is it portable -not needing an air compressor? You are brave to have a mitre saw. I do so want one but am so cautious!
How do you know what size to use for the font?
Thanks so much, Christina for sharing this. I love the way the sign is big enough for anyone to see it. I love to have signs like this especially for motivational quotes or something to use as direction just outside the home. I like it even better that I’m not paying anyone to help me do this.
Thanks!!
The link still isn’t fixed. It takes me to Design Space but still can’t get the saying
Hi Lindsey! I’m Rebeca from Spain. I would like to create a Bible verse in Cameo. My mom has an old bible verse sign , and i would like to copy the same Bible verse in a piece of wood, varnish it in dark colour, and then add the verse in white letters. The measure of the letters in the old frame is 36 cm wide x 13 cm high approximately (the sign is 55 x 24 cm) . The problem is Cameo only admits until 30 cm due of the mat I’ve seen you have done a much bigger sign. How can I do? One of my friends has a Cameo and I would cut the template in her house. Thanks in advance. God bless you!
Christina actually cut the stencil for her sign in pieces; dividing the design first in a graphics program (she used Illustrator)
Christina cut the stencil for her sign in pieces; dividing the design first in a graphics program (she uses Illustrator)