Make a Potting Bench from Pallets & an Antique Window
This post may contain affiliate links · This blog generates income via ads
Learn how to build a potting bench from pallets, recycled lumber and an antique window with this step-by-step tutorial. This rustic, shabby chic DIY is perfect for your farmhouse style garden!
This post is part of this year’s Outdoor Extravaganza blog hop hosted by Shauna of Satori Design for Living. After you’ve read my post, make sure to hop on over to all of the other outdoor “paint & built it” themed projects linked at the bottom.
I’ve always wanted a cute little potting bench to use for potting plants or as a beverage stand for BBQs – there’s something so very farmhouse about them! When I happened upon an old pallet on our property and some old pieces of wood in our back field, I thought they’d be the perfect candidates for making an upcycled potting bench. I also had an antique window that I was no longer using as indoor decor, so I added it to my materials list, too!
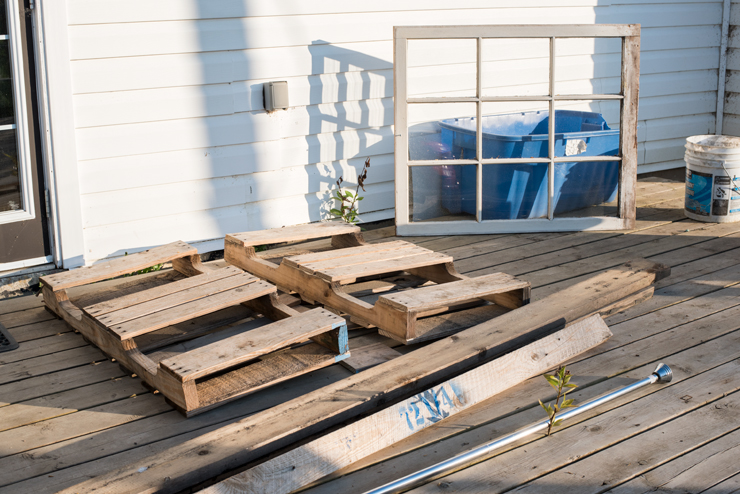
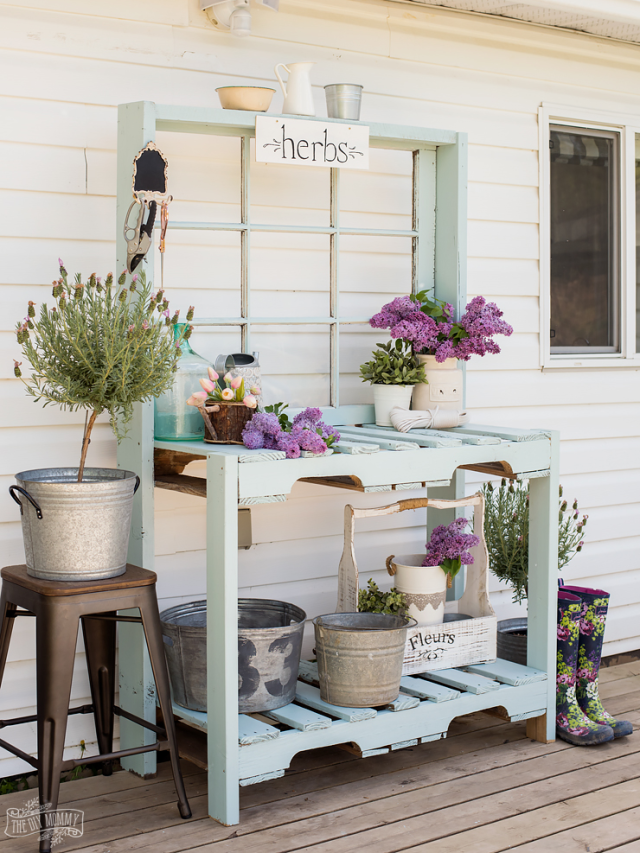
Here’s how I made a cute, rustic potting bench from a pallet, 4 lengths of old lumber and an antique window.
I used an old pallet (it’s already cut in half in the above photo), an antique window, two pieces of 2x4s that were 36″ long, and two pieces of 2x6s that were 68″ long (36″ long plus the height of my antique window). Luckily my pallet was exactly the same width as my antique window, but if yours isn’t you might have to cut your pallet down a little to match your window’s width.
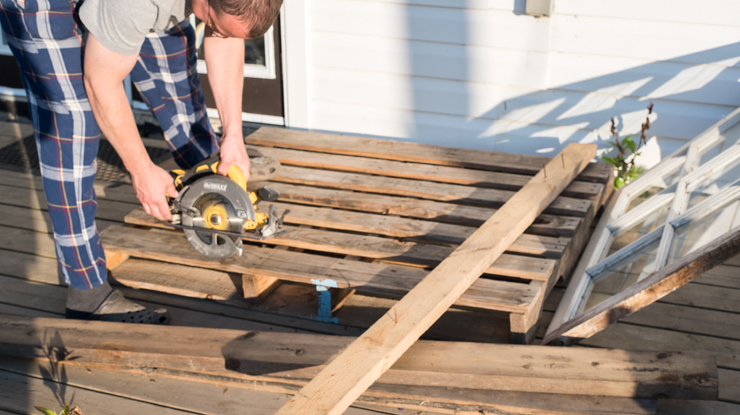
First, my husband Sean cut my pallet in half lengthwise with a skill saw to create two pieces for the top and bottom shelf of my potting bench. As I mentioned above, you may also have to cut some width off of your pallet to make it match your window’s width in order for this potting bench design to work.
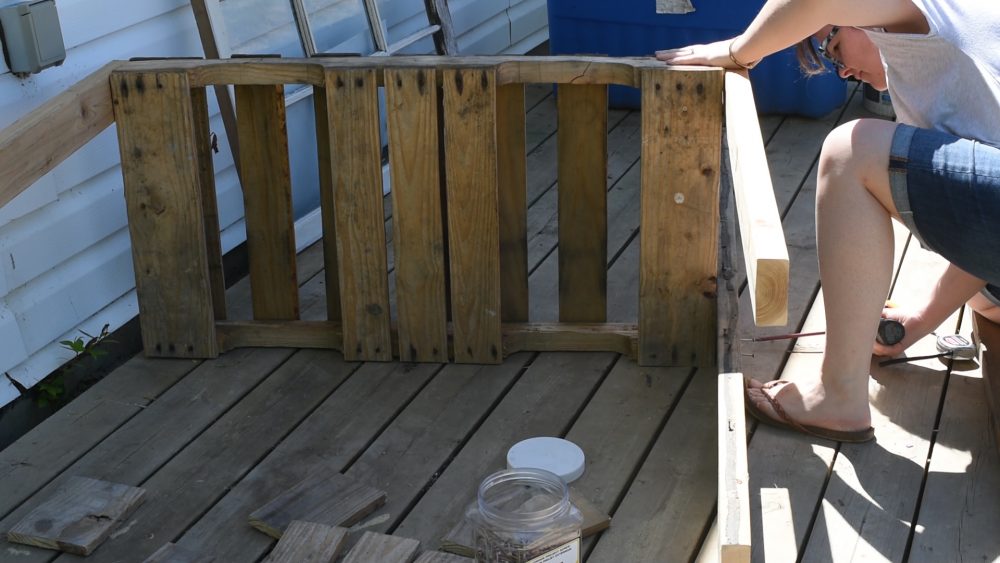
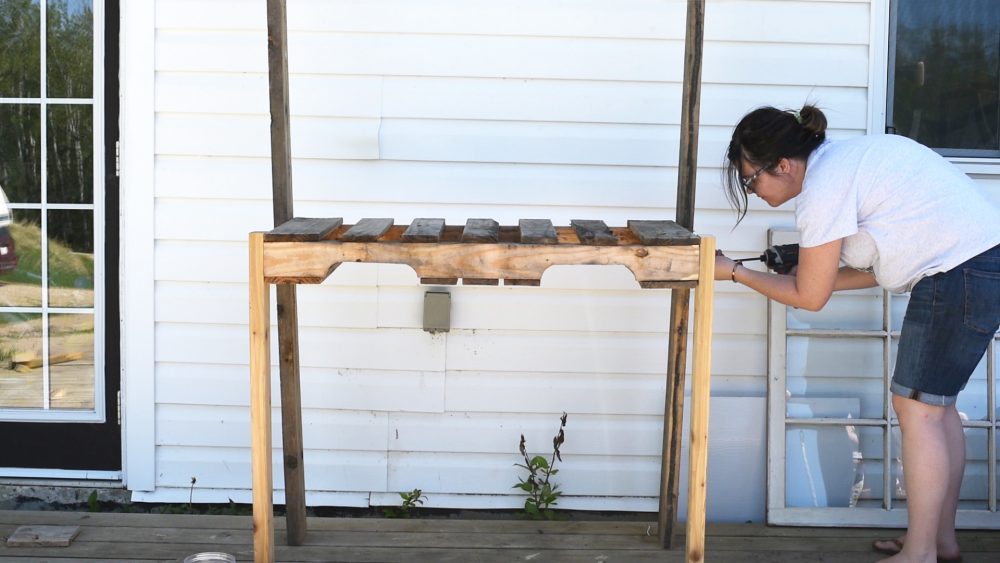
Next I used deck screws to fasten the a 36″ long 2×4 piece of wood to one of the front outside corners of one of pallet shelves. I attached the other 36″ long piece of wood to the other front outside corner. Then, I fastened the 68″ 2×6 piece of wood to the back outside corner of the same pallet shelf, and I attached the other 68″ piece to the opposite back outside corner of the pallet shelf.
I made sure that there were 36″ of wood below the shelf (for the leg) and 35″ above (to attach to the window, later). If your window is taller than 35″, you’ll need to find/cut your leg pieces accordingly.
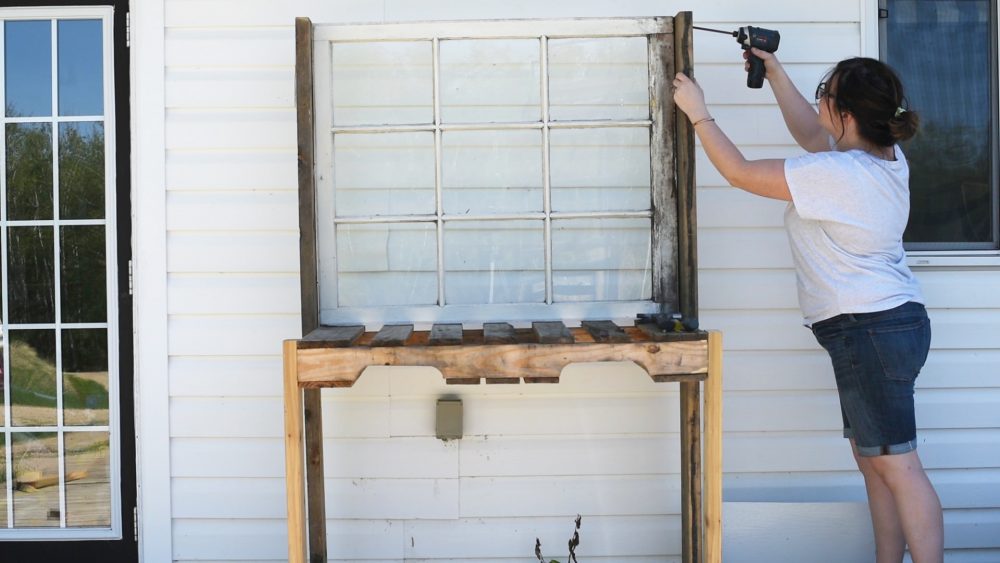
Then, I carefully placed my antique window between the back two pieces of wood, on top of and aligned with the back of the pallet shelf. I fastened the window to the wood using deck screws.
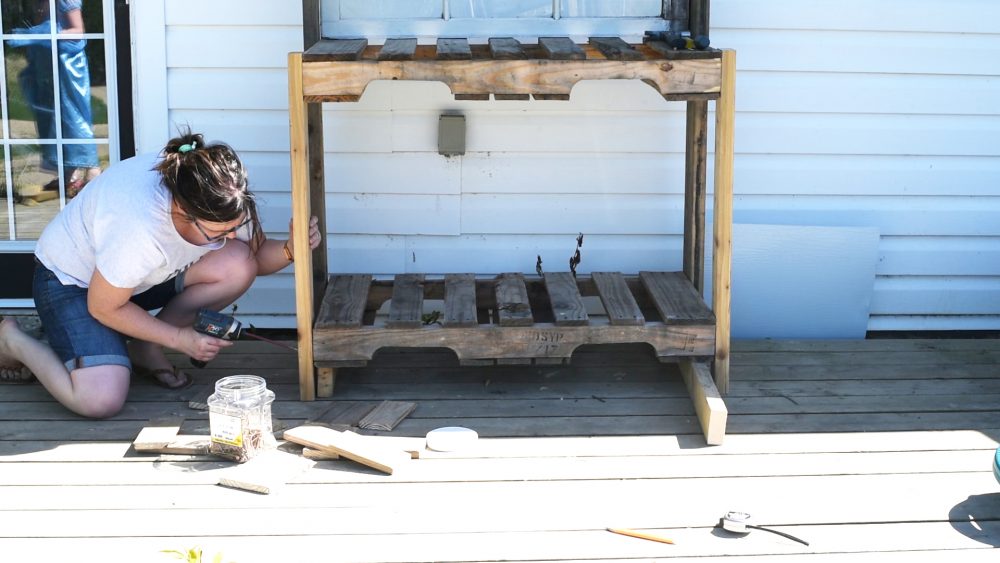
Next, I placed the bottom pallet shelf in between the legs at the bottom of my potting bench and raised it off the ground using scrap wood pieces. I screwed the legs to the pallet shelf with the deck screws.
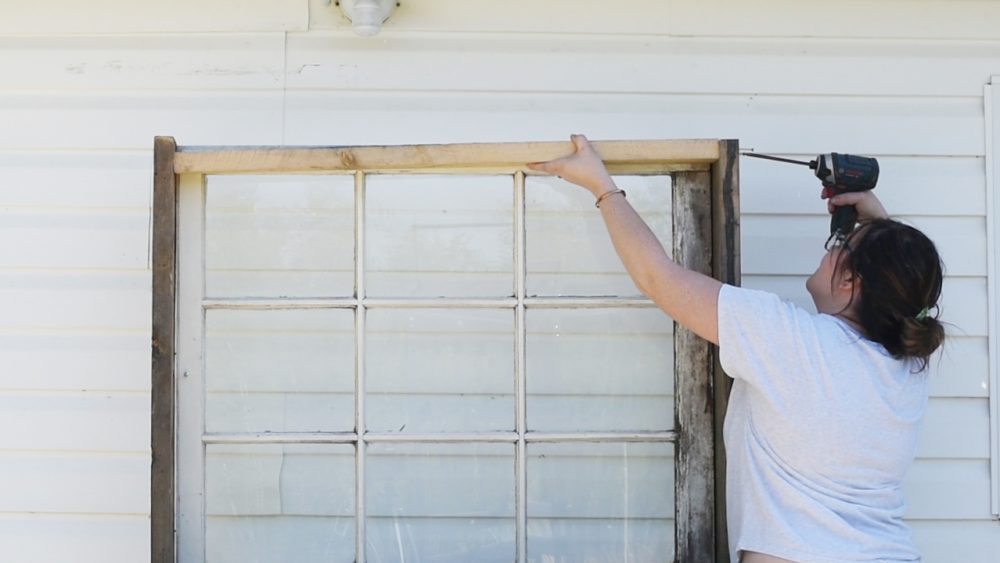
As a finishing touch, I managed to find another piece of scrap 2×4 that I cut to size and used as a top shelf on my potting bench. I attached it in between the top of the back legs with screws.
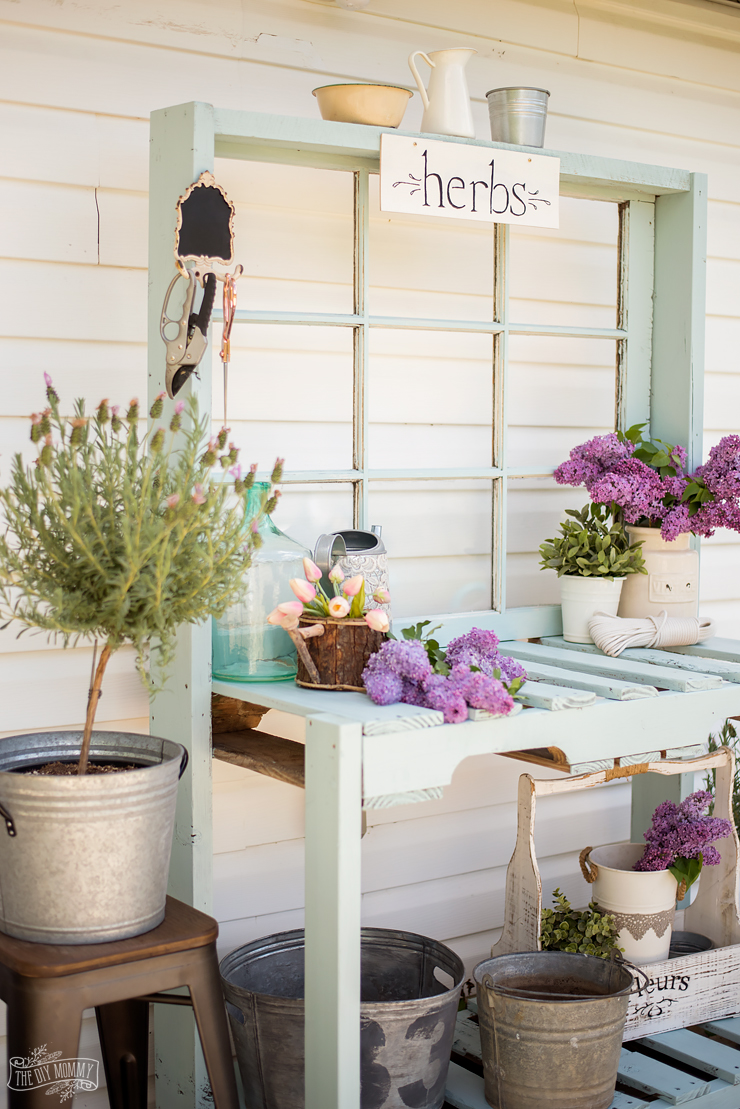
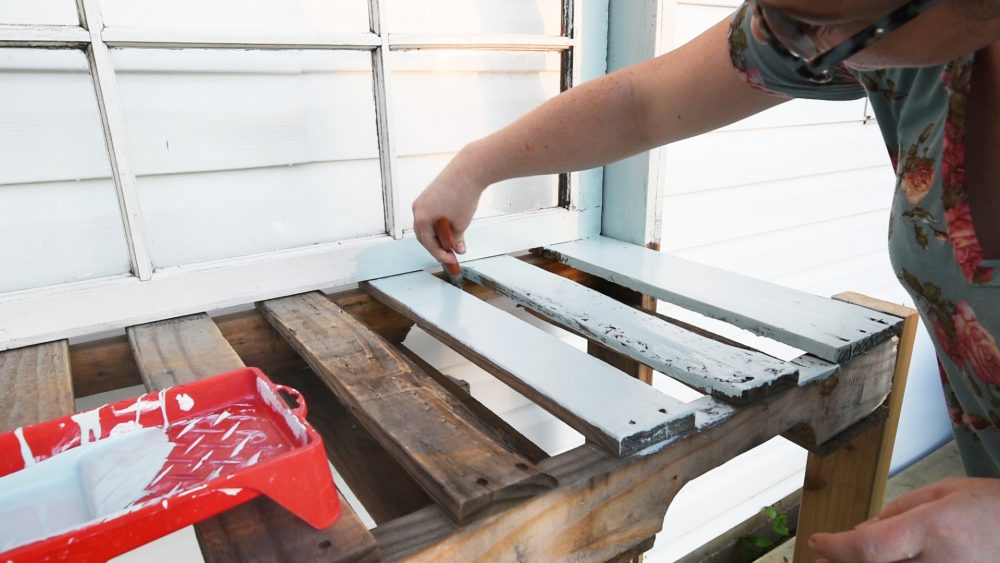
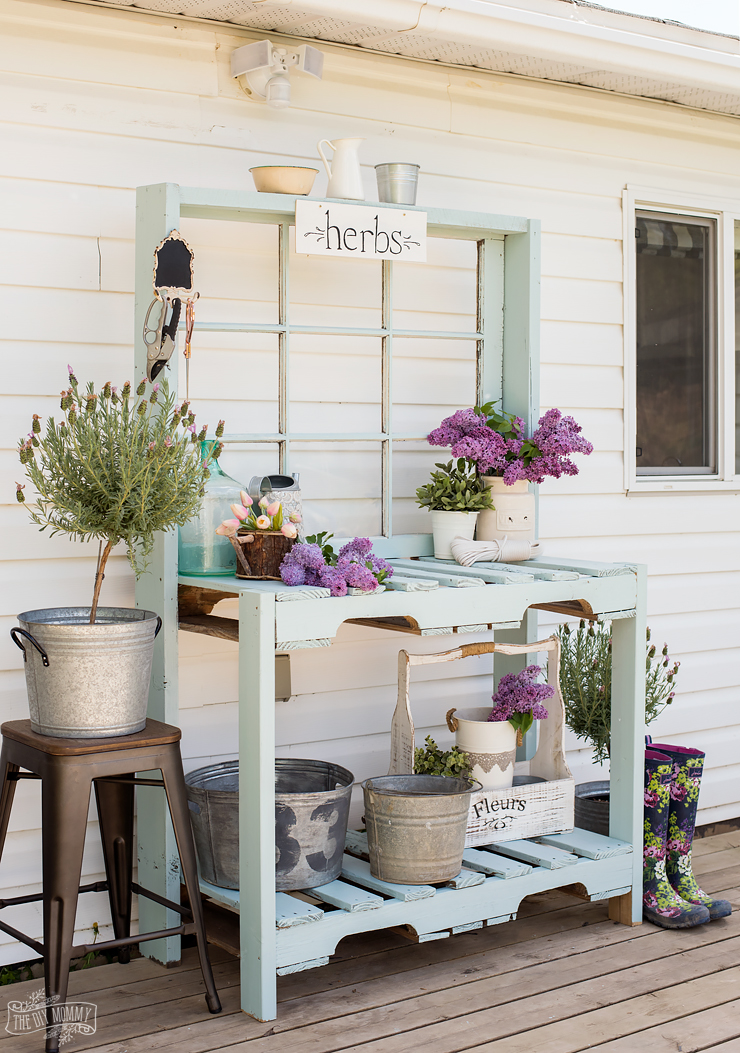
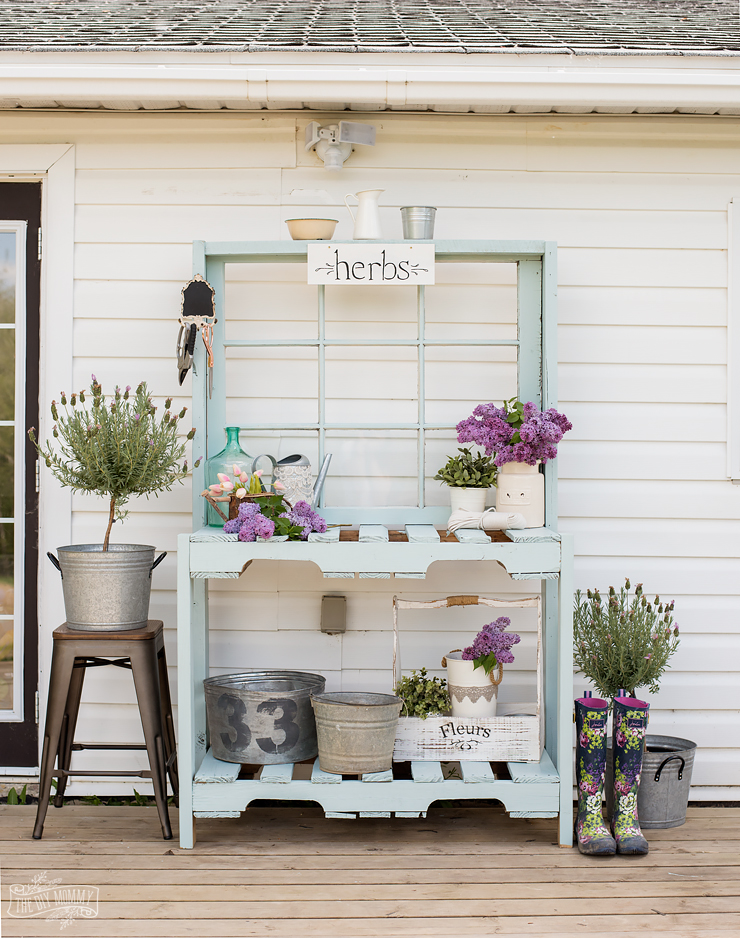
I hummed and hawed over it, but I finally decided to paint the bench instead of leaving it rustic. I found a gorgeous robin’s egg blue colour of paint called Dreaming of the Day by Cloverdale Paint, and did a very quick and messy paint job. I still wanted to the piece to look a little rough and weather worn, so a quick coat of paint with a few random missing patches did the trick!
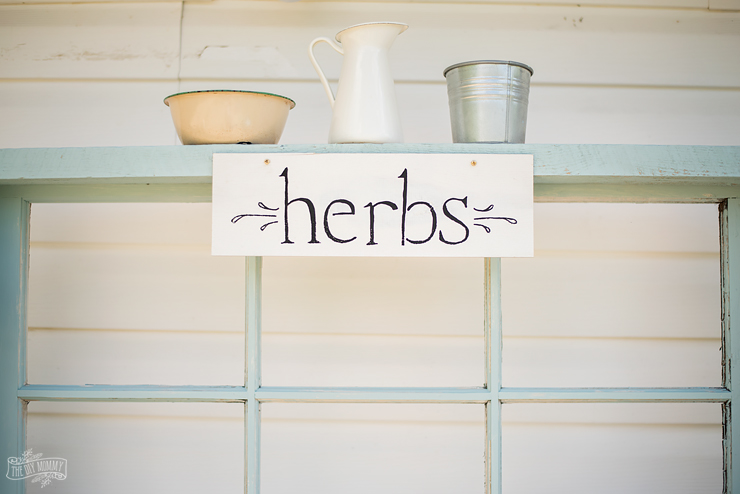
I made a little sign with some leftover wood & an acrylic paint pen to attach to the top of the potting bench…
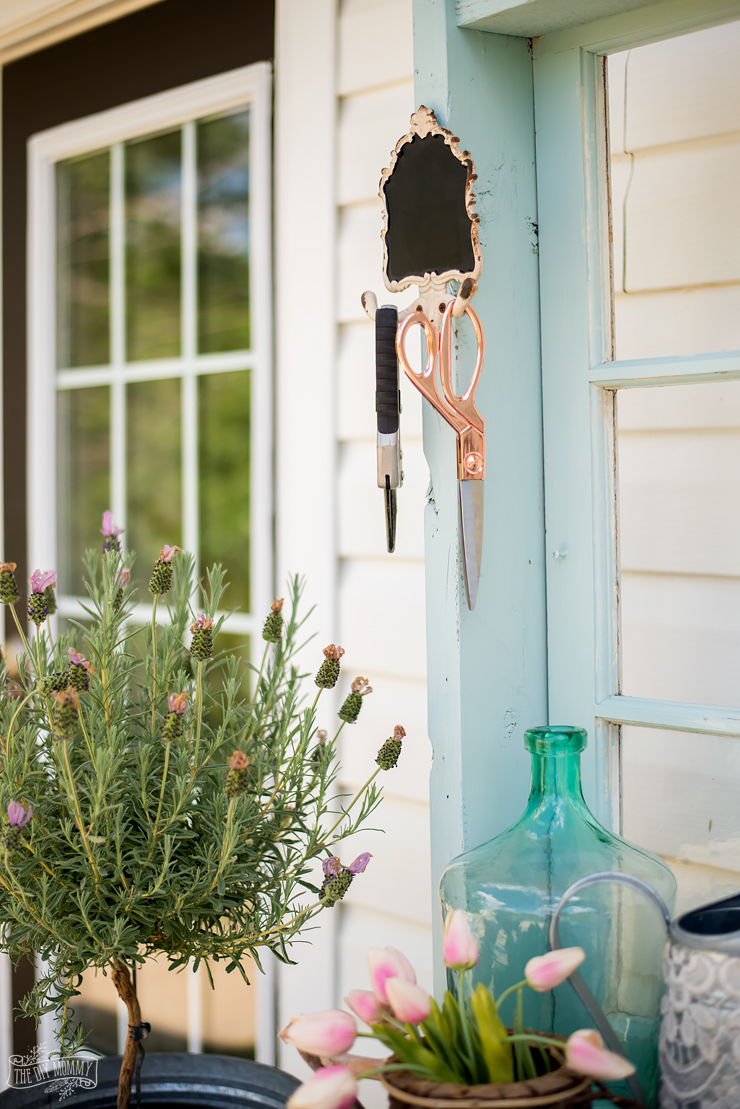
… and I attached this cute little chalkboard hook I had on hand to one side of the bench to store scissors and pruners.
I LOVE how this little guy turned out and it looks extra cute on my studio’s back deck!
It’s such an adorable piece that hardly cost me a thing and only took a couple of days to build.
Now tell me: Would you ever try building a potting bench out of reclaimed wood?
Watch my video below to learn how to make a potting bench from pallets:
Come have a look at the other outdoor paint & built-it projects that my blogging friends are sharing today:
Satori Design for Living | Vinyet Etc. | The Happy Housie | The DIY Mommy
PMQ for Two | Clean and Scentsible | Finding Silver Pennies | Casa Watkins Living | So Much Better with Age
Zevy Joy | Shades of Blue Interiors | Amber Tysl | Craftberry Bush | A Pretty Life



It looks like you and Laurie were on the same page. Love this little project. I wish we had room for something like it, but these town lots are tight. Another reason to move to the country! Thanks for sharing your beautiful OE projects once again 🙂
I love this idea! What a great way to repurpose a window and the potting bench looks so pretty. Great color!
Christina! This is amazing, girl! I love how you made this and love the color too. Great job!
Hugs, Jamie
Thanks, Jamie!
How sweet your potting bench is and you picked the perfect colour too, gorgeous! You know what they say, great minds think alike! xo
Thanks, Laurie. Haha great mind do think alike love your potting bench
Christina this turned out gorgeous!! I knew you would make something fabulous with those pieces! And the colour is perfection
Thanks so much, Jo-Anna
I love that everytime I see your husband doing a project, he’s in PJs.
This is a great way to upcycple some palettes, and it fits your style perfectly!
Haha thanks, Ariel.
Oooooh, I love what you built with reclaimed things. The color is so dreamy, too!
Thanks, Danielle
I love this soooooooo much! Gotta make one for myself!
Yes you do!
I REALLY LOVE this Christina!! Such a fantastic DIY – I’d love to try it myself someday! Pinned and thanks for sharing!
??????
Absolutely love your sweet potting shed!!!
hugs,
Deb
Thank you, Debbie!
This is a super cute idea! And I also do love projects from pallets but it’s a shame I don’t have as much time as I’d like to do more. I’ve managed to make a herb garden, a coffee table and a sandbox for my little girl. My next project is a garden sofa and a table as well. Will see if I find the time 🙂 I love the color too! You completely nailed the worn/rough look. Thanks for sharing Christina!
Thanks for stopping by and it sounds like you’ve made some wonderful things yourself!
This is really fantastic. so easy and so so pretty. I love the color!!
Thanks for the inspiration, I too can’t decided weather to paint it or not.