Build Easy Wooden Planter Boxes
This post may contain affiliate links · This blog generates income via ads
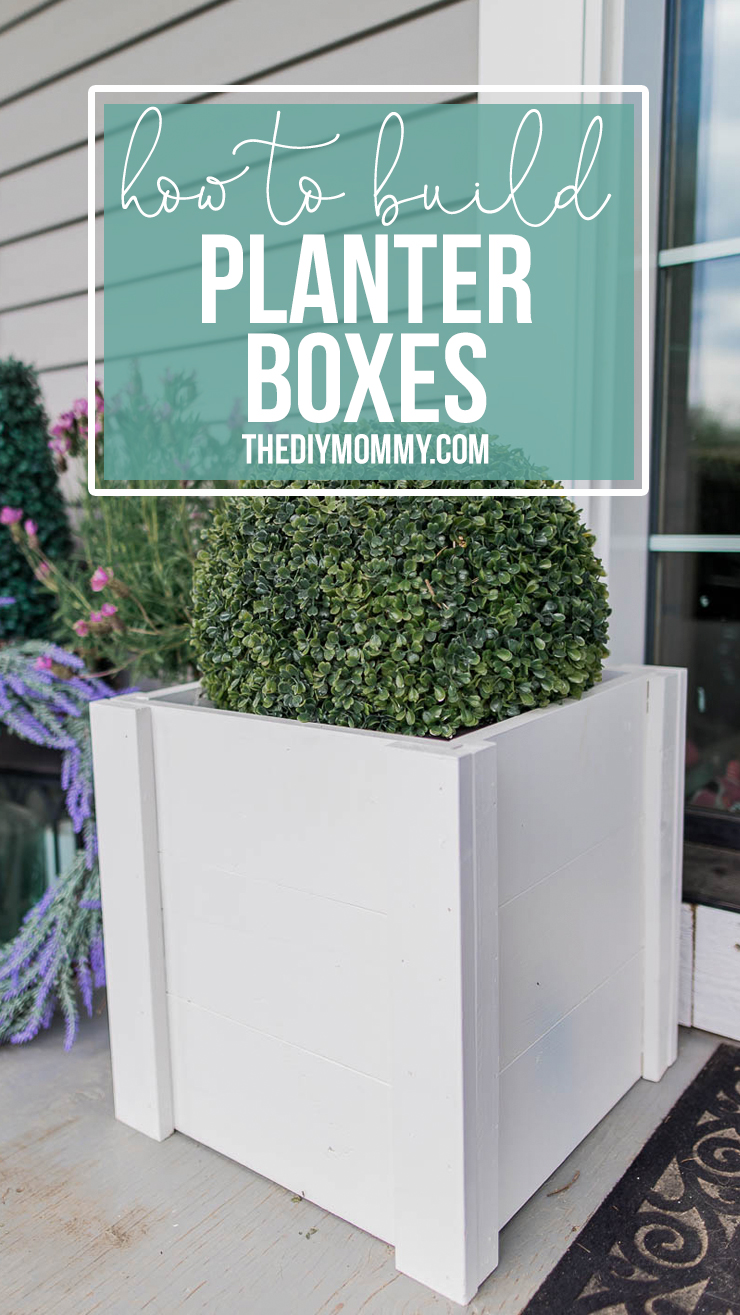
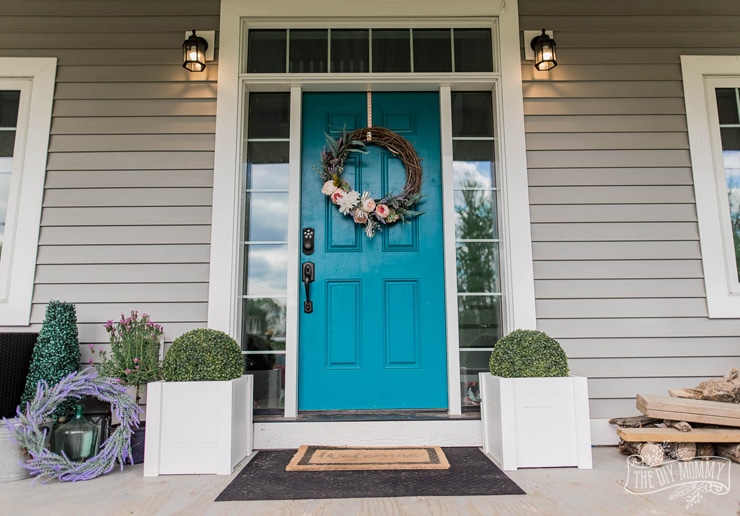
Learn how to make a farmhouse style DIY wooden planter box. This is such an easy DIY for your front porch!
These are so simple to build, so they’d make a great beginner’s woodworking project. The nice thing about this easy wooden planter boxes is that they’ll slide over an existing plastic or metal planter, so you don’t have to worry about adding a bottom to them or making them watertight. They’re also really inexpensive to build!
Supplies (for one):
- one plastic or metal round planter (I used 14″ diameter & 16″ high planters)
- 2 1×6″ 8ft pine/spruce lumber
- 1 1 x3″ 8ft pine/spruce lumber
- 1 1×2″ 8ft pine/spruce lumber (buy more lumber if you’re making boxes for planters larger than 14″ in diameter & 16″ high)
- mitre saw
- finishing nail gun
- paint or stain
Cut List (for a 14″ diameter planter; alter these measurements if you’re making this box for a smaller or larger planter):
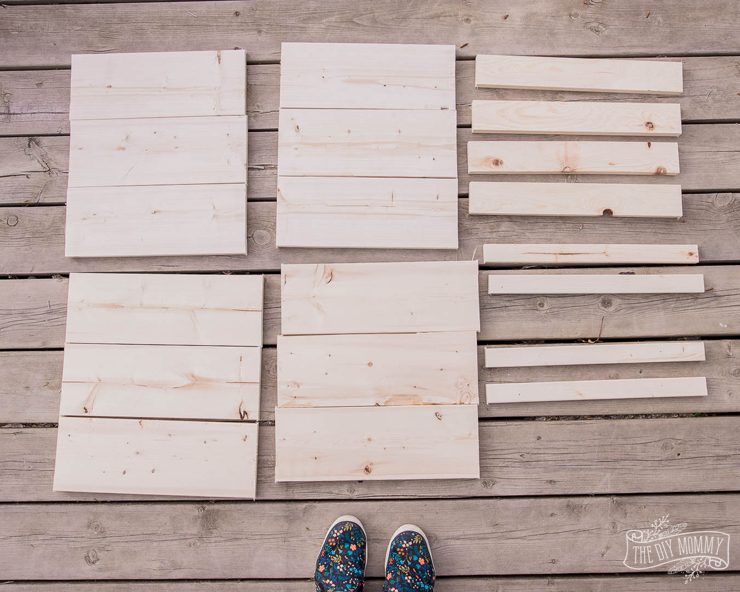
- 6 – 14″ 1x6s
- 6 – 15 1/2″ 1x6s
- 4 – 16 1/2″ 1x3s
- 4 16 1/2″ 1x2s
Watch my YouTube video to learn how to make these simple, farmhouse inspired wooden planter boxes:


These are so cute and look so easy to make! 🙂
Love the “sleeve” concept! I’m going to use this pattern with a few changes. As I mentioned on your video, I plan to put a sill around the top with mitered corners so water can’t get into the endgrain. I have some cedar 1×6 boards. I’m going to make them double wide with two sections so two 5-gallon buckets can go into them. I’ll put a partition between the sections, which should help stabilize them. This is a great basic design, very easy.
Your ads block the directions
Hi Leshel, there are no directions in this post. We’ve included video directions right here: https://www.youtube.com/watch?v=Mlg02el6wuE&feature=emb_logo