Triangle Quilt Tutorial + Little A’s Bedroom Update
This post may contain affiliate links · This blog generates income via ads
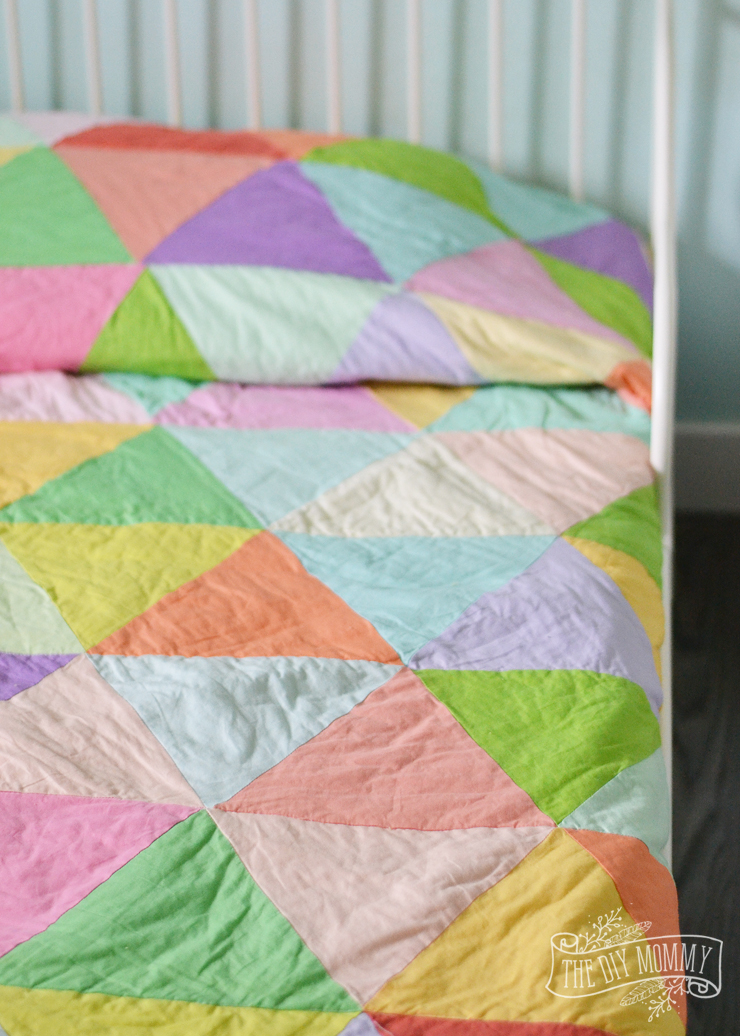
Earlier this Spring, I realized that I still had a pile of fabric triangles on my sewing table that were waiting to be made into a quilt for my middle daughter – Little A. The poor girl has been waiting for almost two years for me to finish this quilt! I promised her a couple of weeks ago that I would FINALLY finish sewing her “rainbow triangle” quilt – rainbow is her favourite colour – and that she’d be able to cuddle with it soon. Let me show you how I made this modern geometric triangle quilt, and give you a mini tour of Little A’s updated bedroom. This is a great beginner’s quilting project if you’re new to the craft like I am!
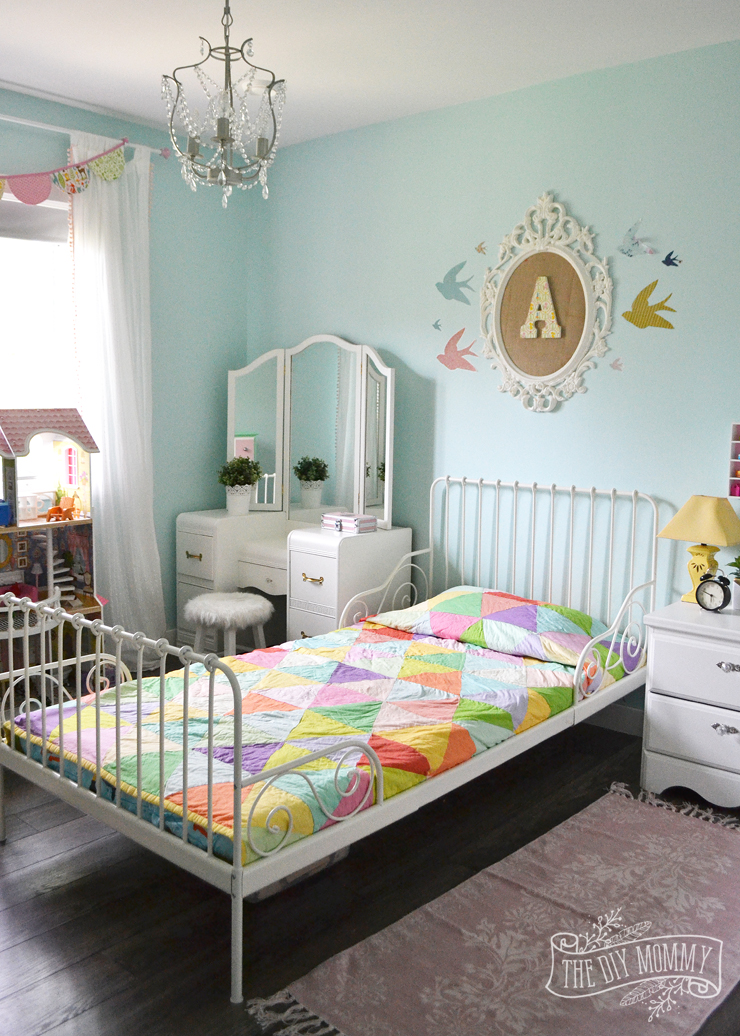
I’ve always loved Little A’s room with its cheery wall colour and restful nature theme. You can see how it looked when she was a toddler with a crib here. Now that she’s 4 1/2 years old, we’ve updated it with a small, white metal bed we’ve had for a few years. You can find a similar vintage-styled metal bed here at The Brick.
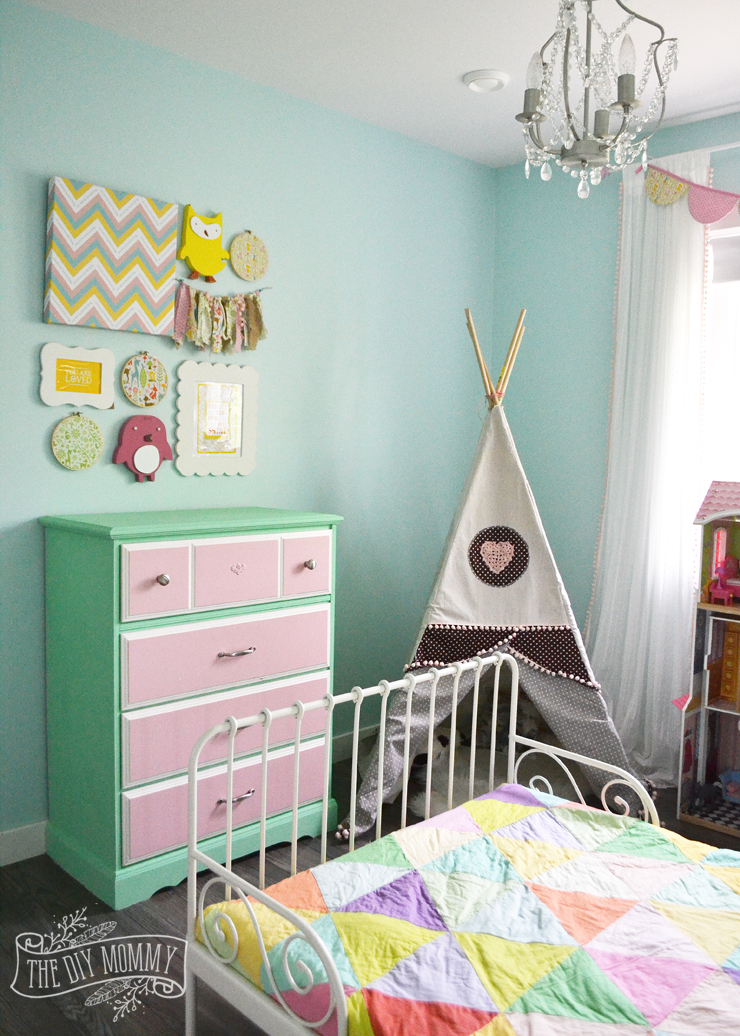
We’ve kept her teepee play tent in her room (you can find the tutorial on how to make one right here), and I painted an old dresser Little C had in her room with some chalk style paint. It was Little A’s choice to make the outside of the dresser bright mint green and I think it’s fantastic and fun!
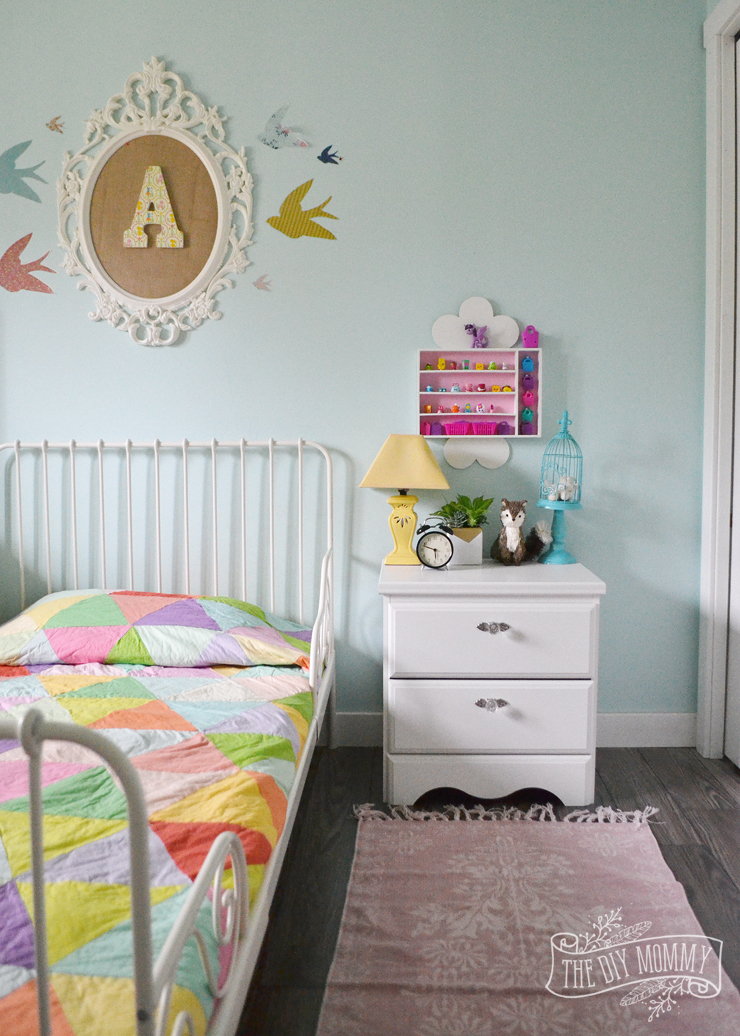
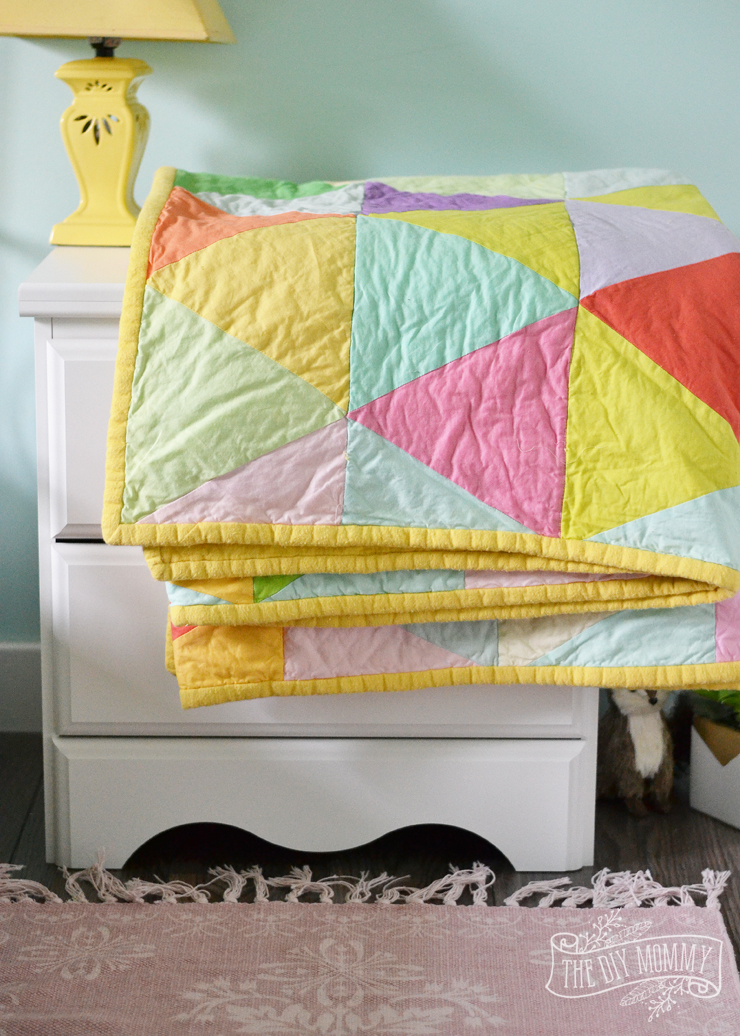
We’re still loving the new Diamond Dreams nightstand we found at The Brick. It’s Little A’s special little spot to store her favourite undies and toys. It’s adorable how much she loves it! Above the nighstand, we have a DIY collectibles holder I made from a cutlery tray, and you can find the tutorial to make that right here.
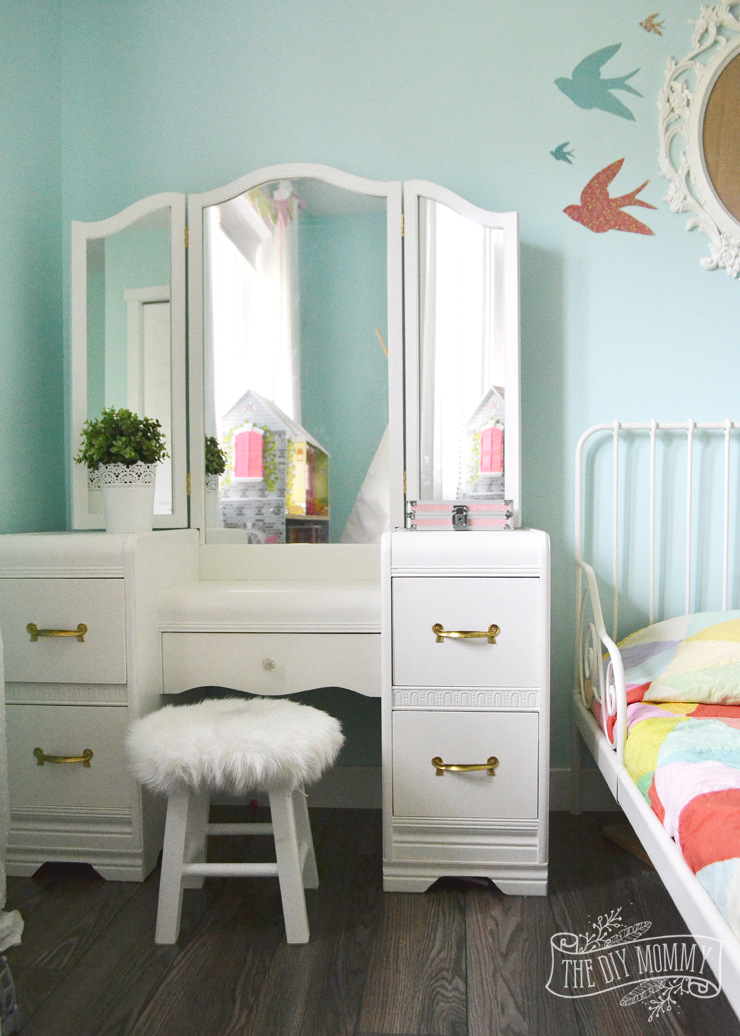
To the left of Little A’s bed is a vintage vanity that my mom and dad lovingly refinished for her this past Christmas.
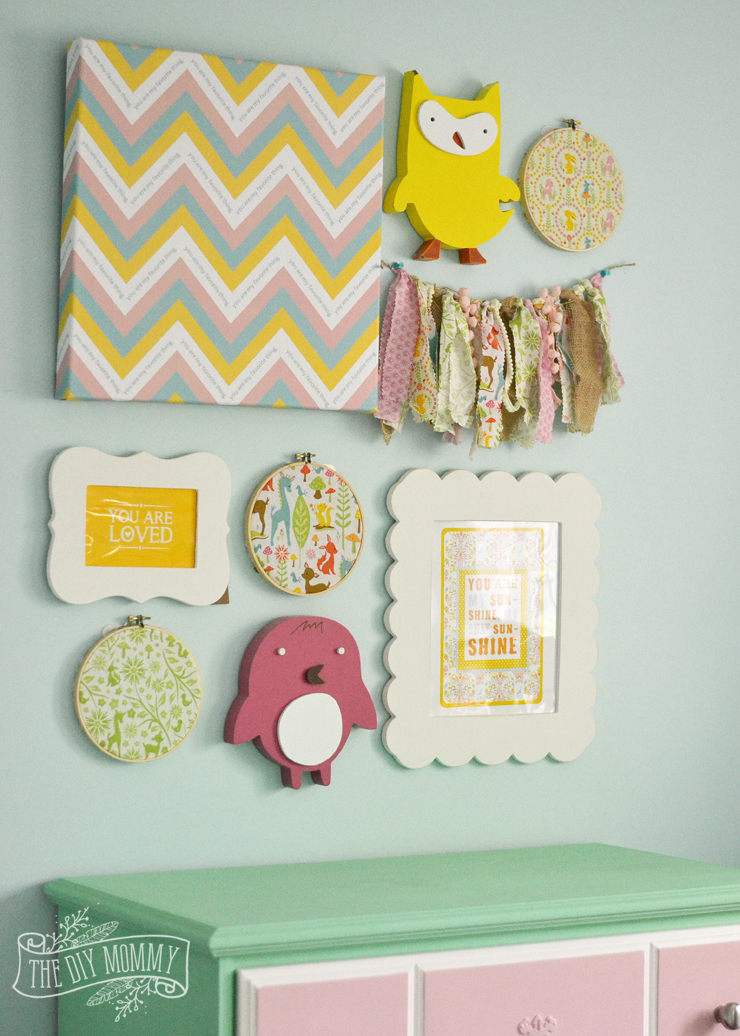
We still have her cute little gallery wall on display!
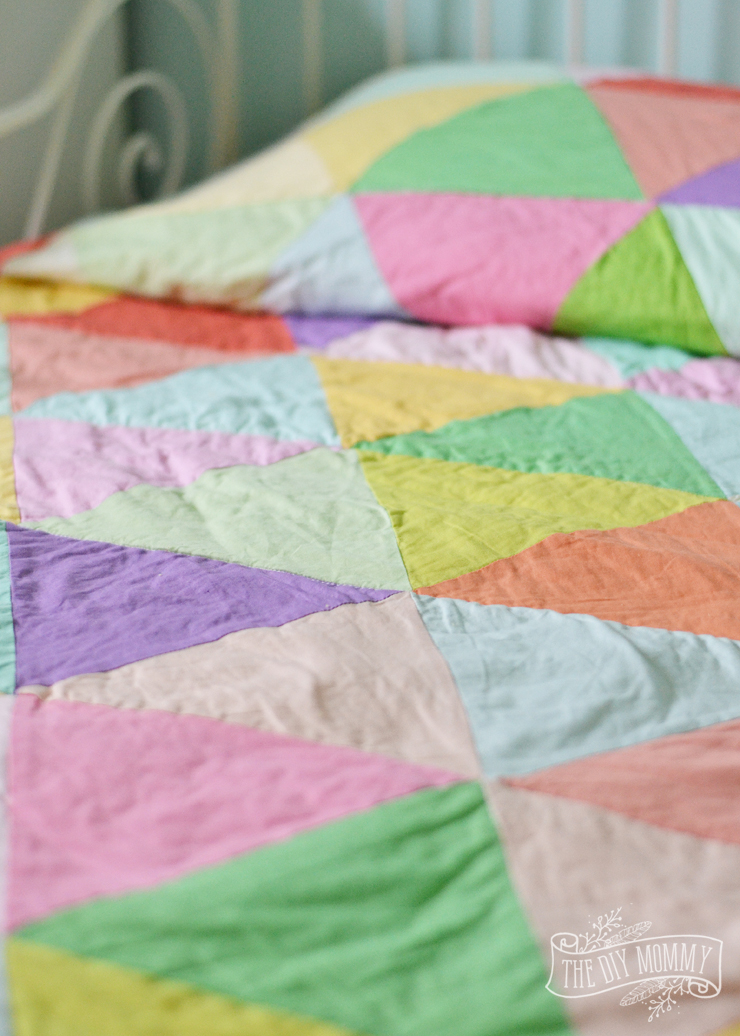
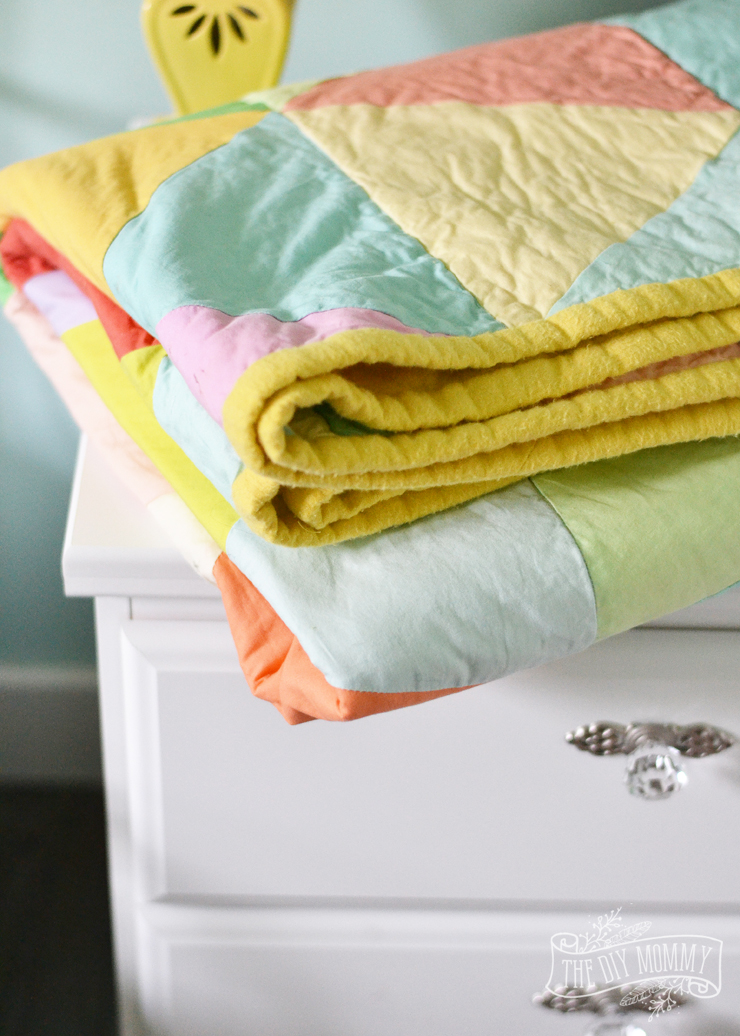
Now onto this colourful, beautiful quilt! I’m so glad it’s finally finished. It really didn’t take me as long as I thought, and I wish I’d finished it sooner. Regardless, Little A loves it and I’m sure she’ll treasure it for years to come.
Here’s how to make your own modern geometric triangle quilt.
Triangle Quilt Tutorial
Makes one twin sized quilt.
Materials:
- triangle template (you can download mine as a PDF for free by clicking here)
- variety of colours of cotton quilting fabric (enough to make 132 triangles – I had an old fat quarters sample pack of Michael Miller couture cotton that had over a dozen different pastel colour)
- quilt backing & binding fabric (I used a very wide flannel)
- twin sized quilt batting
Directions:
Cut out 132 triangle pieces out of the variety of colours of fabric. I used about 12 different colours of fabric to create a soft, pastel rainbow look that I knew Little C would love! Two or three colours would also work for this project.
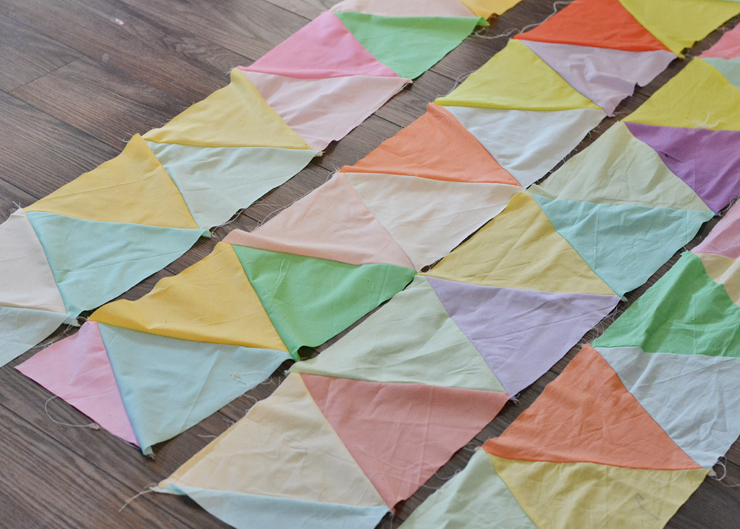
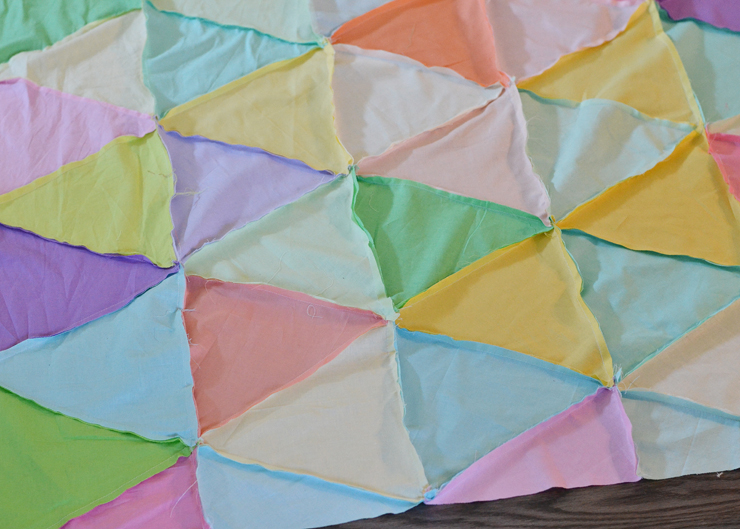
Arrange the triangles in a pleasing pattern on the floor – 11 rows + 12 triangles per row. You will cut one triangle in half for the beginning and end of each row. I made mine random with no two colours touching. It was a process.
Sew each horizontal strip of triangles together as show above. Use a 1/4″ seam allowance.
After all 11 strips are sewn, pin + sew the strips together in the order you’ve designed. Use a 1/4″ seam allowance.
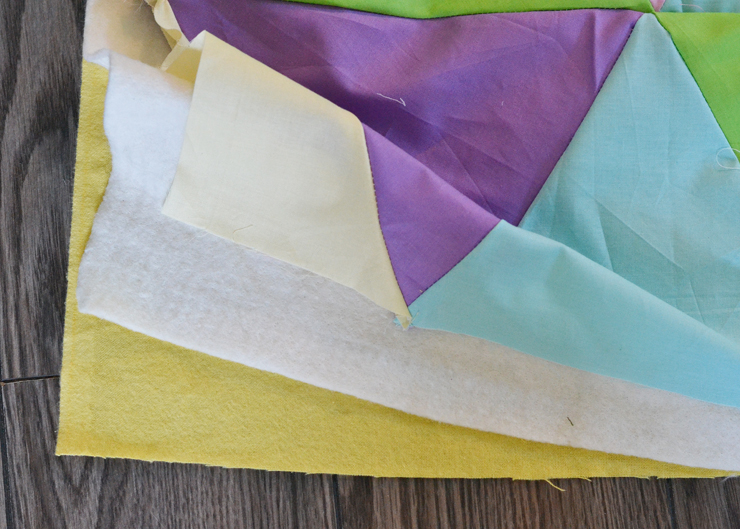
Gently iron the quilt top once it’s sewn together. Place your quilt backing right side down on the floor, then your quilt batting, and then your quilt top. My biggest quilting trick? Glue these layers together with a temporary spray glue so that they don’t slide around when you’re quilting everything together. I also like to pin the entire thing quite generously after I glue it.
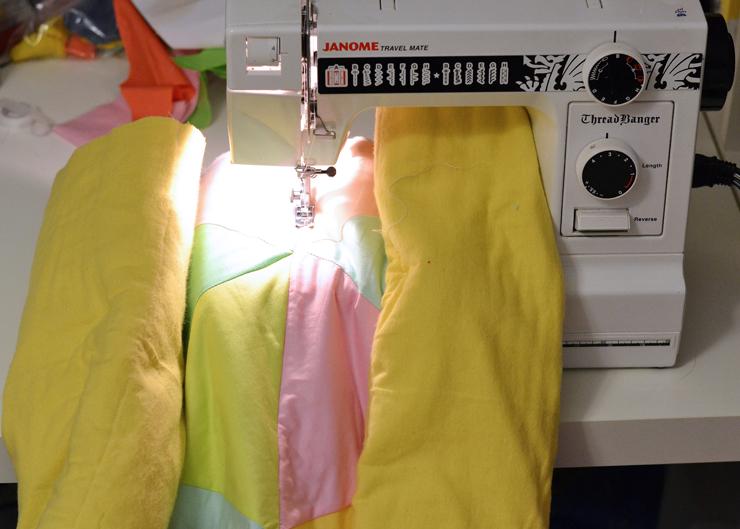
Next comes the quilting! If you’re oh-so-unfancy like me, you don’t have any proper quilting equipment. I roll my quilt like a scroll as pictured above, and sew over the seams of my quilt design – through all of the layers – to keep everything from sliding around. If your quilt is glued + pinned well, this should work for you too! For this triangle quilt, I simply sewed over the seam that held each row of triangles together. It was just a few straight lines of quilting and then I was done! You could quilt over all of the triangle seams too if you’re feeling ambitious. I’m sure it would look great!
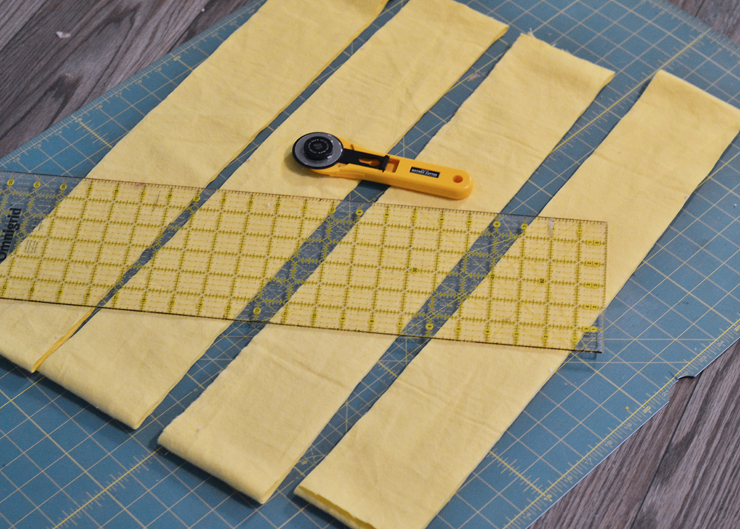
Next, cut out 4″ wide strips of binding fabric that will be long enough to bind the perimeter of your quilt.
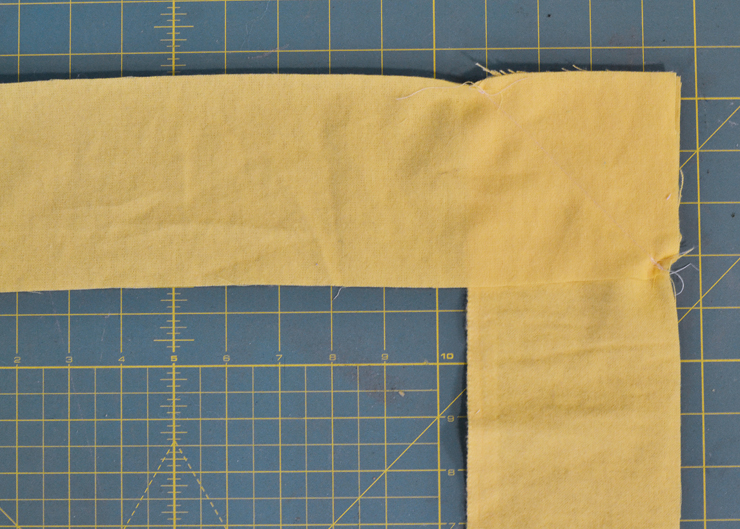
Sew them together at a 90 degree angle like this to attach them together. You then trim the excess, open up the seam, and press it to make it less bulky. Fold the binding in half lengthwise and press it.
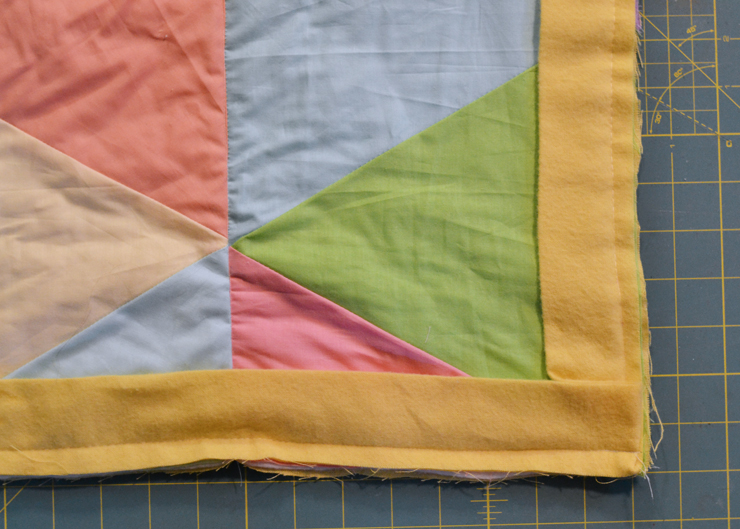
Sew the binding to the quilt as shown above. I used a 1/2″ seam allowance. You can read a detailed description on how to do the corners right here.
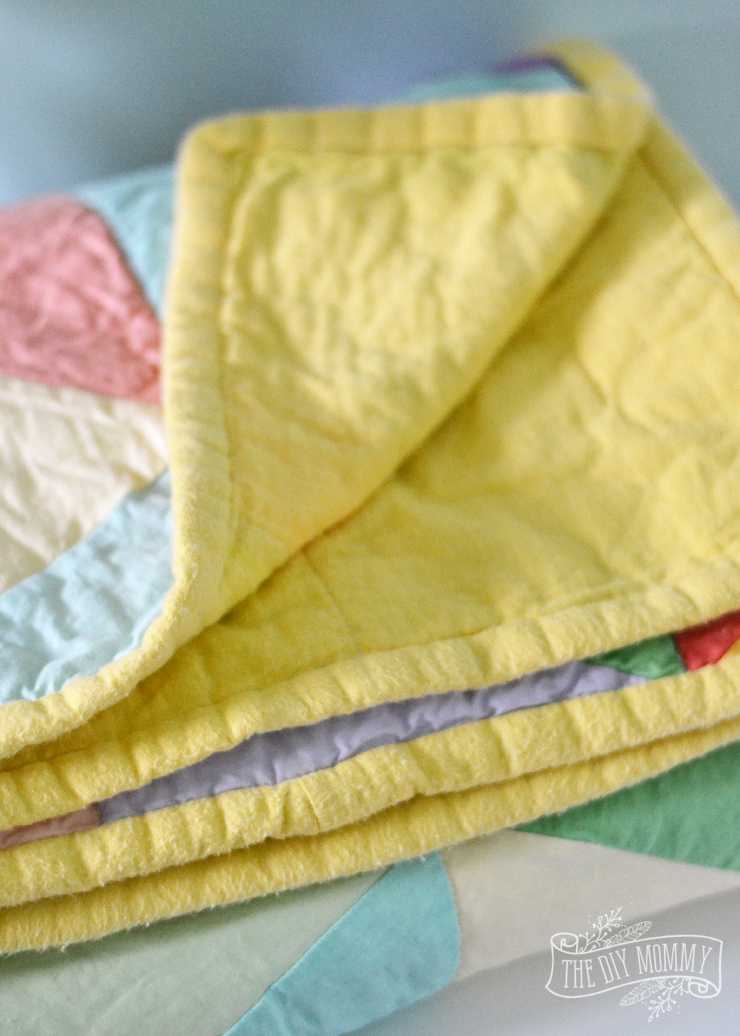
Flip the binding up and around to the backside of the quilt and hand stitch it to the back.
Finally, wash the quilt to get rid of the temporary glue and give it that lovely, wrinkly quilty look. I use a gentle cycle on my washing machine and a warm heat setting in the dryer.
You are done your gorgeous, modern quilt!
Wouldn’t this make a beautiful gift for your child or a friend with a new baby?
Pin Me:
You might just like these other easy quilt tutorials too:
Disclaimer: This post is sponsored by The Brick. As always, all of the opinions here are my own. I only recommend companies that I use and love myself.



Hi, Christina!
What size is the finished quilt and how many yards of backing fabric did you use? I love this idea and am trying to do the math and figure out what I need. Thanks!