Sew a Piped & Zippered Pillow Cover (Video Tutorial)
This post may contain affiliate links · This blog generates income via ads
Raise your hand if you are as addicted to throw pillows as I am! I think they are THE BEST way to change the whole look of your home’s decor for the least amount of money. You can even change them up seasonally – brights are fun in the summer, and jewel tones and fuzzy pillows are lovely for winter. Today I’d like to share with you a new video tutorial that guides you through how to sew professional looking throw pillow covers that have piped edges and a hidden back zipper.
This post was first published in June 2015, and has now been updated with new photos and a new video.
These are more of an intermediate sewing project, but I promise that the results are worth it! You’ll need a special zipper/piping foot for your sewing machine to get the best finished product. (If you’d rather try a simpler pillow design to start, check out this pillow tutorial!)
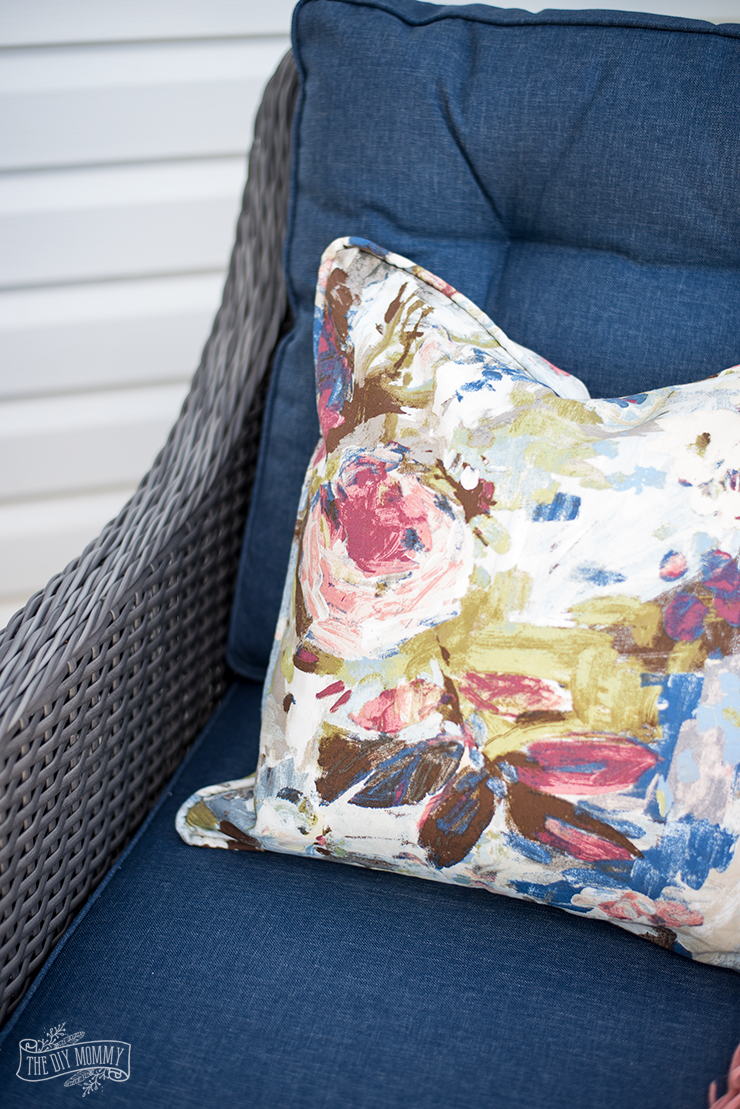
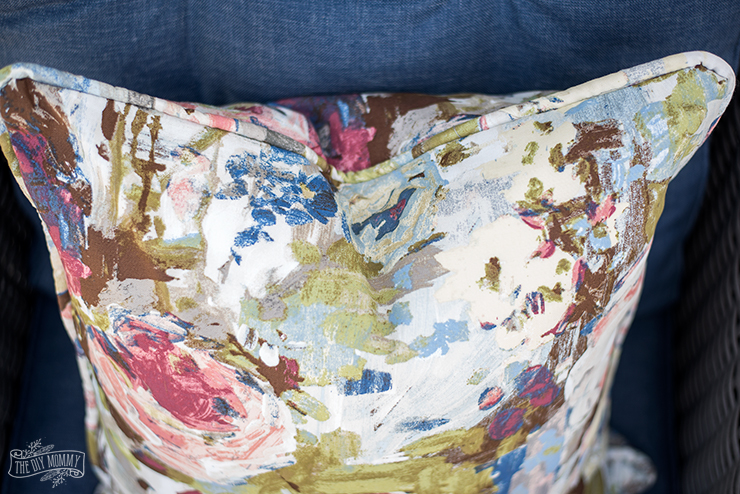
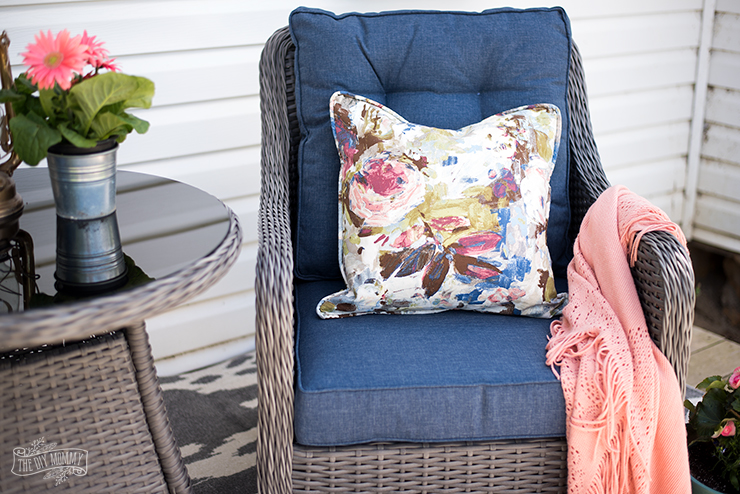
I found this watercolour floral fabric at my local fabric store, and I love how it looks on my new studio deck.
Here’s the step-by-step video; I hope you find it helpful. If you’d like to see more of my video tutorials and room tours, don’t forget to pop by and subscribe to my YouTube channel.


Oddly, that video is unavailable in safety mode!
Awesome tutorial though! I’ve always liked piped edging and hidden zippers.
And those were some awesome pants you were wearing while you cut the fabric. Such a pretty print!
That’s weird. Maybe it’s because I’m in my jammies?! Hahahaa!
Thanks for the great video. I’ve always made bias for piping, and noticed you didn’t do that for yours. Bias uses a lot of (expensive) fabric but I thought it was necessary to go around the curves better. So you’ve found that there’s no difference cutting on the straight grain??
Thanks. No christina didn’t find a difference 🙂
Hi Christina, fantastic tutorial, I’ve finally had a go at these. The first one is ready and whilst not quite as perfect as yours; I’m pretty happy; only 4 more to go! Would post a pic, but I don’t know how?
If you’re able to tag her @thediymommy on instagram or facebook, she’d love to see it!
Great tutorial Christina!
I love where you put the zipper. So much easier than next to the piping!!
Jeri
I couldn’t not find a link for cutting dimensions…I would like to read it…
Im inspired to try my hand at this. Am I overlooking the information on measurements that you refer to on. Video? I couldn’t find them.
Hi!
They’re all listed in the comment box below the video. I’ll paste them here:
In this video, I made a cover for my 20 x 20″ pillow insert, and the measurements for the fabric pieces are as follows:
20 x 20″ square
20 x 19″ piece
20 x 2″ piece
1 1/2″ x 90″ strip for the piping
I recommend cutting your first square to be the same size as your pillow insert, then when you add the 1/2″ seams your pillow cover will be 1″ smaller than your pillow insert creating a fluffy, overstuffed look.
Christina…
Great video. Love your method. Question…if you cut the front and back the same size and then add the 2” strip to the back for the zipper, doesn’t that make the back an inch longer than the front (allowing an inch for the zipper)? Doing the math, it doesn’t add up. And when I tried it…sure enough, I had to trim an inch off the top of the back piece am I missing something?