DIY Duvet Cover from Flat Sheets (in only 3 steps!)
This post may contain affiliate links · This blog generates income via ads
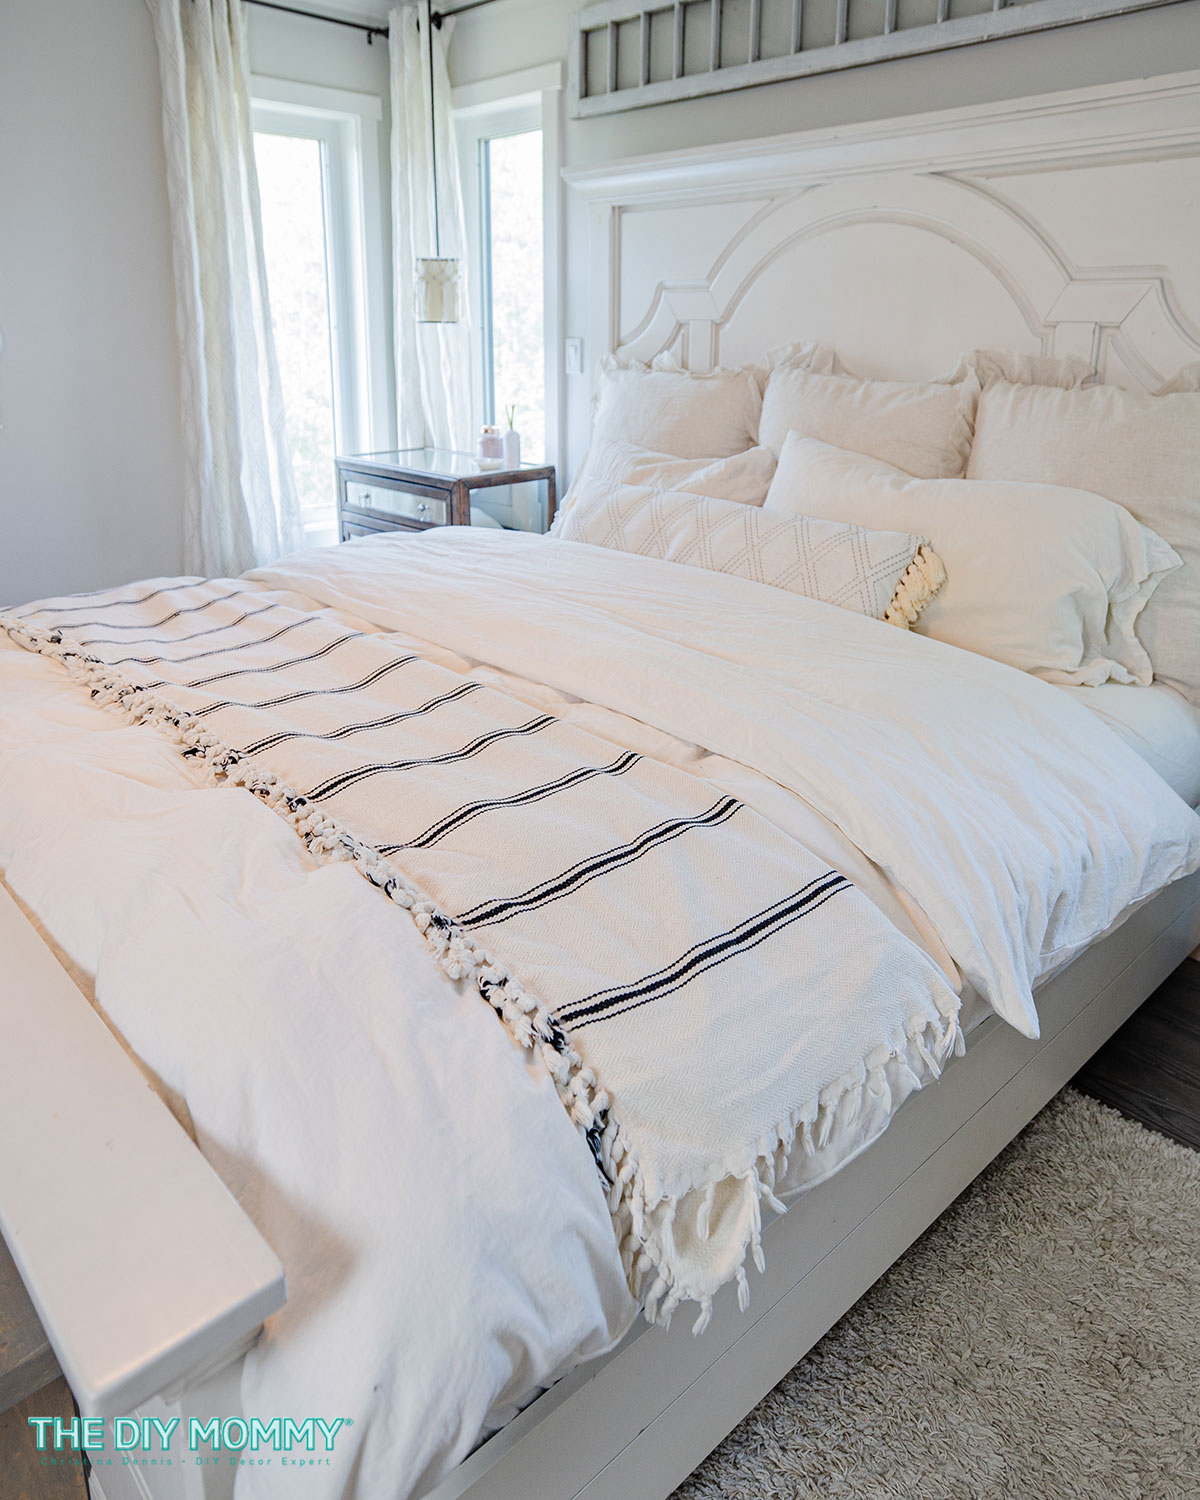
Have some extra flat sheets lying around? Here’s how to make a beautiful DIY duvet cover from sheets in only 3 steps. Even if you’re a beginner with a sewing machine, you can make this!
A new duvet cover can really give your bedroom a fresh, updated look. However, sometimes it can be difficult to find a duvet cover that fits your personal style and budget. If you’re looking for a budget-friendly option that’s easy to do, try making your own duvet cover using flat sheets! This DIY project is simple and can be done in just three steps. Plus, you can create a unique duvet cover that perfectly matches your style and home decor. Follow along for a step-by-step tutorial on how to make a DIY duvet cover from flat sheets.
I love the Hearth & Hand Linen Blend Sheets from Target, and I used the flat ones from two sets for my DIY duvet cover. You can use any sheets you like, though! I purchased my sets a few years apart on two different trips to the States.
Because I’m not a fan of top sheets, this DIY duvet cover project is the perfect way to use my two flat sheets from my sheet sets. They went from useless and sitting in my linen closet, to becoming a gorgeous duvet cover that we’ll use often! I wash my duvet cover in the laundry at least once a week and prefer it to a top sheet & comforter.
If you want to see more of my favourite luxurious-feeling bedroom linen favourites, check out this post on how to make your bed comfortable.
DIY Duvet Cover Tutorial (from Flat Sheets!)
Materials & Tools Required:
- 2 flat sheets at least 1 1/4″ larger around all sides than your duvet cover*
- stick pins
- fabric scissors
- thread
- sewing machine
- clothing iron
*Note: Make sure you wash your sheets as you will later before you turn them into a duvet cover! You don’t want to finish your cover only to find that it shrinks in the wash.
Step 1: Measure Your Flat Sheets
The first and most important step to making a duvet cover from flat sheets is to measure. You’ll need to measure your flat sheets to make sure they’ll work properly as a duvet cover. First, measure your duvet insert to determine the size of your duvet cover. Then, measure your flat sheets to see if they’re big enough to cover your duvet insert; you’ll also need and extra 1 1/4″ around the perimeter for the French seam allowances or 1/2″ around the perimeter for regular seams.** If your sheets are too large, use a ruler and fabric scissors to cut them to the correct size – don’t forget the seam allowance!
**Tip: If you’re like me and want a more overstuffed, luxurious looking duvet you can actually ignore the extra inches needed for the seam allowances. If your duvet cover is slightly smaller than your duvet insert, you’ll get a puffy and soft look. For my DIY King size duvet cover, I’m using King sized flat sheets and a California King sized duvet insert.
Step 2: Attach the Sheets Together
Once your flat sheets are the correct size, it’s time to attach them together. You’re going to sew around 3 sides and leave the top open for the duvet insert to go inside. I like to leave the embellished top of the sheet unsewn as the duvet cover opening. That way, you don’t have to fold, press and sew new hems!
Option 1: Regular Seams
If you didn’t have to cut your sheet and all the edges are still finished, you can sew your sheets together using regular seams.
Lay one of your flat sheets out flat with the pattern facing up. Then, place the second flat sheet on top of the first one with the pattern facing down so the right sides are together. Line up the top finished ends of the sheets. Pin the sheets together, and sew using a 1/2″ seam allowance around 3 sides. Leave the top of the duvet cover open (the top finished edges of the sheets) so you can slide your duvet insert in and out.
Option 2: French Seams
If you had to cut your sheet and all the edges are raw, can sew your sheets together using French seams. This ensures there are no raw edges showing inside.
Lay one of your flat sheets out flat with the pattern facing down. Then, place the second flat sheet on top of the first one with the pattern facing up so the wrong sides are together. Line up the top finished ends of the sheets. Pin the sheets together, and sew using a 1/4″ seam allowance around 3 sides. Leave the top of the duvet cover open (the top finished edges of the sheets) so you can slide your duvet insert in and out. Now, let’s pull a Martha Stewart, and sew the duvet cover with French seams so there’s no raw edges showing inside. Turn the duvet cover wrong-side-out, press, pin and sew with a 1″ seam allowance. Then, turn the duvet cover right-side-out and press again.
Step 3: Add Fasteners
Now that your duvet cover is assembled, it’s time to add fasteners to keep your duvet insert in place. You can use snaps, Velcro, buttons, or ties to secure the opening at the top of your duvet cover. Simply attach the fasteners at regular intervals along the top of the duvet cover. If you’re using ties, make sure to tie them tightly in a bow to prevent your duvet insert from slipping out. 6 inch pieces of ribbon sewn on either side of the opening create easy, beautiful ties.
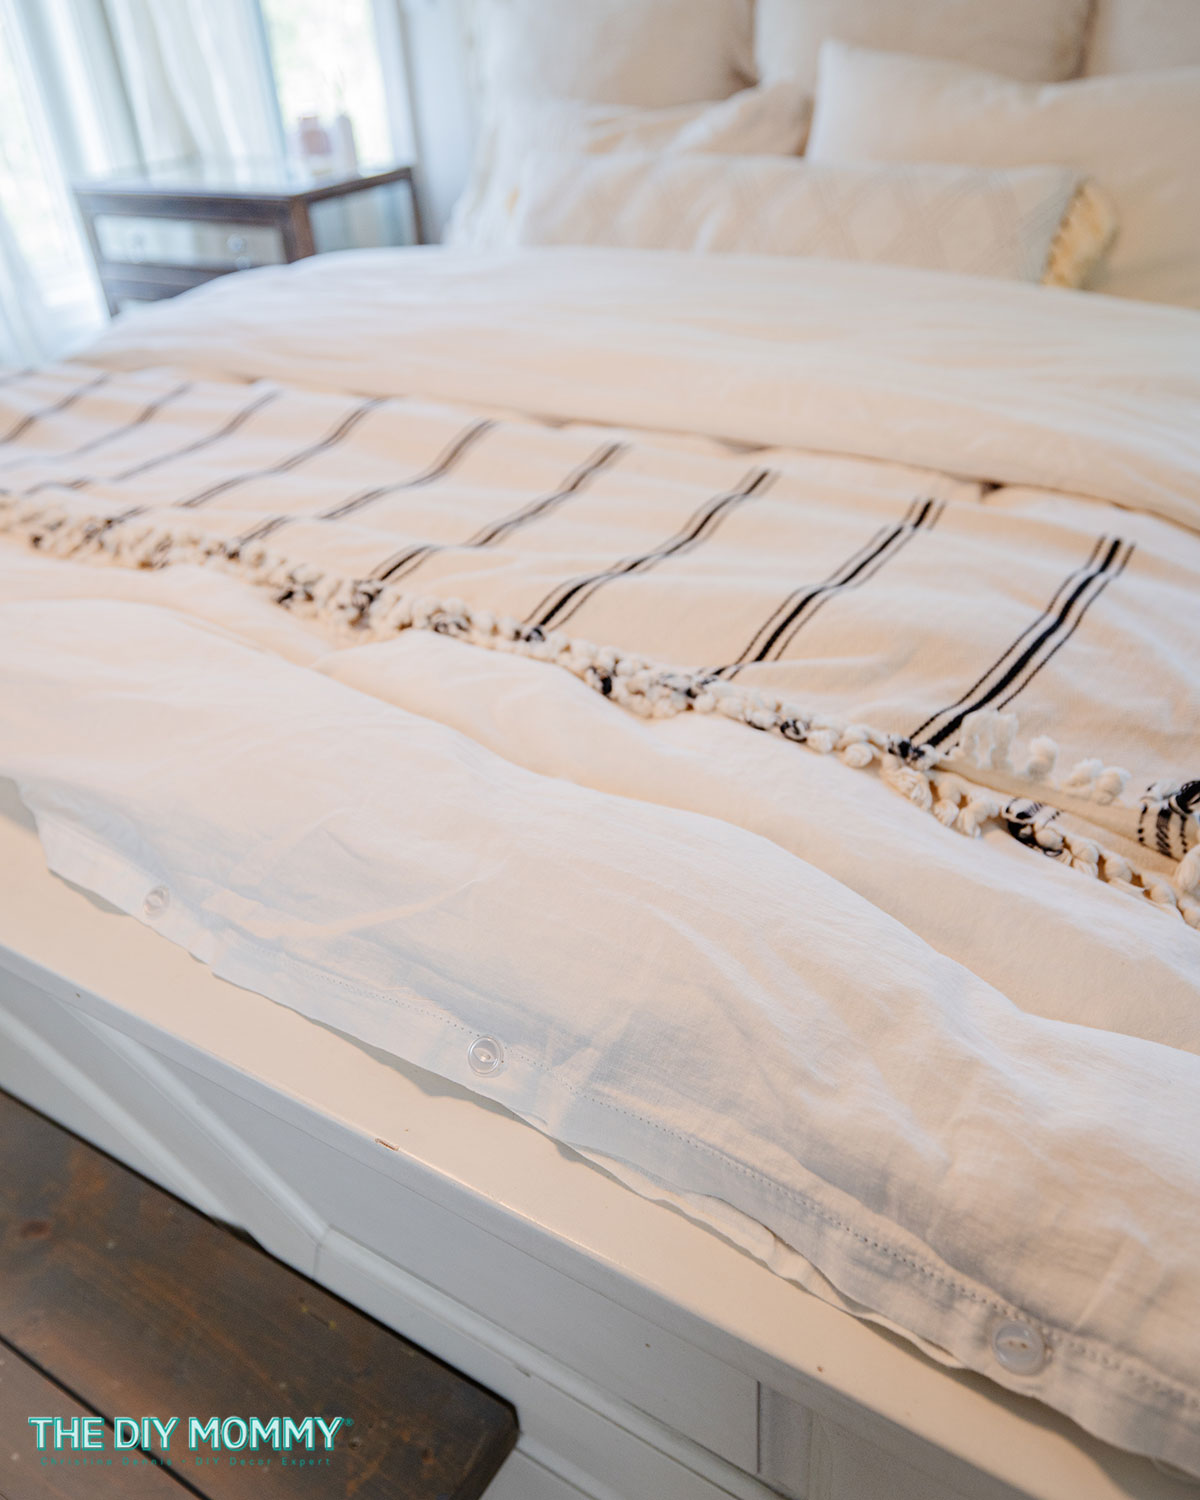
For my duvet cover, I chose to use buttons for a more tailored look. I used the manual button hole setting on my sewing machine to sew small satin stitches into a rectangular shape. Then, I used a seam ripper to create a slit in the middle. With a needle and thread, I hand-stitched buttons onto the opposite side of the opening; centering them vertically on the hem. Button closures are a great way to make your duvet cover look professional.
Making your own DIY duvet cover from sheets is an easy and affordable way to update your bedroom decor. You don’t need any fancy sewing skills to create a beautiful and unique duvet cover that reflects your personal style and aesthetic. So, next time you’re in the market for a new duvet cover (or have extra flat sheets lying around), consider trying this DIY!


