DIY Zippered & Lined Pouch + 11 More Handmade Gift Ideas
This post may contain affiliate links · This blog generates income via ads
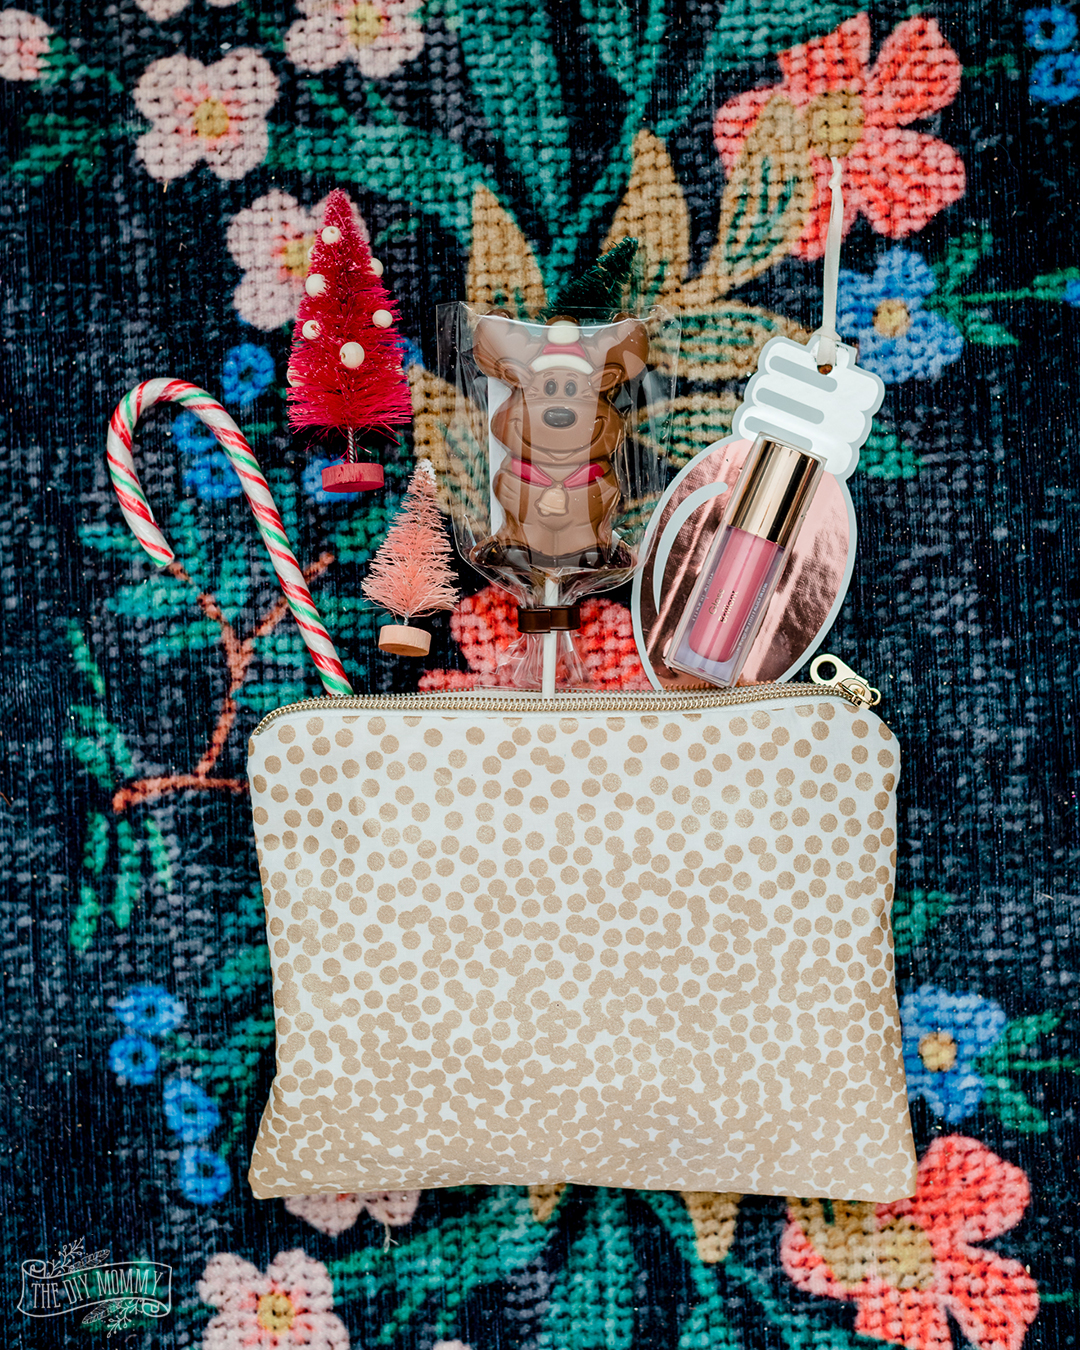
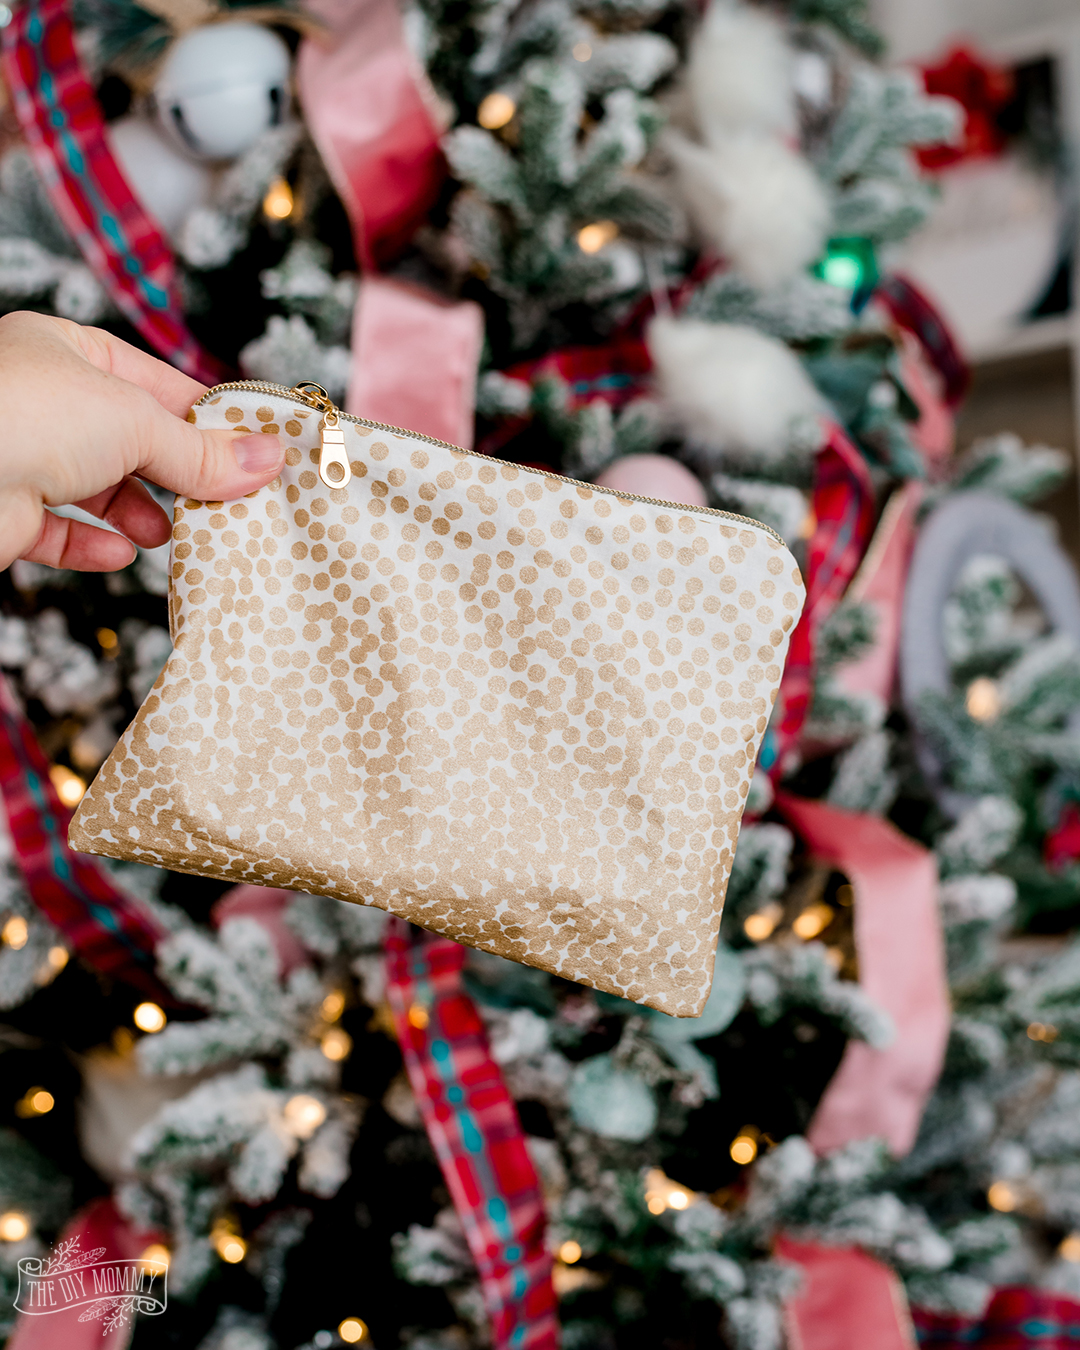
This DIY zippered & lined pouch is an easy sewing project, and it makes a beautiful gift! Let me show you how to make this simple handmade pouch, and get more handmade gift ideas for the season.
This post was first published in November 2015 and has been updated.
How’s your Christmas gift making / buying coming along? I still have a lot to do, but I’m steadily plugging away at my list. When I saw this metallic pouch from Anthropologie the other day, it inspired me to make my own DIY zippered & lined pouch for gift giving this year. Zippered pouches are so versatile, and they make a great gift for anyone! Make sure to scroll down to the bottom of this post for 11 more handmade Christmas gift ideas from my Canadian blogging friends.
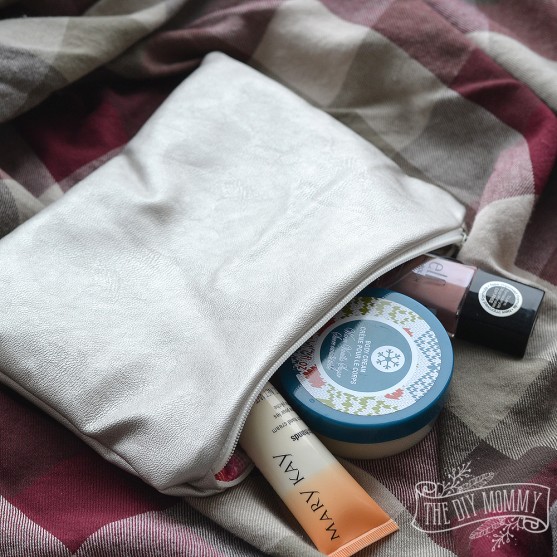
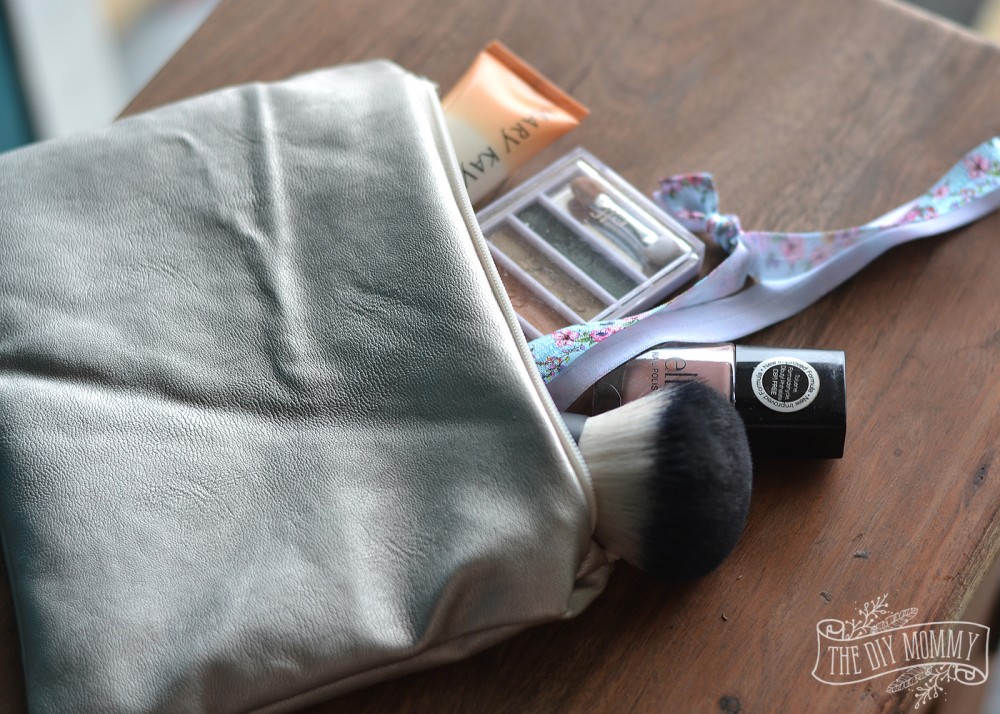
Fill this little pouch up with makeup, crafts or goodies, and it would make the sweetest gift for a girlfriend on your list!
Here’s how to make a zippered pouch that’s perfect for gift giving.
Materials:
- main fabric big enough for your desired pouch size (I cut my rectangles to 9″ wide by 7″ high); you can use decor fabric, pleather fabric, cotton quilting fabric, or really almost anything!
- cotton lining fabric big enough for your desired pouch size (I cut my rectangles to 9″ wide by 7″ high)
- zipper
- sewing machine
- zipper foot
- needle + thread
Directions:
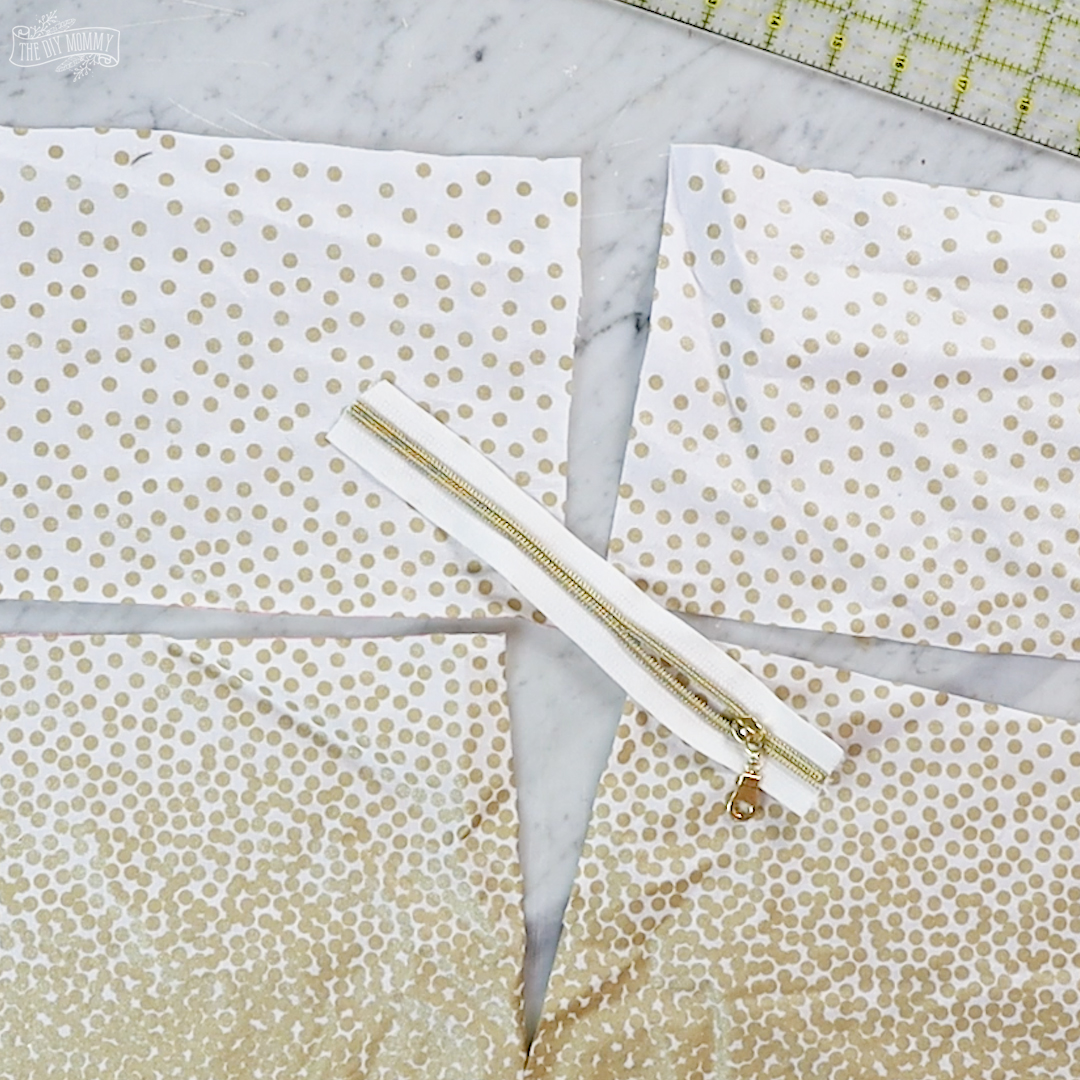
First, cut two pieces of the main fabric and the lining fabric to the desired size of your zipper pouch + 1 inch for seam allowances. I made my pieces 9″ wide by 7″ long so that my finished pouch measures 8″ x 6″. Cut two small rectangles from the main fabric that measure about 1″ x 2″ to use as zipper stops OR you can zig-zag stitch at the beginning and end of your zipper instead.
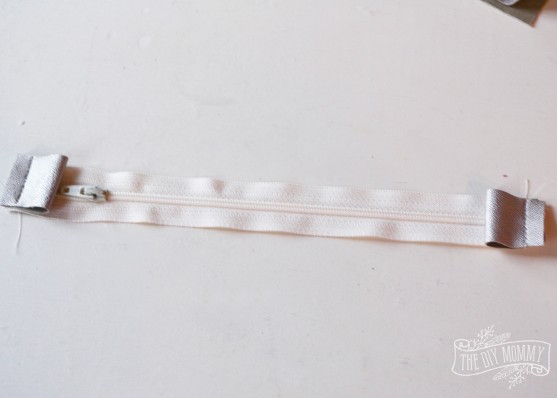
If you’re making DIY fabric zipper stops, fold the two little rectangles as shown above and sew them to each end of the zipper, aligning the raw edges. Otherwise, use a wide zig-zag stitch to create a stitched zipper stop at either end of the zipper.
While this project is easy, it can be hard to visualize. Watch my video below to see how you stitch each piece to create this DIY lined & zippered pouch:
The pouch DIY instructions begin at 9:23
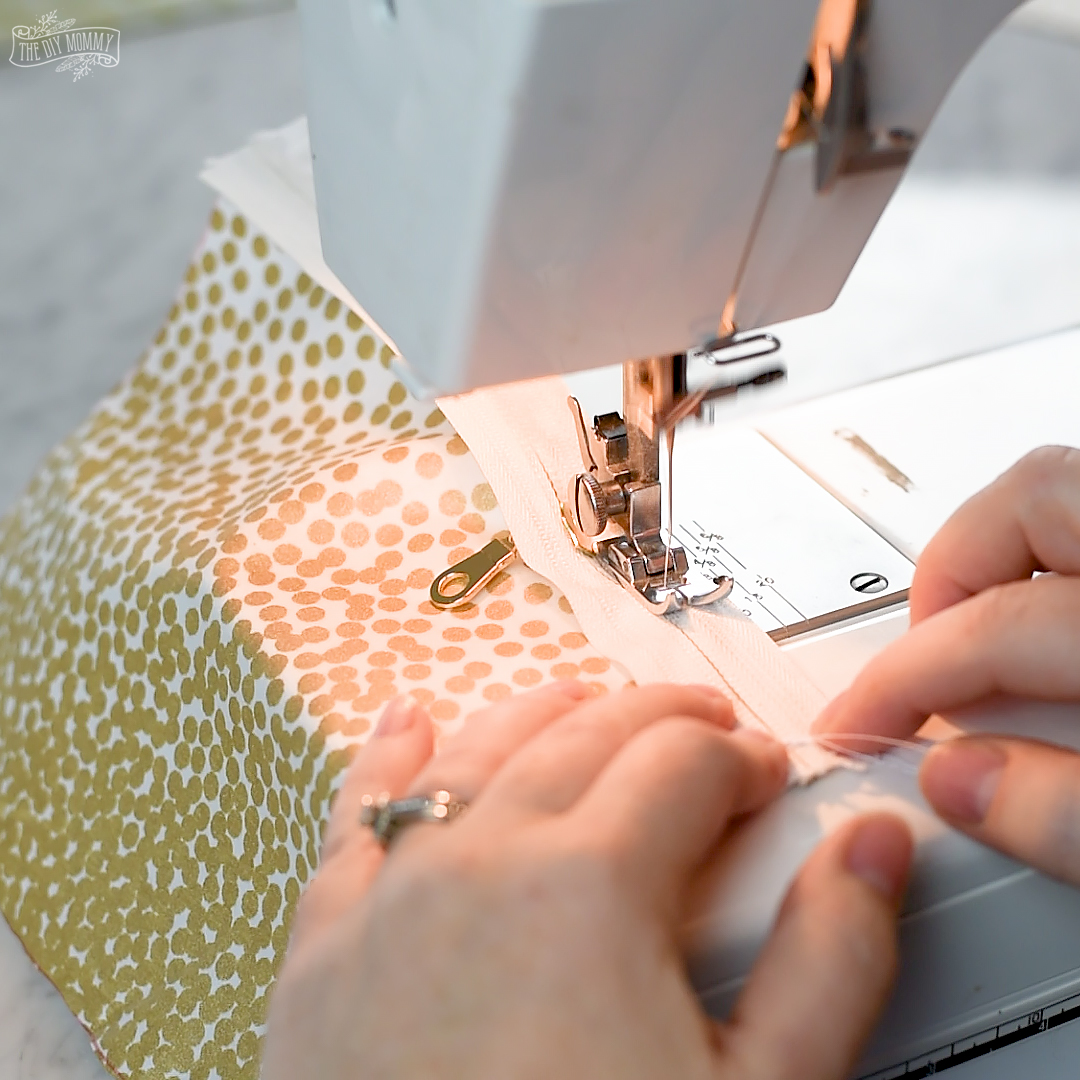
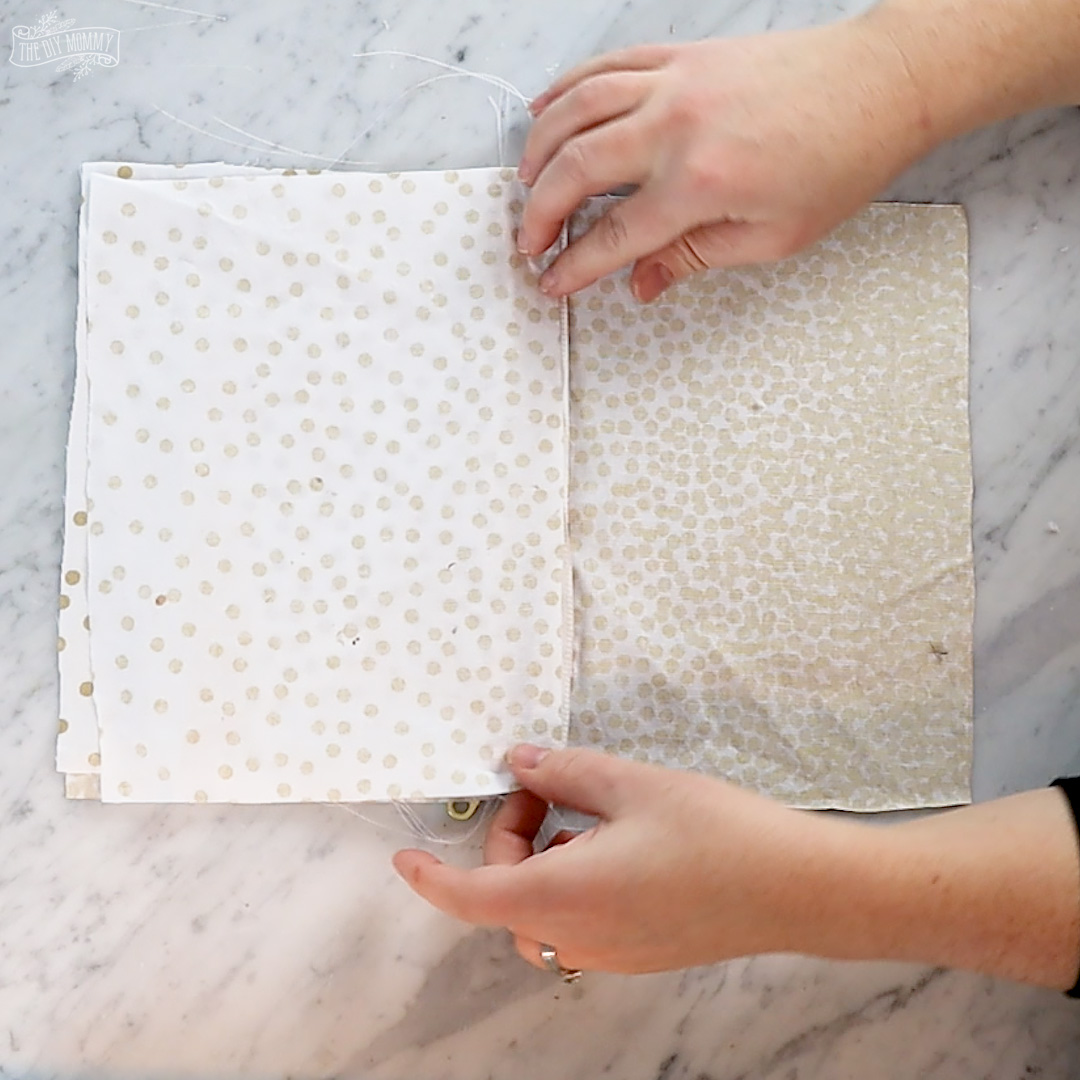
Place the zipper right side down along the top of the main fabric as shown. Stitch with a zipper foot using a 1/2″ seam allowance.
Next, lay the other main fabric piece on top of the other side of the zipper, right sides together. Stitch it to the zipper using a zipper foot and a 1/4″ seam allowance.
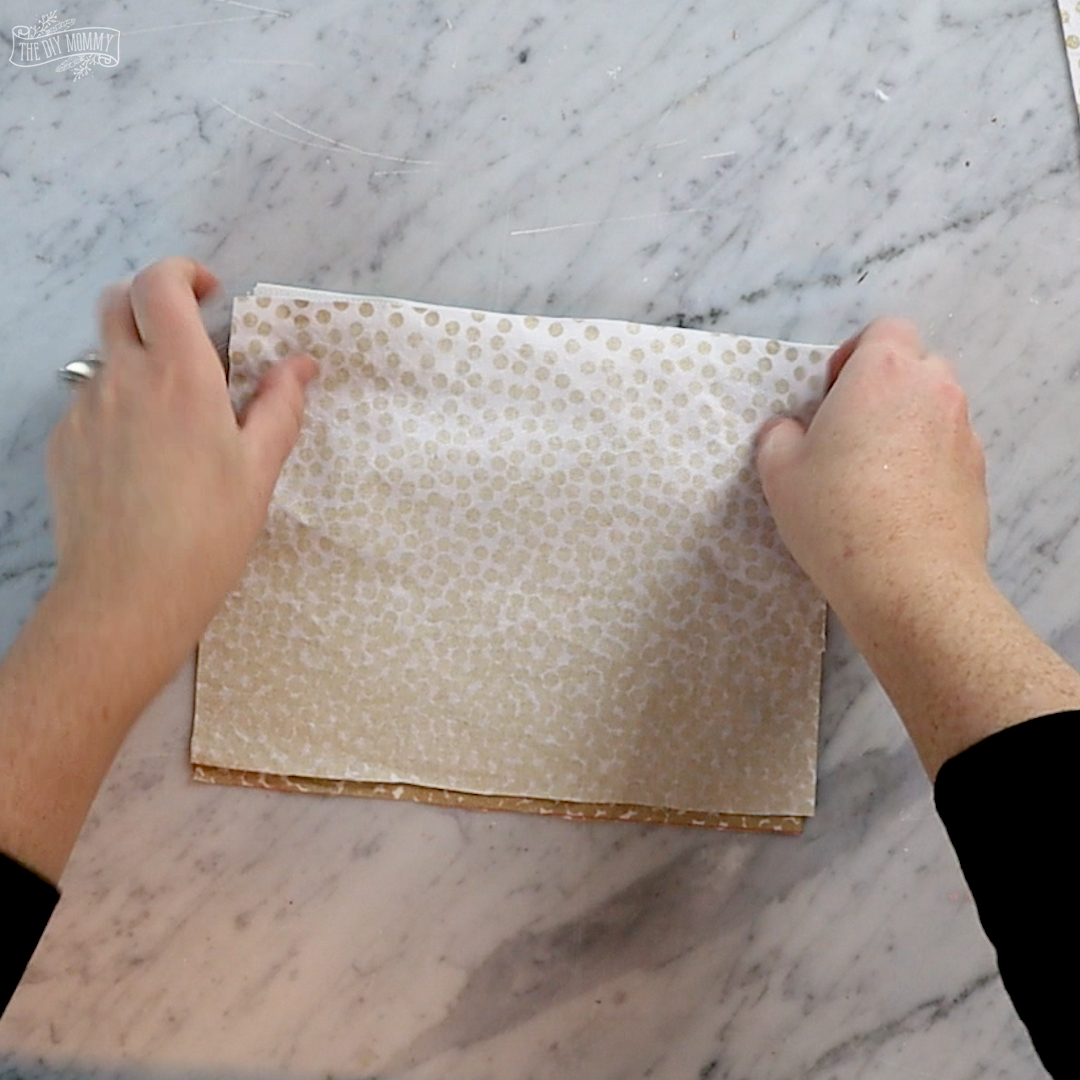
Then, flip the whole thing so that it’s wrong-side up, and lay a piece of the lining fabric right side down over one side of the zipper. Sew with the zipper foot using a 1/2″ seam allowance.
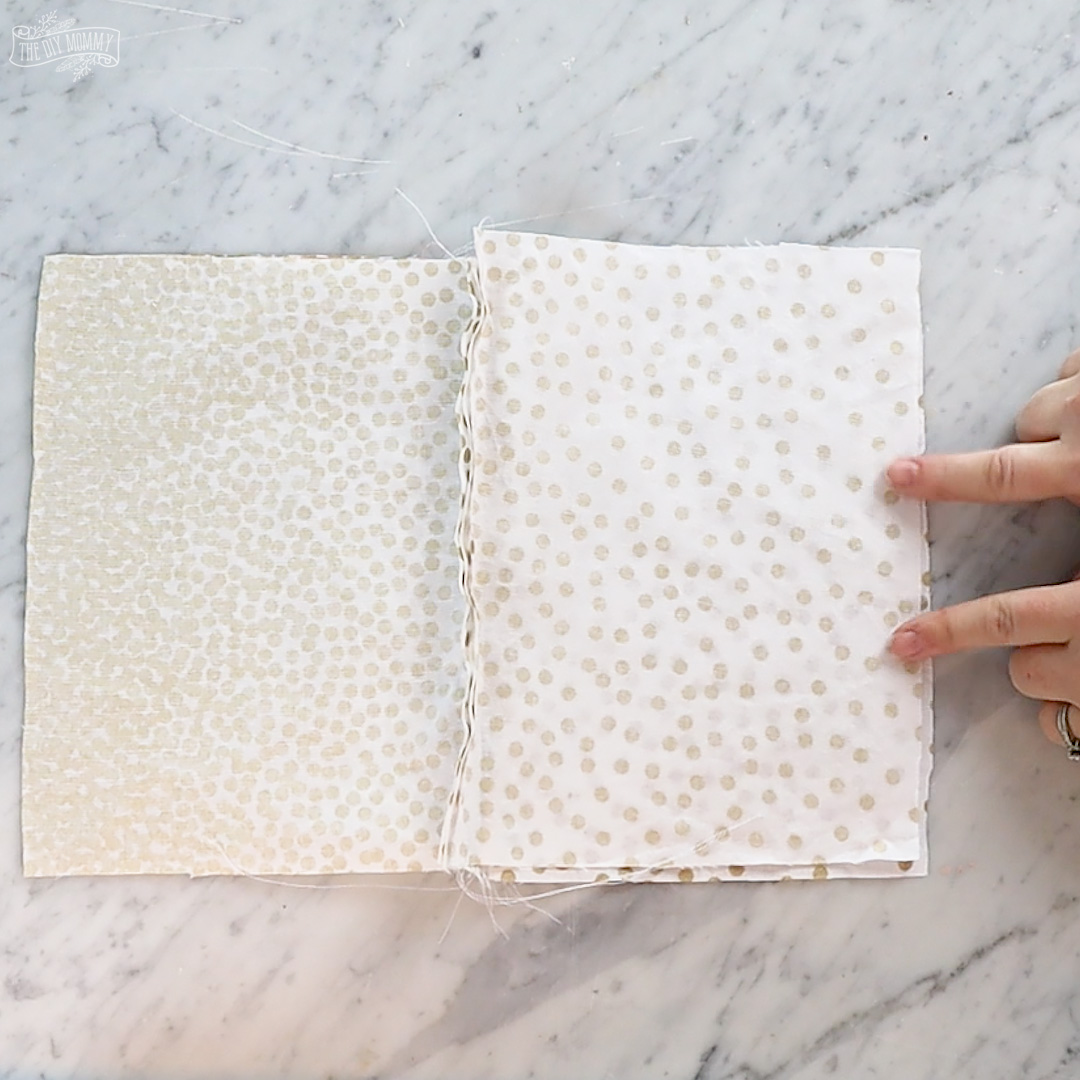
Flip that piece of lining so that its right side is facing up, and then place the other piece of lining right-side-down over the other side of the zipper and stitch in place.
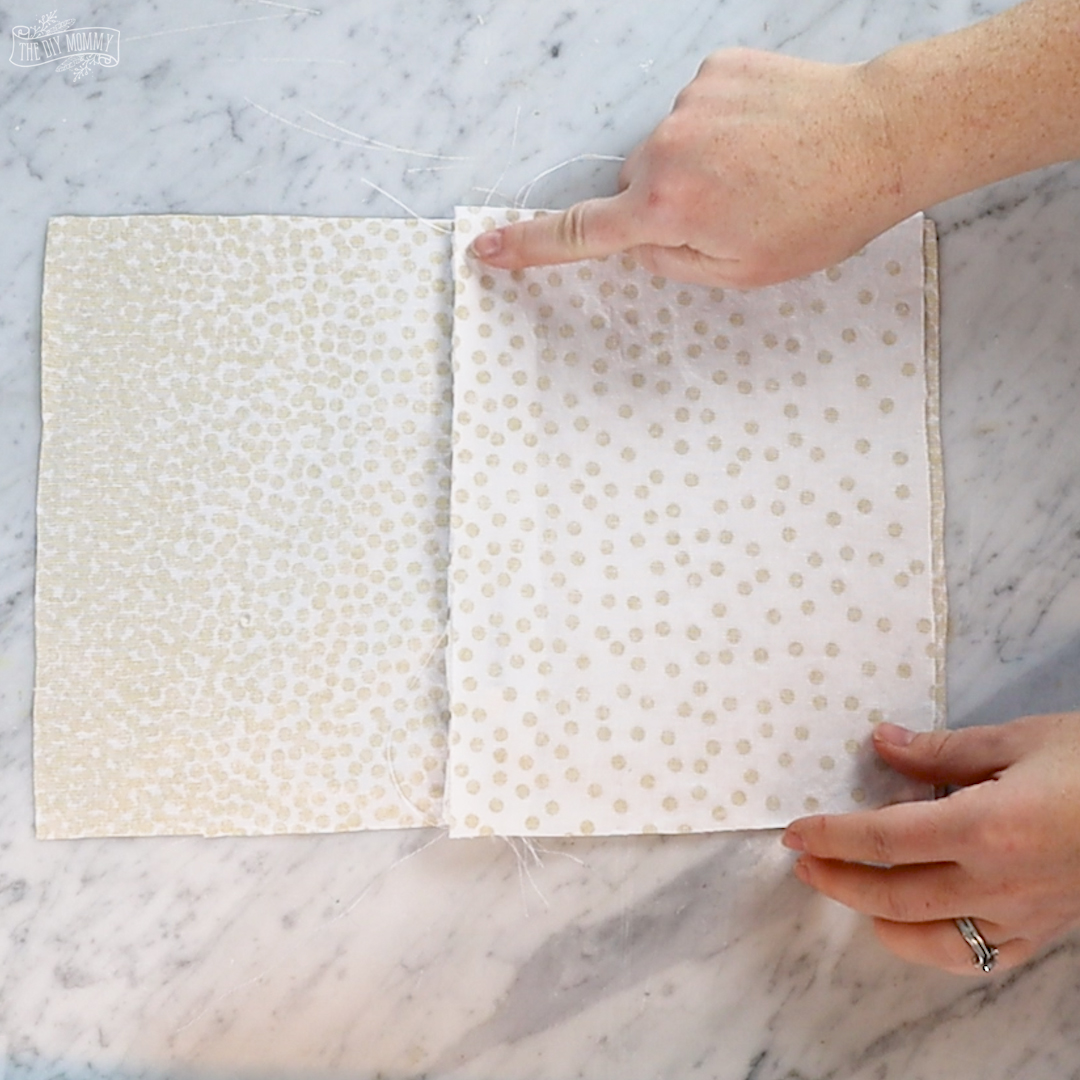
Now, open up the layers and put them right sides together as shown – the right sides of the lining facing each other, and the right sides of the main fabric facing each other. Pin and sew around the perimeter, leaving a 4″ hole. Clip the corners.
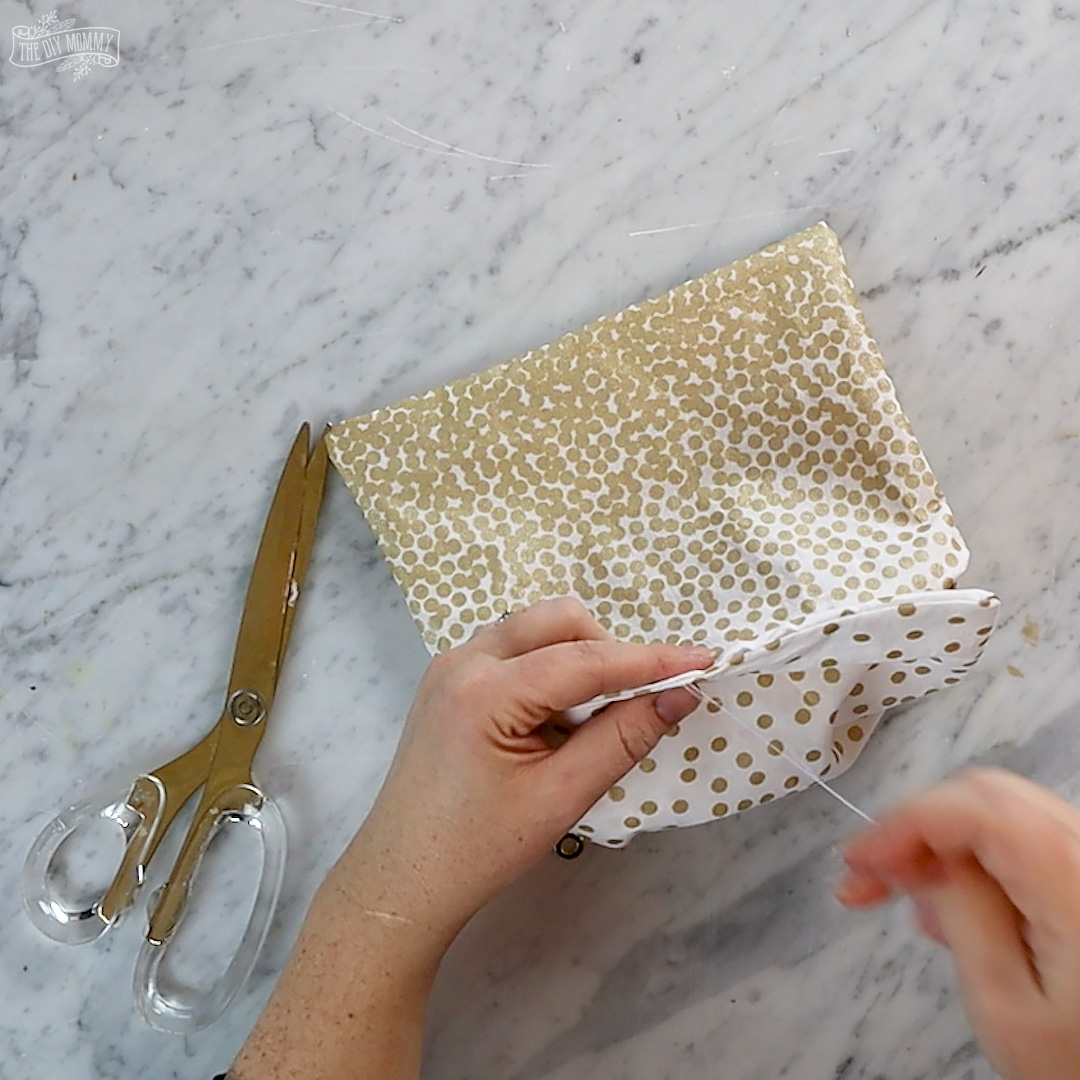
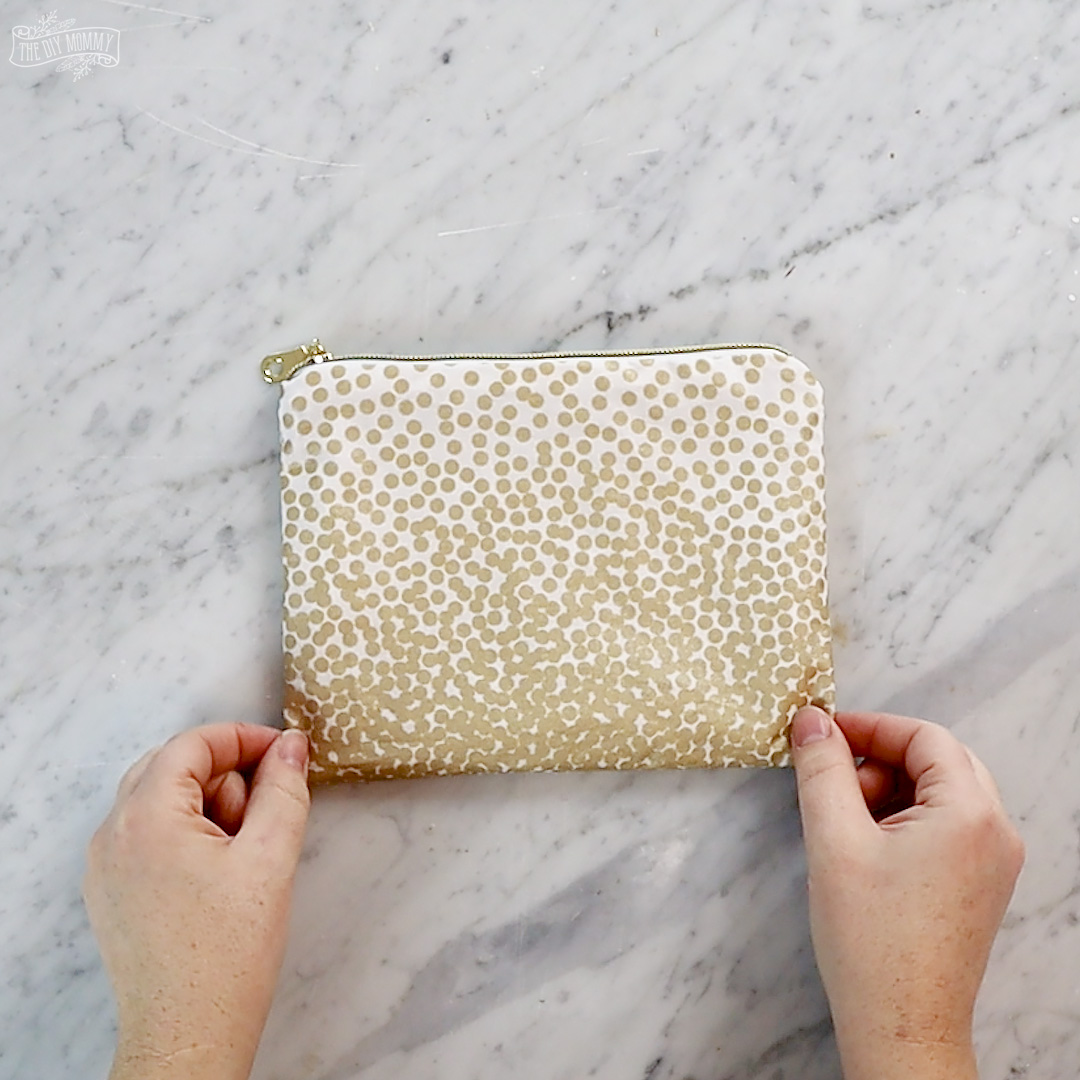
Finally, pull the pouch right-side-out through the hole you left, and then sew the hole shut by hand with a needle and thread. Tuck the lining back into the pouch and then you’re done!
Your pouch has a lovely zipper, it’s fully lined, and it’s ready to gift!
Now it’s time for some more DIY Christmas gift ideas from my Canadian blogging friends. Get ready for some wonderful handmade gift inspiration for your holidays!
From the top, they are:
Christmas Scented Paper Sachet DIY Gift Bag from Time With Thea
DIY Holiday Pallet Sign from Fresh Crush
DIY Lime Mint Sugar Scrub from Setting for Four
Go Ahead, Get Messy Family Gift from The Inspired Home
Homemade Peppermint Tea from Love Create Celebrate
DIY Clay Jewelry Bowls from The Sweetest Digs
Homemade Honey Lip Balm from lifeovereasy
DIY Metallic Pouch from The DIY Mommy


That’s well beyond my sewing skills. But your tutorial makes it look easy. Love the metallic fabric!
Love the metallic leather you chose! The lining makes it extra special – so so pretty! What a beautiful gift to give and get!
Looks great Christina. I love how your tutorial makes it so easy to install a zipper… something that can be a bit tricky! I love your fabric choices.