Create an Easy DIY Advent Calendar – with crystals inside!
This post may contain affiliate links · This blog generates income via ads
This holiday season, create an easy DIY advent calendar for kids! See how to make a unique day-by-day IKEA hack calendar with crystals inside.
This year, my 3 daughters are obsessed with cystals and rocks. I mean, I could probably put a lump of coal in their stockings this year and they’d actually love it, haha! For this Christmas, I thought I’d surprise them with a DIY advent calendar that had some beautiful crystals inside that they could collect throughout December.
What Is An Advent Calendar?
An advent calendar is a collection of numbered packages, one of which is opened on each day of Advent, typically to reveal a picture or small gift. Advent means “coming” in Latin, and it anticipates the coming of Christ that’s celebrated by Christians at Christmastime. At church, we celebrate Advent on each of the four Sundays leading up to Christmas, and at home we usually have an Advent calendar that starts December 1st and finishes on December 25th.
How do you use an Advent calendar?
You can create any sort of advent calendar tradition that you like! In our family, we let the girls open up their daily advent package first thing in the morning in December. Package #1 is opened up on December first, package #2 on December 2nd and so on all the way until Christmas Day when package #25 is opened.
What do you put in a homemade Advent calendar?
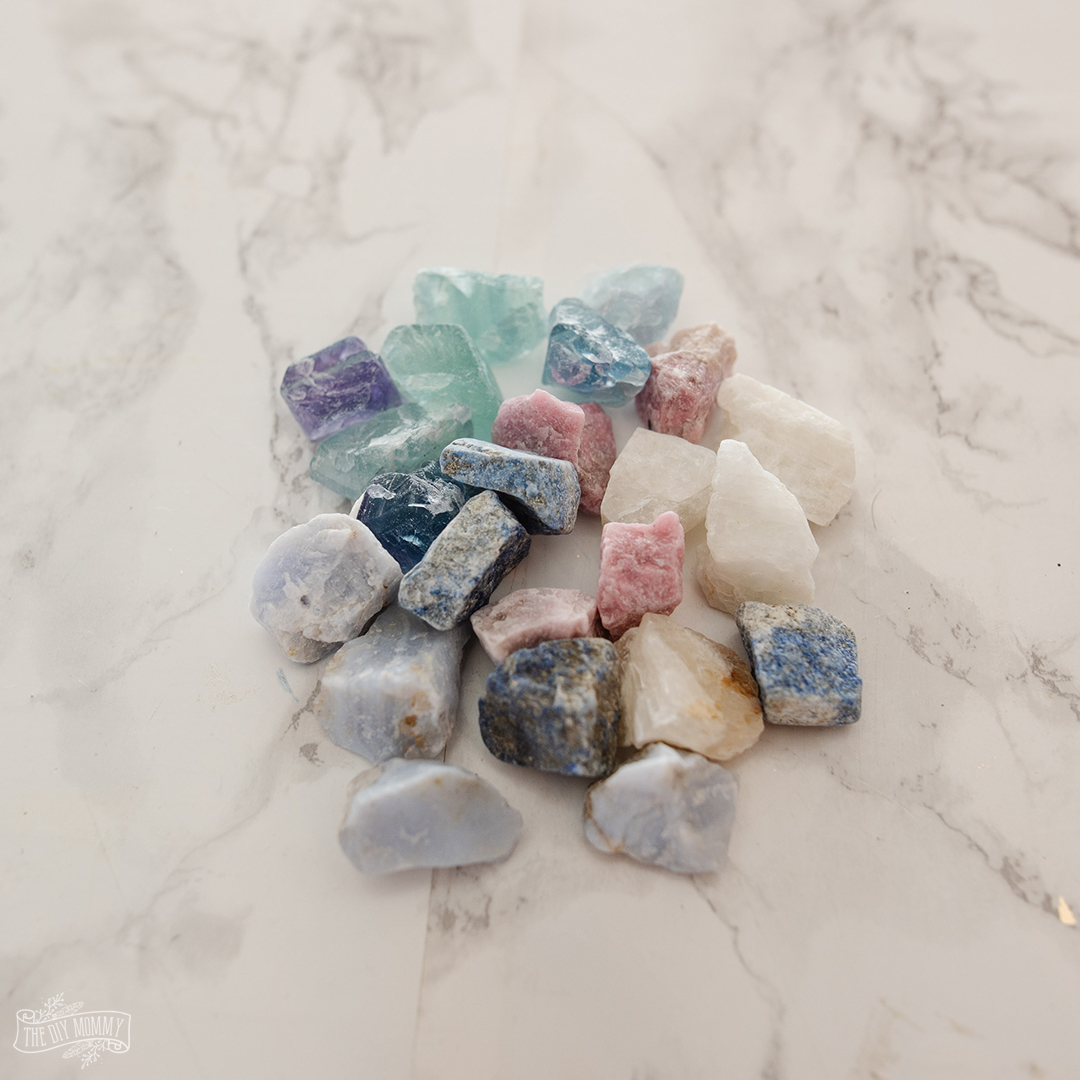
It’s fun to be creative with what you put inside the advent calendar packages! In this DIY advent calendar, I’m putting three small crystals in each daily package because my daughters love them. However, here are some other ideas on what you could put inside the bags:
- a small piece of paper with a Christmas activity to do written on it (i.e. baking cookies, making a snowman together, watching a Christmas movie, caroling)
- chocolate or candy
- small Christmas ornaments to decorate the Christmas tree
- any other sort of small gift or trinket that your children might enjoy
How to make an Easy DIY Advent Calendar from an IKEA wall hanging
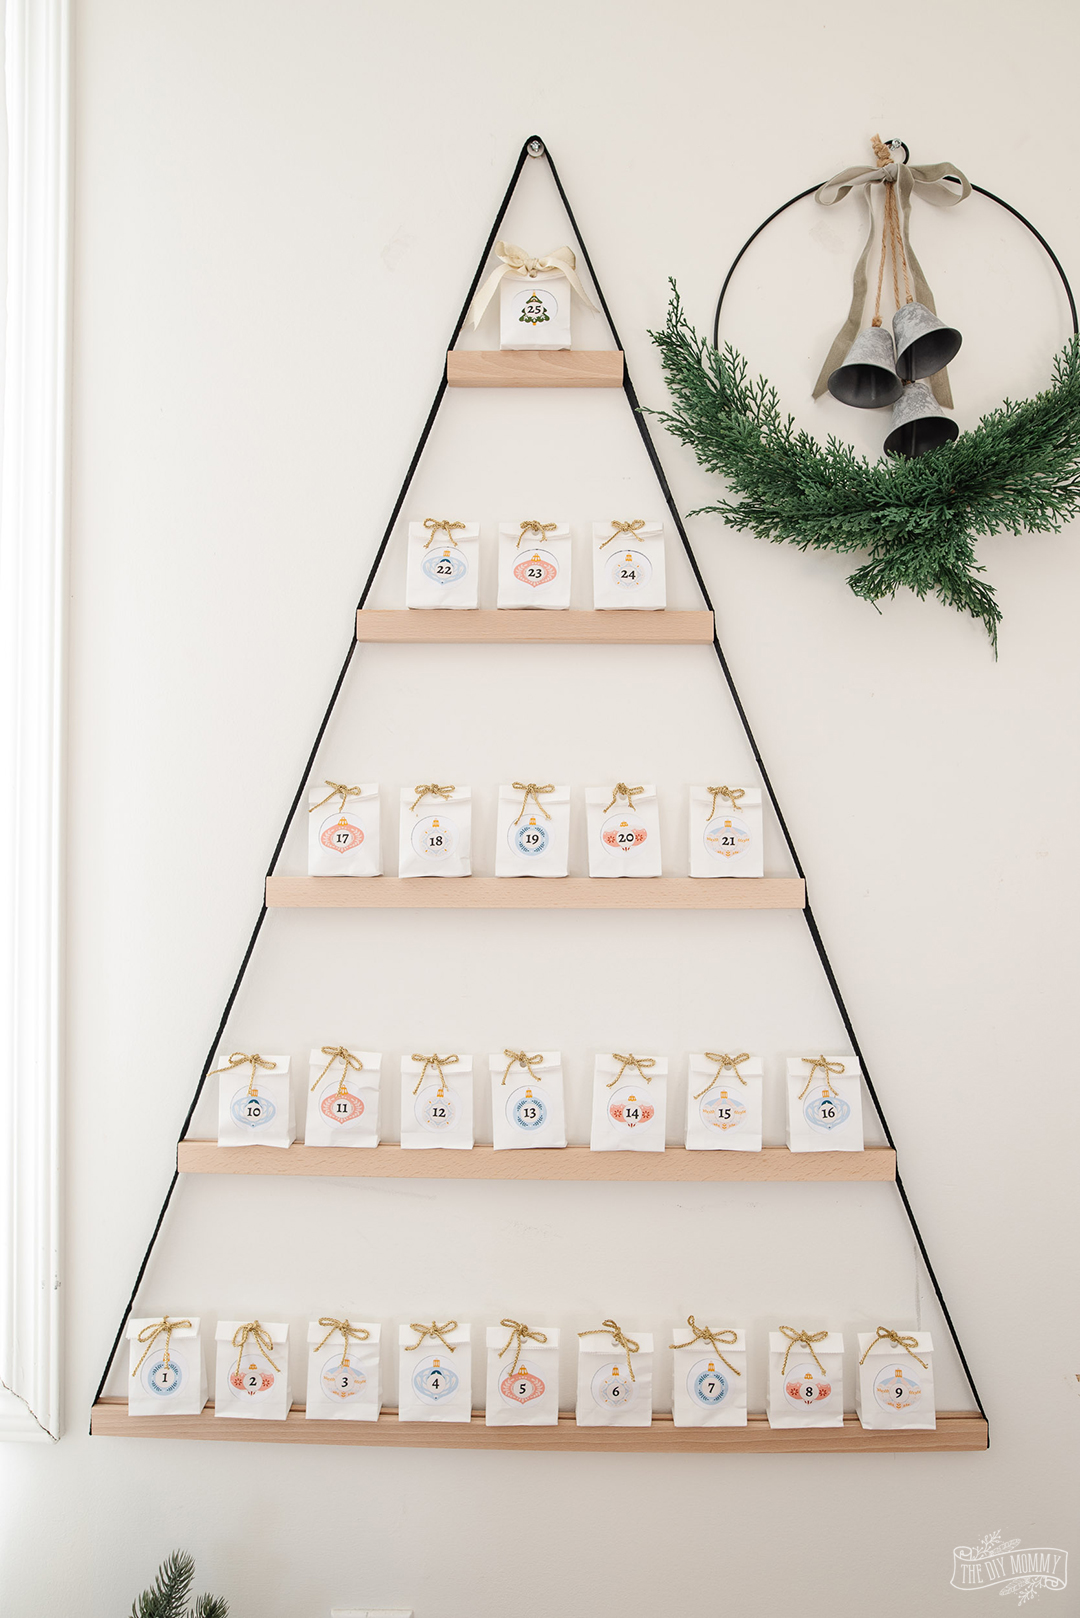
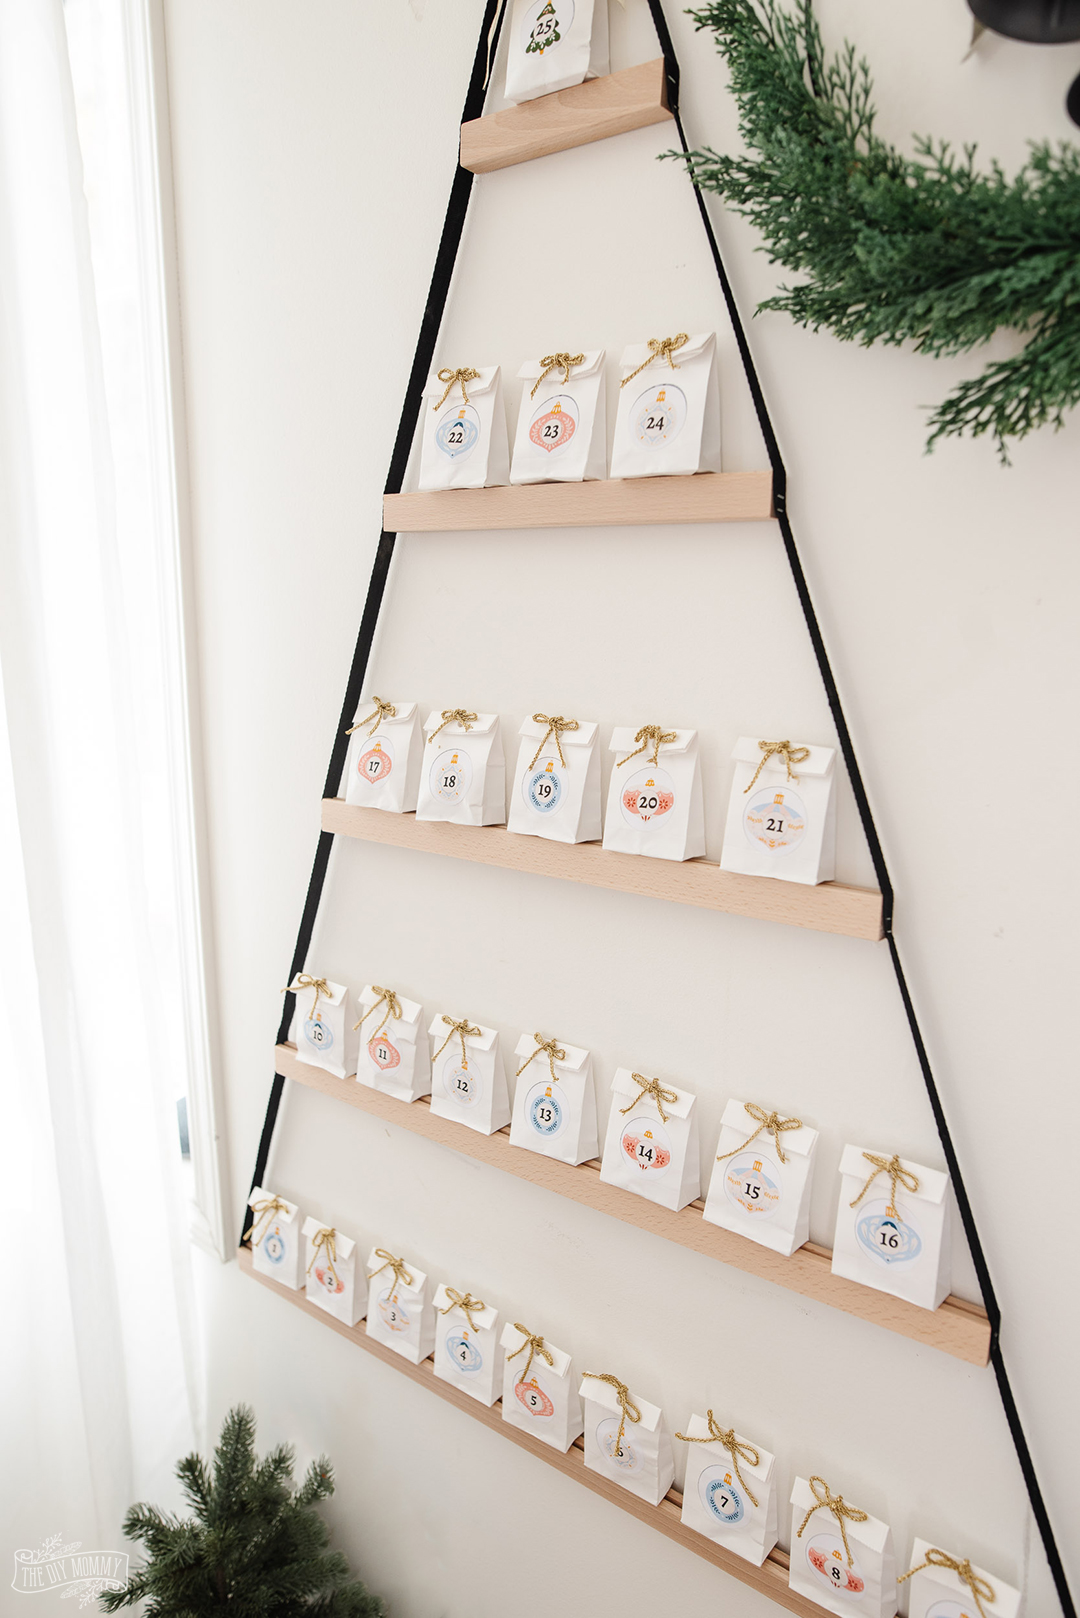
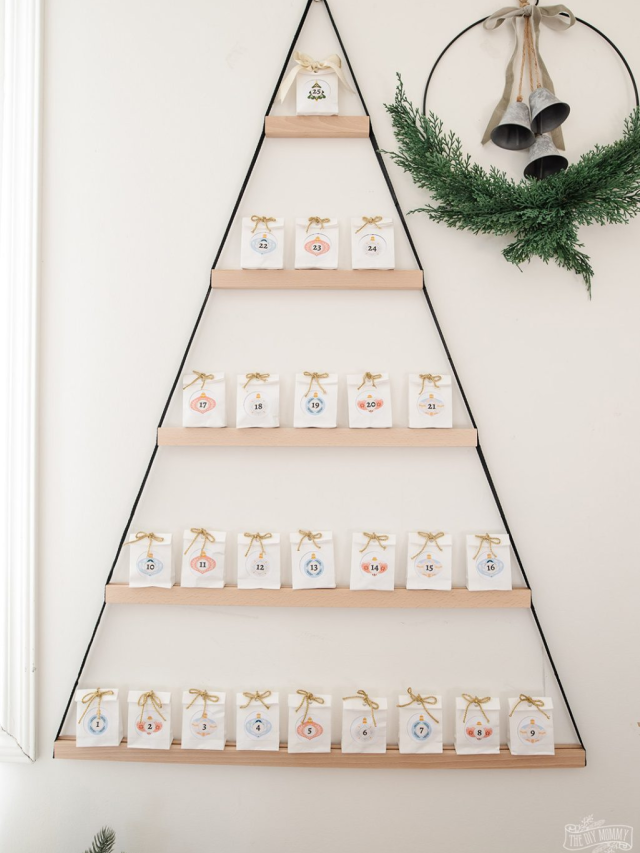
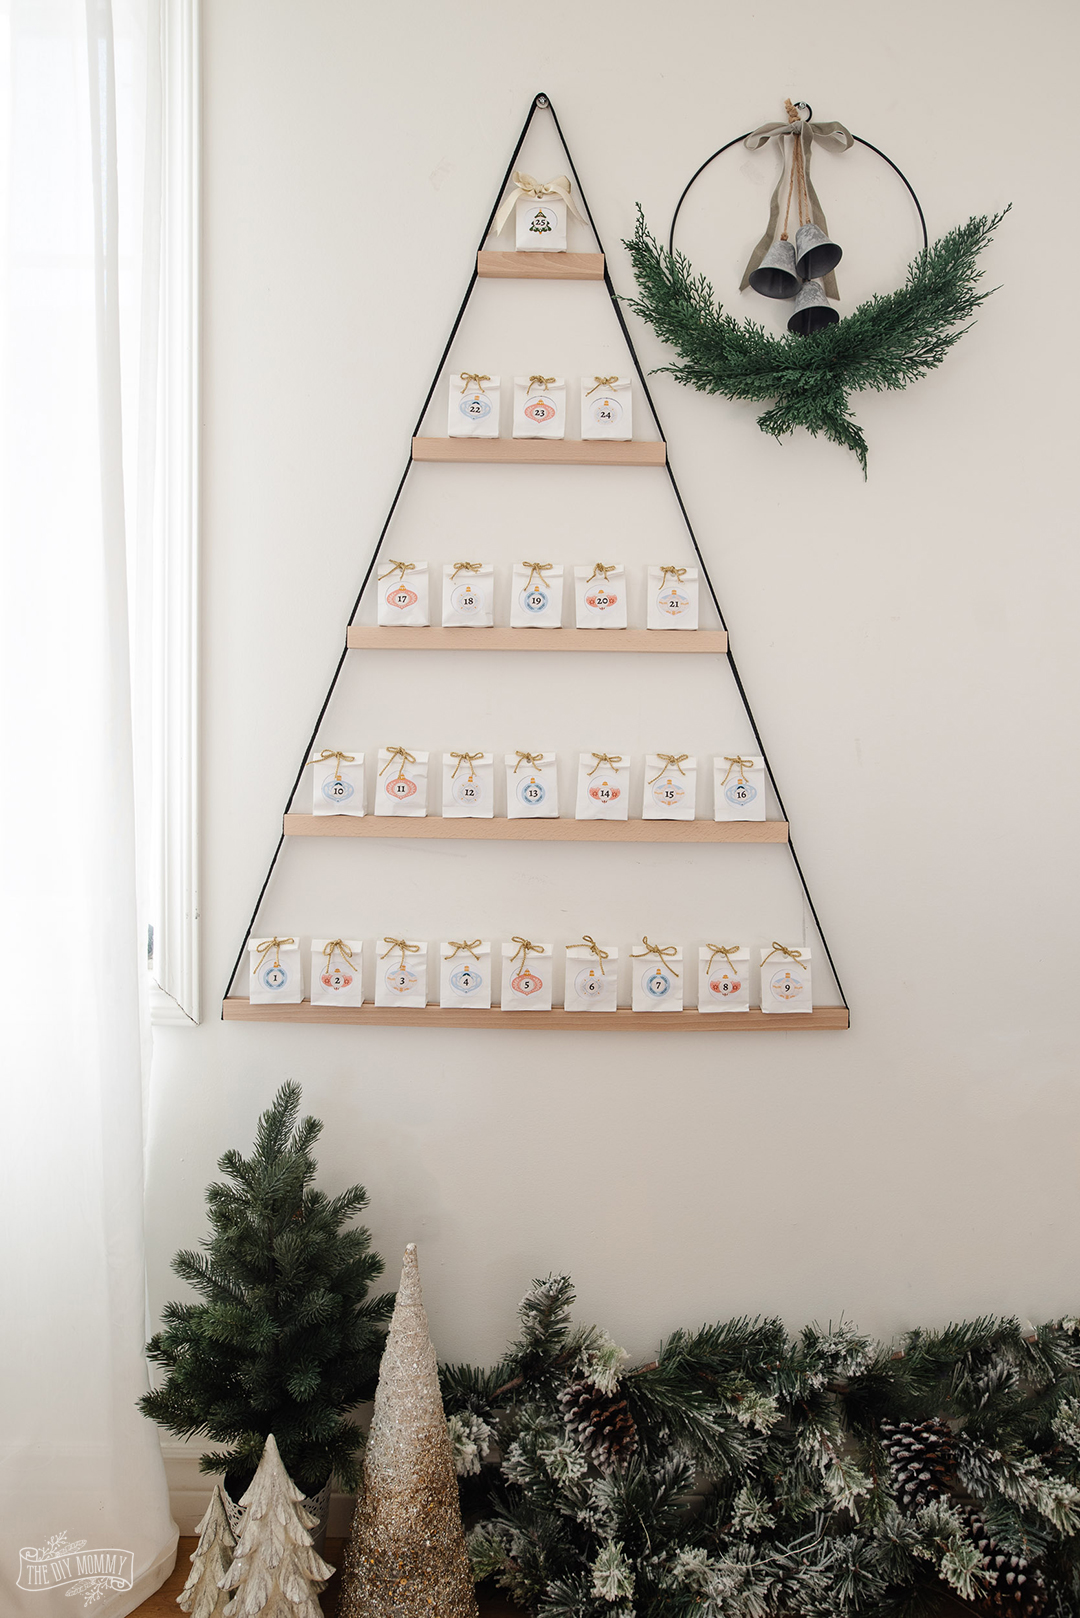
To create this simple advent calendar, start with this SKUMMAR wood & cord wall decoration from IKEA. (If you can’t find this IKEA wall hanging, you could also use any sort of shelf or hanging system!)
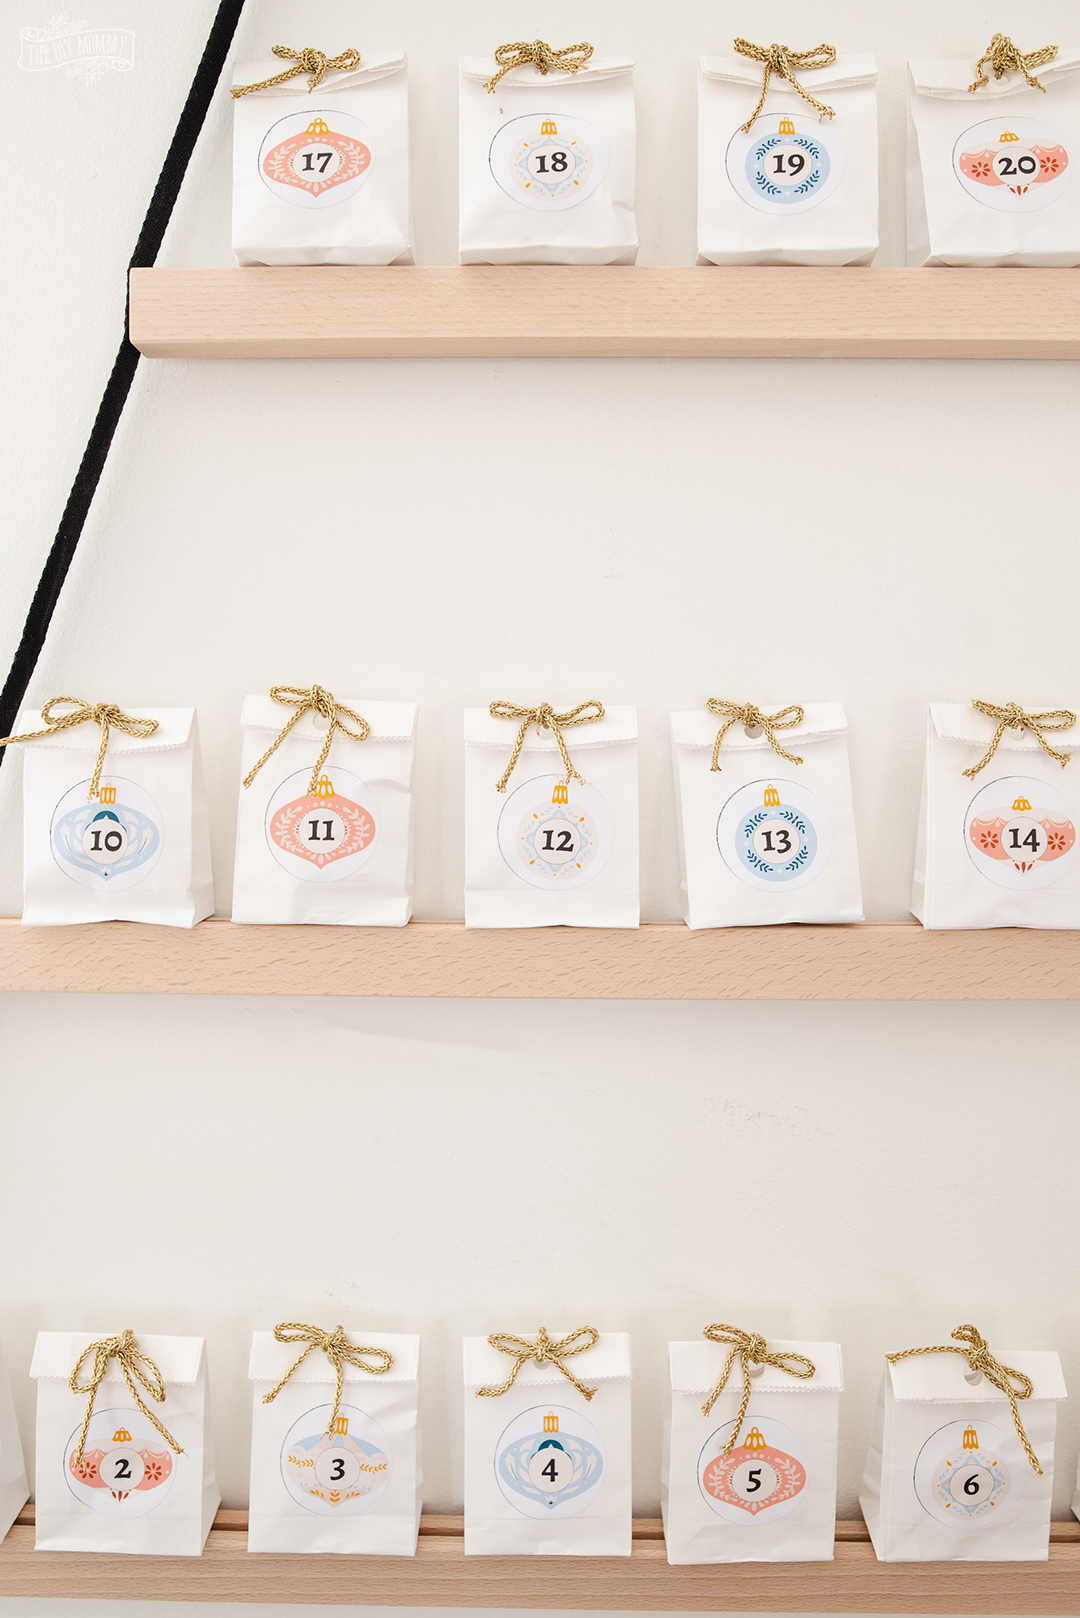
Hang the tree-shaped wall decoration on your wall, and then find 25 small paper bags that will fit on the wall shelf. I found my small white paper bags at Dollarama.
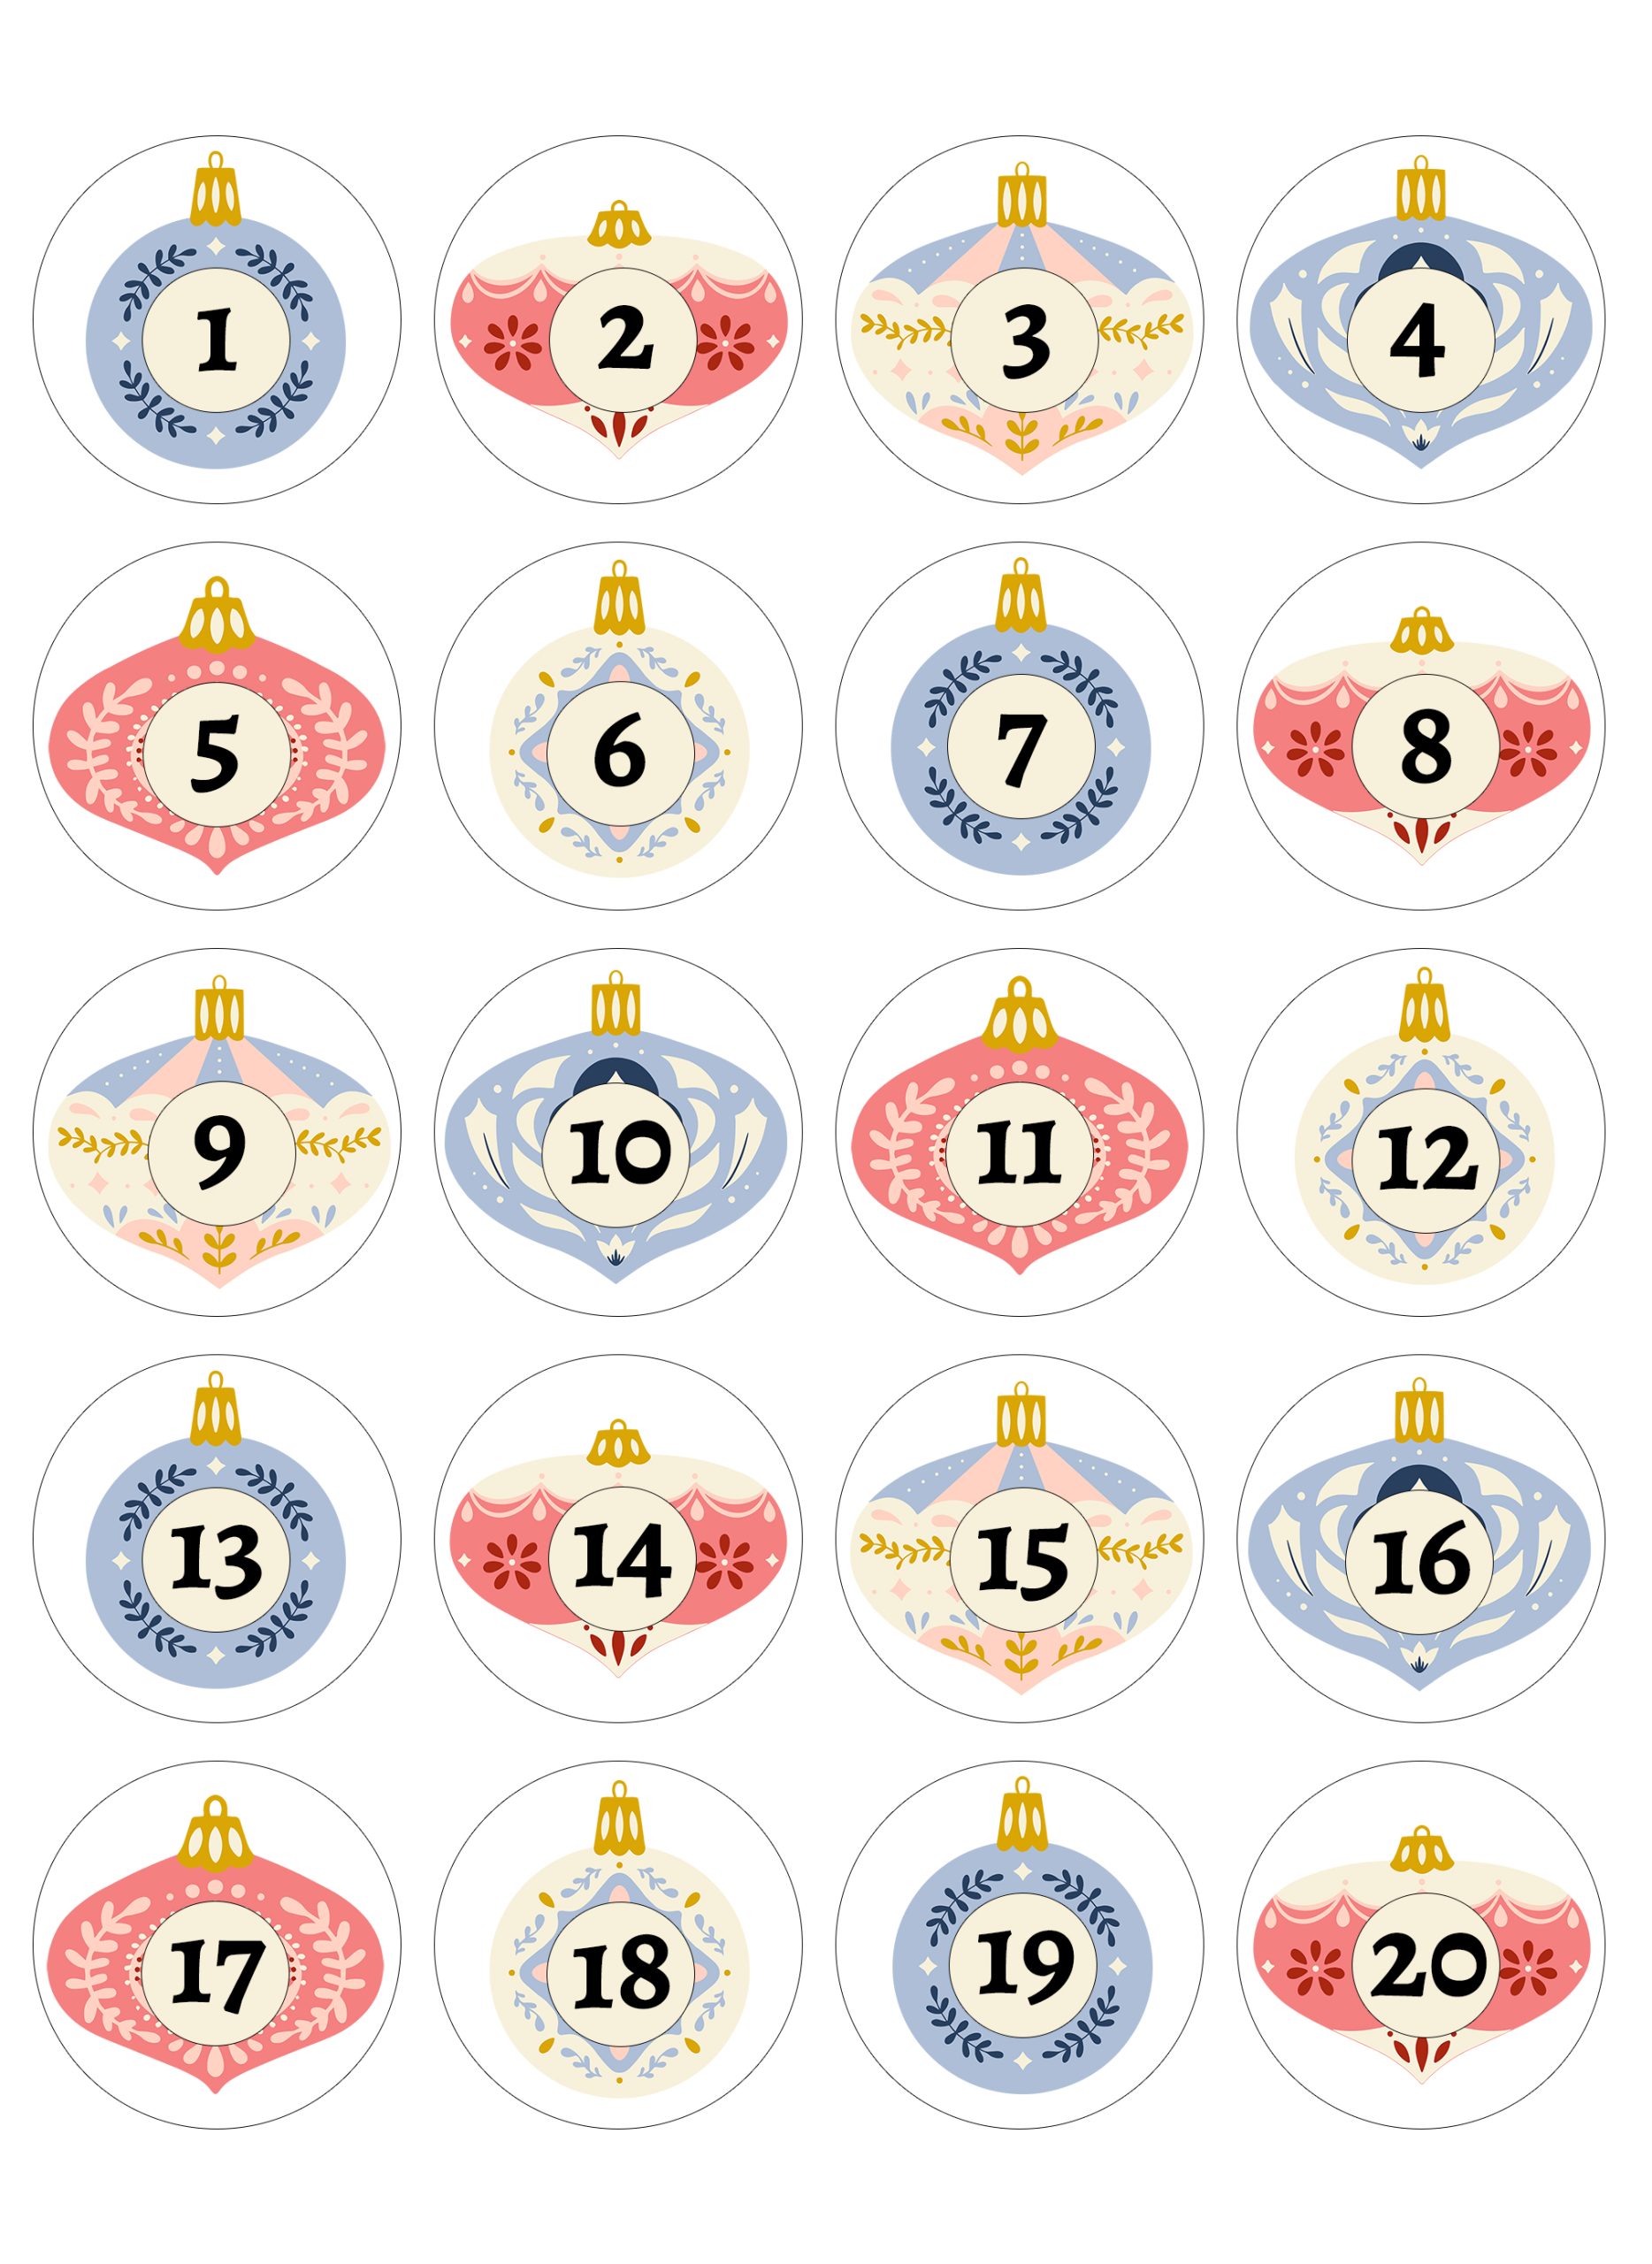
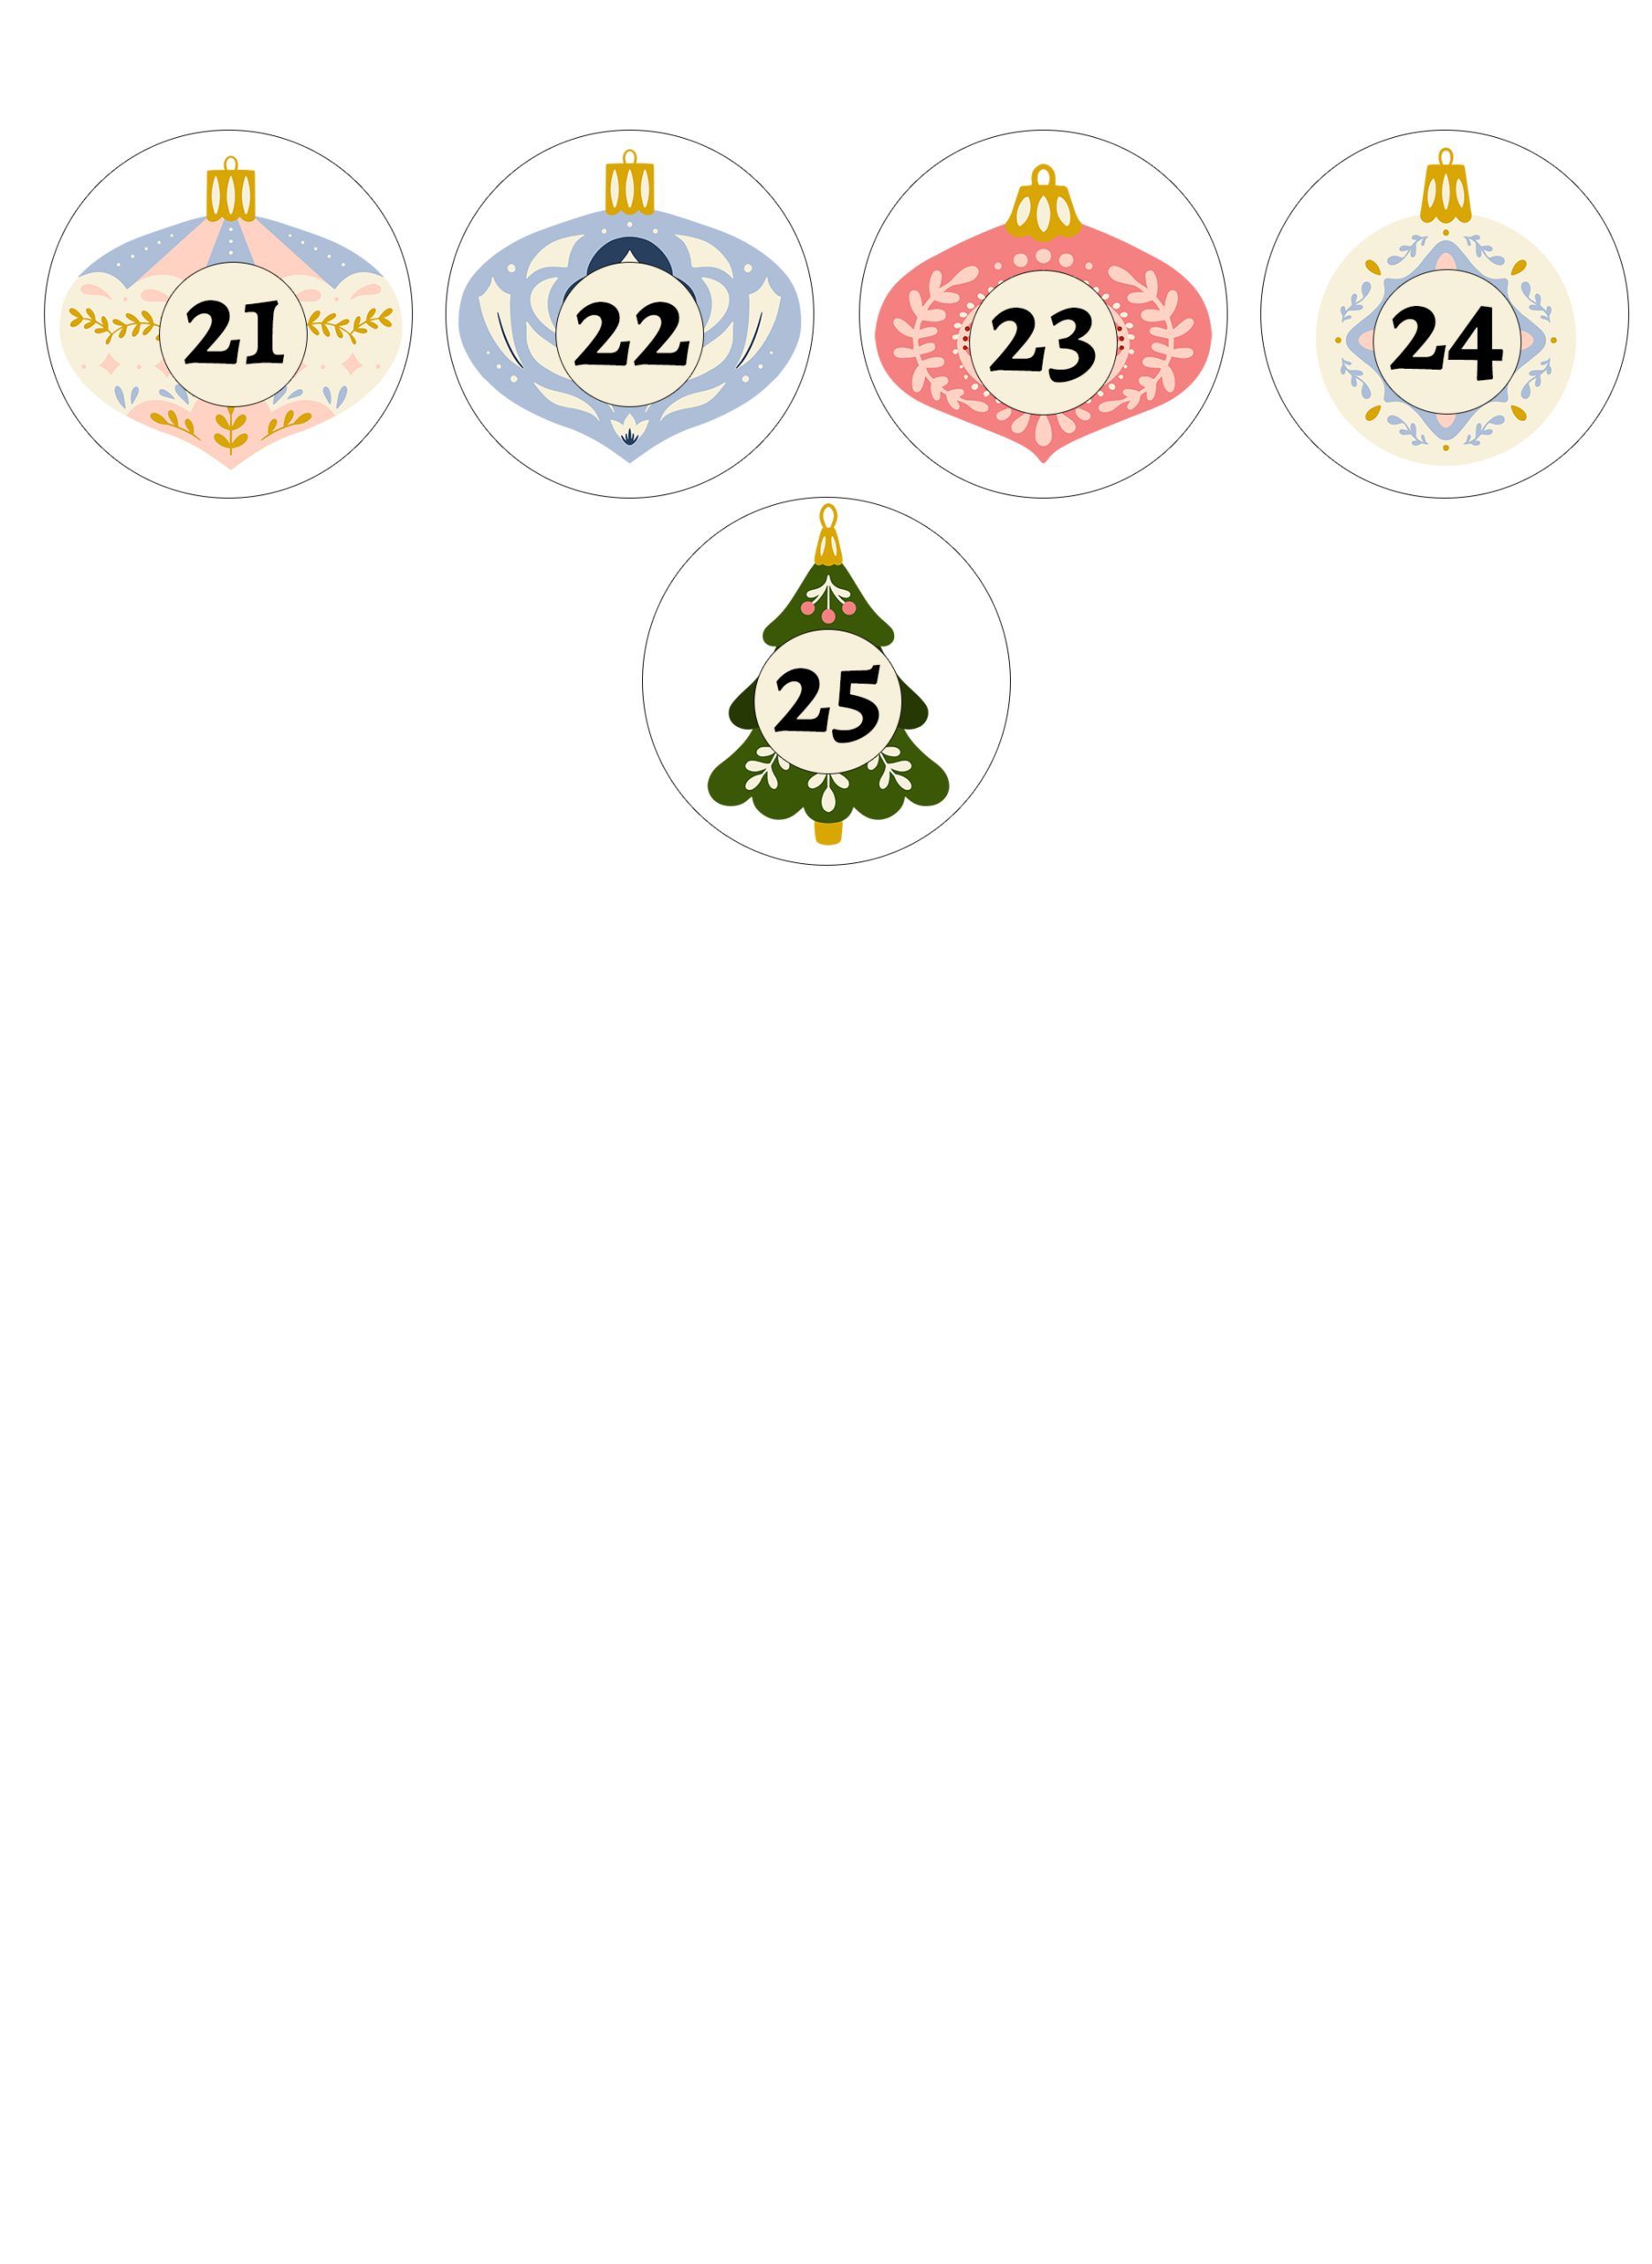
Next, print the following FREE advent stickers I created on sticker paper. To save these two JPG images, click on them to open them up in full size, then right-click on them to save them to your computer. You can also upload these to Cricut Design Space as Images and use the “Print & Cut” feature to print these and cut them with your Cricut.
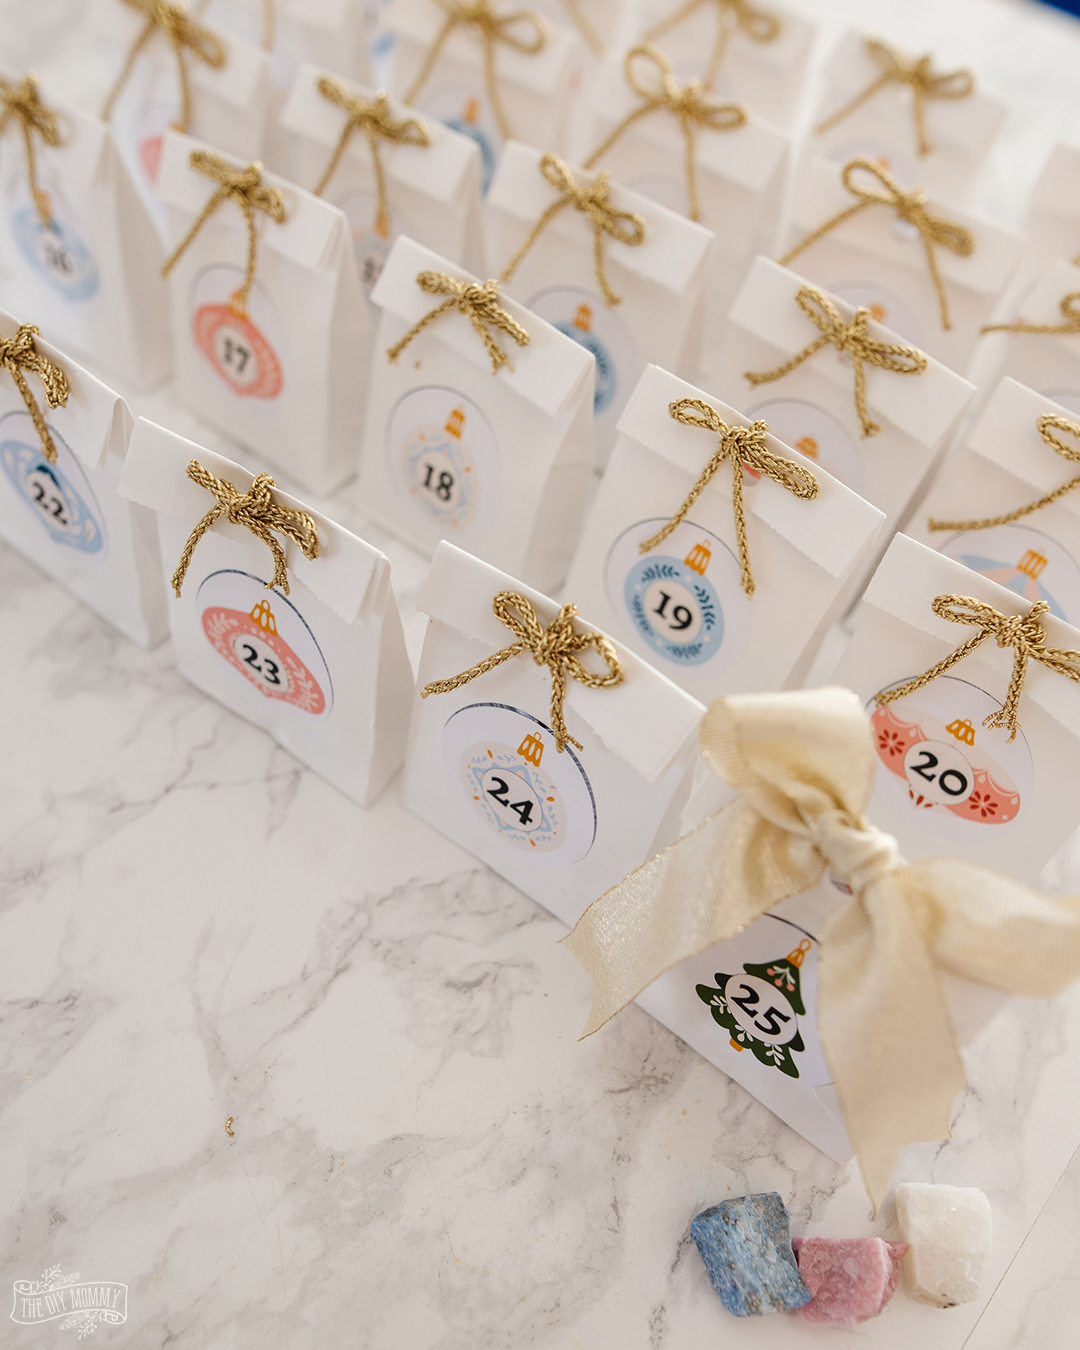
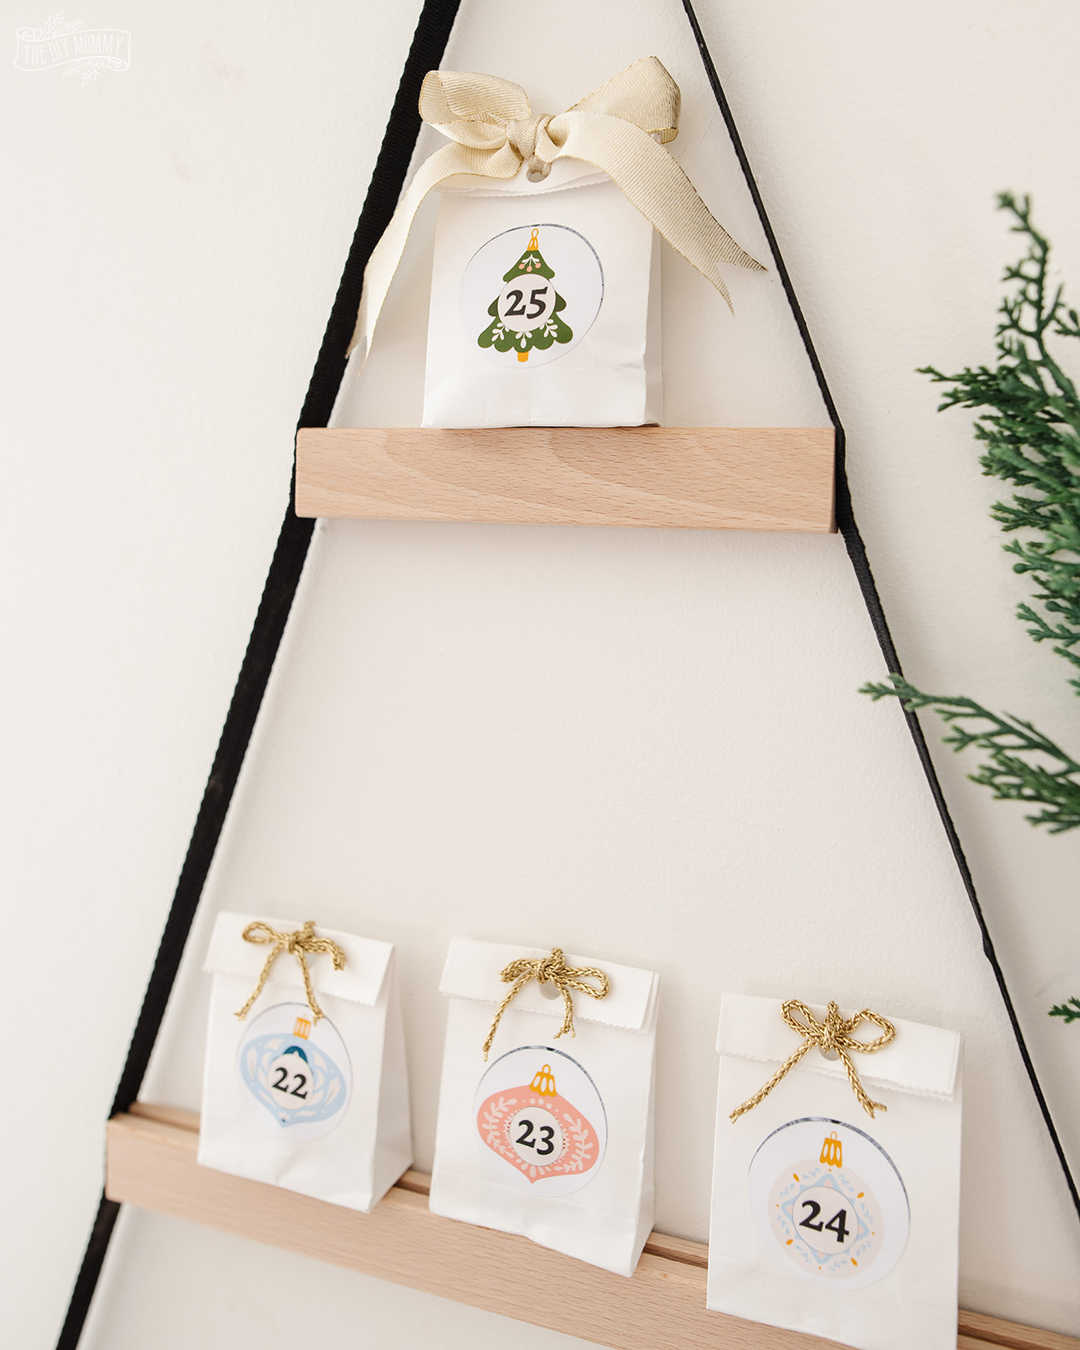
Once you’ve printed and cut out your circular stickers, place one on each of the 25 bags.
Insert crystals (or whatever you want) inside each of the advent bags. Then, fold the tops of each bag over about 1/2″. I found our crystals here, from Etsy.
Finally, punch a hole in the top center of each bag, tie a bow through the hole with thin ribbon, and place each bag on the IKEA wall hanging shelf.
I started with bag #1 on the bottom and finished with bag #25 on the top.
Now, enjoy watching your children open each advent calendar package in the month of December!
Now tell me: What would YOU put in this DIY advent calendar?

Hi! What a nice advent calendar! When I was a kid I used to have a chockolade advent calendar every christmas. I live in Finland and here we have only 24 bags in the advent calendar because we celebrate christmas here on the 24 December. Santa comes on 24th Dec and families gather on a christmas dinner and open the presents.
I love this! I’m going to go get the supplies now 🙂