Easy IKEA Makeover: DIY Painted Bathroom Vanity
This post may contain affiliate links · This blog generates income via ads
Learn how to update an inexpensive IKEA bathroom vanity with paint and custom hardware. Plus, get more painted bathroom vanity ideas for your next budget-friendly renovation!
Do you ever find yourself staring at your bathroom and wishing for an update but feeling overwhelmed by the cost and time involved? I’ve been there. But here’s the good news: last year I completed a budget-friendly makeover in our lake house bathroom, and the star of the transformation was my newly painted IKEA bathroom vanity. If you’re looking for a simple and inexpensive way to give your bathroom a fresh new look, keep reading! Today, I’m going to guide you through the steps for a DIY painted bathroom vanity that will make you smile every time you step into your bathroom.
Step 1: Choose Your Vanity
First things first: head to IKEA and choose your vanity. I opted for the HEMNES 2-drawer sink cabinet with the ODENSVICK sink, but any IKEA cabinet will work. You can purchase either a wood or MDF cabinet – both can be painted! Choose a cabinet that fits your style and space. I love the IKEA vanity sinks instead of traditional countertops because they’re all one piece and easy to clean. And of course, don’t forget the knobs or drawer pulls! I opted for these brushed brass T bar style cabinet pulls for a modern look.
Step 2: Gather Your Painting Supplies
The key to making painted bathroom cabinets look high-end is to choose the correct painting supplies. You’ll need a paintbrush, a foam roller, painter’s tape, sandpaper, primer, and paint. You can also opt to use a paint sprayer instead of a foam roller; the one I use is the Flexio 5000. I recommend a satin or semi-gloss paint finish for the cabinets, as these finishes are easy to clean and will give your bathroom a fresh look. My preference is usually a satin sheen for any kind of cabinetry as it’s a little easier to apply. As far as the paint type goes, my favourite paint for cabinetry is Behr Premium Cabinet, Door & Trim Enamel. This paint dries nice and hard and it has self-leveling properties. My favourite primer for IKEA pieces (or any cabinets, really) is Behr Bonding Primer.
Step 3: Prepare Your Vanity
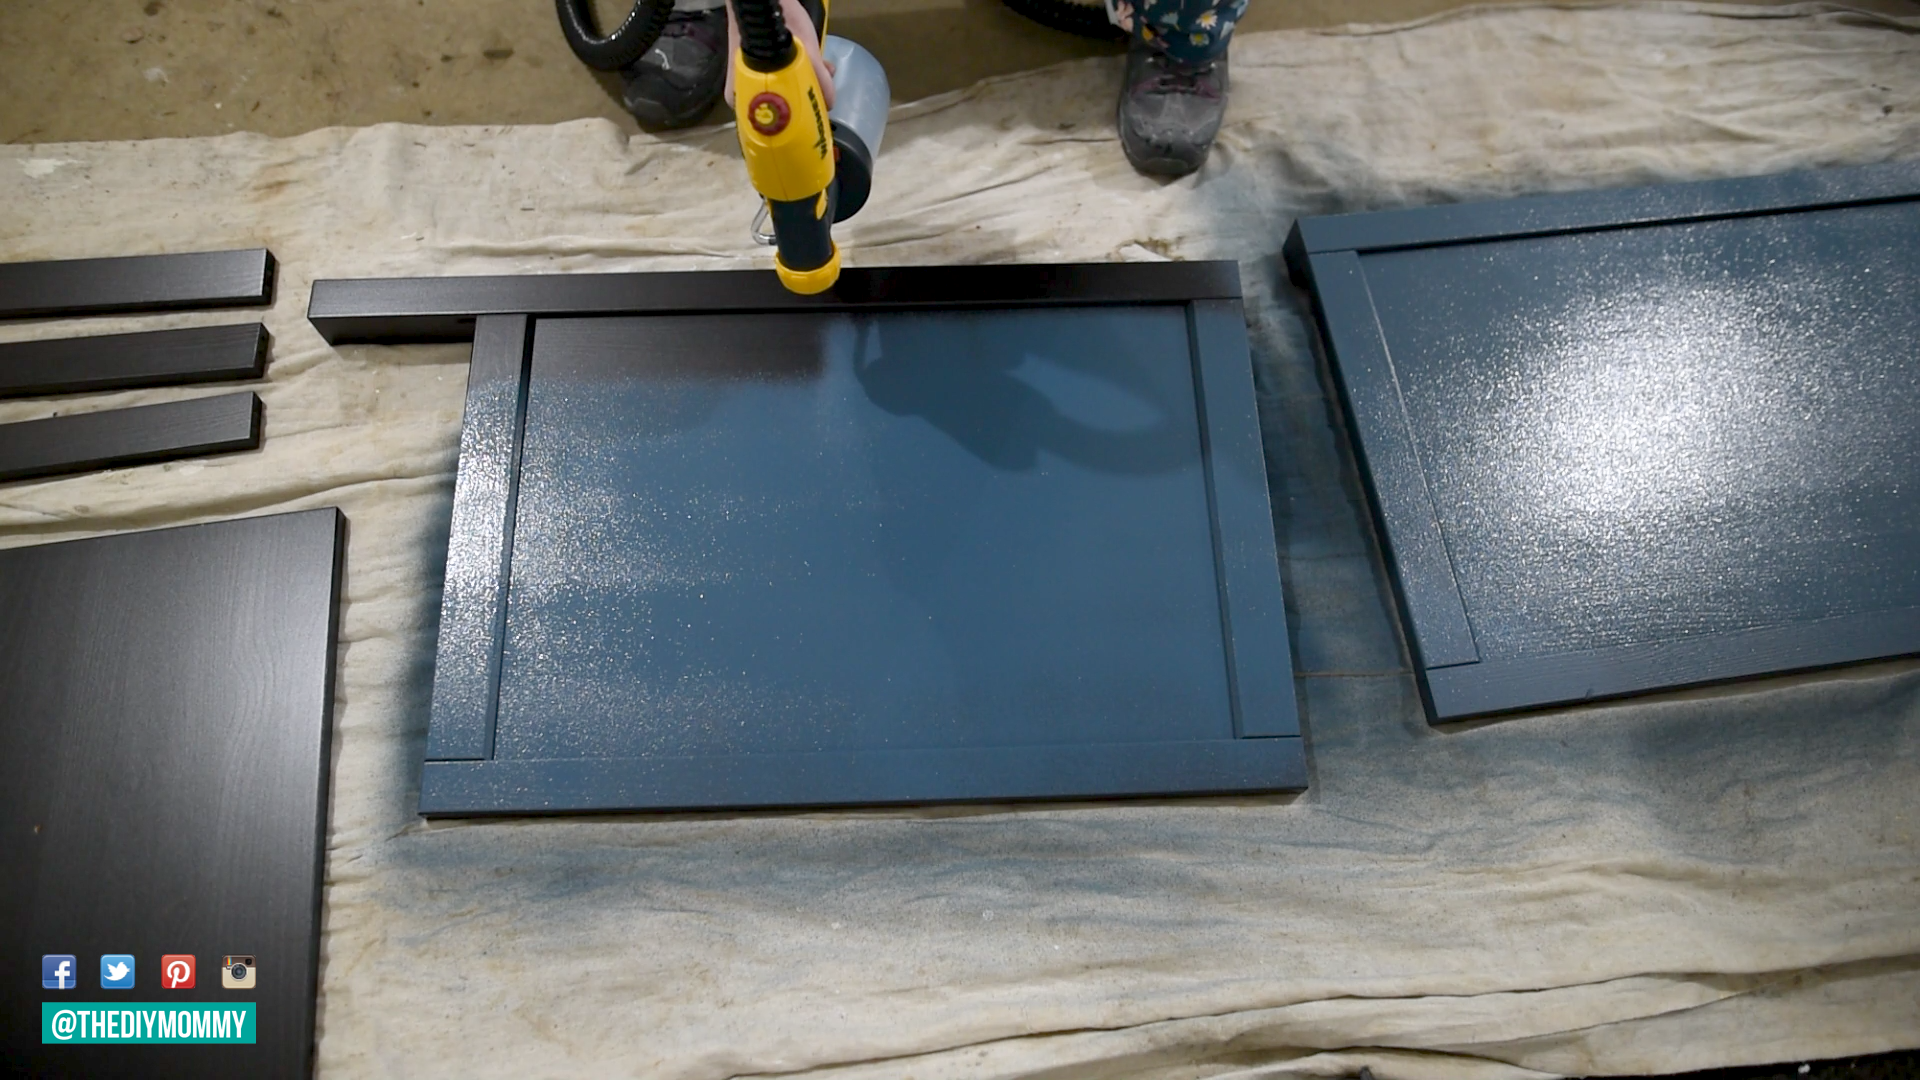
I recommend painting your IKEA bathroom vanity cabinet before its assembled. Sand the surfaces of the cabinet and drawer fronts with sandpaper to give the paint something to grip onto. Then, use a high-quality bonding primer to coat the cabinet and let it dry completely. You might be able to get away without a primer if you’re using a wooden, matte finish cabinet like the HEMNES. However, it’s absolutely necessary to prime laminate / MDF IKEA furniture before painting otherwise you’ll get peeling and chipping. You can read all of my IKEA furniture painting tips right here!
Step 4: Paint Your Vanity
Once the primer is completely dry, use your paintbrush and foam roller to coat the cabinet with your chosen paint. You can also use a paint sprayer for this step for an ultra-smooth finish. Be sure to apply two coats of paint, allowing the first coat to dry completely before applying the second coat. Let the final coat of paint dry for at least 24 hours before moving on to the next step.
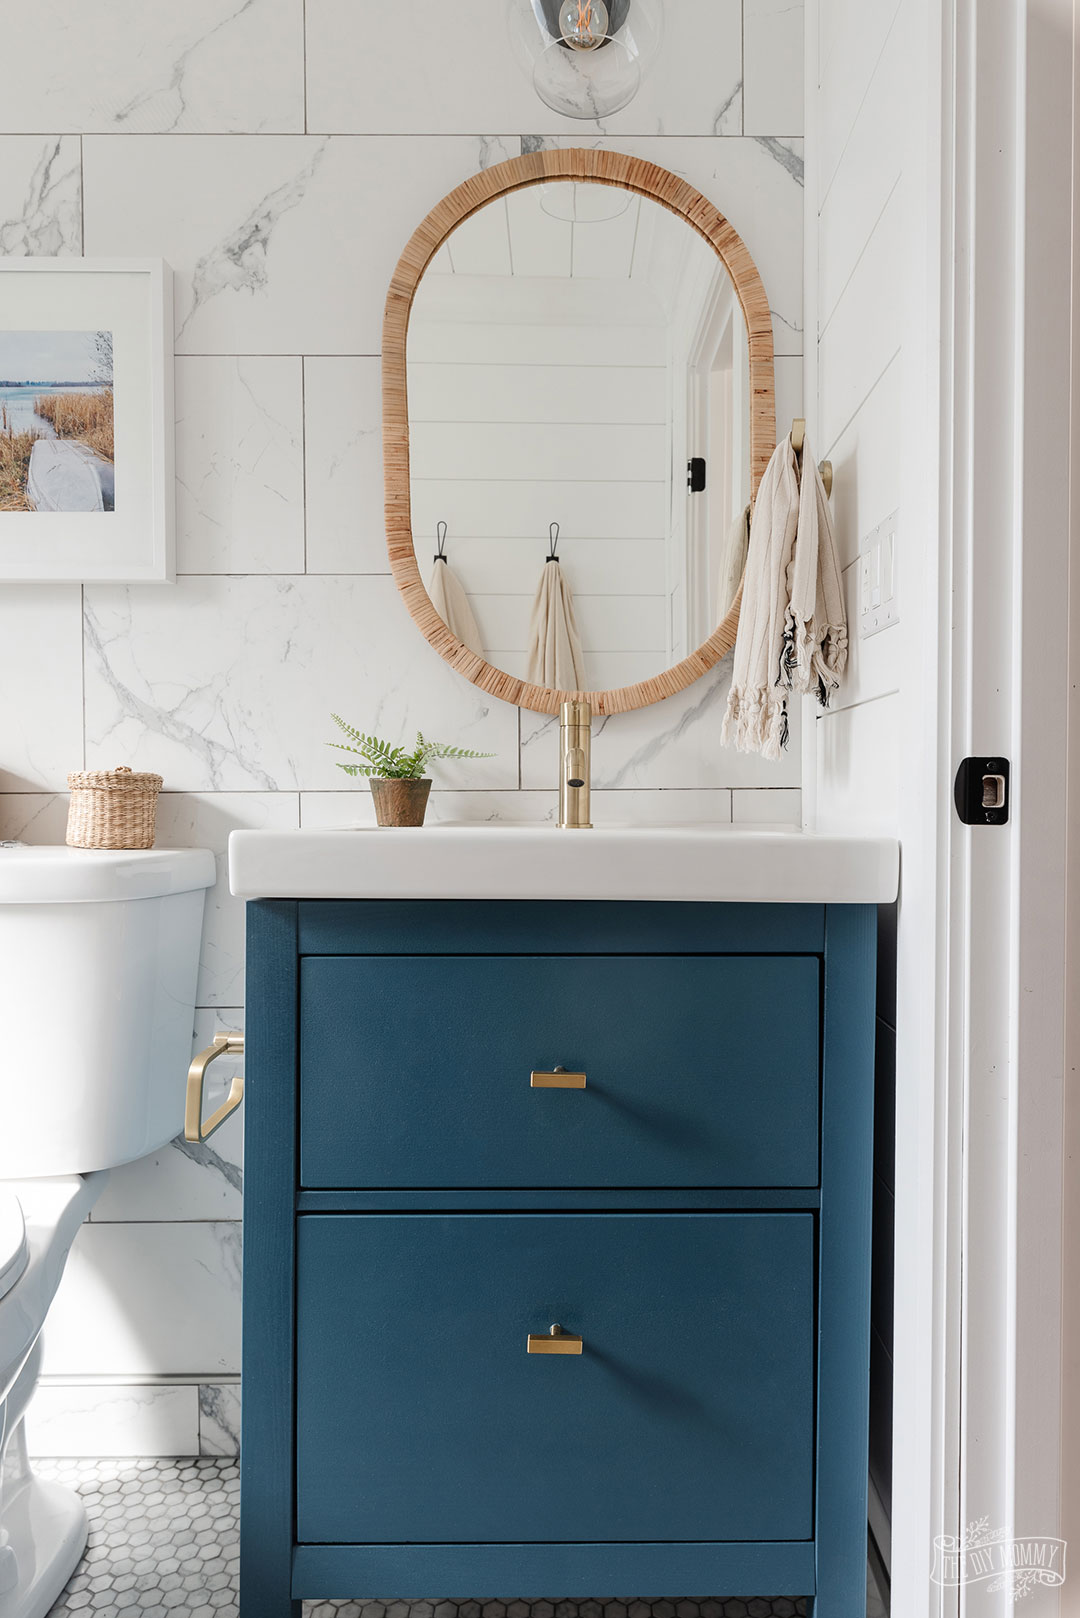
The paint color I used for this IKEA vanity makeover is called Observatory by Behr. It’s a gorgeous deep blue-green-grey that’s a little more interesting than your typical navy blue. I’ve also seen some beautiful vanities painted in neutrals like black, white and warm greys. The colour options are truly endless, and that’s what I love about paint. It’s a budget-friendly way you can add your own unique style to your piece!
Step 5: Install the Bathroom Vanity Base
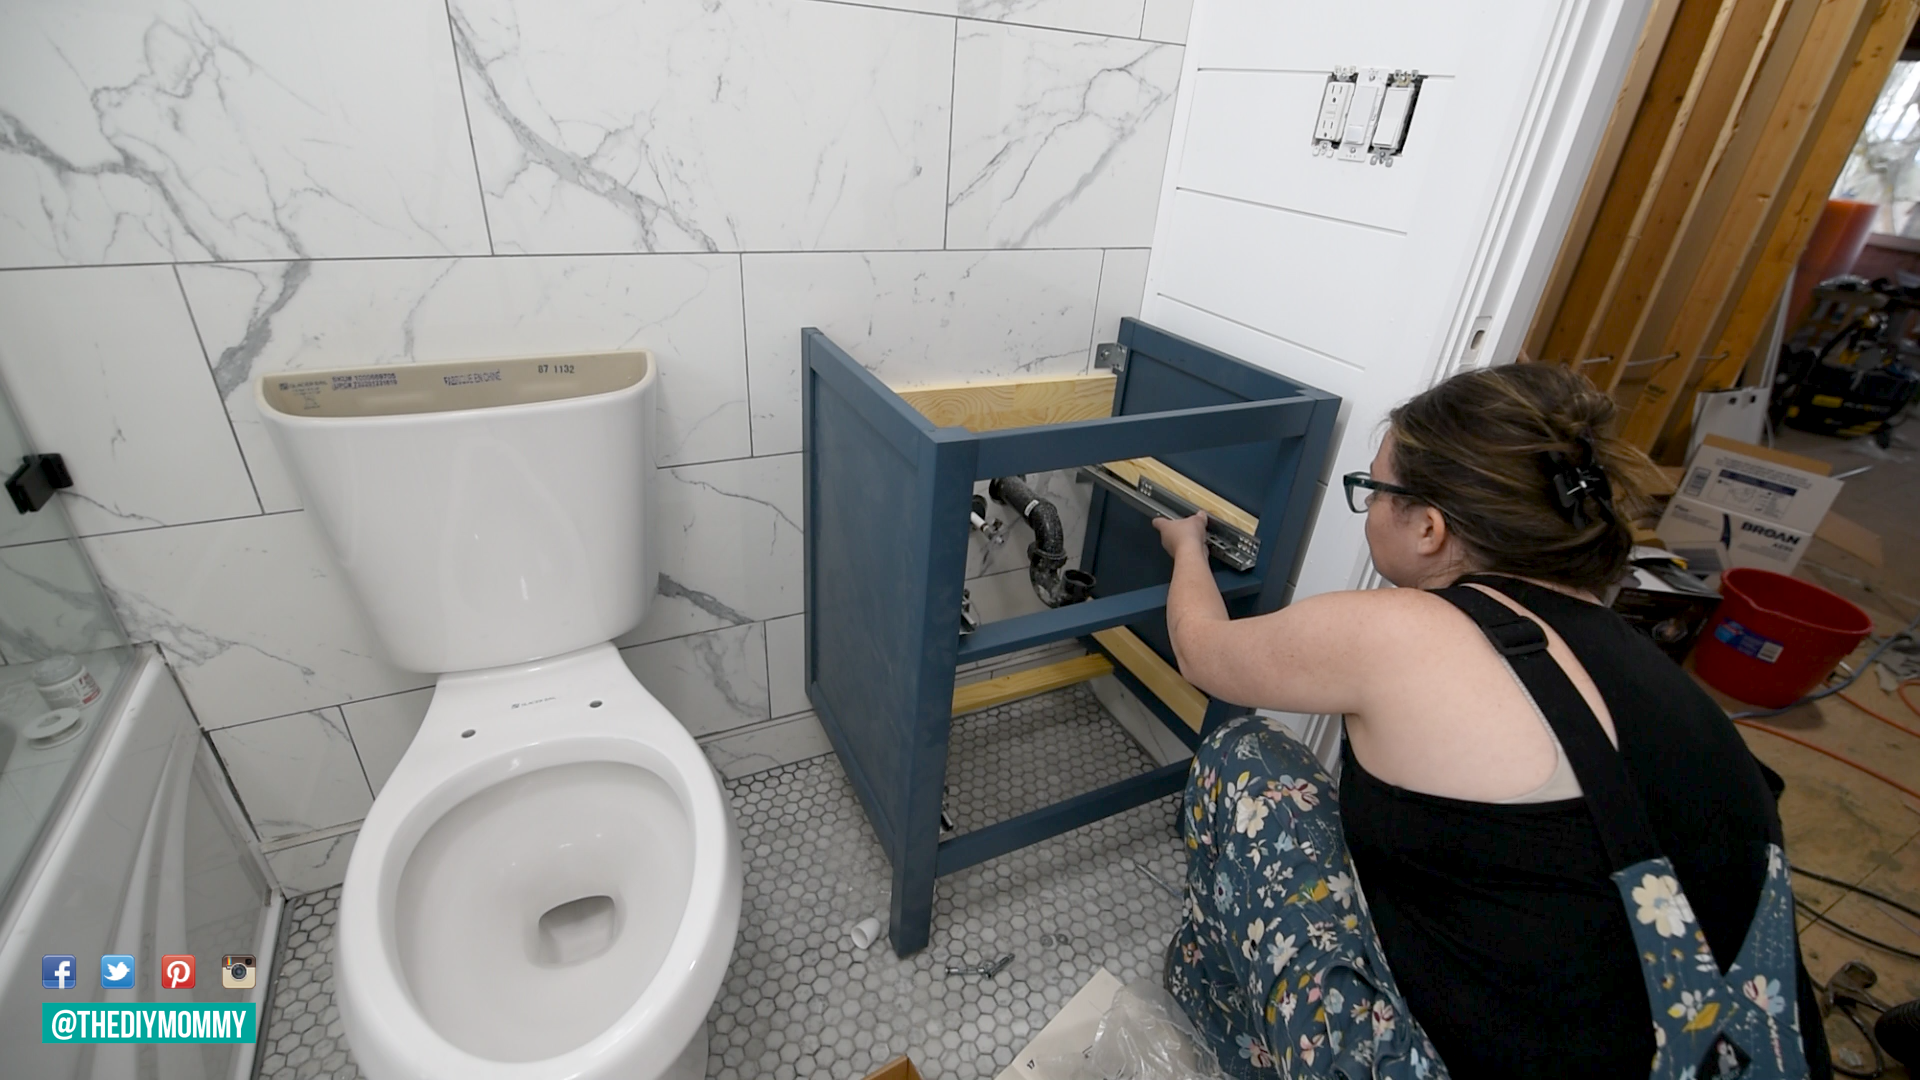
Now that the vanity is completely dry, you can install the vanity base into your bathroom. I simply followed IKEA’s directions on how to install ours into our lake house bathroom with screws. Add the drawer hardware and assemble the drawers.
Step 6: Reinstall the Doors and Hardware
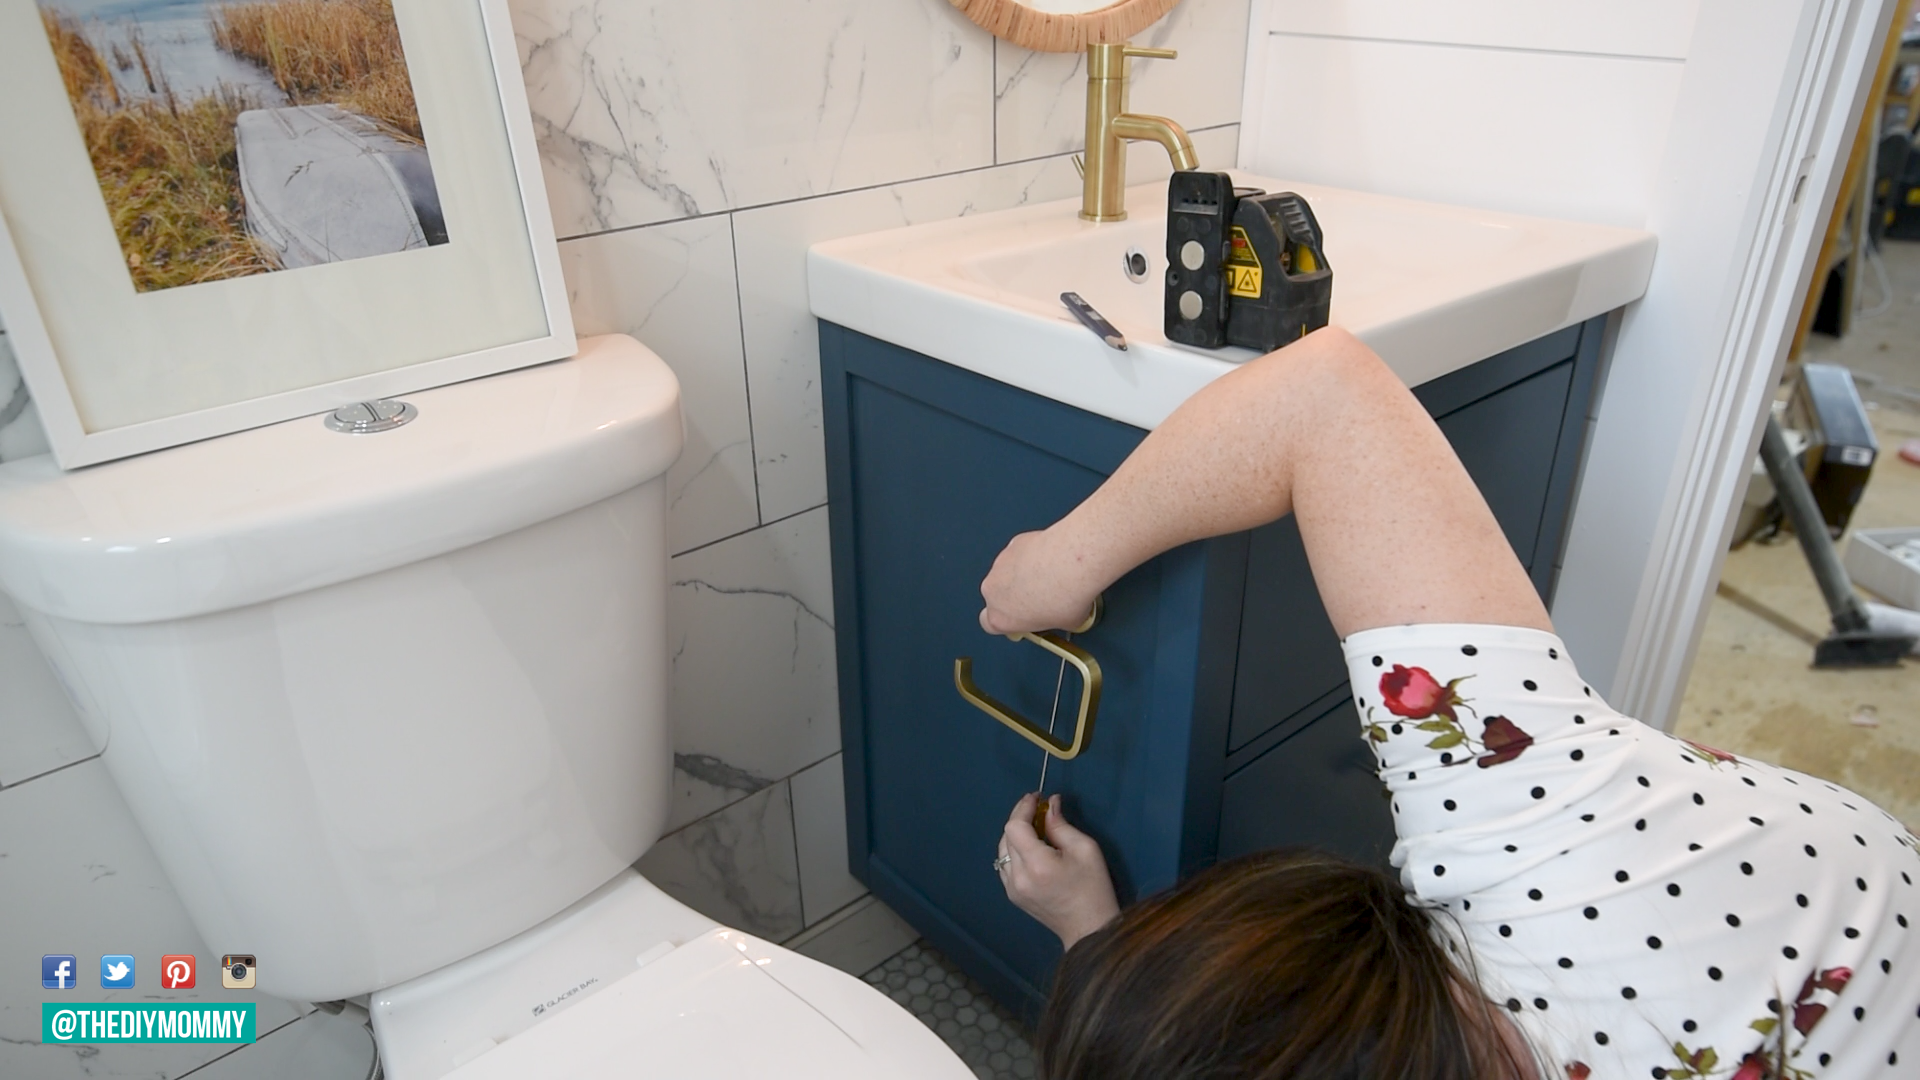
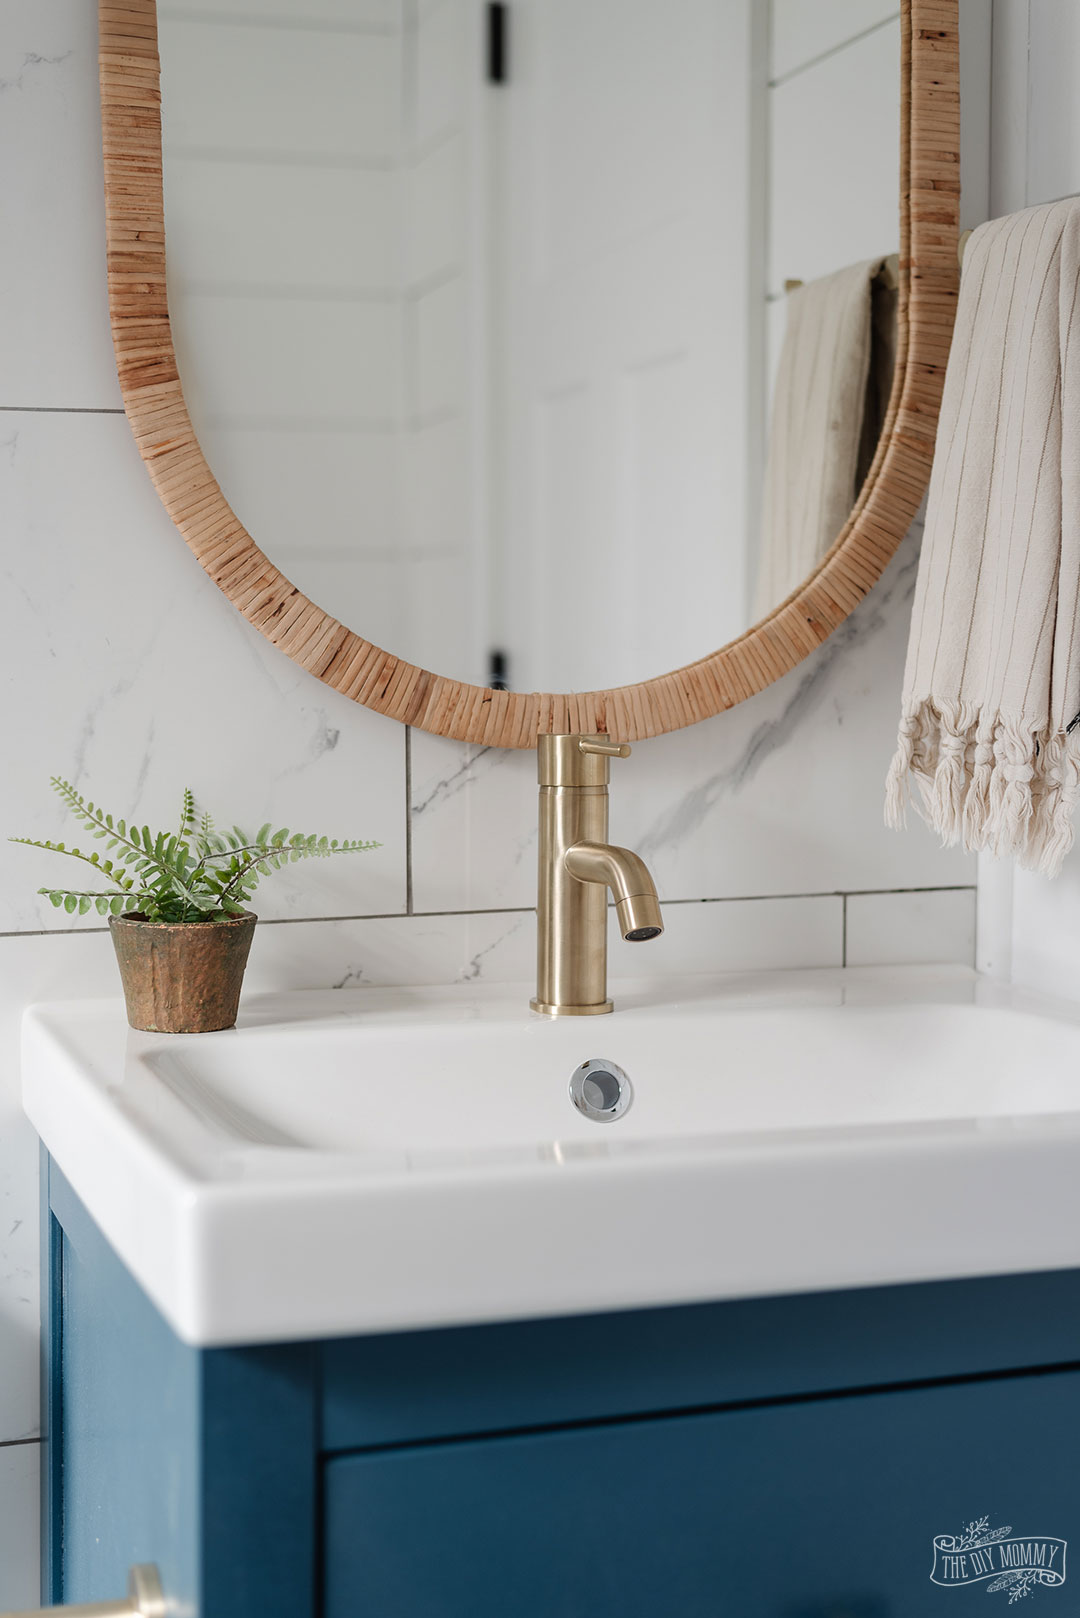
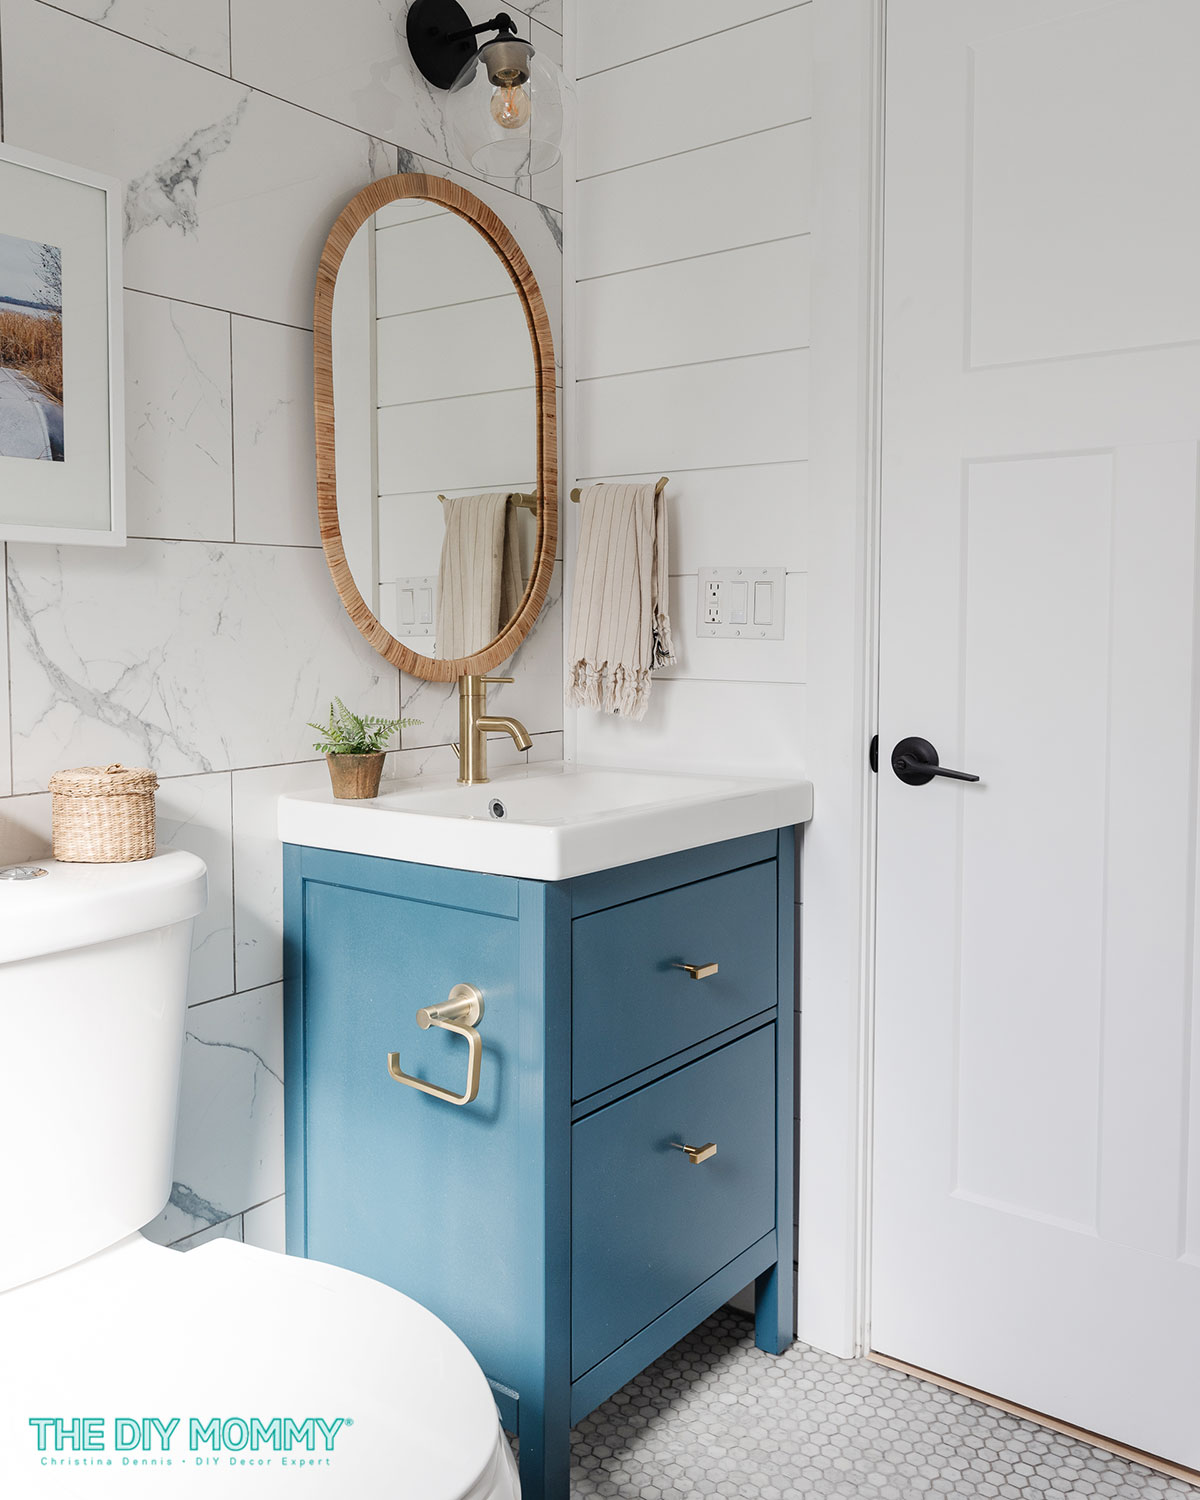
Now, you can install the cabinet doors / drawers, vanity top, faucet, and hardware. I added the gold knobs and a gold toilet roll holder to our vanity to tie into a gold facuet. To complete the look, add decorative touches like a framed mirror, a towel ring with a beautiful hand towel, and a potted faux plant. R And voila! You now have a fresh and updated bathroom without breaking the bank.
To see the rest of this modern coastal bathroom makeover in our lake house rental, click here. You’ll also find links to all the other items and decor we used in that blog post. We used faux marble tiles on the wall and a beautiful marble mosaic tile on the floor. Everything but the vanity is in shades of white and grey to keep this space feeling fresh, clean and modern. Updating light fixtures is another way to add style to a bathroom, and I chose a vintage-look globe light for ours.
A fresh coat of paint can work wonders to transform any space, but especially in your bathroom. Painting a bathroom vanity is an easy and budget-friendly way to update your space without investing a lot of time or money – I love how our bathroom vanity makeover turned out! With a little bit of elbow grease, you can transform your ho-hum IKEA cabinet into a beautiful focal point of your bathroom. So, what are you waiting for? Grab your painting supplies and let’s get started on your bathroom makeover! I hope you found all the painting inspiration you needed today.
More painted bathroom vanity ideas:
- This is Our Bliss made a dated golden oak vanity look much more modern with paint and new hardware
- A green painted vanity is a gorgeous DIY in this bathroom refresh by Proverbs 31 Girl
- Here’s how you can paint a vanity with Fusion Mineral Paint (no primer needed for this one)!
PIN ME:

