IKEA Hack: DIY Christmas Tree on Wall with Lights
This post may contain affiliate links · This blog generates income via ads
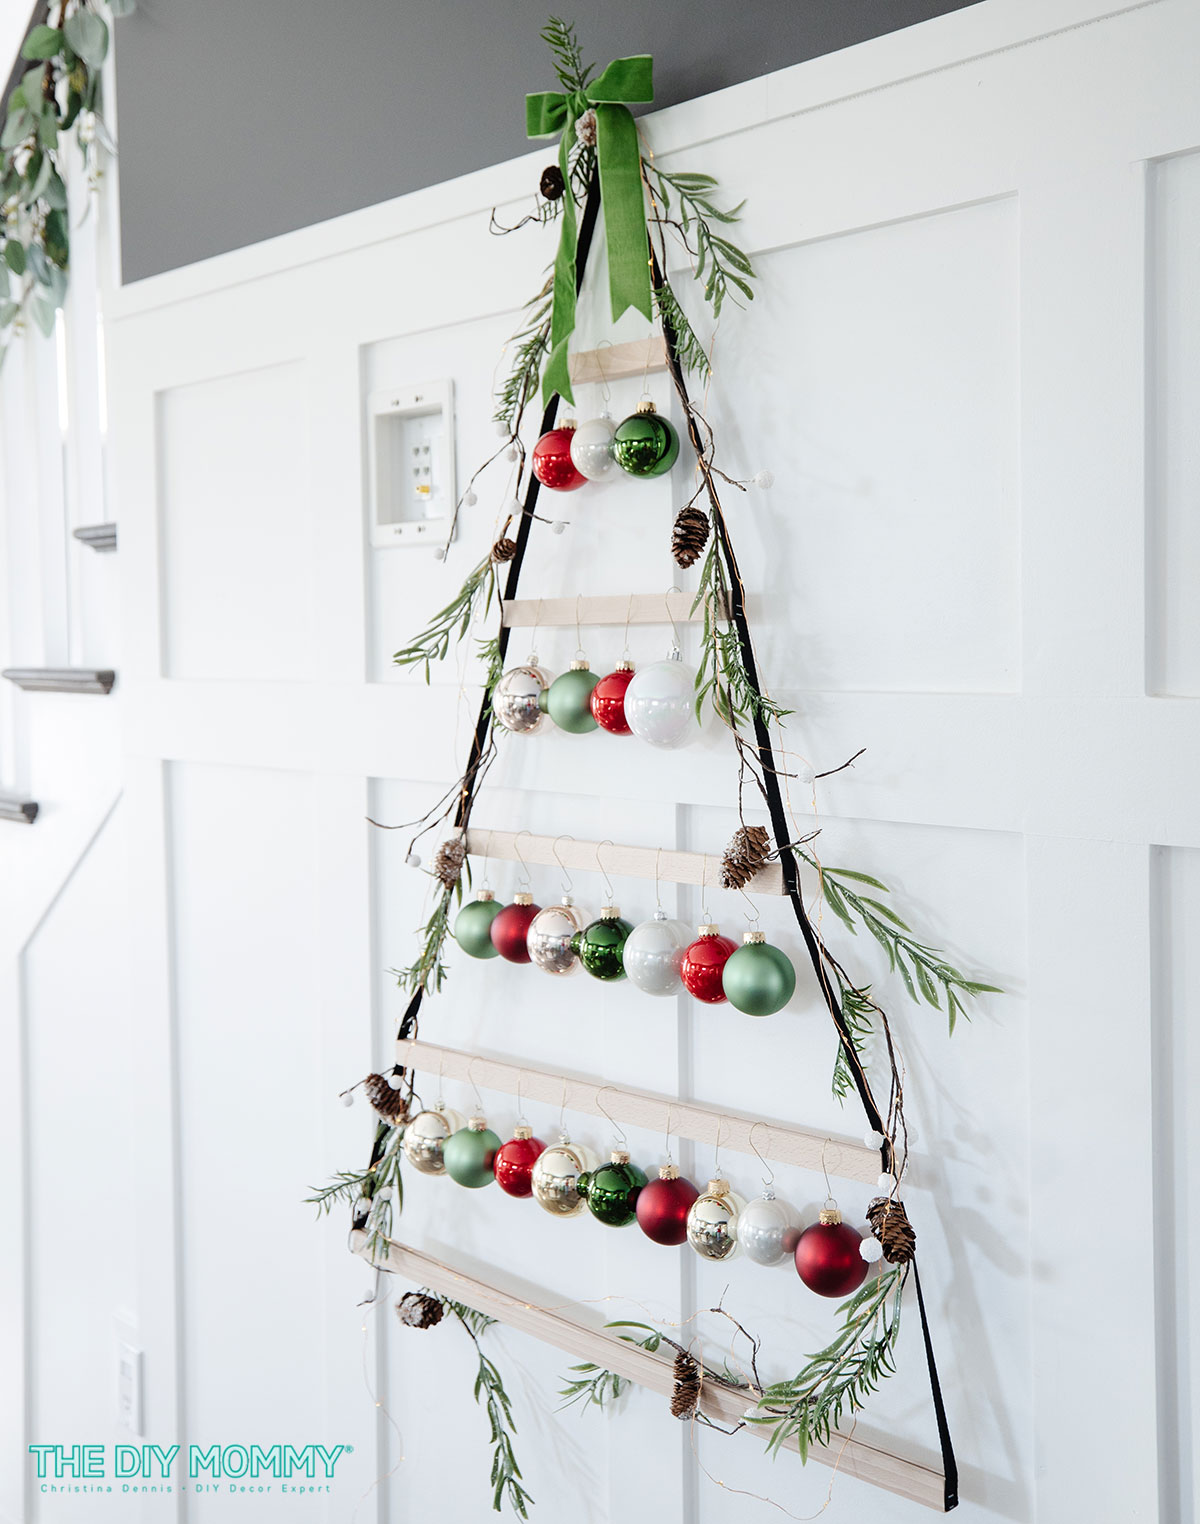
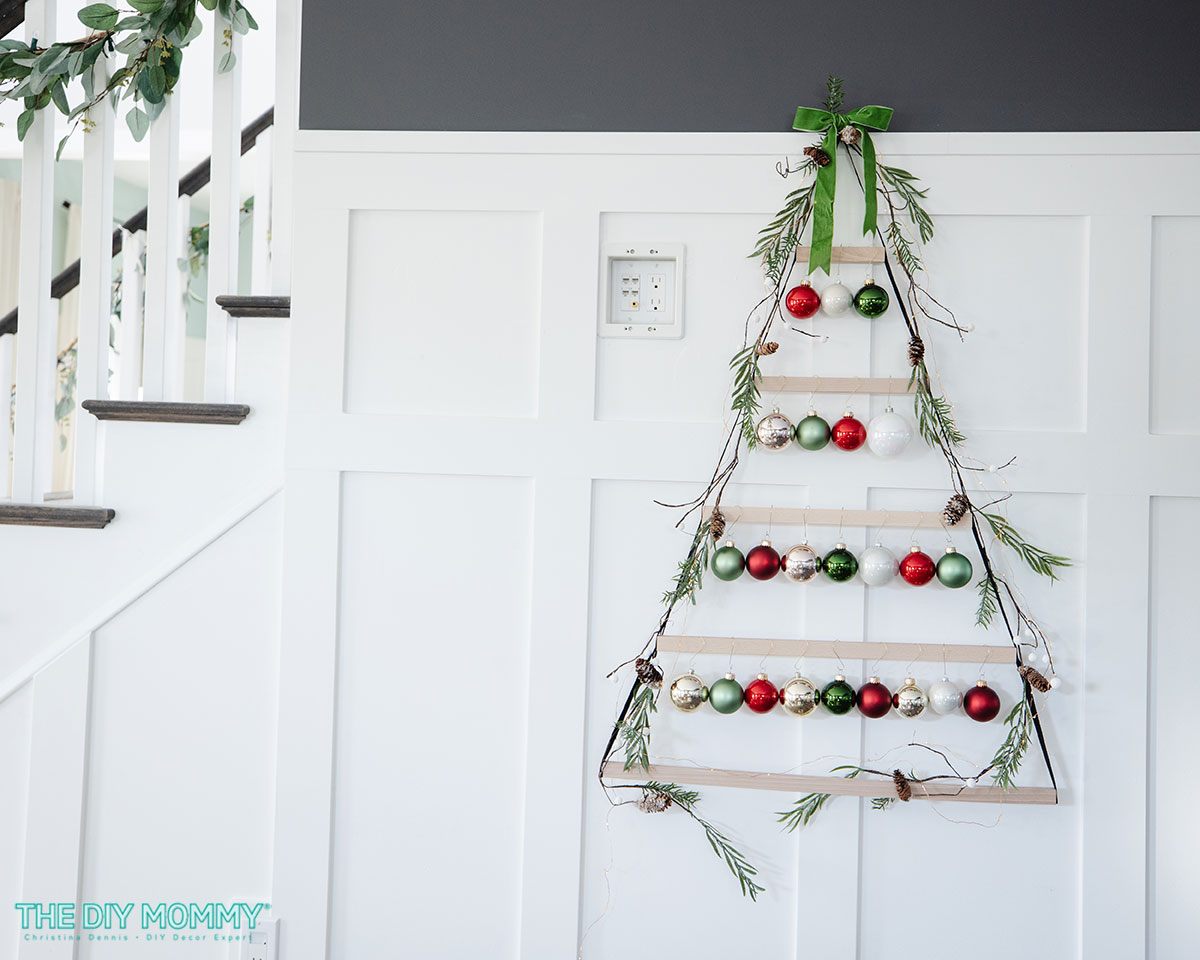
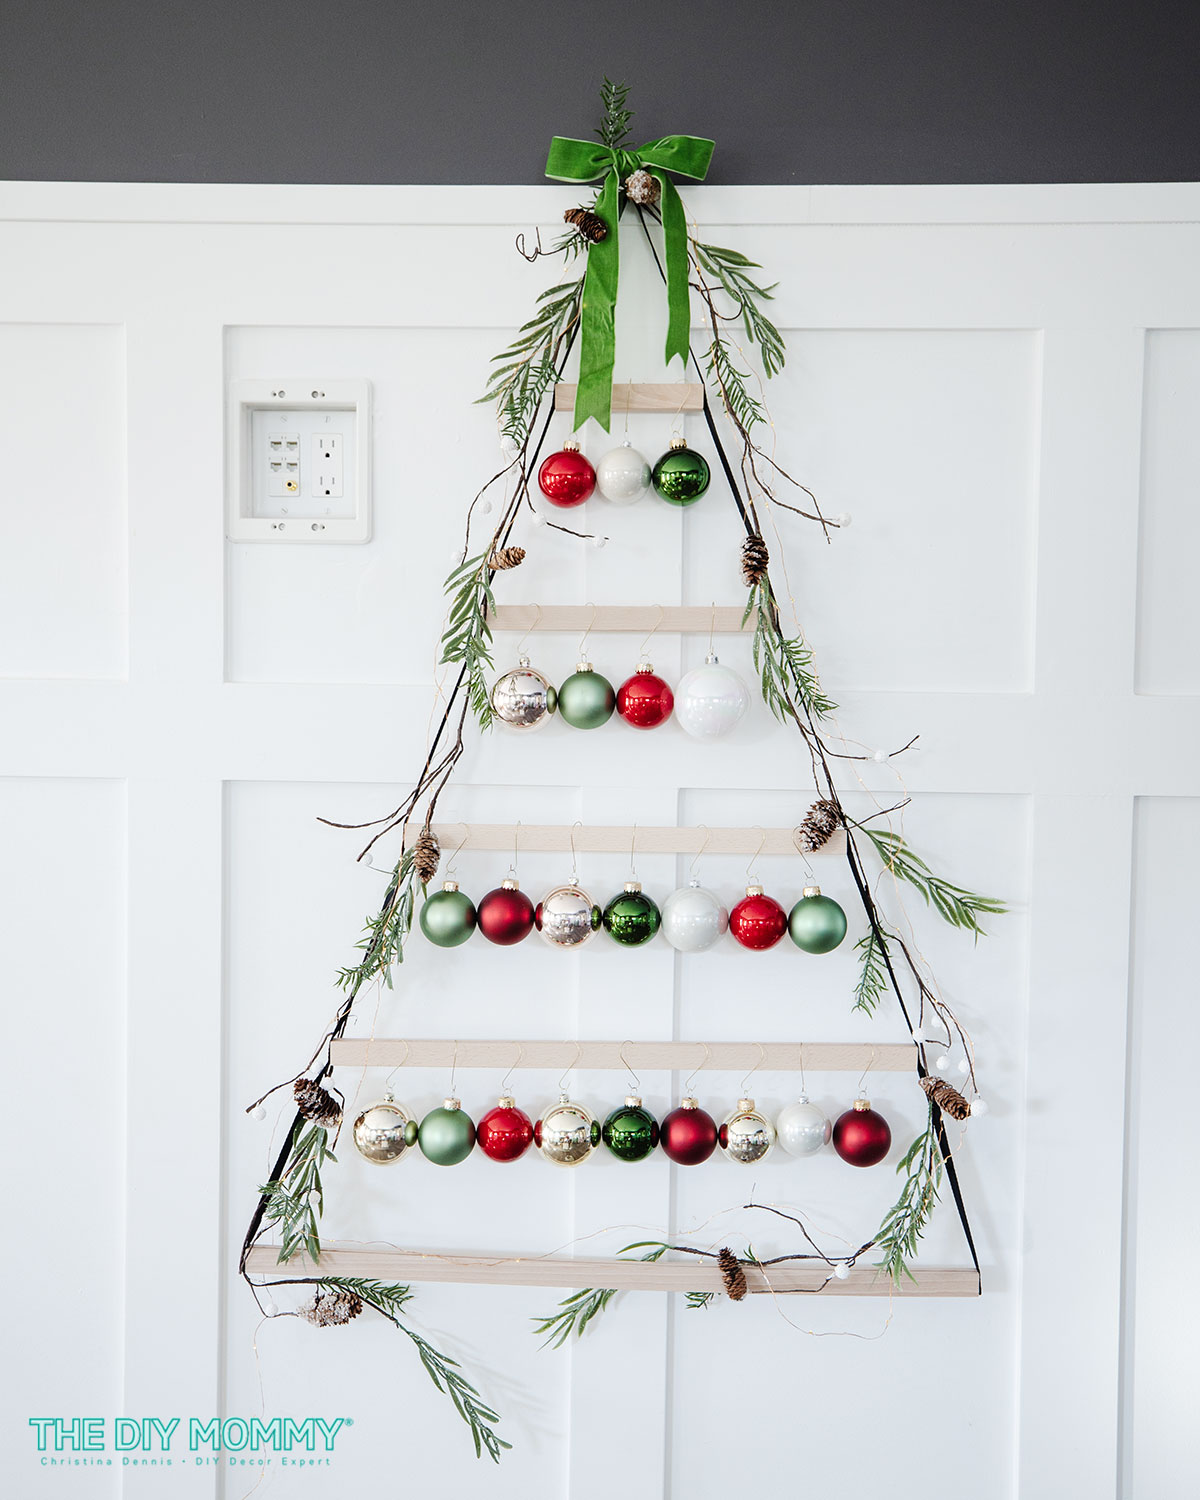
If you don’t have enough space for a traditional Christmas tree, this DIY Christmas tree on wall with lights is a creative solution! You can use an inexpensive festive wall hanging from IKEA as the base, and let your imagination run wild. Let’s make it!
I love the idea of a wall tree for a budget-firendly, space-saving Christmas tree. Our Tiny Lake House vacation rental cabin is only 467 square feet in size, so I’m going to be use this wall tree there. It’s the perfect solution for small spaces like a dorm room, small apartment, or even as a fun additional tree in your home. If you don’t have a lot of space for Christmas decorations, I think you’ll love this idea!
This tree-shaped Christmas card display shelf from IKEA is not only budget-friendly, but it’s easy to store. You can use it for a variety of things (including what it’s designed for – to display Christmas cards!). I thought it’d be fun to turn it into a wall Christmas tree. (Check out what I did with it a couple of years ago, when I used it as an advent calendar for my kids!)
Hang the IKEA wall decoration
Begin by installing a screw in your wall that’s about 6 feet from the floor. You can hang the tree closer to the ceiling if you don’t want kids or pets to easily reach it. Alternatively, you can install adhesive Command hooks for a renter-friendly option. Next, hang the IKEA wall hanging from the screw.
Add some garland & lights
Then, take two thin greenery garlands and wrap them around either side of the tree shelf. This helps conceal the black rope and makes the wall hanging look more like a Christmas tree. I’m using my favourite Christmas garlands from Dollarama, but you could also use IKEA’s garlands or any faux cedar or pine garland you like.
Next, take some copper wire battery operated fairy lights, and wrap them all around the perimeter of the tree. I used this strand of lights from Amazon. Ensure the battery pack can sit on the floor, and you can hide it with some Christmas greenery or other festive decor. Alternatively, use a couple strands of your favourite kind of Christmas lights. Regular string lights will work too. Consider multi-coloured lights for a fun look!
Hang some ornaments
Once the garland and lights are wrapped around the DIY wall Christmas tree, add some wire hangers to some Christmas ball ornaments. Hang the ornaments on each of the shelves on the wall hanging, placing the hooks inside the slits in the shelves. Alternatively, you can thread some twine through the ornament toppers and tie it around each shelf. Each loop of twine will give the tree some rustic texture. Hang enough ornaments to fill the width of each shelf.
Add a tree topper
As a finishing touch, tie some velvet ribbon into a bow and fix it onto the top of the tree. You could also opt for a wired ribbon with some sparkle for a glam look, or a scrap piece of yarn or twine for a rustic look. Now you have an adorable Christmas tree on the wall with lights that you can enjoy in any sized space!
I hope you love the glow of your lighted tree on the wall this Holiday season! Tell me: Would you try this wall Christmas tree instead of a standard tree this year?
Looking for more alternative Christmas tree ideas? Check out the tree I made from a floor lamp and garland right here!


Your guide for creating it is beautiful and I think it could inspire others, so I’m going to share it with my contacts.