DIY Macrame Plant Hanger with a Thrifted Vase
This post may contain affiliate links · This blog generates income via ads
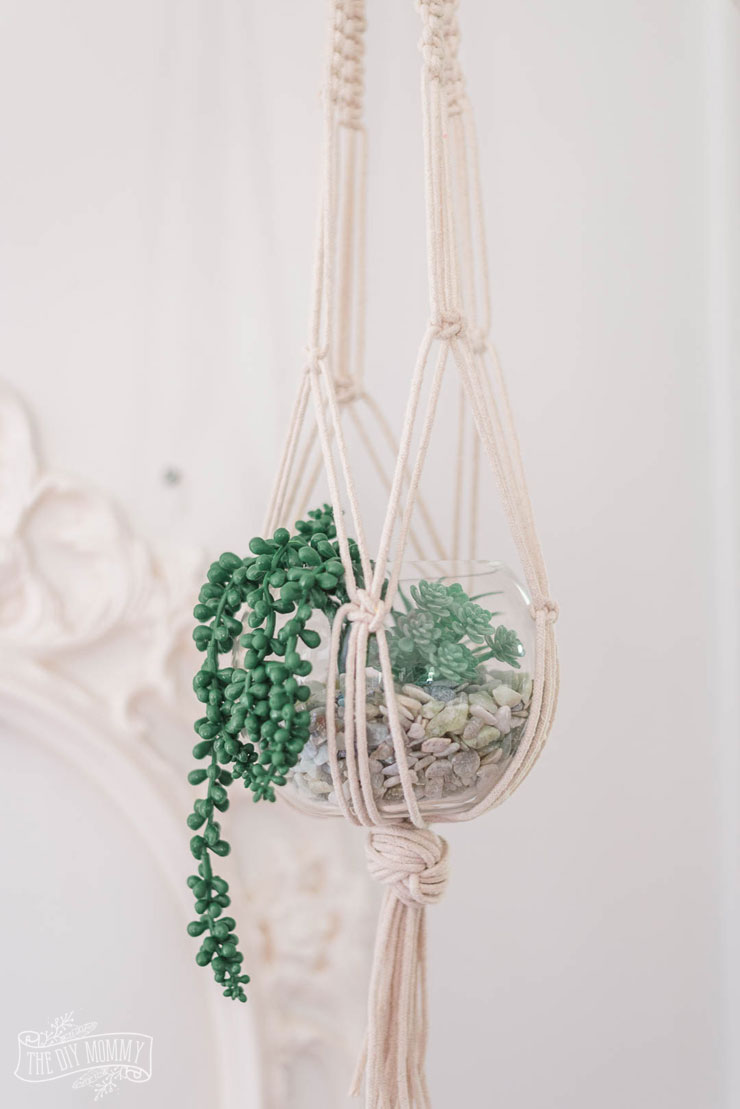
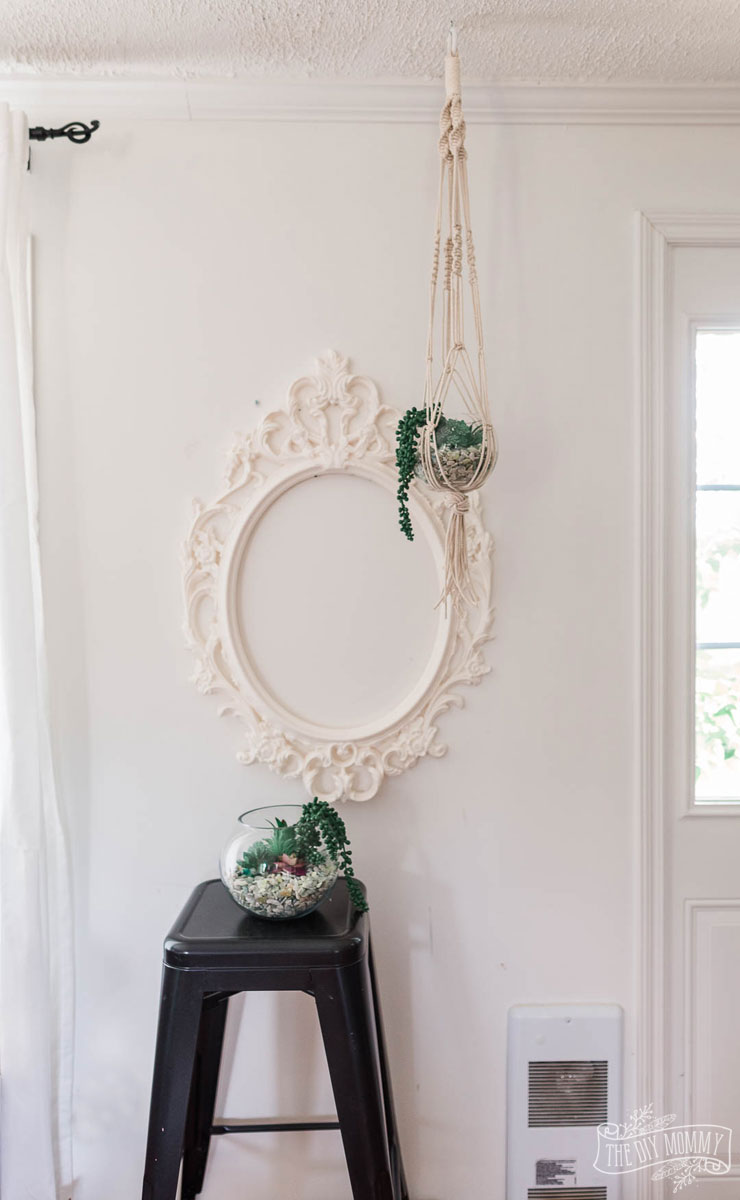
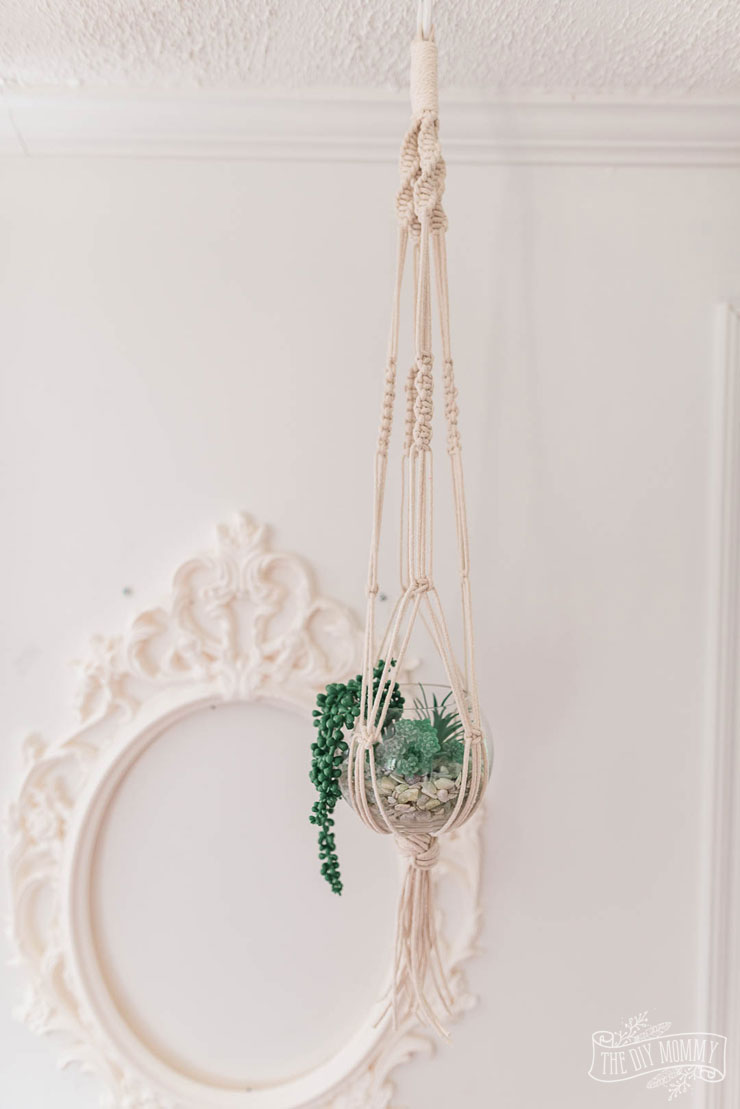
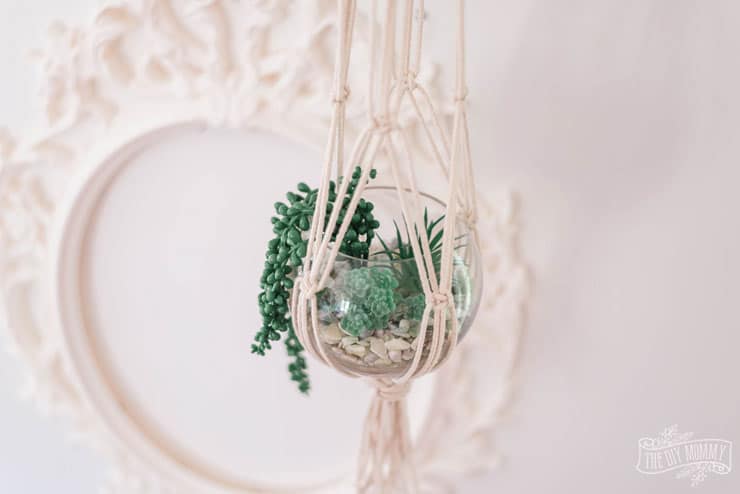
A set of thrifted globe vases turned into some chic decor for my studio this summer, including a macrame plant hanger! Come get the full tutorial on how to make these for your own home this season.
This project is part of a summer themed blog hop I’m taking part in with some of my blogging friends, so make sure to check out all of the beautiful summer DIY & decor ideas linked at the bottom of this post! If you are clicking over here from Zevy Joy, welcome!
When I stumbled across a couple of vintage globe vases at my local thrift store the other day, I actually had another project in mind. I might do that one in the near future, but I quickly changed my mind when I remembered I wanted to make macrame plant hangers this summer. These vases were the perfect addition to some DIY plant hangers!
These macrame plant hangers are a fantastic project if you’re just getting started with macrame. You only need to know a couple of basic macrame knots. You can also use your creative license on these and make your own design!
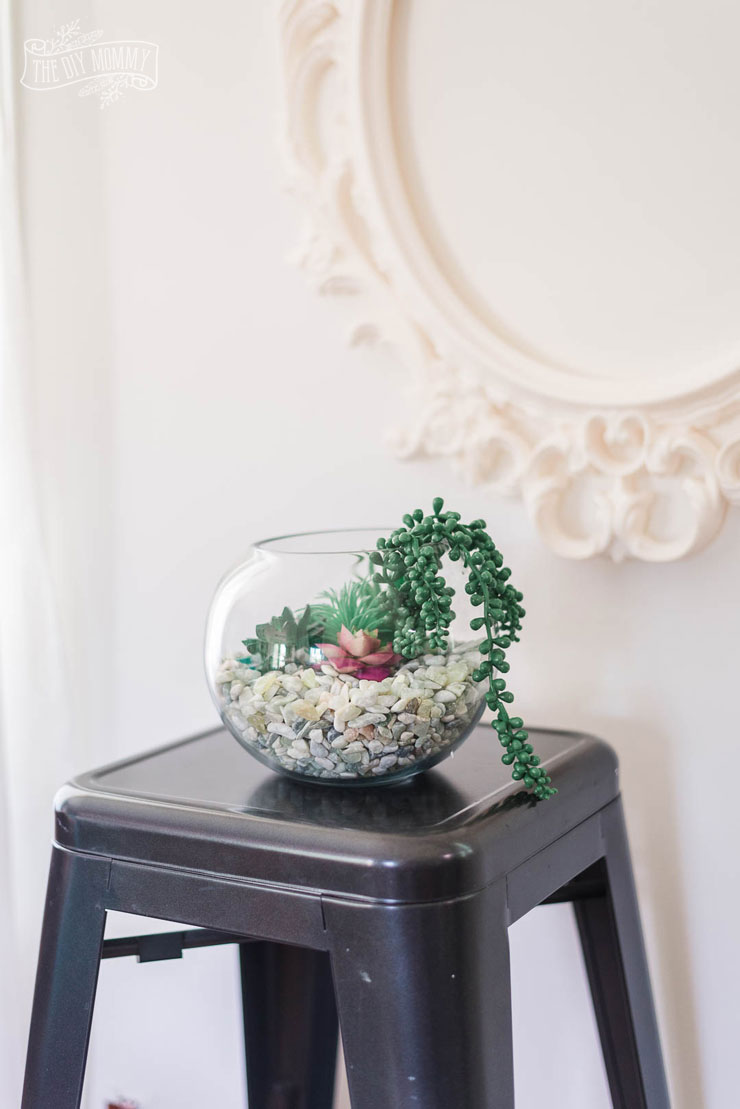
I decided to leave the larger vase I found as tabletop decor, so if you’re not ready to try macrame, this is also a simple but beautiful option to create from a thrifted globe vase. Ready to make these?
Watch my YouTube video below for the step by step macrame plant hanger tutorial, and find my guide to basic macrame knots used in this project below:
(Visit Hilary of Old World Home’s YouTube Channel referenced in the video here!)
Basic Macrame Knots
Larks Head Knot
(You won’t use this one to make these macrame plant hangers, but you’ll need this for most wall hangings and my hoop wreath tutorial here.)
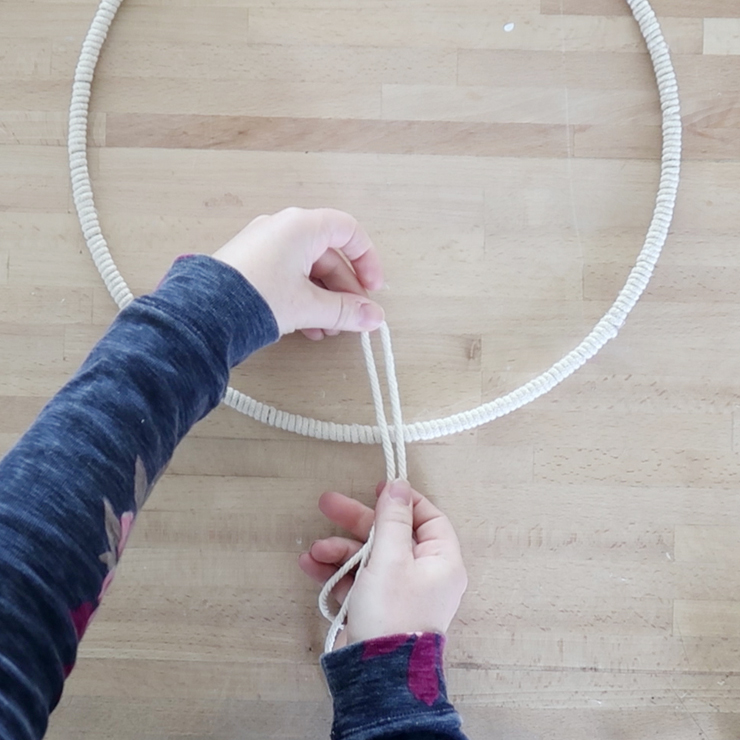
Fold macrame cord in half and hold it over your base (hoop, pipe, driftwood etc) with the loop on top.
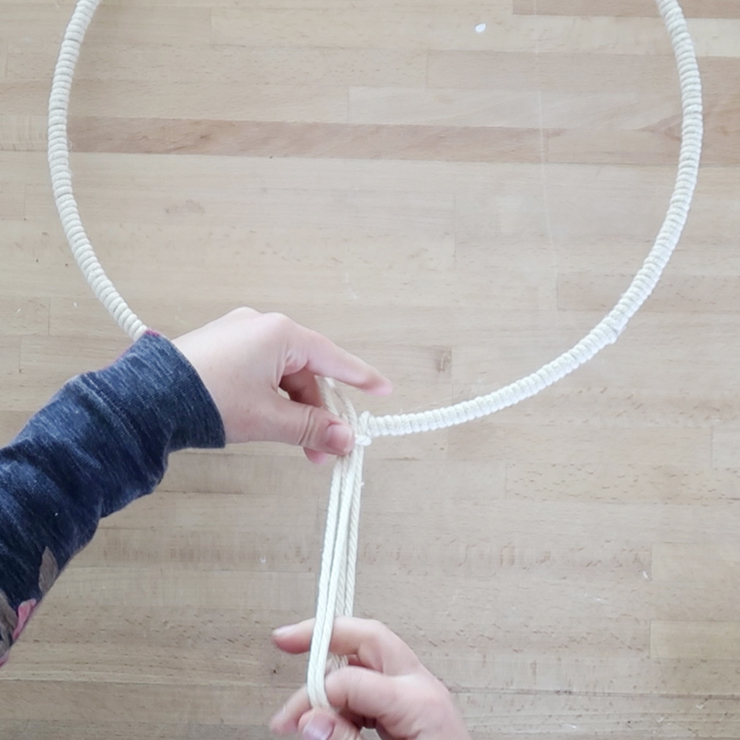
Pull the ends of your cord behind, up and through the loop.
Pull the ends of the cord all the way through the loop to tighten.
Square Knot
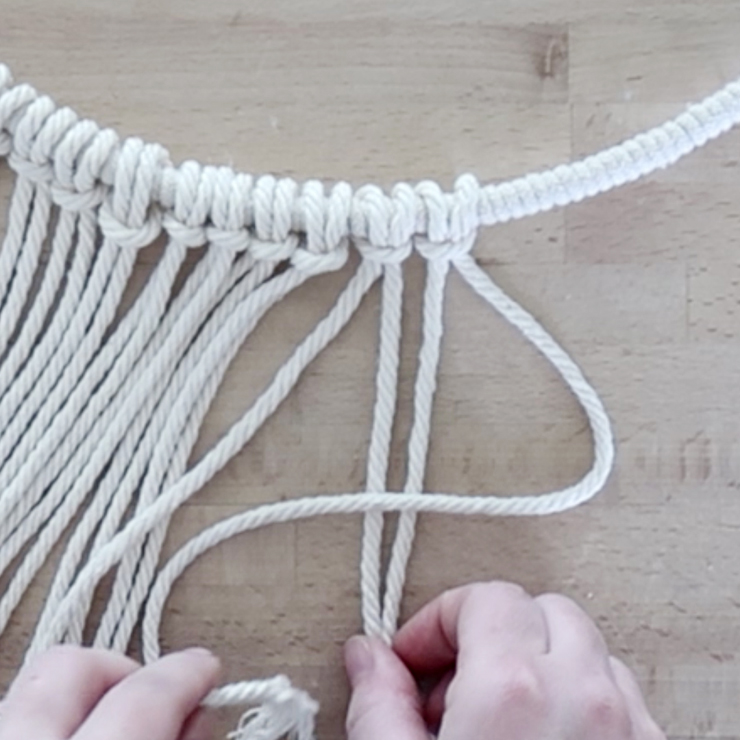
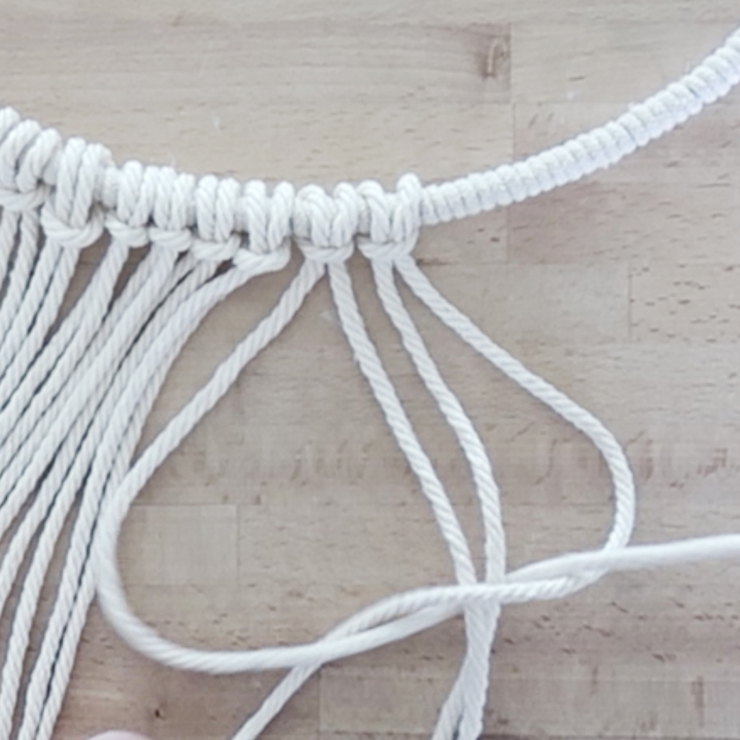
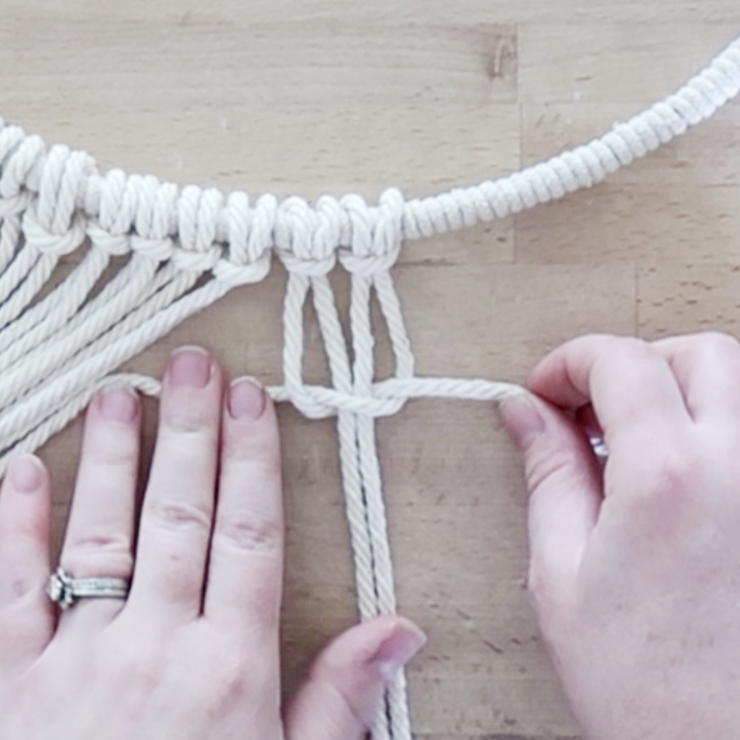
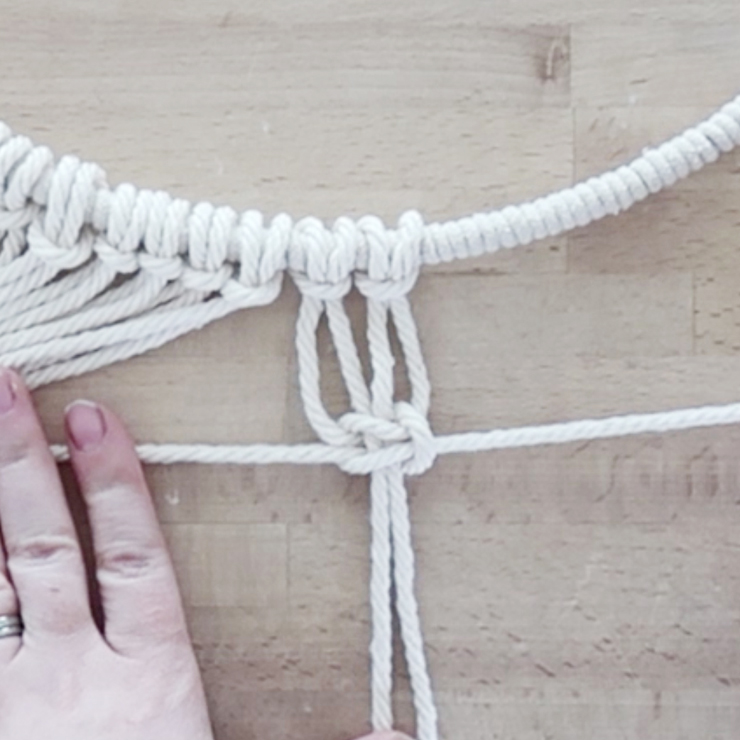
Start with a group of 4 cords, and place the rightmost cord over the two center cords in a backwards “C” shape.
Take the leftmost cord, bring it under the two center cords and then up and through the rightmost cord.
Pull gently to tighten. This is a half square knot. Note: You can create a spiral pattern by continuing to make half square knots down the length of your cords.
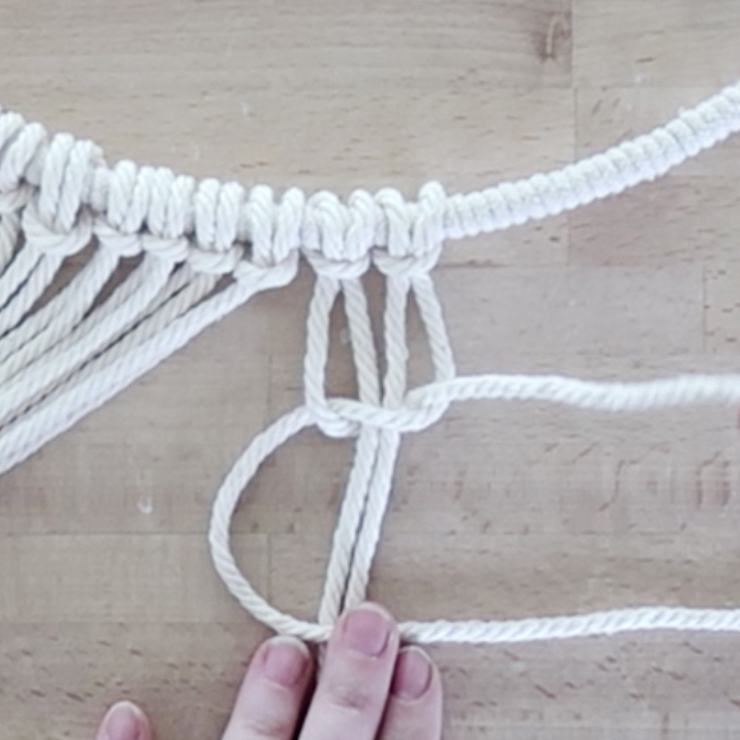
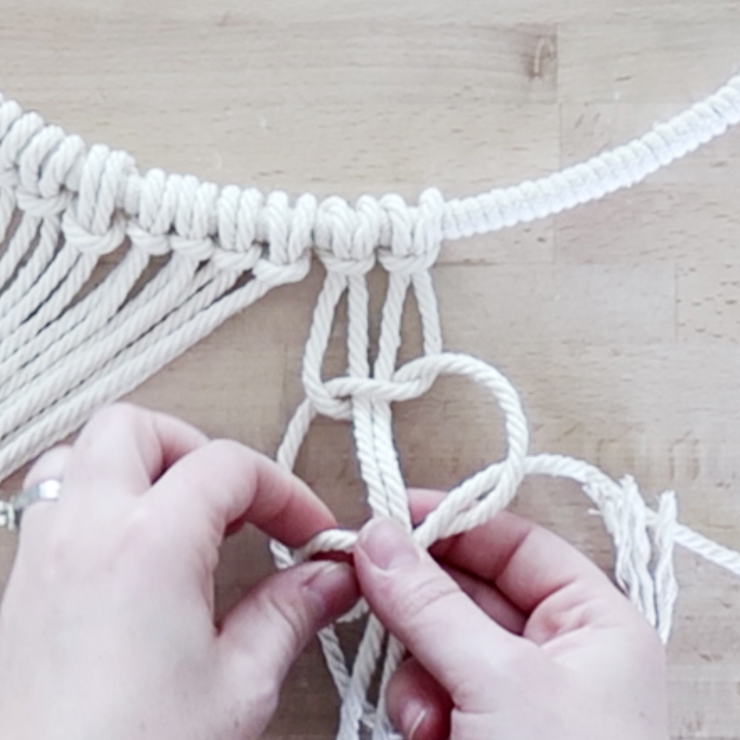
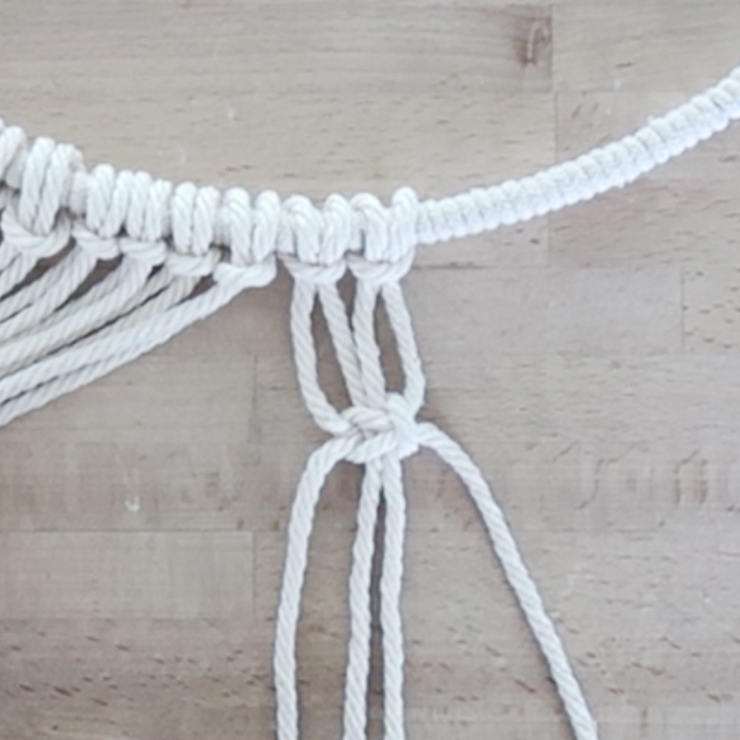
To create a full square knot, reverse the pattern to create the second half of the square knot. Take the leftmost cord and place it over the two middle cords in a “C” shape.
Take the rightmost cord and pull it under all of the cords and up and through the “C” of the left cord.
Pull to tighten. You’ve now created a square knot.
Now, I invite you to check out the next blog in our hop today: Seeking Lavender Lane. Or click on any of the posts below to see what everyone has created to inspire you this summer!
Simple & Stunning Summer Style Guides
Grace In My Space | Jenna Kate At Home | Thistlewood Farms
Zevy Joy | The DIY Mommy | Seeking Lavender Lane





This is the perfect summer project! I think I’m going to try it! I’ve always wanted to try macrame!
Happy Friday friend!
KariAnne
Wow i’m impressed you make your own macrame, Christina. Love it!
Oh so fun! I love this project, Christina!! I’m definitely going to try make one!
xo Jenna
Are they real plants? I really like the idea of the glass pot
I used faux succulents for this tutorial. You could use any small plant you prefer.