Make a Tassel Garland from Thrifted Yarn
This post may contain affiliate links · This blog generates income via ads
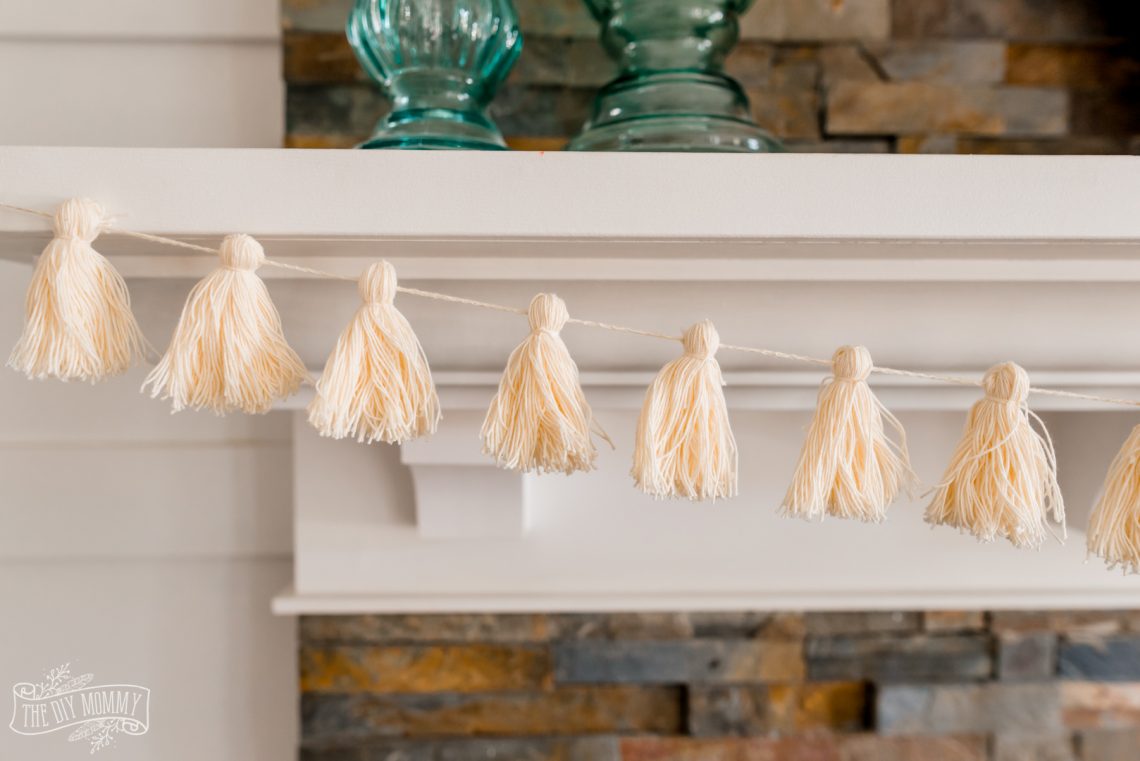
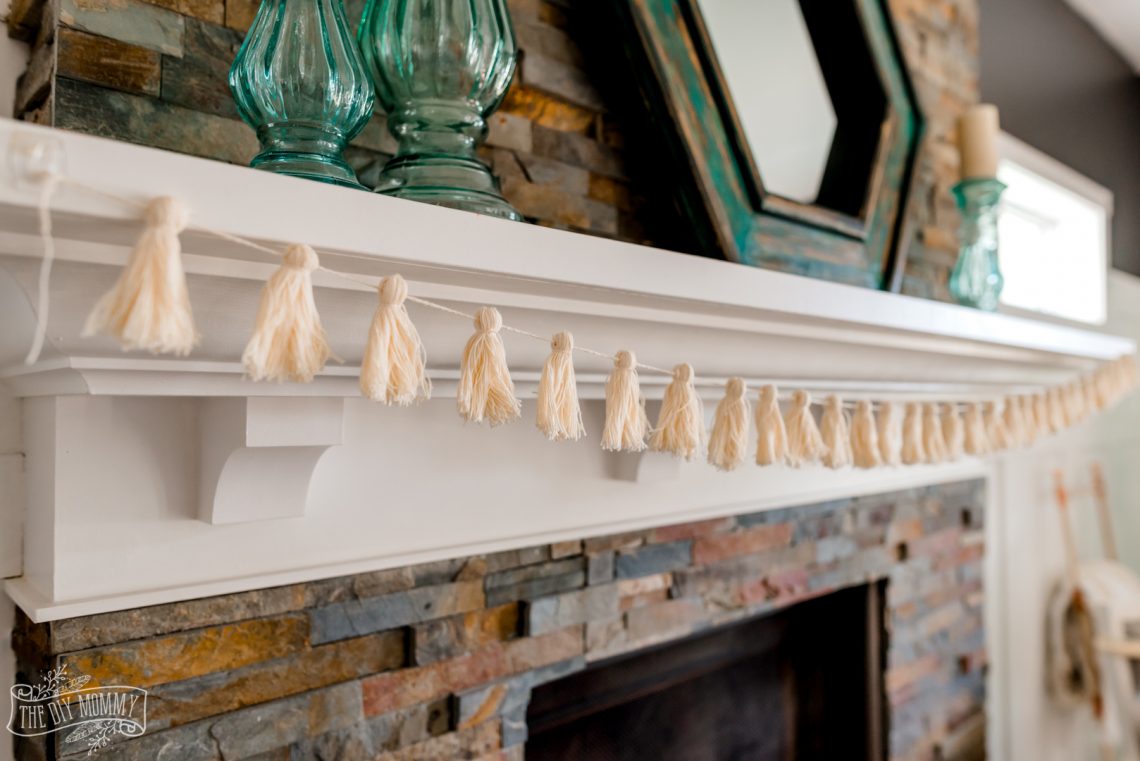
Tassels are so easy and fun to make, and this garland is a great way to use DIY tassels in your decor! The yarn I used for this DIY tassel garland was from the thrift store, so the total cost for this garland was only around $3.
Have you ever tried making tassels? Let me warn you – they’re addictive to make! I’ve made tassels for clothing, for pillows, and today I’m making some for a garland.
Watch my YouTube video to learn how to make a DIY tassel garland, or follow the instructions below:
Materials:
- thin cotton yarn (I found mine at the thrift store!)
- scissors
- cardboard
- ruler
- small crochet hook
Instructions:
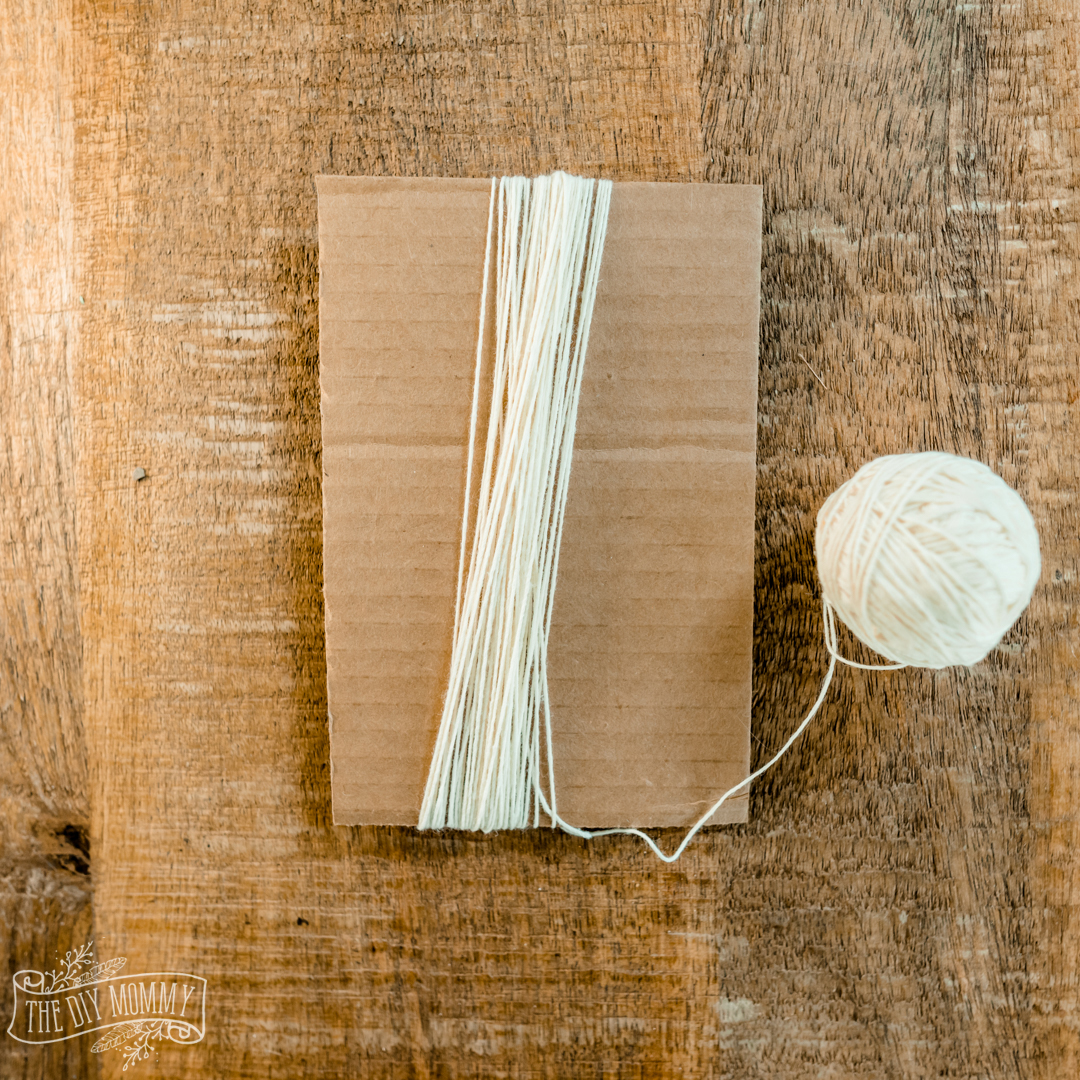
Cut a piece of scrap cardboard to 6″ tall (or double however long you want your finished tassel to measure). Wrap the yarn around the cardboard 50+ times.
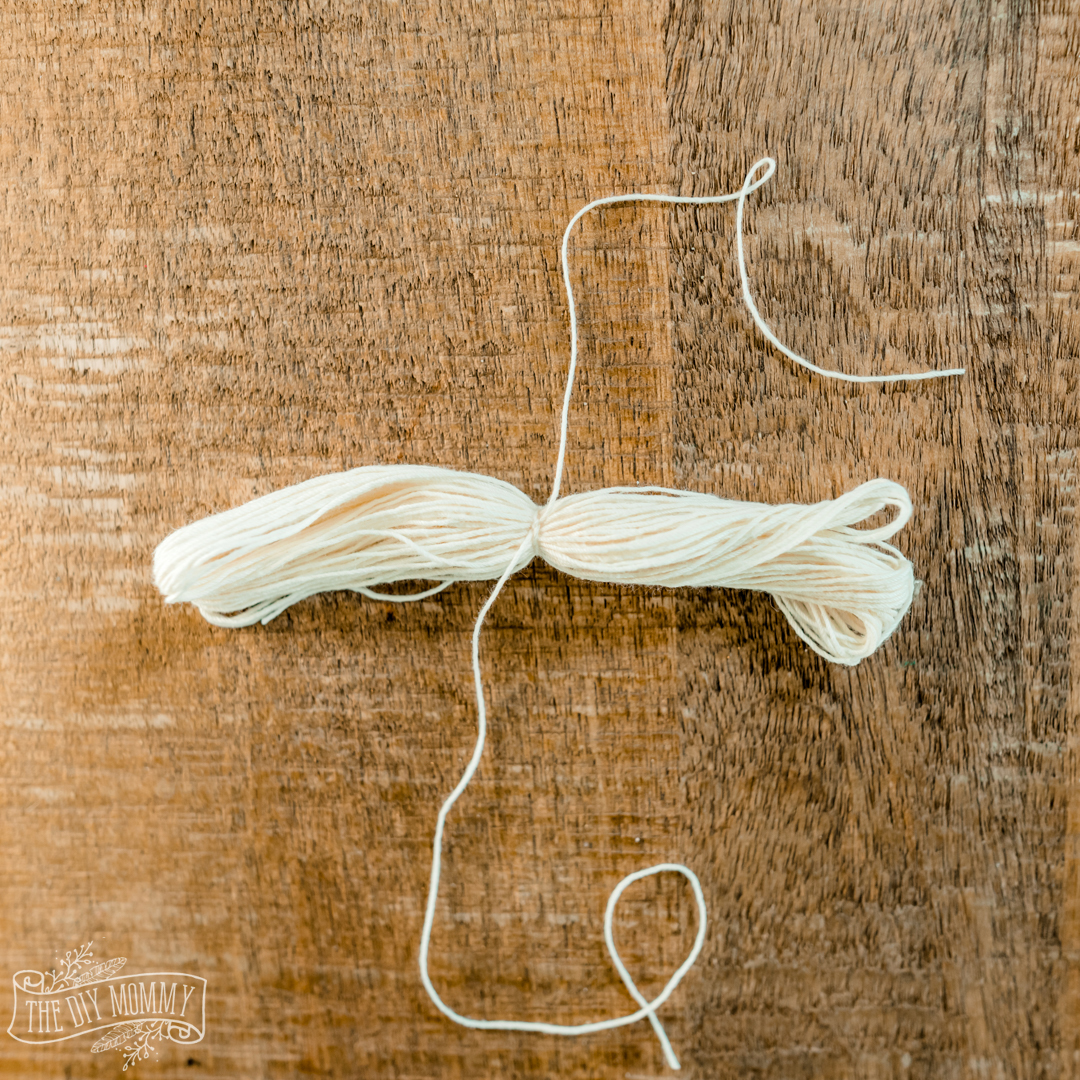
Carefully pull the loops off of the cardboard, and tie a 10″ piece of yarn around the middle of the loops using a square knot.
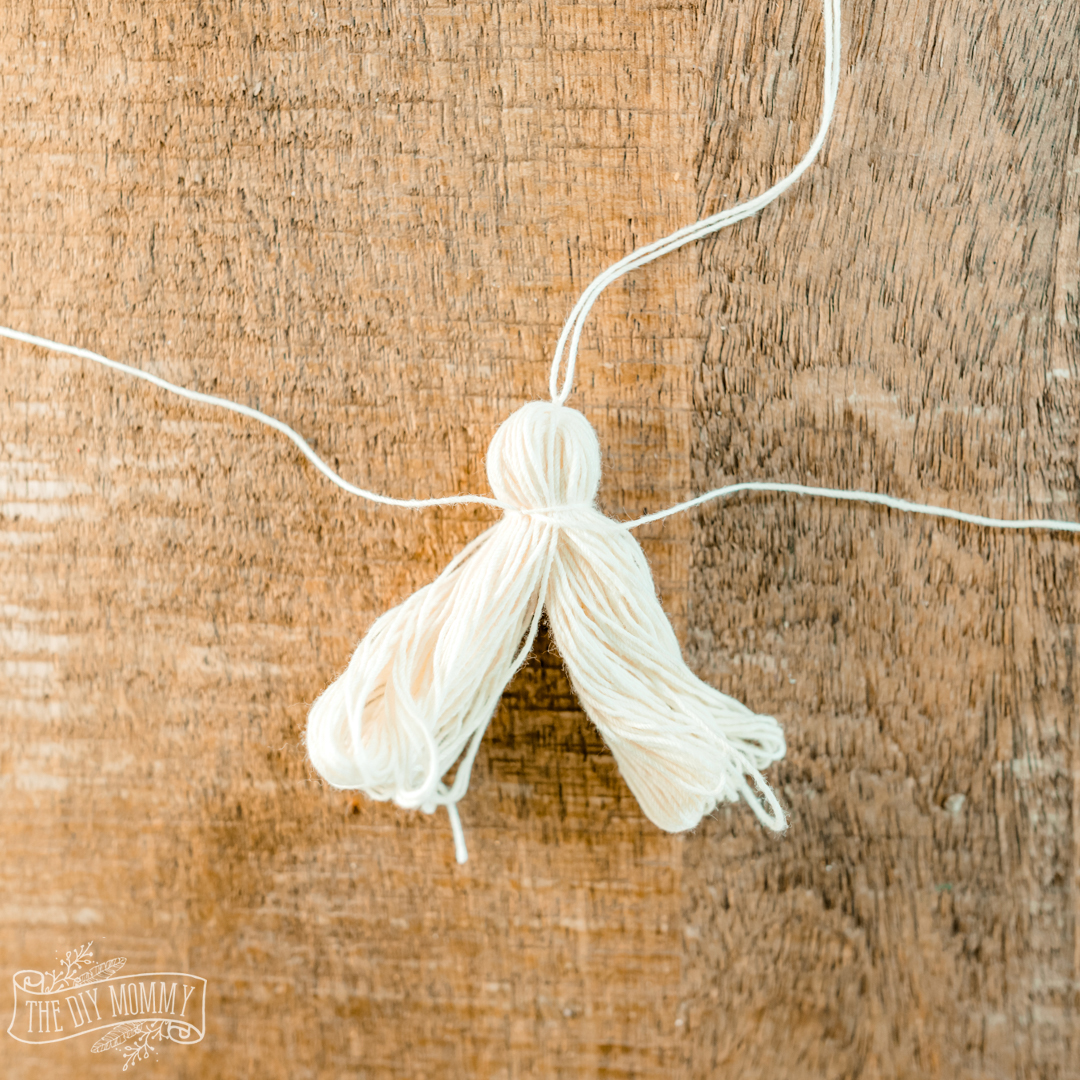
Fold the loops in half, and then use another 6″ piece of yarn to tie the pieces together about 1/2″ to 1″ down from the fold.
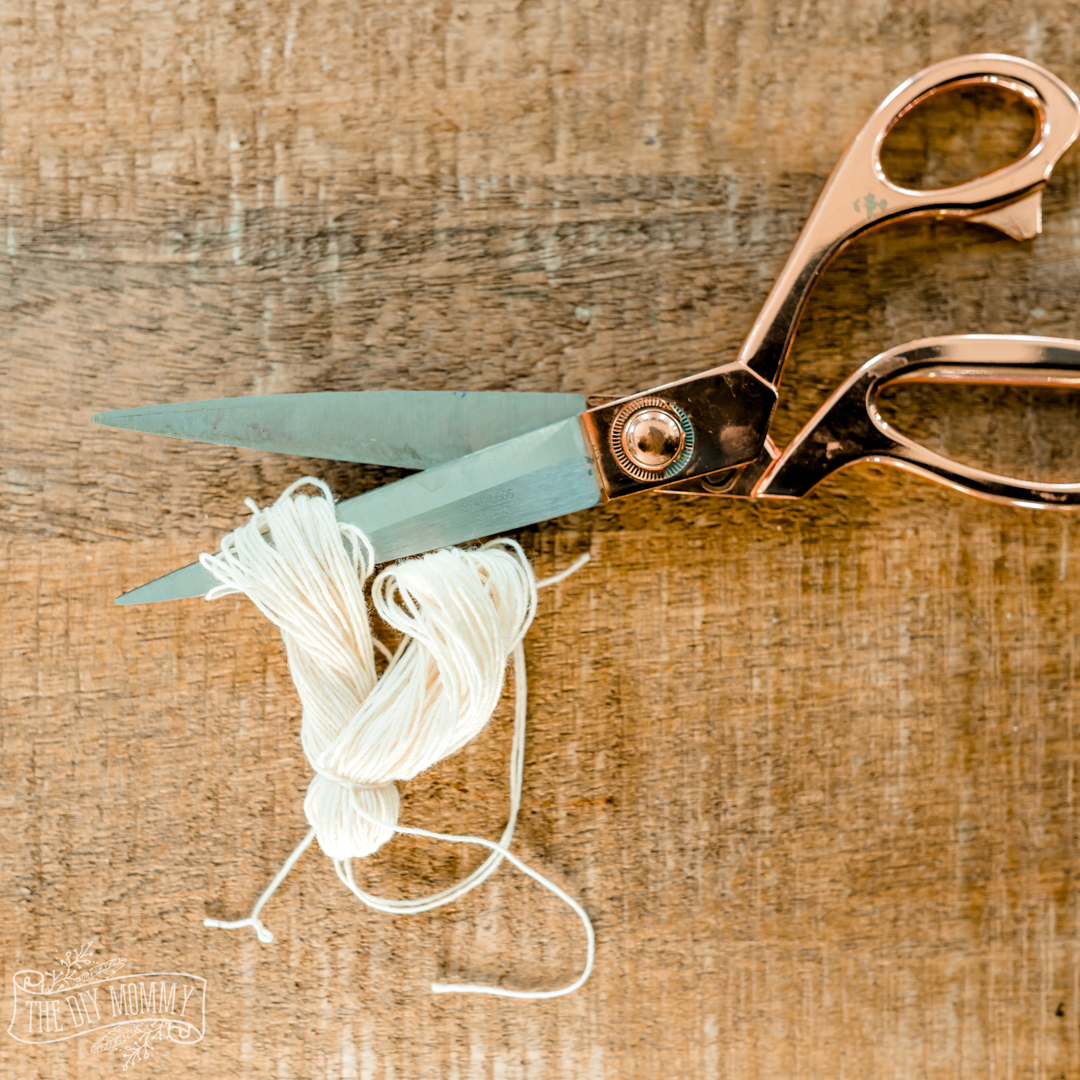
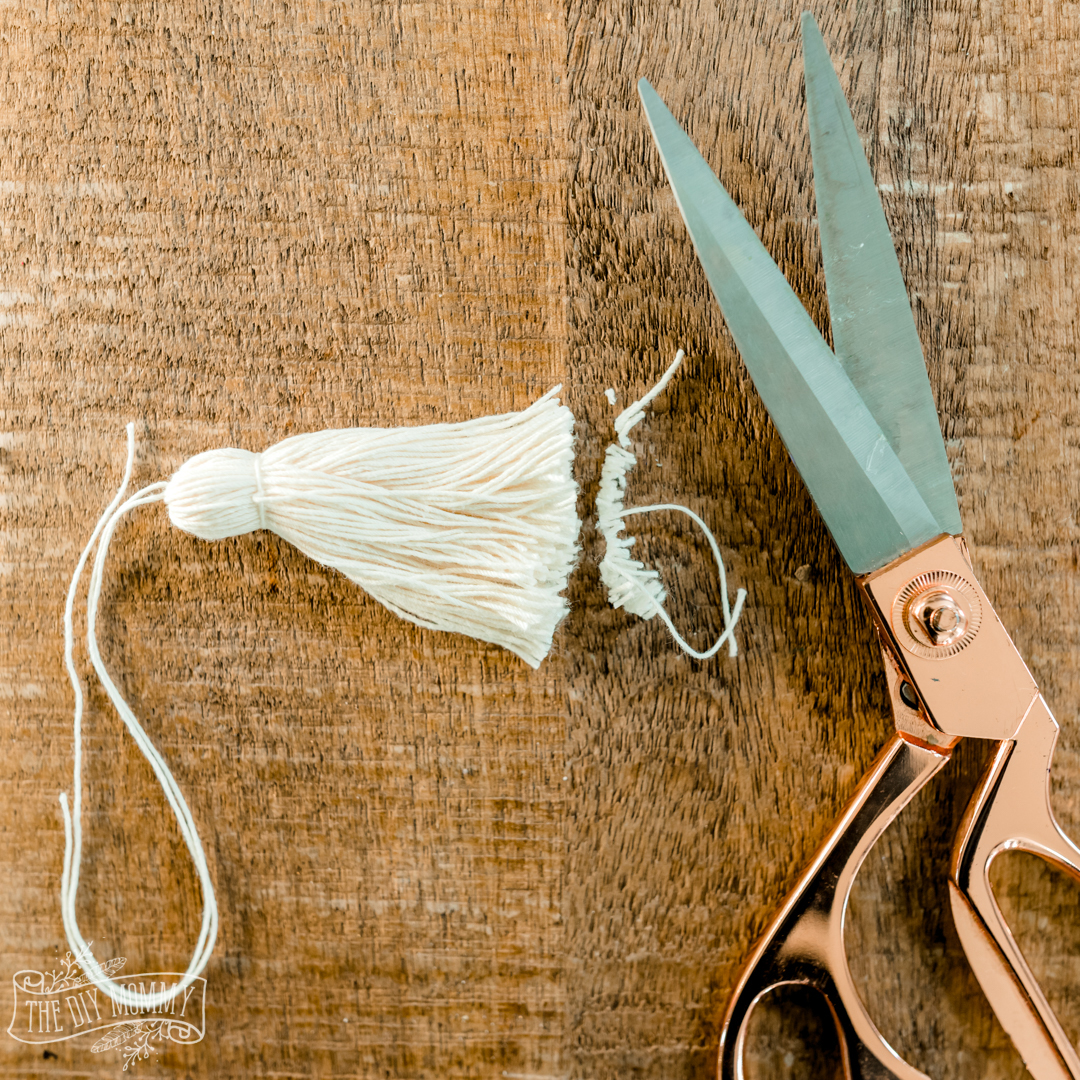
Cut the loops open with a pair of sharp scissors.
Trim the bottom of the tassel.
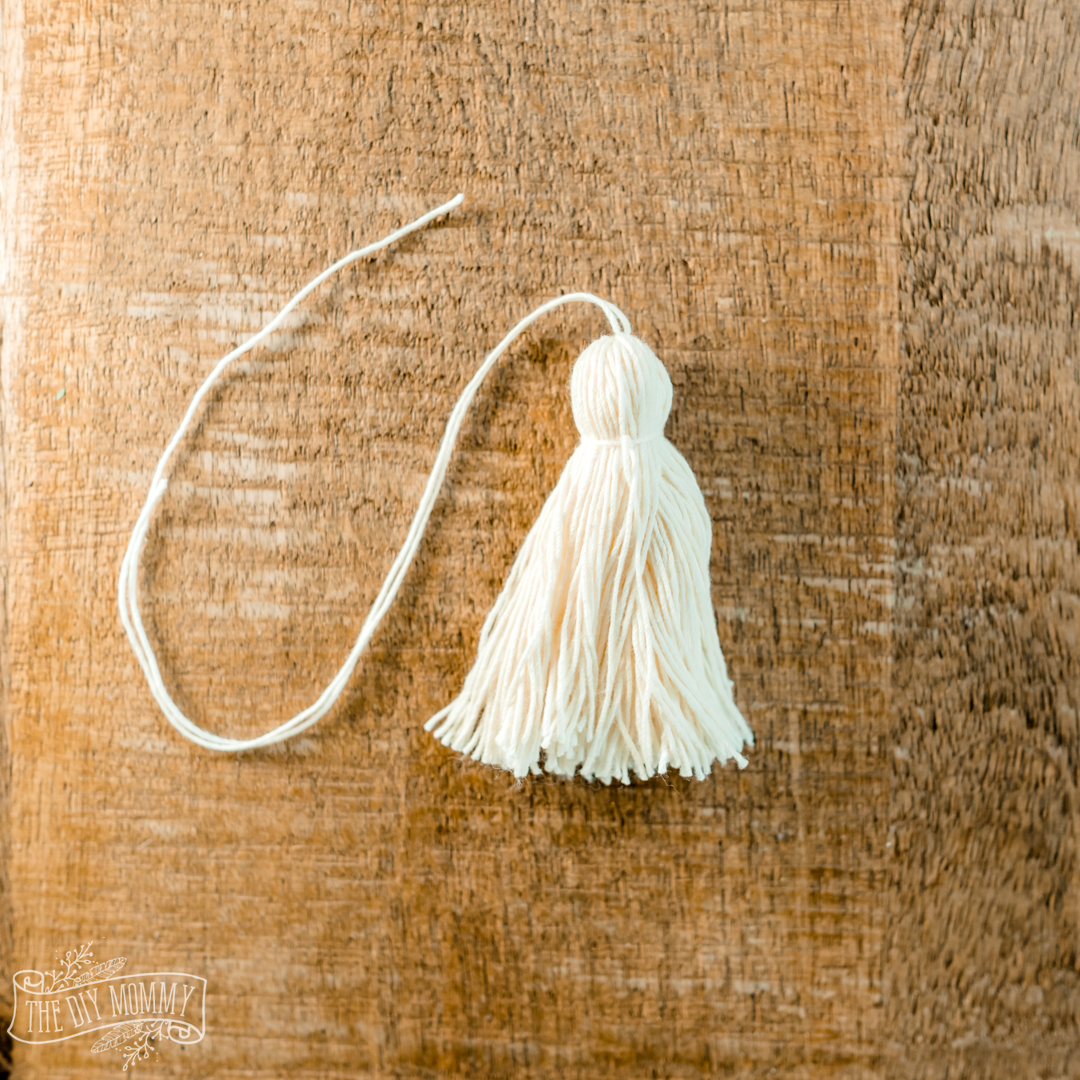
Your DIY tassel is complete! Use it for whatever craft you desire, or create several to make into a garland.
To make a garland, use a crochet hook to chain the yarn into whatever length you want the garland to be.
Attach the tassels to the garland by pulling the chain through the center of the top of each tassel.
Enjoy your DIY tassel banner!



73 Comments