How to Turn an Old Picture Frame into a Shelf
This post may contain affiliate links · This blog generates income via ads
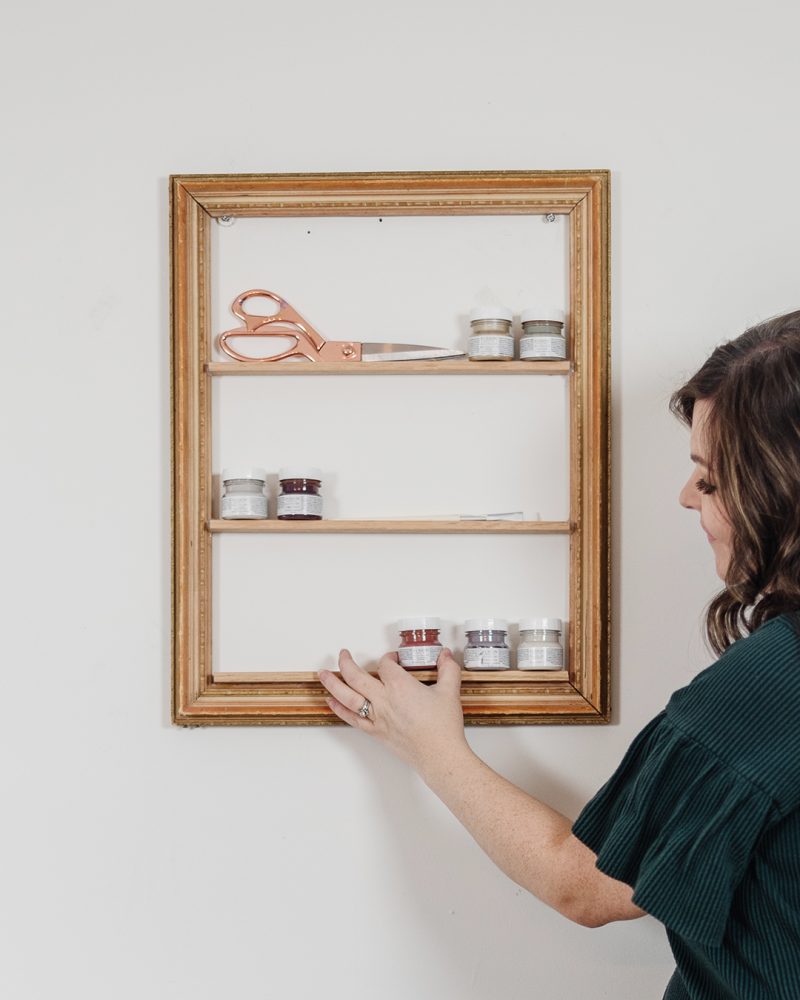
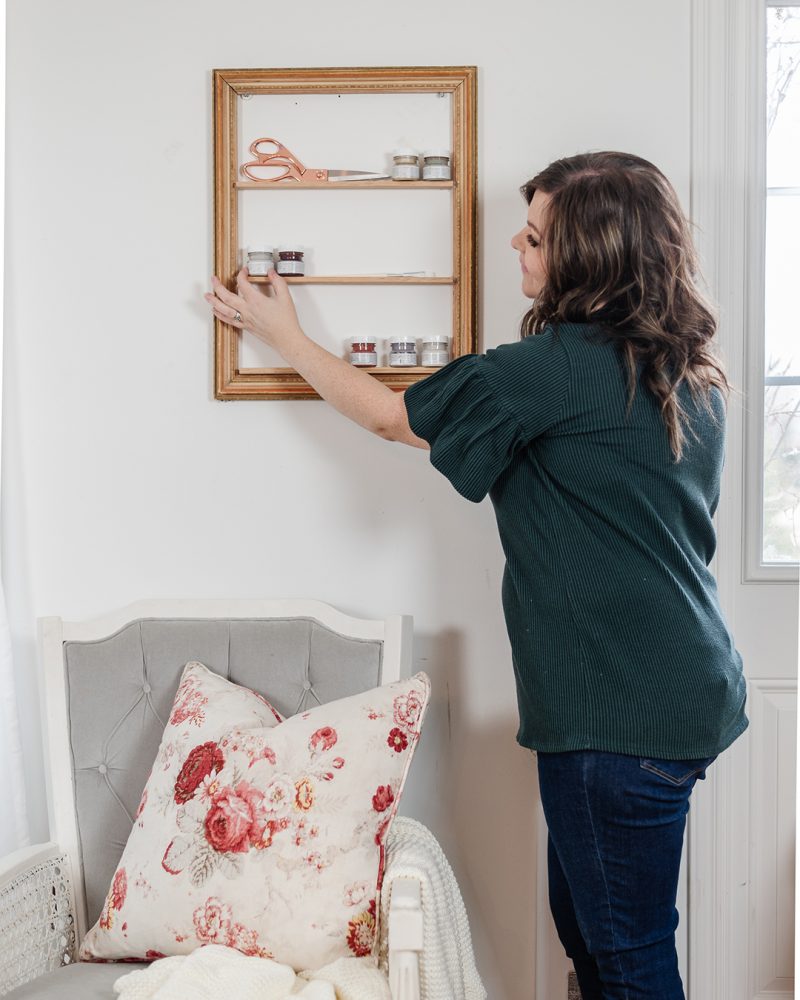
Let’s turn an old picture frame into a shelf! This little shelf is the perfect thing to hold small craft supplies, beauty supplies, jewelry, or knick-knacks and it’s so easy to make.
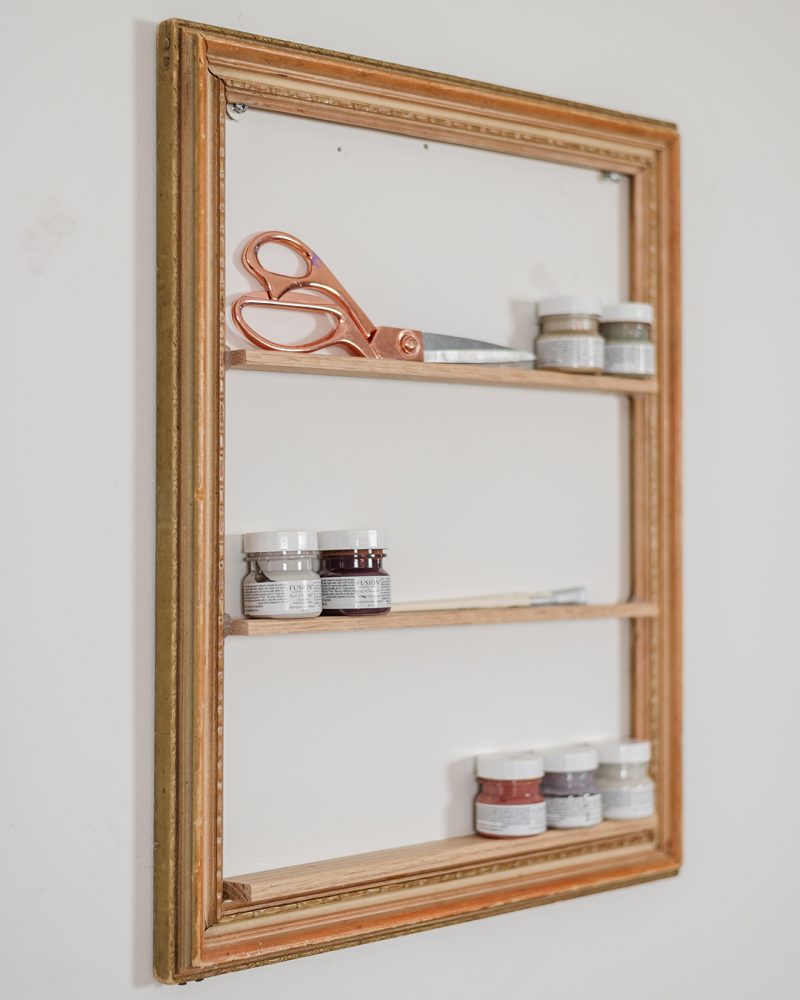
While at my favourite antique store, I found a few beautiful old frames. I thought I could turn one into a small shelf to store my paint samples and a few craft supplies, and the DIY worked out even better than I imagined! Today, I want to share how you too can create a simple shelf from an old picture frame.
Today’s blog post is in collaboration with some of my favourite blogging friends. After you check out my upcycling idea, make sure to visit their DIYs linked at the bottom of this post.
How to turn a picture frame into a shelf
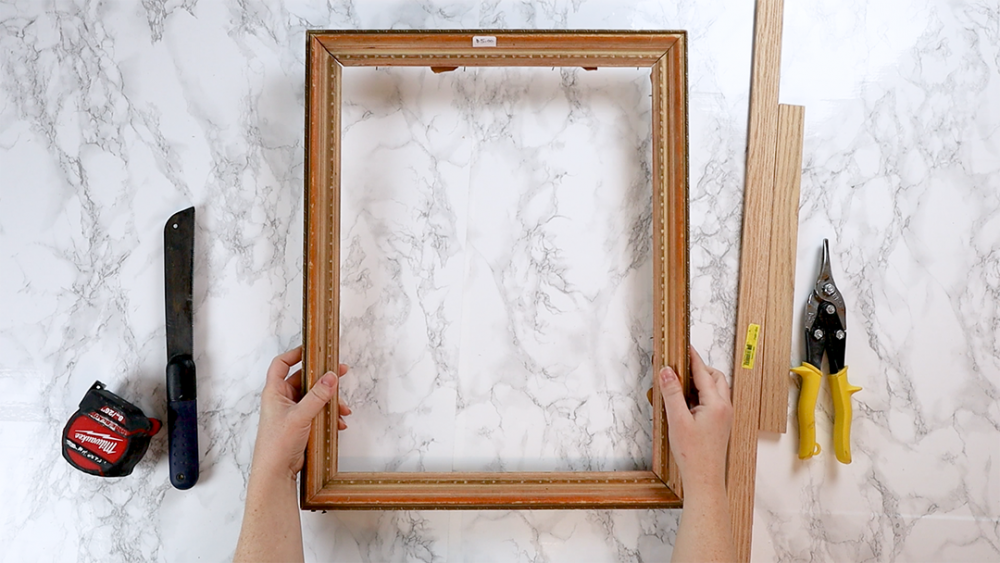
To begin, you’ll need:
- an old picture frame (preferably wooden)
- a hand saw (or miter saw)
- a tape measure
- a glue gun
- Gorilla hot glue sticks (I find these have the best hold for project like this)
- rubber cement
- a piece of flat wooden trim that’s long enough to create 3 horizontal shelves inside your picture frame (I used an oak trim)
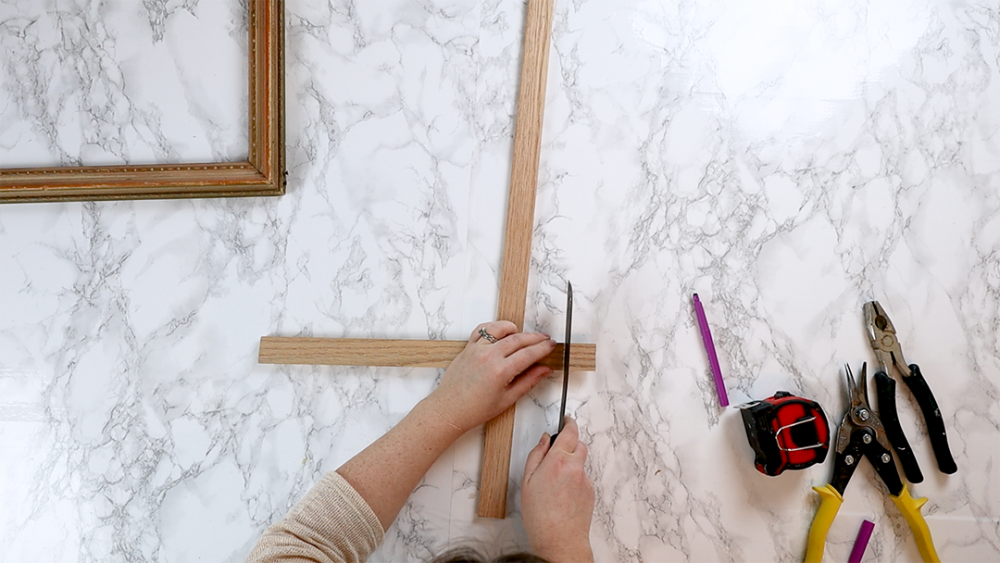
Start by cleaning your picture frame and removing any backing, and then cut 3 wooden trim pieces to the same width as the inside of your picture frame. I’m using a hand saw for this, but you can also use a miter saw.
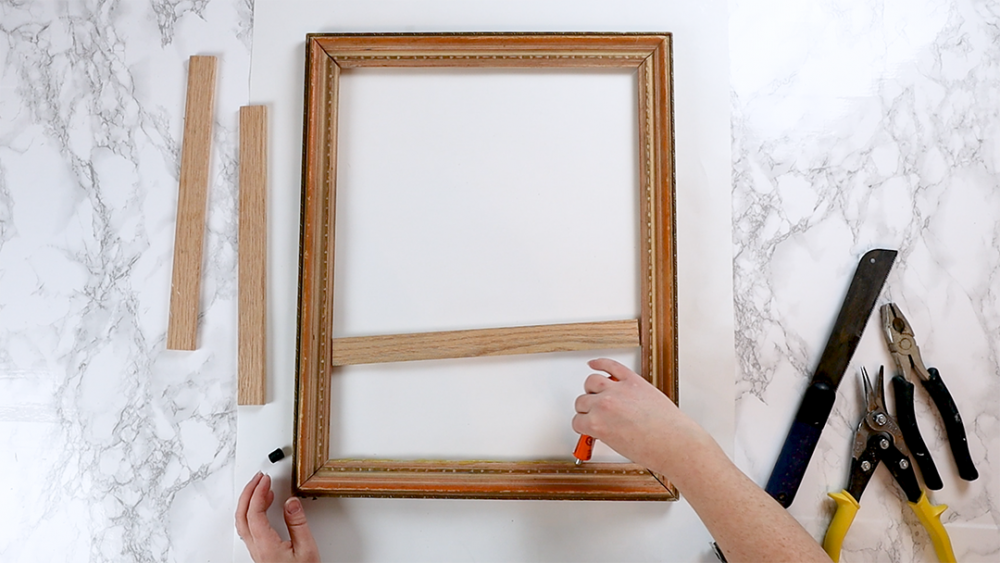
Using hot glue or rubber cement, spread a bead of adhesive to the bottom inside of your frame. You’ll want to test whatever adhesive you use on scrap wood to see which one will work best with your frame and wood trim.
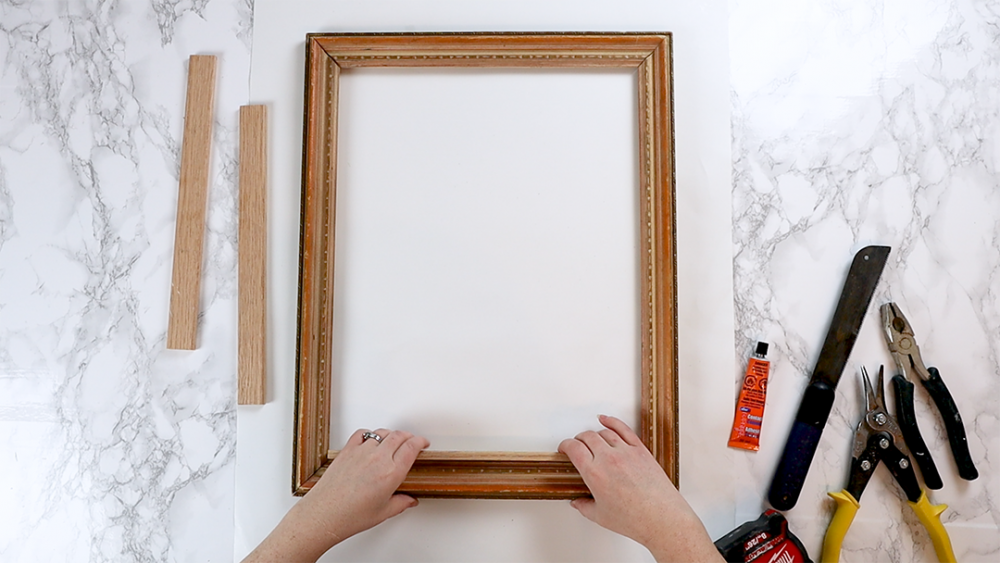
Press the first shelf trim piece onto the bottom of the frame, securing it firmly to the adhesive.
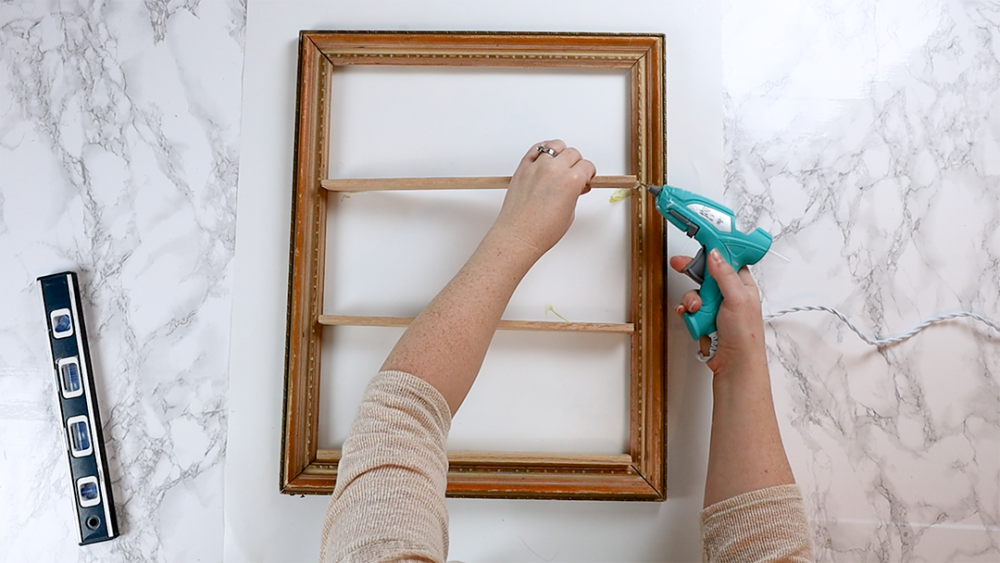
Now, measure the vertical length of the frame and divide that by 3 to determine where the next two shelves will go. Make marks for your shelves on each side of the frame with a pencil. Use hot glue or rubber cement to secure the sides of the shelf pieces to the frame at these marks.
Let your shelf dry completely, and you’re all done! I hung mine on the wall of my studio with simple screws. I used a combination of Gorilla hot glue and rubber cement to make my shelf, and it’s held up for a couple of months so far.
Now it’s time for more upcycling DIY ideas from my blogging friends!
How To Make The Best Olive Oil Dispenser // My 100 Year Old Home
Giant Charcuterie Board // My Sweet Savannah
Creative Upcycling Ideas // Modern Glam
Oui Yogurt Jar Crafts // Happy Happy Nester
Vintage Cart turned Airbnb Coffee Bar Cart // Tatertots & Jello
Small Backyard Sitting Area // Craftberry Bush
Vintage Metal Glider Turned Porch Swing // Twelve on Main
Old Stool Makeover with Furniture Paste Wax // The Happy Housie
How to Turn an Old Picture Frame into a Shelf // The DIY Mommy
Upcycling a Glass Vase into a Pot with Spray Paint // Zevy Joy



Looks adorable, Christina! What a pretty idea!
Wonderful work!