DIY Christmas Door Swag with a Thrifted French Horn
This post may contain affiliate links · This blog generates income via ads
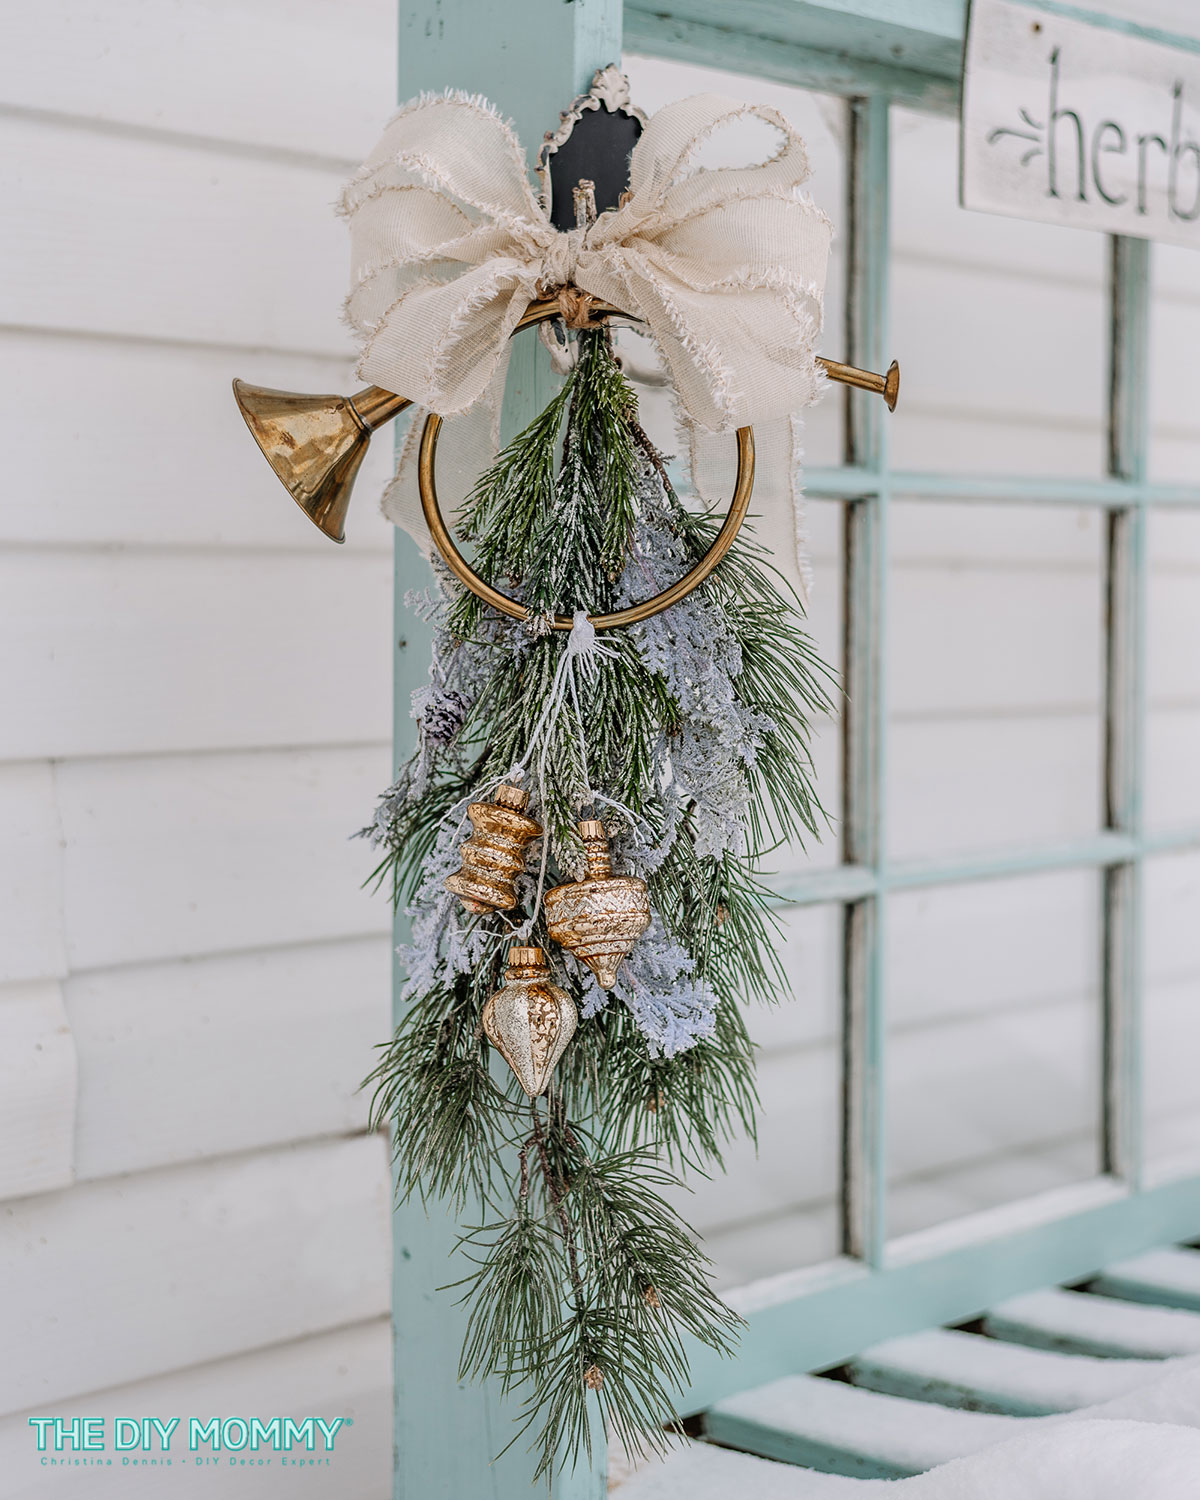
The Holiday season is upon us, and what better way to welcome guests than with a festive DIY Christmas door swag? Today, I’m thrilled to share a unique twist to your traditional door decor by incorporating a thrifted French horn. Not only does this project add a touch of musical charm, but it’s also a budget-friendly way to spread the Christmas cheer. So, let’s dive into the steps of creating your very own jingle-worthy masterpiece!
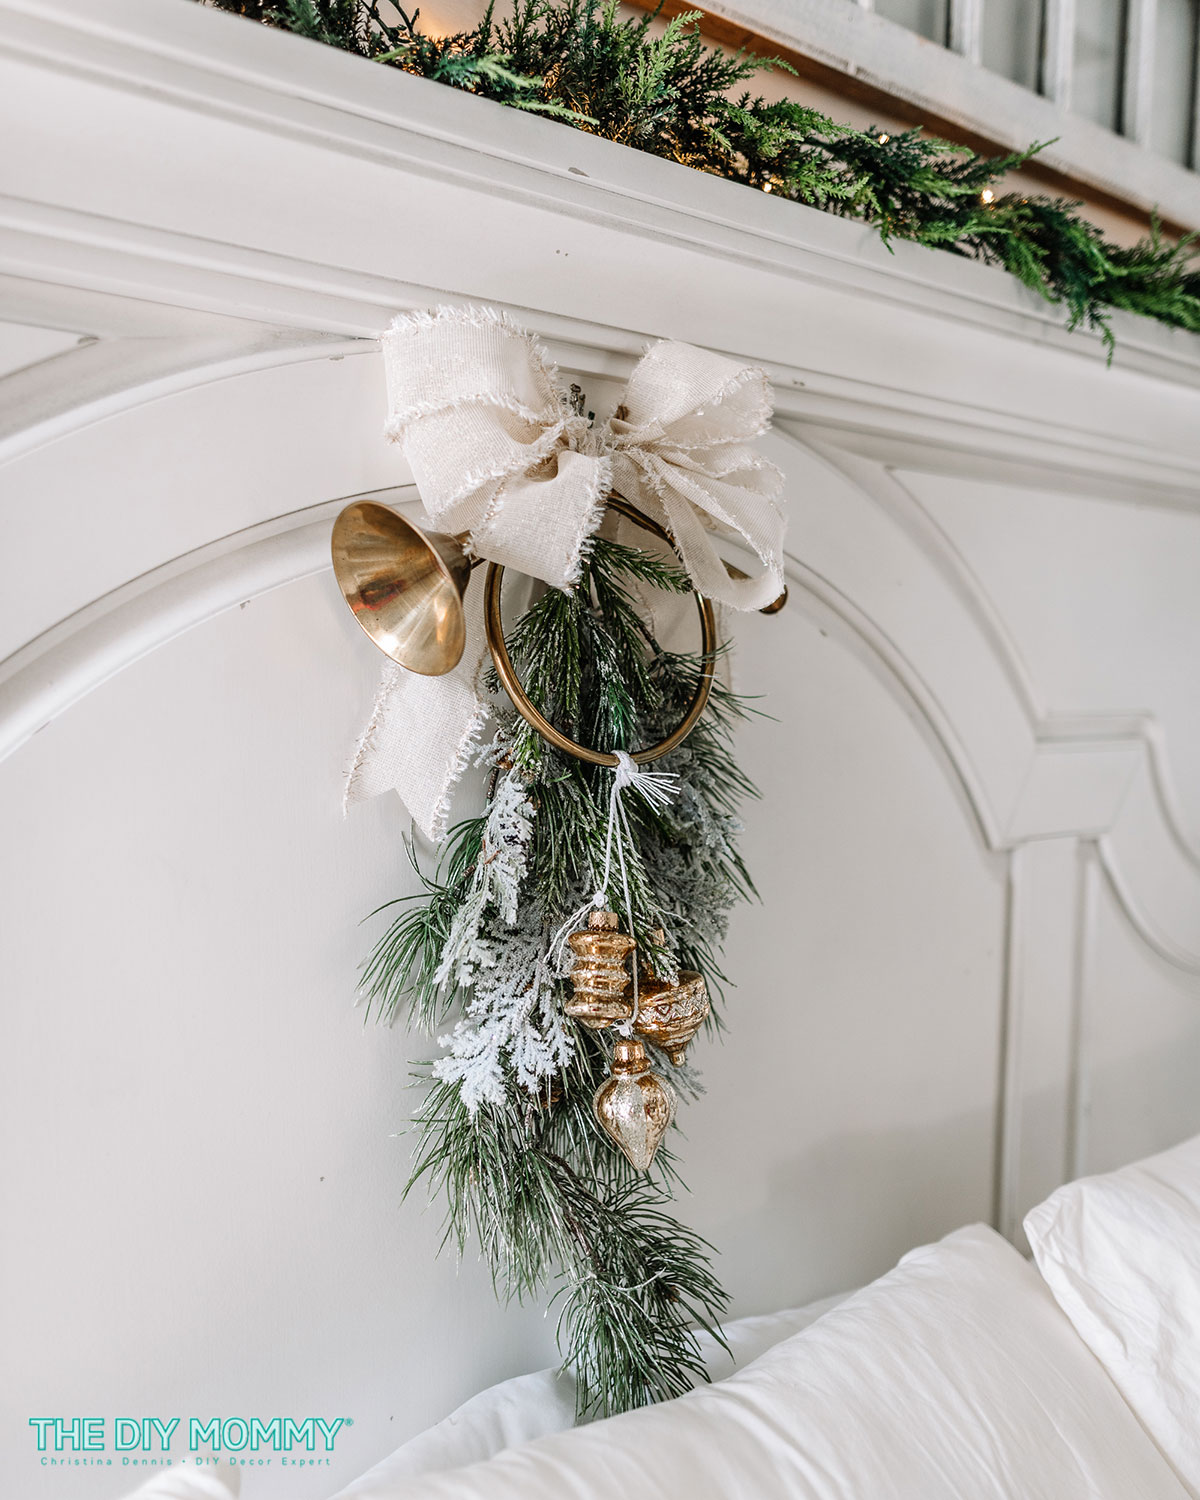
When I found a brass French horn decoration at Value Village, I knew it would be the perfect base for a stunning Christmas decoration. This DIY swag is super easy to make, and it’s perfect for your front door, or even as a decoration on your bed headboard! Swags are a fun alternative to traditional Christmas wreaths, and this gorgeous swag is sure to be a Christmas decor favourite for years to come.
You Will Need
- Thrifted French horn
- Faux greenery (pine branches, glittery cedar branches)
- Festive wide ribbon and narrow ribbon
- Mini ornaments, baubles, or pinecones
- Hot glue gun and glue sticks
- Wire cutters
- Floral wire
- Twine or ribbon
How to make your DIY Christmas door swag
Step 1: Find Your French Horn
Head to your local thrift store or scour online marketplaces to find a charming French horn. Look for one with a bit of vintage flair – we want it to tell a story! Give it a good clean to make sure it’s ready for its festive makeover. I was so happy when I scored this brass French horn in the brass tableware section at my local Value Village!
Step 2: Gather Faux Greenery
Hit up your local craft store or repurpose faux greenery from old decorations. I found my greenery stems at Michaels. Opt for a mix of textures and shades to add depth to your door swag. Pine branches and cedar stems work wonderfully for a classic Christmas look. You could also add in some red berries or white berries stems for even more texture and colour. (Want a fresher look? Use real evergreen branches for a decoration you can enjoy remaking every Holiday season.)
Step 3: Create a Base
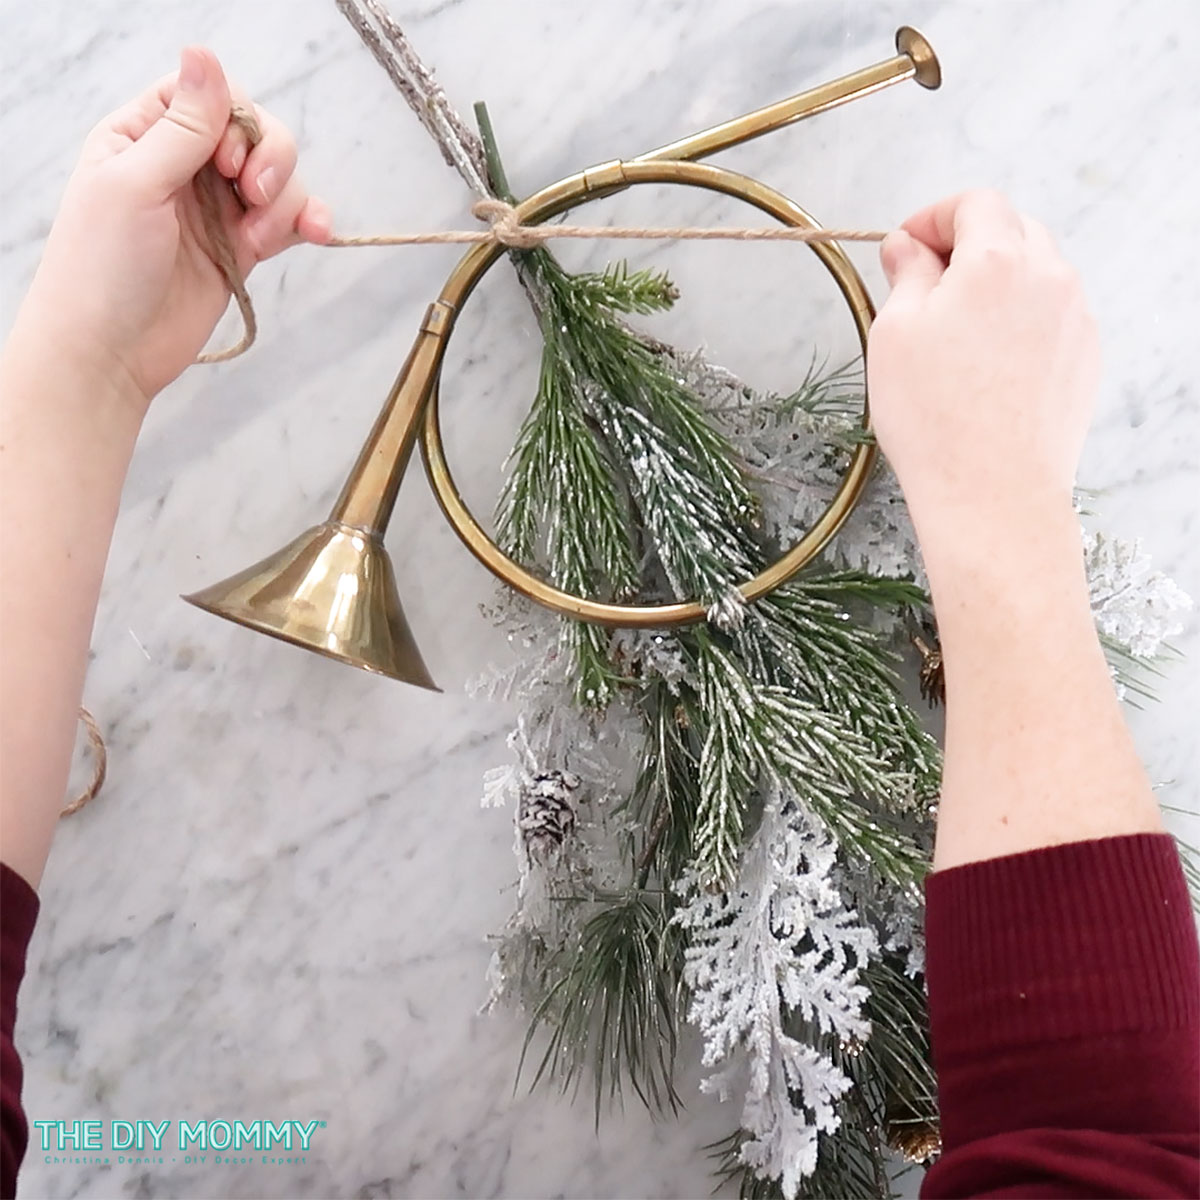
Layer a few stems of greenery together to create a large teardrop swag shape. I used about 4 faux greenery stems in total to create my greenery swag base. Take some floral wire and wrap it around the top of the stem bundle to secure everything together. Add the French horn to the top of the greenery bundle, and tie it together with some twine. Use wire cutters to trim off any excess greenery stems.
Step 4: Add Festive Ribbon
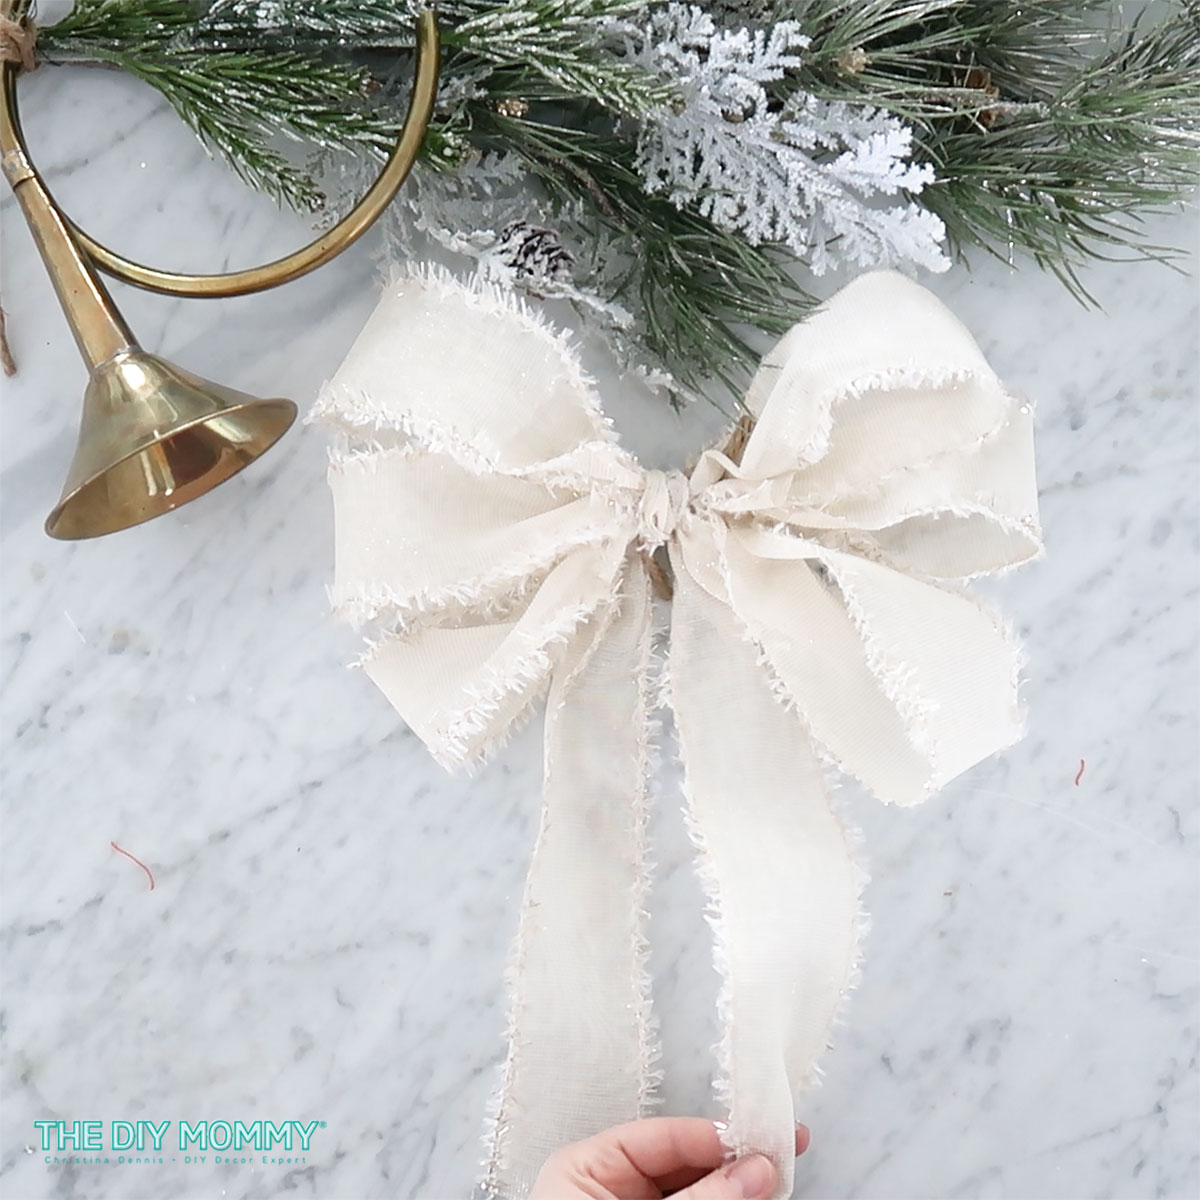
Now, take some ribbon and create a beautiful, festive bow. I created mine by looping some 2 1/2″ wide wired ribbon back and forth in a figure 8 style so there are 3 loops on each side. Once the bow is created, take some twine and tie it around the center of the bow to secure it. Then, take more ribbon, tie it around the center of the bow, and leave some long tails. Cut the ends of the tails into a dovetail shape.
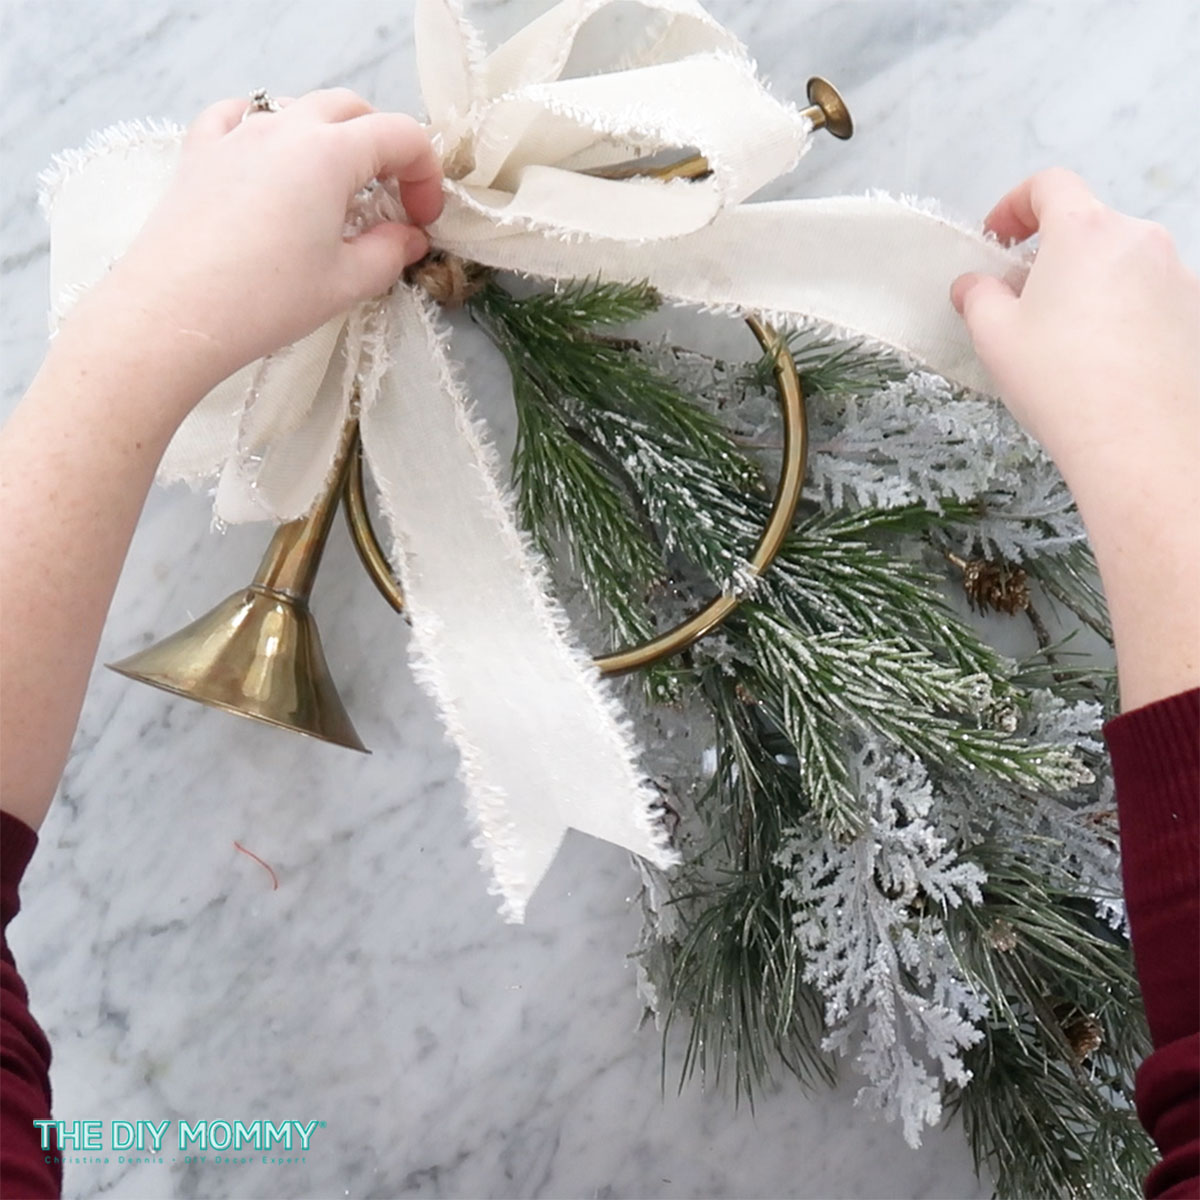
Then attach the bow to the top of the swag with some hot glue. This not only adds a pop of color or texture but also helps conceal the twine knot. Experiment with different patterns to match your holiday theme.
Step 5: Deck it Out with Ornaments
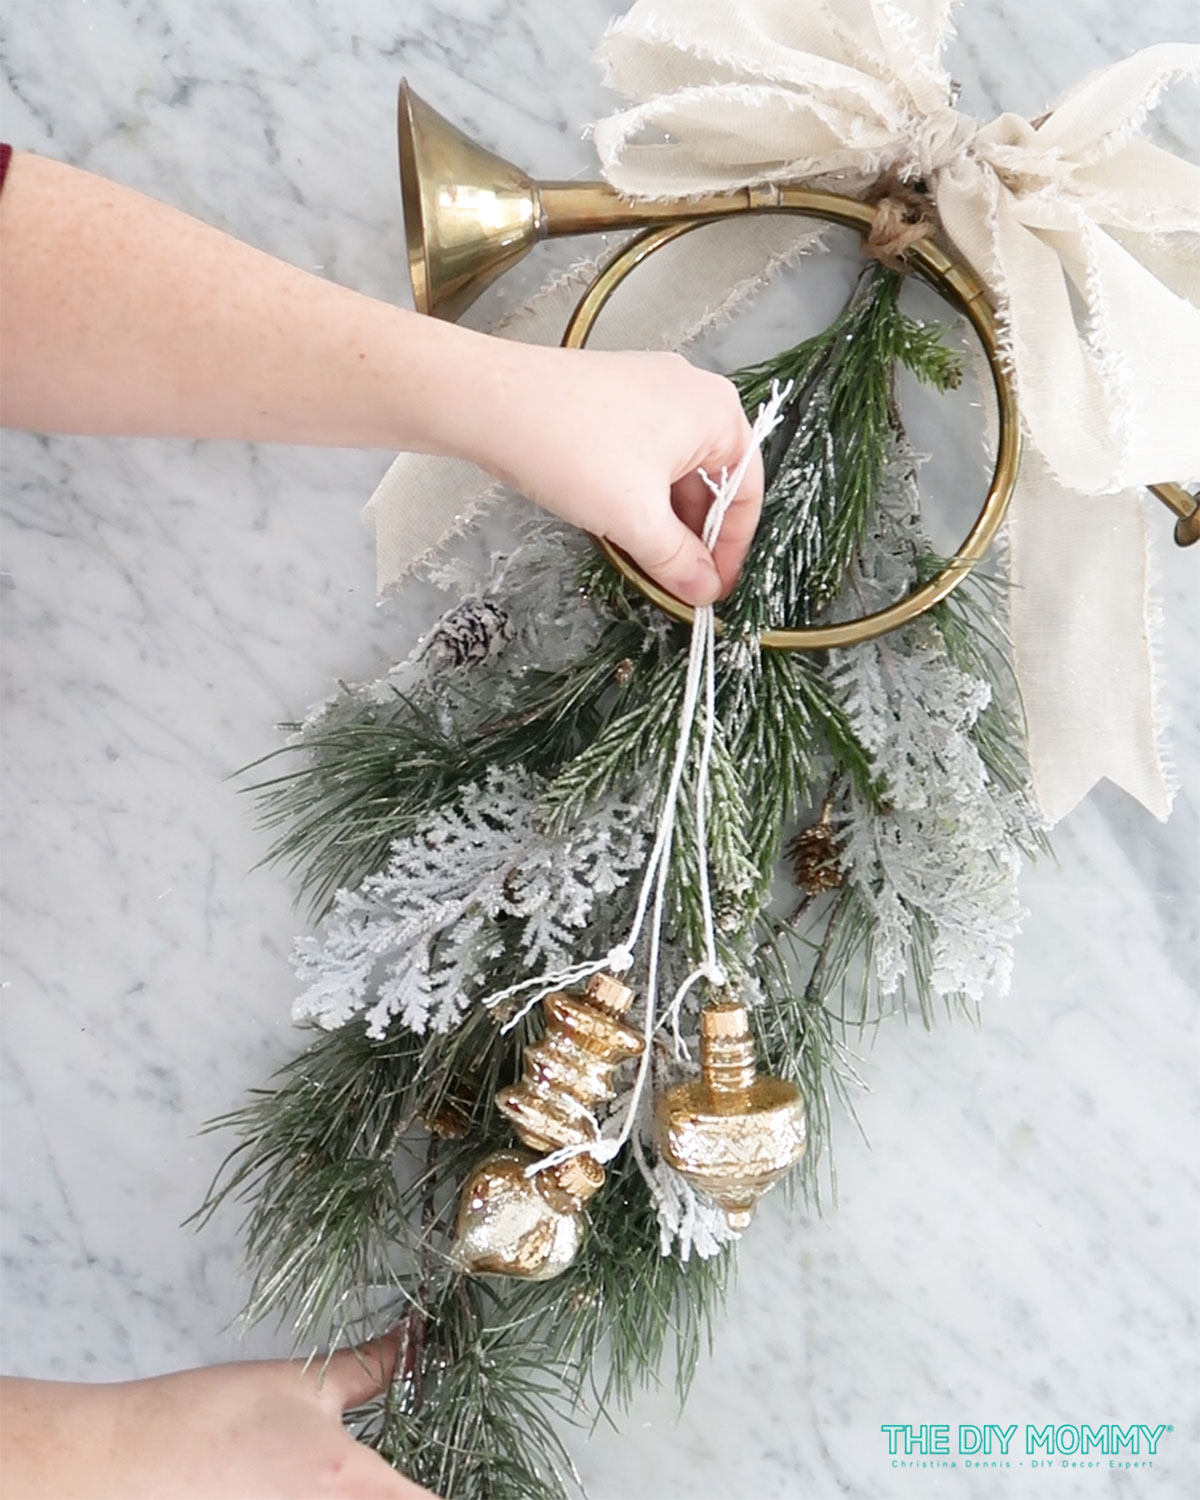
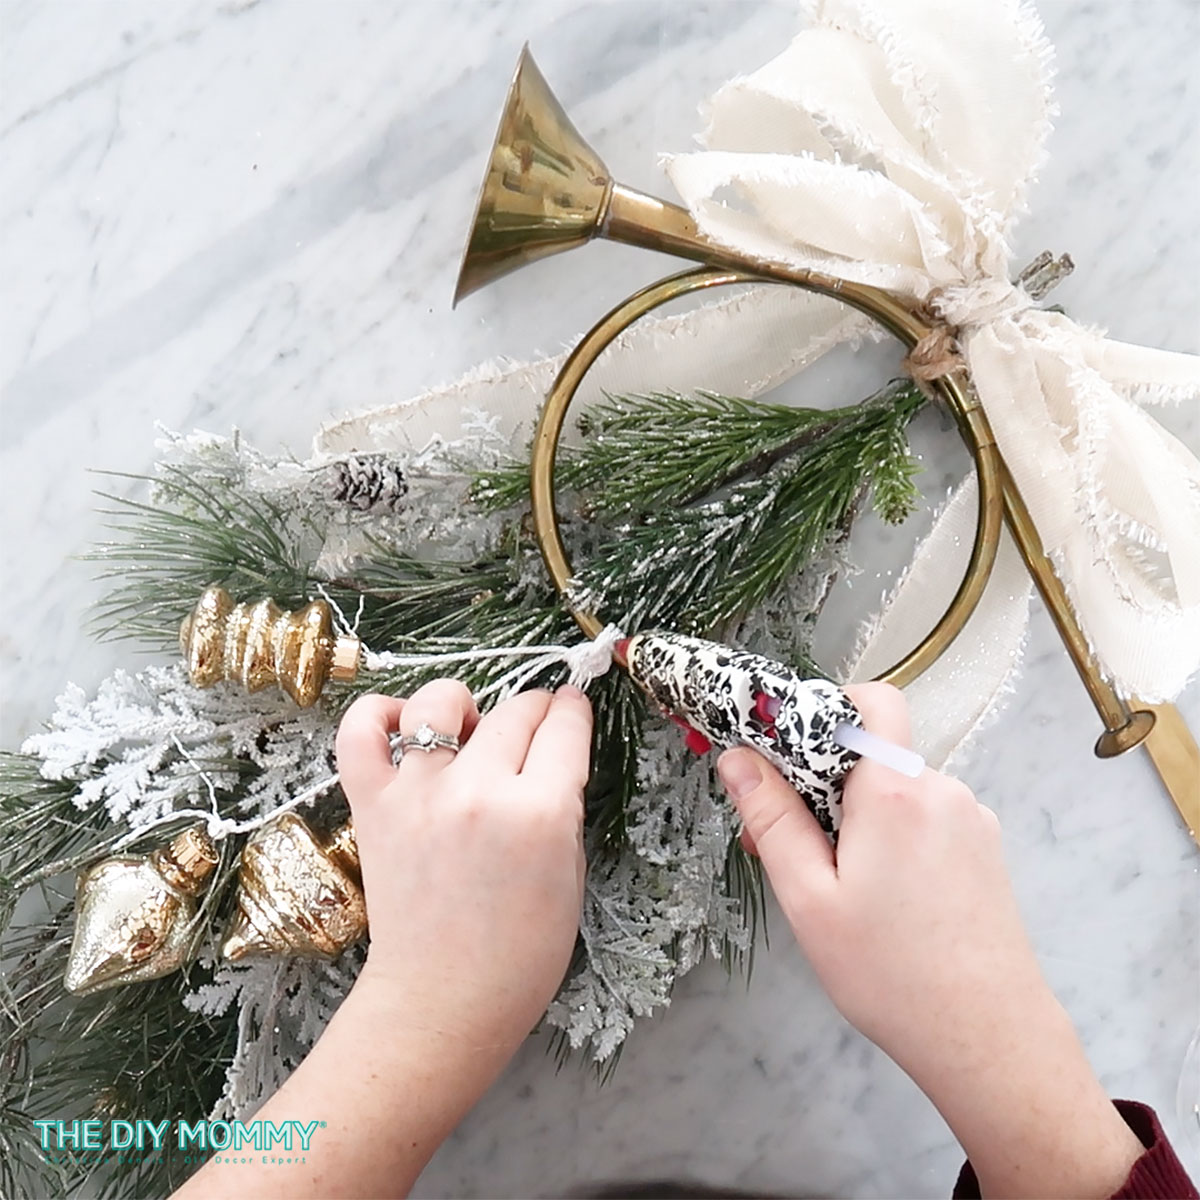
Next, tie some thin ribbon onto a few small ornaments. I used 3 gold glass ornaments for this swag. Alternatively, you could use pinecones for a more rustic look. Leave about 1 foot of ribbon tied to each ornament. Then, arrange the ornaments so that they hang from the base of the French horn. Make the ribbons different lengths so that the ornaments will hang at different heights.
Then, tie all the strings at once to the bottom of the French horn. This step adds a playful and personalized touch to your door swag. You can add a dab of hot glue to the knots to help keep them secure.
Step 6: Secure Hanging Mechanism
Loop twine or ribbon through the French horn and secure it with a knot. This will serve as the hanger for your masterpiece. Make sure it’s sturdy enough to withstand winter weather.
Alternatively, you can simply use the top loop of the French horn, and hang that directly on your door with a Command hook or a nail. That seemed to work just fine for my swag since it wasn’t too heavy!
Voila! You’ve just crafted a one-of-a-kind Holiday door swag that’s sure to turn heads and spread joy. Not only does this DIY Christmas door swag look stunning as a welcoming front door decoration, it makes a beautiful addition to your headboard, or as a simple wall display. Happy crafting!

