Make a DIY Christmas Countdown Calendar with Dollar Store Supplies
This post may contain affiliate links · This blog generates income via ads
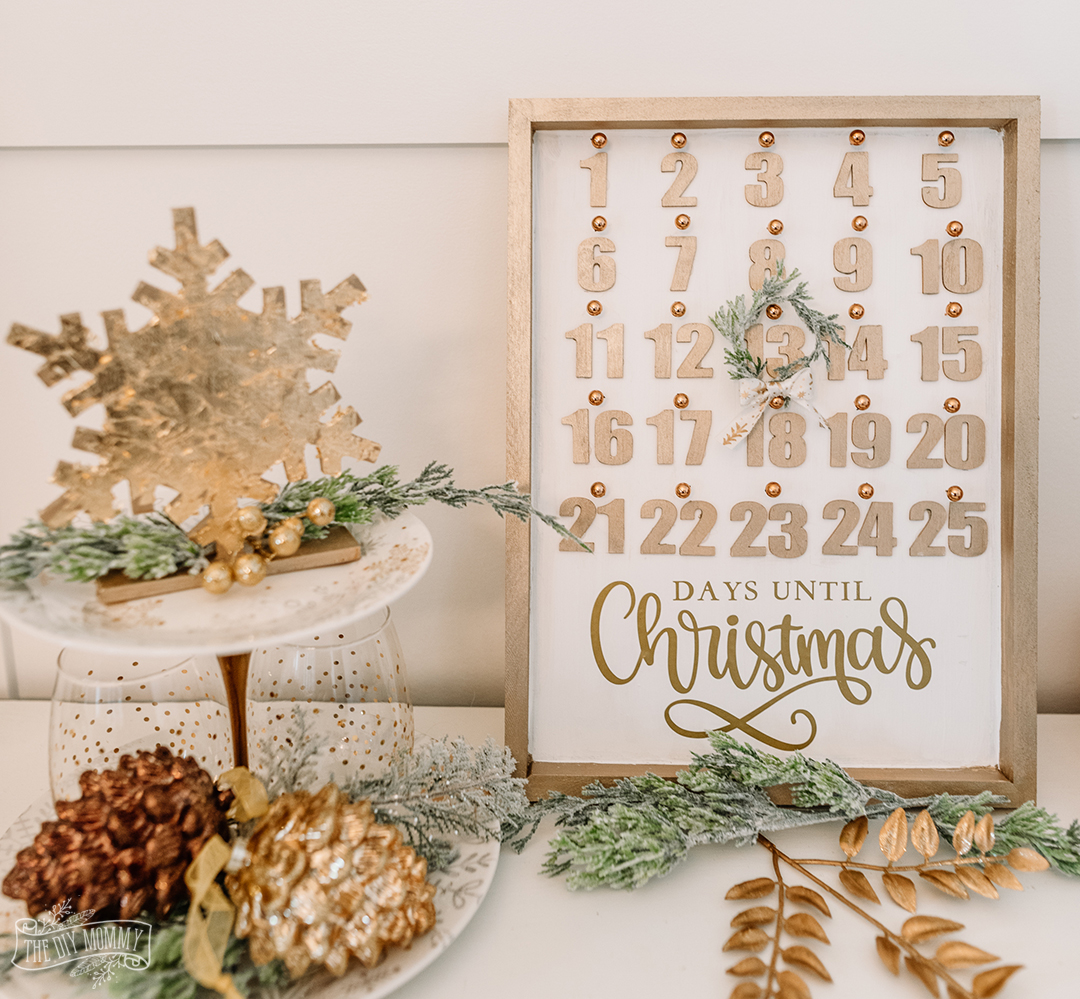
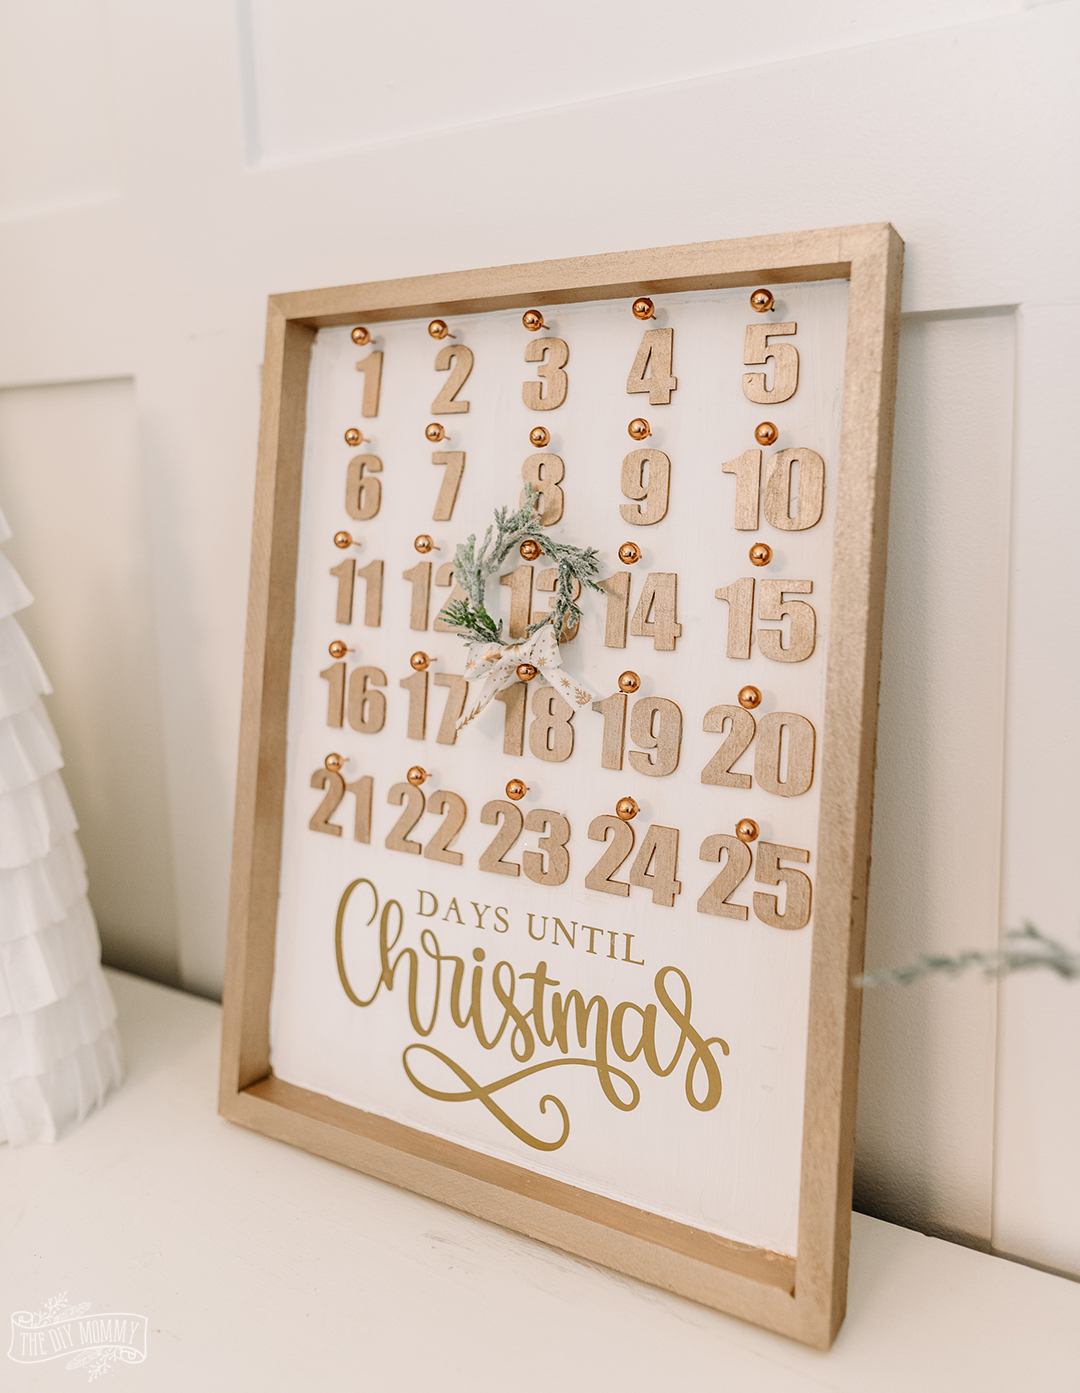
Come make a lovely DIY Christmas countdown calendar with dollar store supplies that you can use this Holiday season. I’ll show you how to make one that won’t cost you much, but that will match your decor perfectly!
Remember the “artist panel” from Dollarama that I used last season to make a rustic tray? (Get that DIY here!) Well, I’ve used this piece again, but this time I’m making something for Christmas: a countdown calendar!
I think these wooden framed panels are so fabulous, and for only a few dollars each, how could you go wrong?! The crafting possibilities are endless.
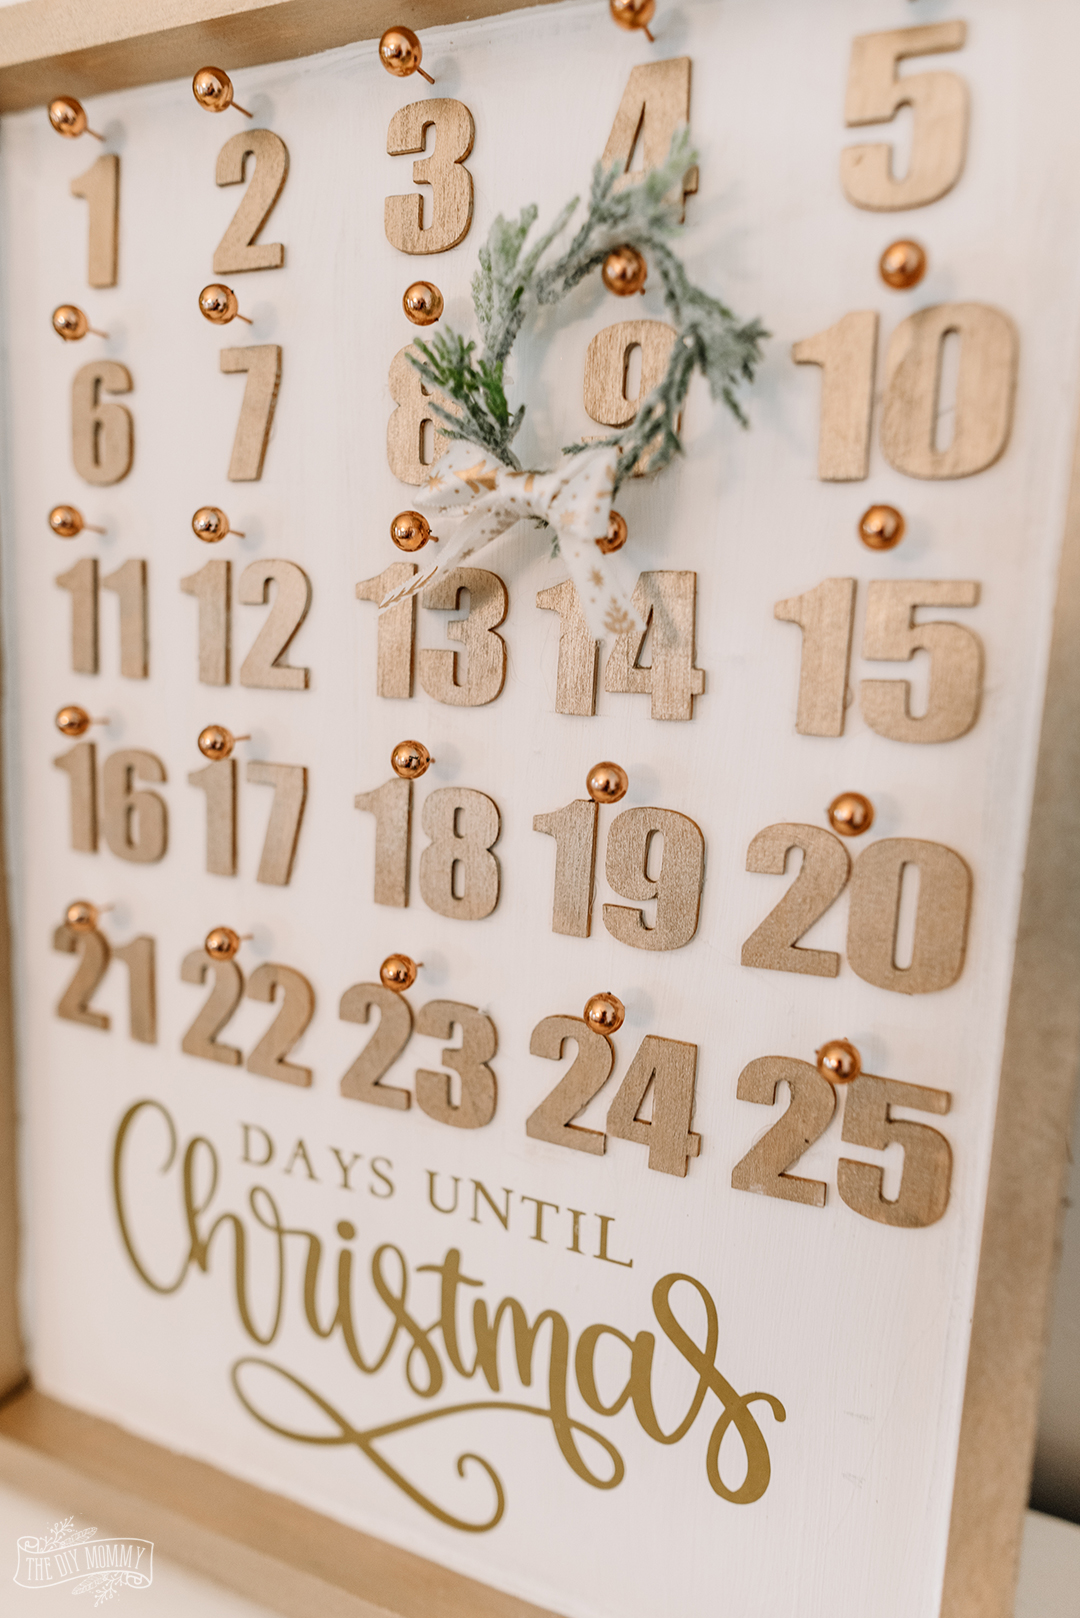
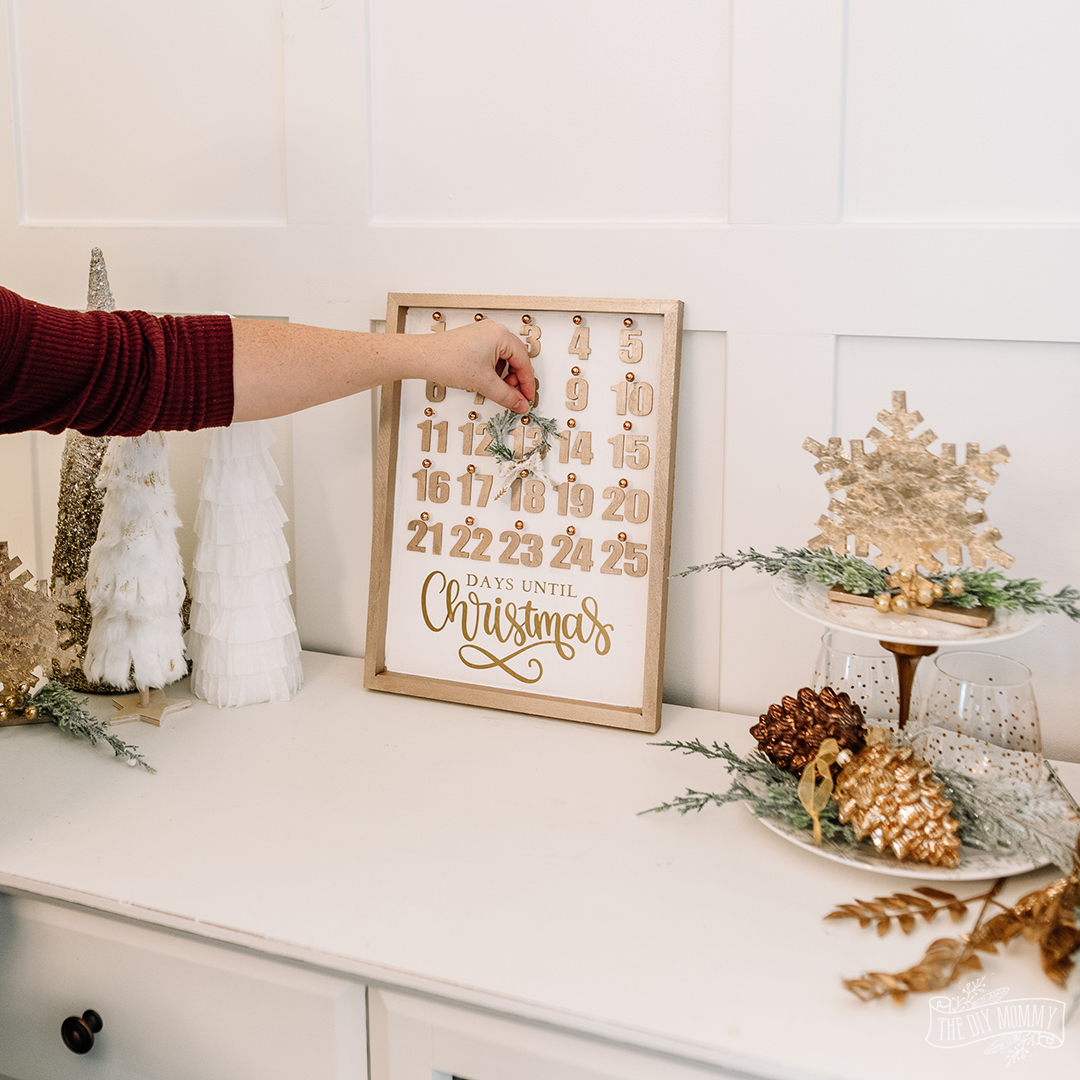
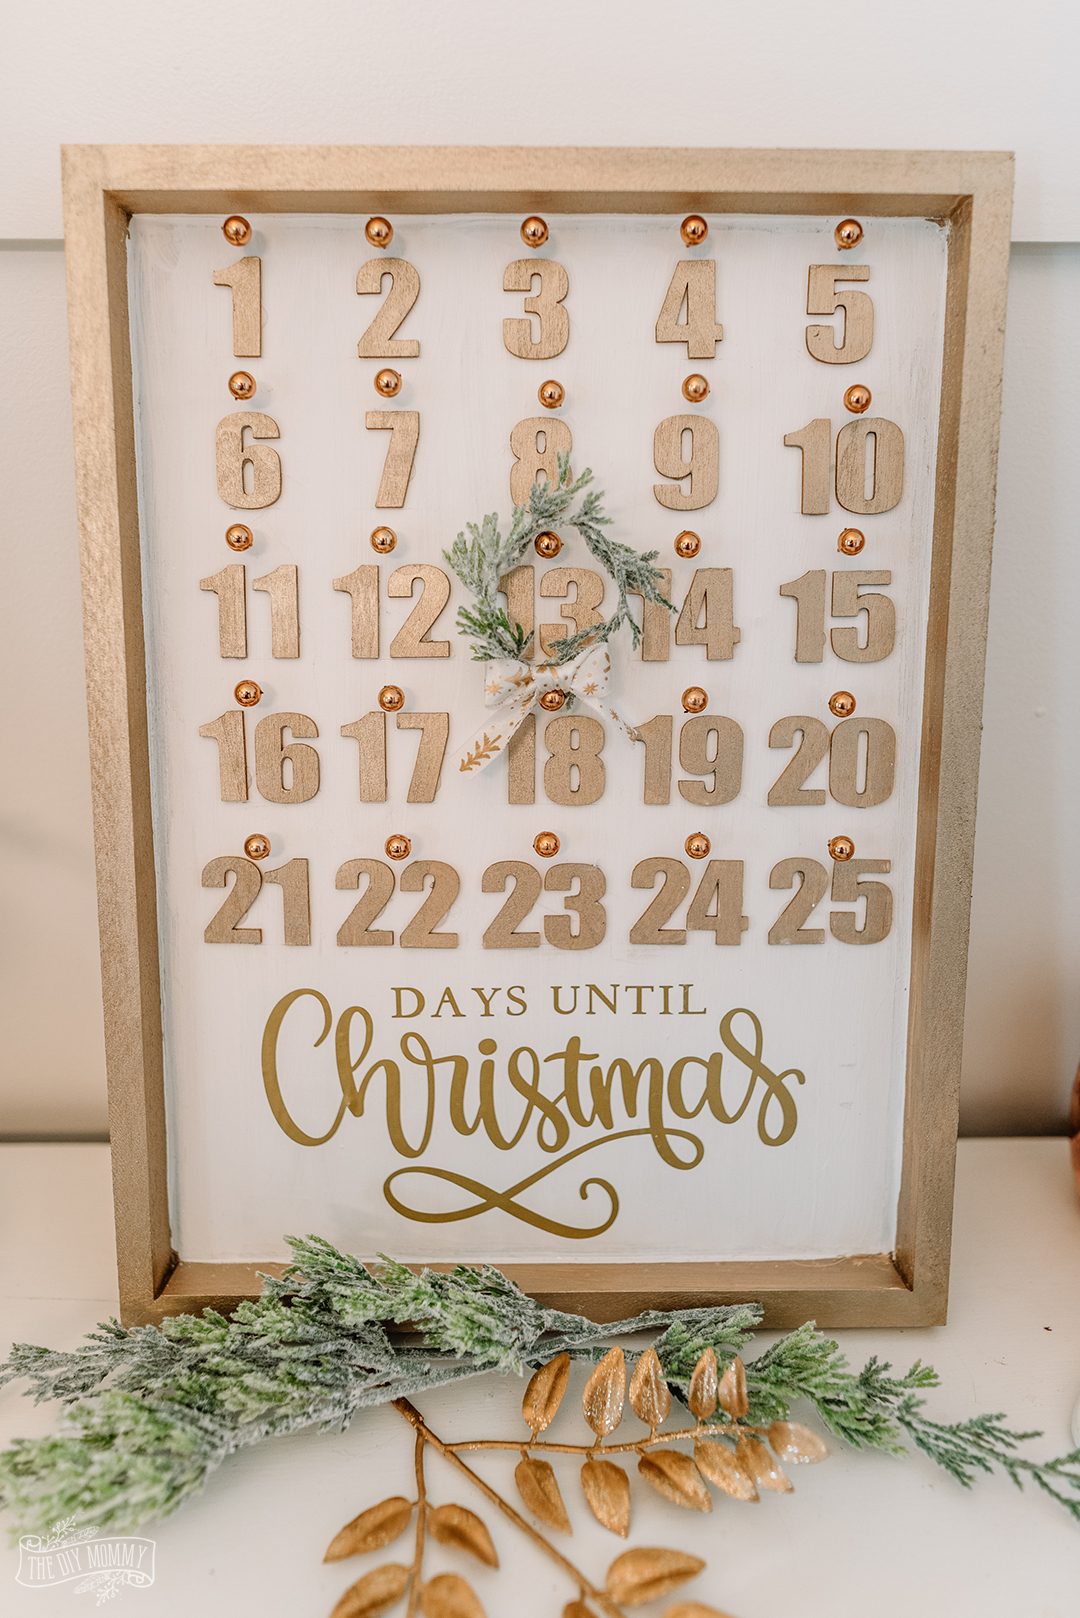
When combined with some paint, Dollarama wooden letters, Dollar Tree push pins and a golden vinyl decal, this panel becomes an adorable countdown calendar for the Christmas season. There’s a little wreath made from faux greenery that you can move along the calendar to anticipate how many more days there are until Christmas Day.
I had seen something like this on Pinterest, and followed the link. It led me to an item from Target that was no longer available. Since the calendar is no longer around (and since we don’t even have Target here in Canada anymore… *sniff*!), I thought it would be fun to create a calendar that was inspired by the one I had seen.
Follow the instructions below to make this DIY Christmas countdown calendar, or watch the video below:
DIY Christmas Countdown Calendar with Dollar Store Supplies
This adorable Christmas countdown calendar is made with dollar store items! You can customize it to suit your decor, and it's so easy to create.
Materials
- Dollarama Artist's Panel
- 3 Dollarama small wooden numbers packs
- Dollar Tree copper coloured push pins
- Acrylic paint in 2 desired colours (I used champagne gold and white)
- Faux greenery scrap
- Thin ribbon
- Gold vinyl OR "Days Until Christmas" decal (if you don't have a Cricut to make one)
Tools
- Hot glue gun & hot glue sticks
- Small paint brush
- Small foam brush
- Hammer
- Cricut (optional)
- Dropcloth
- Pencil
- Ruler
Instructions
- Find enough wooden letters to create numbers 1 through 25 and paint them your desired colour.
- Paint the frame of the Artist's Panel the same colour, and then once dry paint the inside of the panel the contrasting colour.
- Once dry, mark out a 5 x 5 grid on the inside face of the panel with a pencil and ruler leaving about 5" at the bottom.
- Place the wooden numbers 1 - 25 within the grid, and then once you're happy with the placement, attach the numbers with hot glue to the panel.
- Create the "Days Until Christmas" decal with a Cricut and gold vinyl using this project link on Cricut Design Space OR purchase a ready-made decal (look on Etsy).
- Apply the decal to the bottom of the panel.
- Using a hammer, gently tap one push pin into the panel over each number.
- Create a tiny wreath using a scrap of faux greenery and a glue gun to attach its ends together. Finish it with a tiny bow made from thin ribbon.
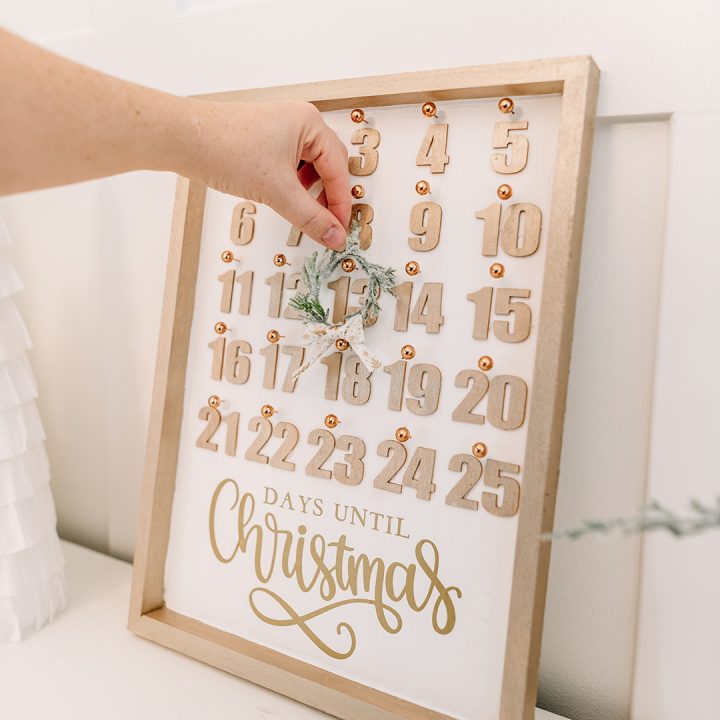
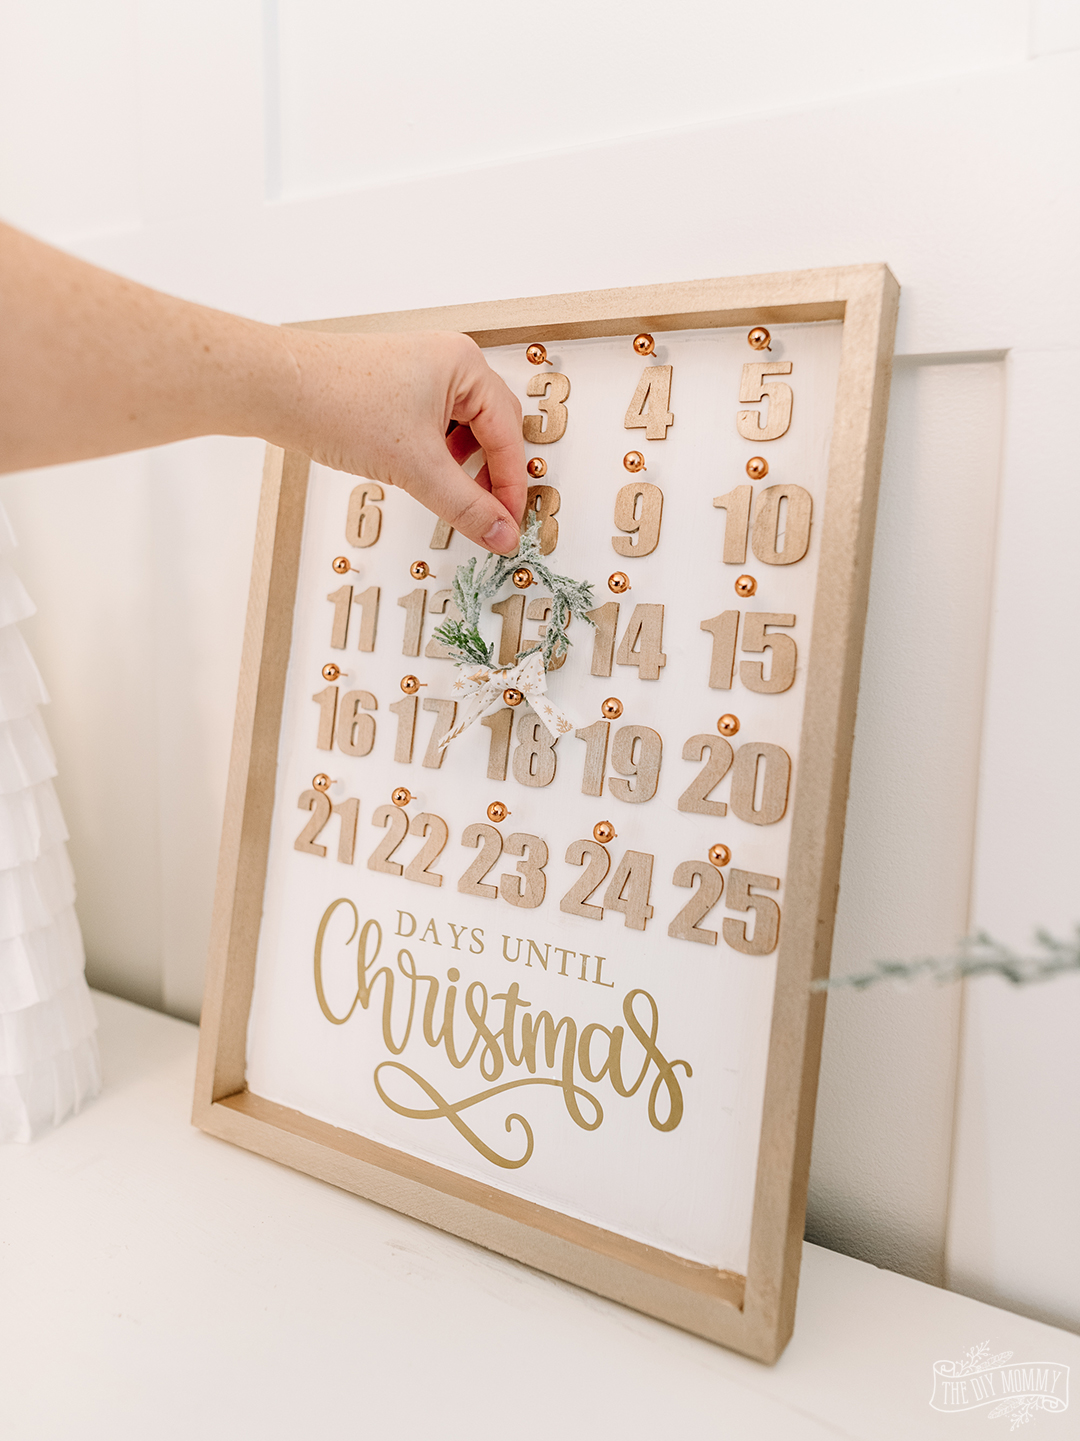
- Your calendar is complete! You can move the wreath from number to number as you get closer to Christmas Day.
Have fun creating your Christmas countdown calendar!

Such a perfect Christmas DIY Christina. I adore the colours you have used too.
Thank you for sharing DIY Christmas countdown calendar project on Create, Bake, Grow & Gather this week. I’m delighted to be featuring this post at tomorrow’s party and pinning too.
Hugs,
Kerryanne
This is so perfect, it looks store bought and not DIY. I love the colors and that little wreath.
This is STUNNING! I am a doctor during Covid times and have had a hard time getting ready for the holidays due to everything going on in the world. I have been looking for a beautiful Christmas countdown and this is EXACTLY that! Would you ever consider selling it? I just don’t have the time to DIY in the next few weeks.
Can you tell me what size the board is and how tall the numbers are?
I love this and want to make one. Does it have a frame around it,and where that come from?
Thanks Linda
This is an artist panel and comes like that. I got it from Dollarama.
Hello, what size panel did you use?
I believe this was 8″x10″