How to make a Door Mat with a Cricut
This post may contain affiliate links · This blog generates income via ads
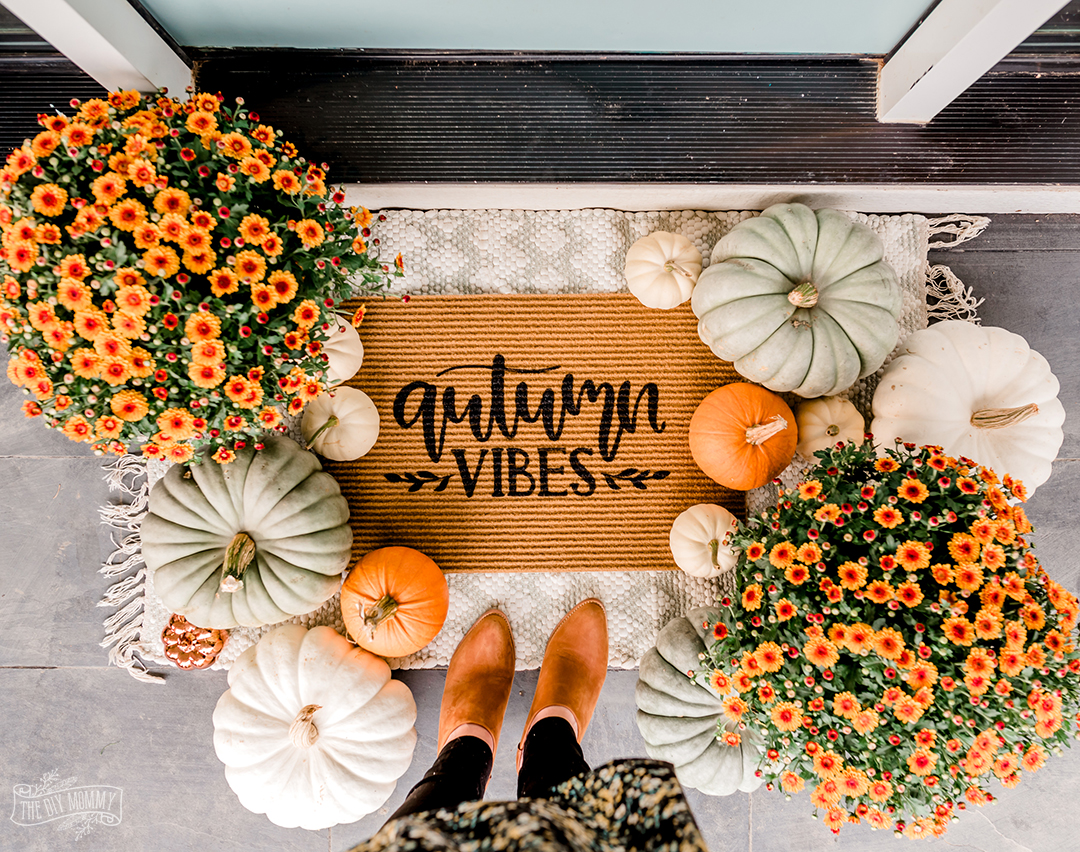
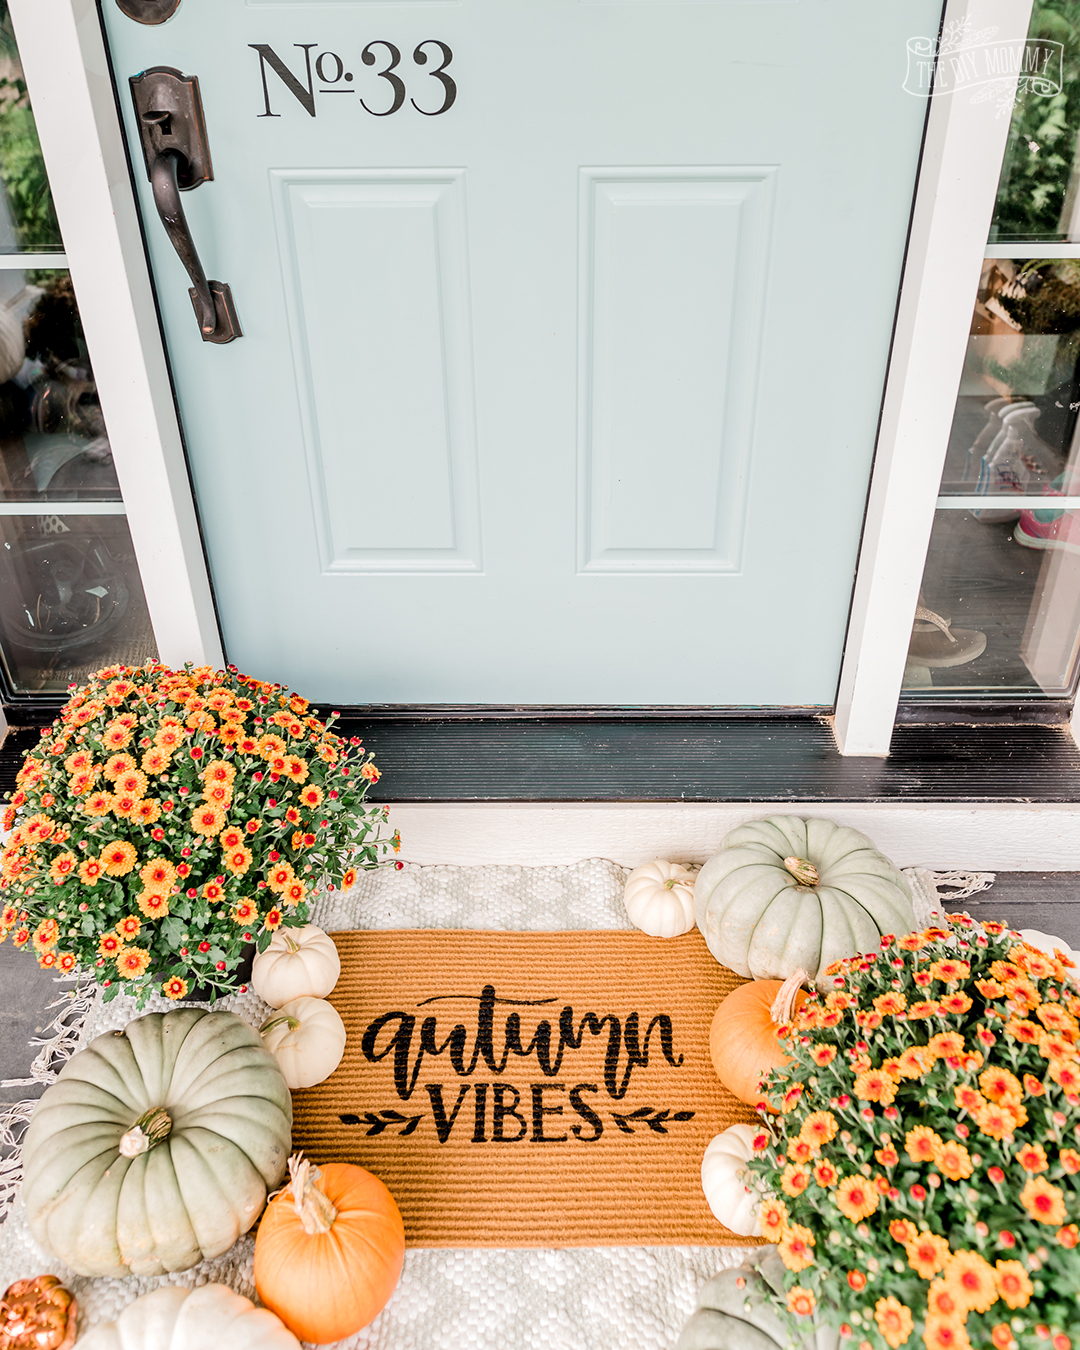
There’s nothing cuter than a custom, handmade door mat at the front door to welcome family and guests. Here’s how to make a door mat with a Cricut!
This blog post is part of a seasonal blog hop – Seasonal Simplicity – hosted by The Happy Housie. Make sure to check out all of the other Fall DIY ideas from my blogging friends linked at the bottom of this post!
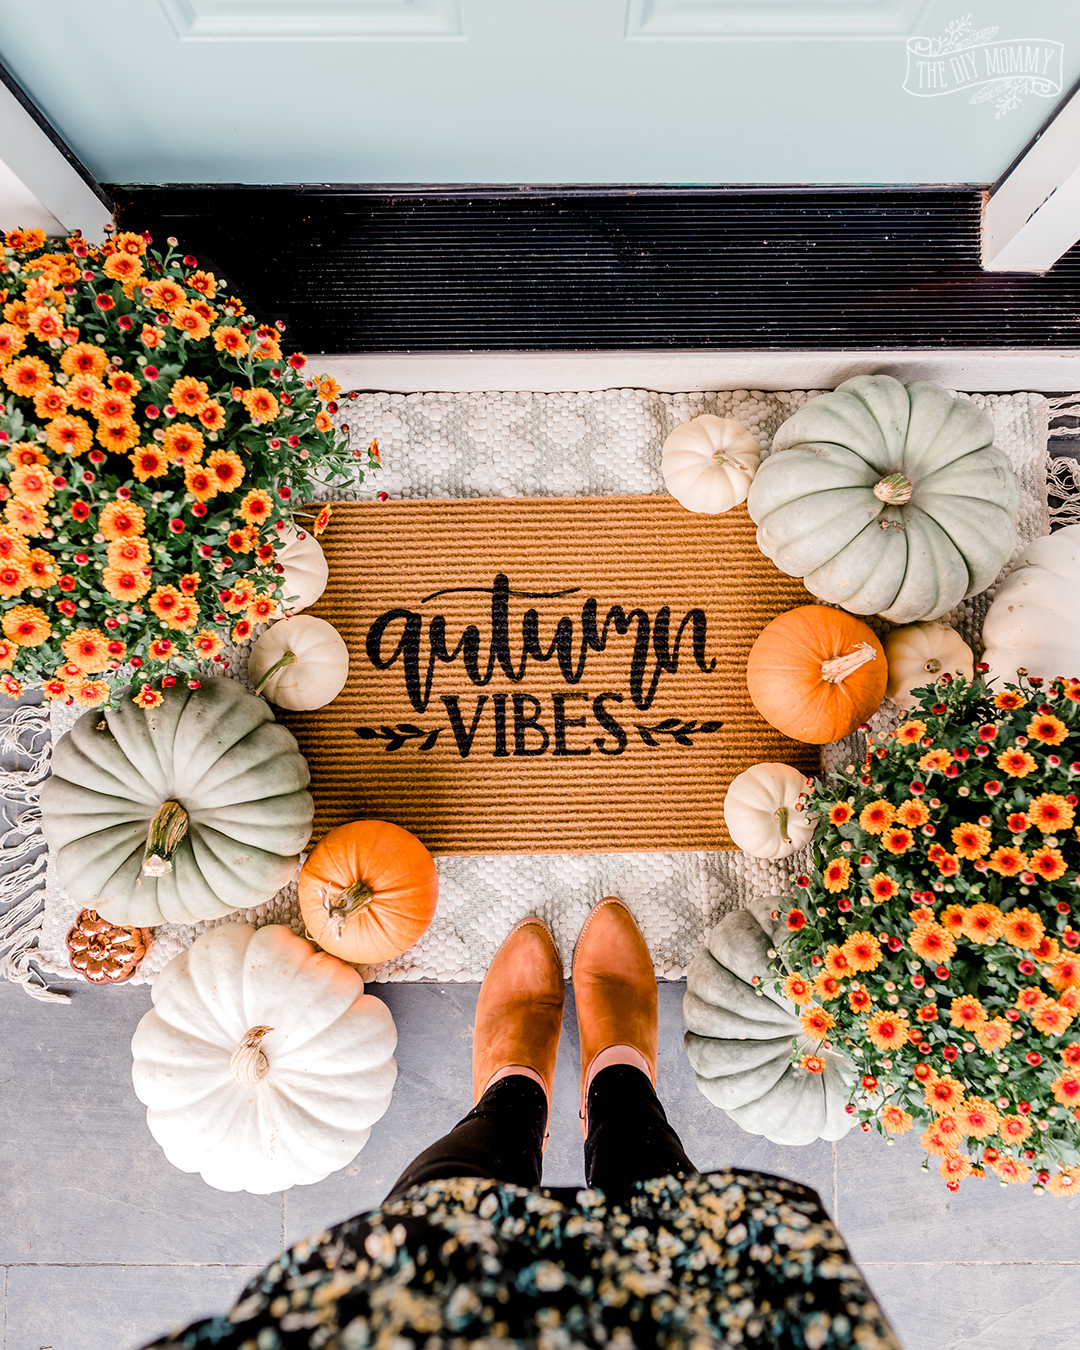
I wanted a cute front door mat for Fall on my porch, but didn’t want to pay a ton of money for it. Using a $2 rug from Dollarama and my Cricut, I made this fun “Autumn Vibes” door mat that I totally love!
Watch my YouTube video below to see learn how to make this front door mat + how we decorated our front porch for Fall:</h2
Here’s how to make a door mat with Cricut
Don’t have a Cricut or another cutting machine? Here’s how to make a front door mat without one.
Disclosure: This post contains affiliate links. When you purchase an item via these links, I receive a small commission at no extra cost to you.
Materials:
- small outdoor mat in a light colour (I found mine at Dollarama)
- Cricut machine & mat
- stencil vinyl ( two 12×12″ pieces)
- transfer tape
- black paint (I used Fusion Mineral Paint in Black Coal)
- stencil paint brush
- this Cricut Design Space project file
- polyurethane spray
Instructions:
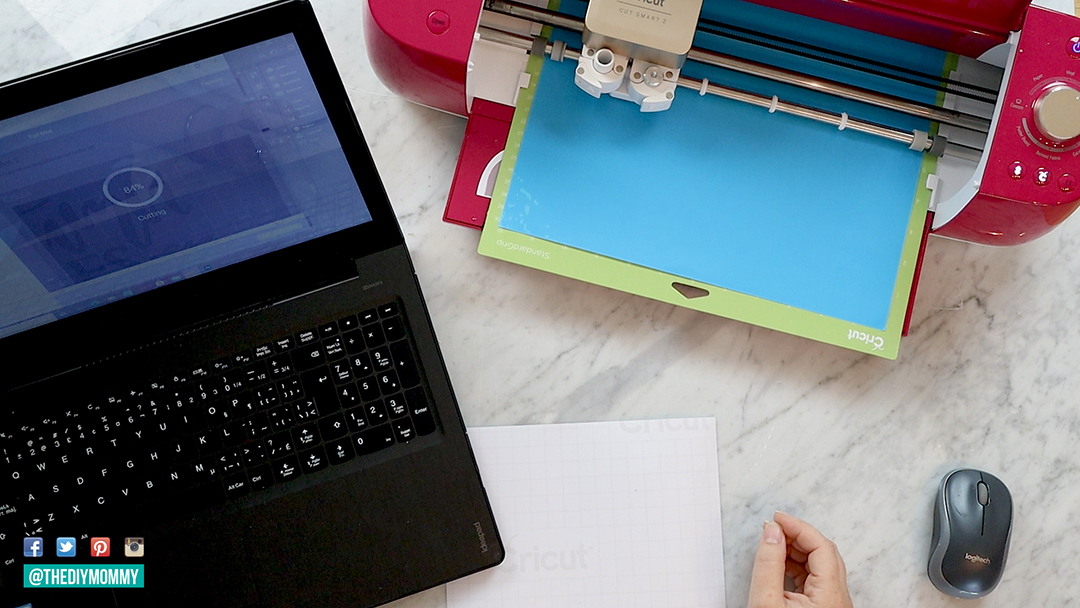
Access this Design Space project file and cut it onto stencil vinyl with your Cricut.
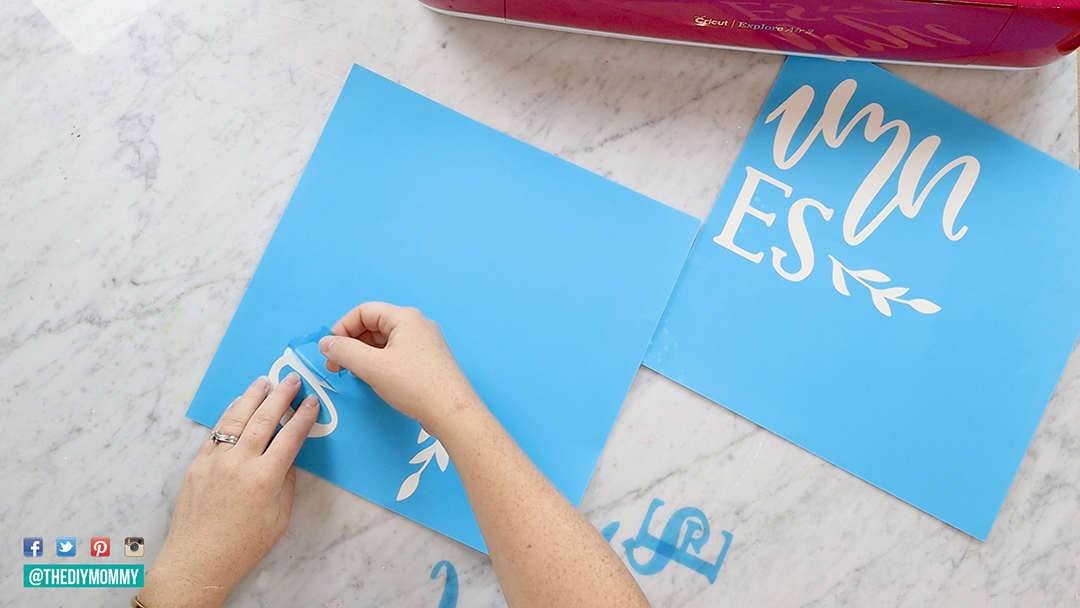
Weed out the letters from the vinyl sheets.
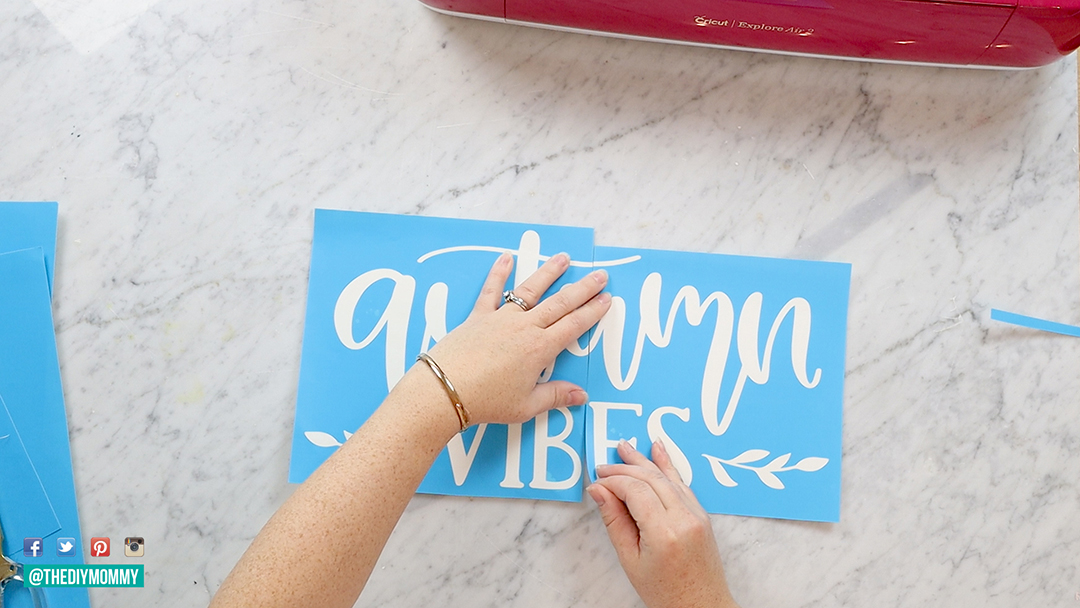
Trim the inner edges of the vinyl sheets with scissors so that the letters match when the sheets are placed together.
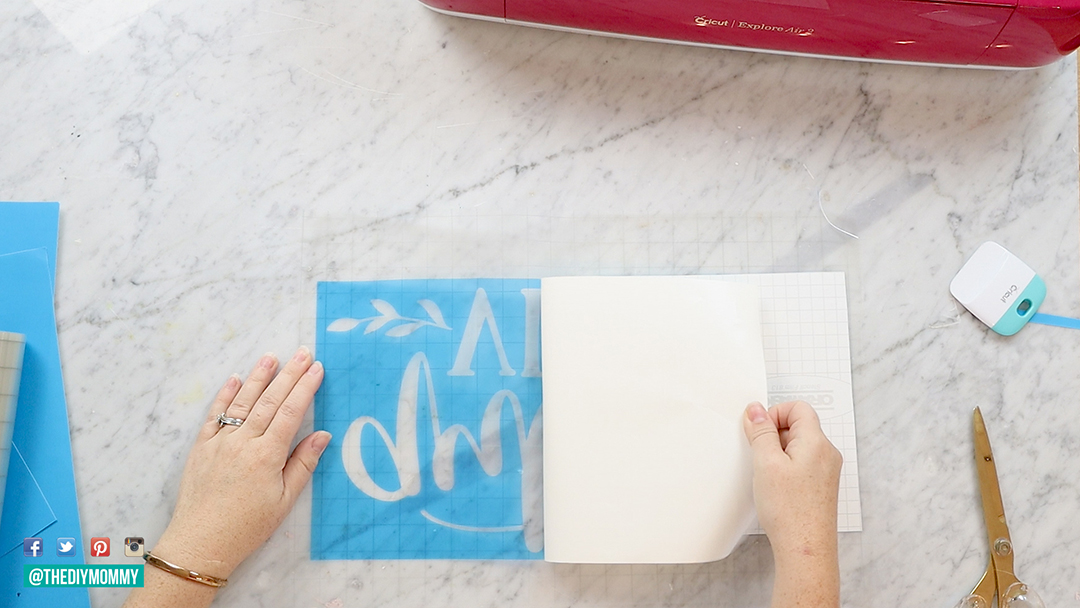
Apply transfer tape to the sheets (ensuring the edges are lined up), and remove the backing from the vinyl.
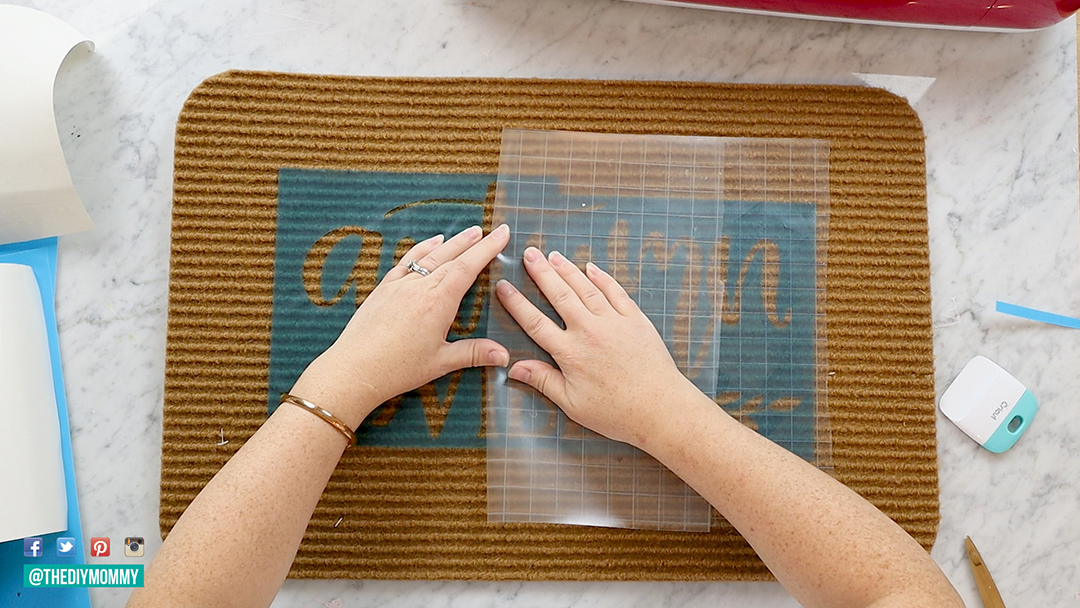
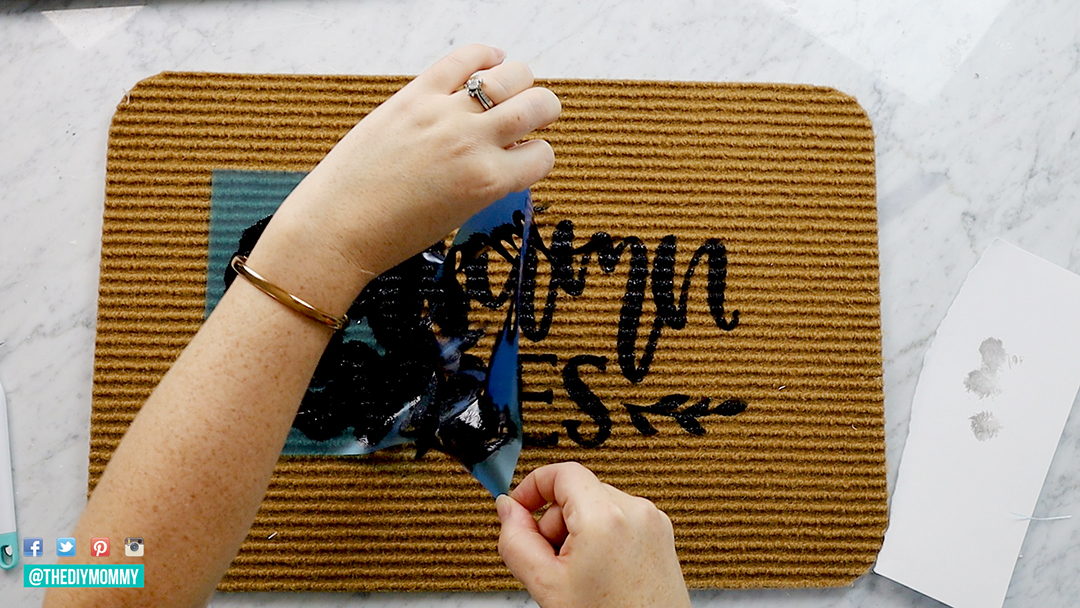
Center the design on top of the door mat, press the vinyl down, and gently remove the transfer tape.
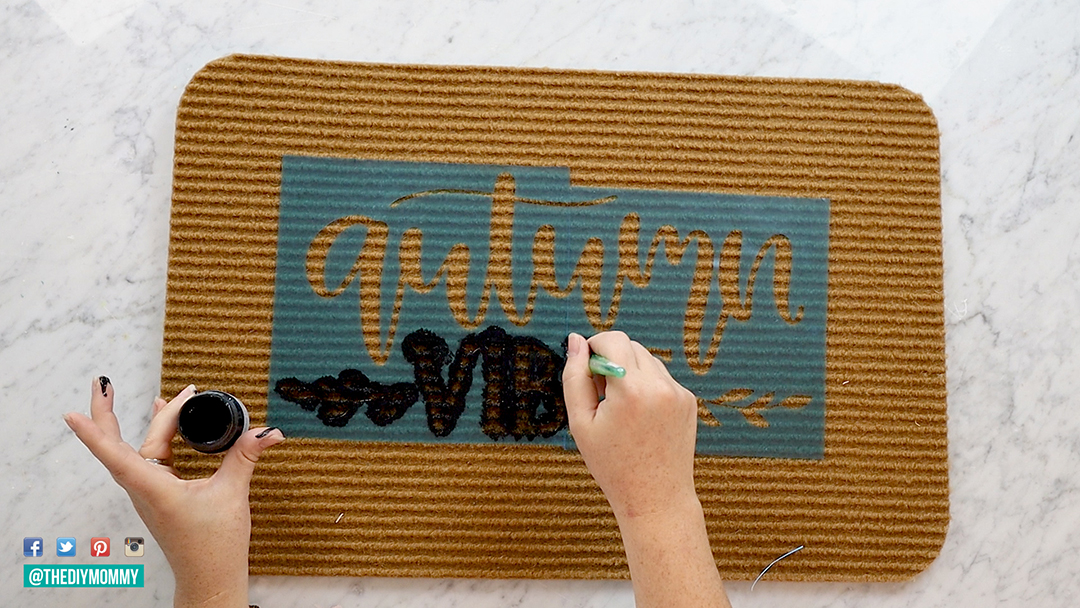
Apply black paint in a dabbing motion to the stencil with a stencil brush. You will need 2-3 coats of paint.
Once the paint is dry, remove the vinyl stencil. Finish the mat with a protective coat of Varathane polyurethane spray.
Enjoy your cheerful Fall front door mat!
How to make a Door Mat with a Cricut
There’s nothing cuter than a custom, handmade door mat at the front door to welcome family and guests. Here’s how to make a door mat with a Cricut!
Materials
- Small outdoor mat in a light colour (I found mine at Dollarama)
- Stencil vinyl ( two 12×12″ pieces)
- Transfer tape
- Black paint (I used Fusion Mineral Paint in Black Coal)
- Cricut Design Space project file
- Polyurethane spray
Tools
- Cricut machine & mat
- Stencil paint brush
Instructions
- Access this Design Space project file and cut it onto stencil vinyl with your Cricut.
- Weed out the letters from the vinyl sheets.
- Trim the inner edges of the vinyl sheets with scissors so that the letters match when the sheets are placed together.
- Apply transfer tape to the sheets (ensuring the edges are lined up), and remove the backing from the vinyl.
- Center the design on top of the door mat, press the vinyl down, and gently remove the transfer tape.
- Apply black paint in a dabbing motion to the stencil with a stencil brush. You will need 2-3 coats of paint.
- Once the paint is dry, remove the vinyl stencil. Finish the mat with a protective coat of Varathane polyurethane spray.
Notes
Don’t have a Cricut or another cutting machine? Here’s how to make a front door mat without one.
Now it’s time for more Fall DIY ideas from my blogging friends. Click on each link below to go to the projects.
DIY Fall Acrylic Abstract Landscape Painting at The Happy Housie
Five Fun Fall Arrangements at Finding Silver Pennies
How to Make a Dried Floral Wreath at the Tattered Pew
DIY Painted Pumpkins that Look Like Cement at Modern Glam
How to Make a Doormat with a Cricut at The DIY Mommy
DIY Fall Sign at Clean & Scentsible
Scrap Wood Fall Pumpkins at Tatertots and Jello
Macrame Garland at Life is a Party
DIY Abstract Art Our Best Tips at The Handmade Home
Modern Fall Lunaria Wreath at This is Simplicite
Painted Mason Jars at Dans le Lakehouse
Fall Macrame Wreath at Place of My Taste
Easy DIY Fall Shelf Decor at Cherished Bliss
DIY Glitter Pumpkins at Lolly Jane
DIY Rustic Fall Flower Arrangement at Pretty Life in the Suburbs
How to Make a Handmade Clay Bead Garland at My Sweet Savannah
DIY Rustic Wood Centerpiece Box at She Gave it a Go
How to Make a Fall Wall Hanging at Cassie Bustamante
Elegant Fall Flower Arrangement at Rambling Renovators
Blush Fall Hoop Wreath Tutorial at Chrissy Marie Blog
DIY Blue and White Chinoiserie Pumpkins at Jennifer Maune



LOVE this and totally going to use my cricut to make one!!! Awesome idea!
This is SOOO cute!
Such a cute mat!! And I’m in love with your gorgeous pumpkins too!
This is so adorable!
The fall porch is incredibly cute! I’m going to make that DIY mat! Do you have any suggestions if I don’t have cricut?
Thanks!
Areeba
Hi Areeba! Here’s how she made one without a Cricut: https://thediymommy.com/make-a-hello-mat/
I love this! Such a good job!