Elegant DIY Dollar Tree Christmas Village
This post may contain affiliate links · This blog generates income via ads
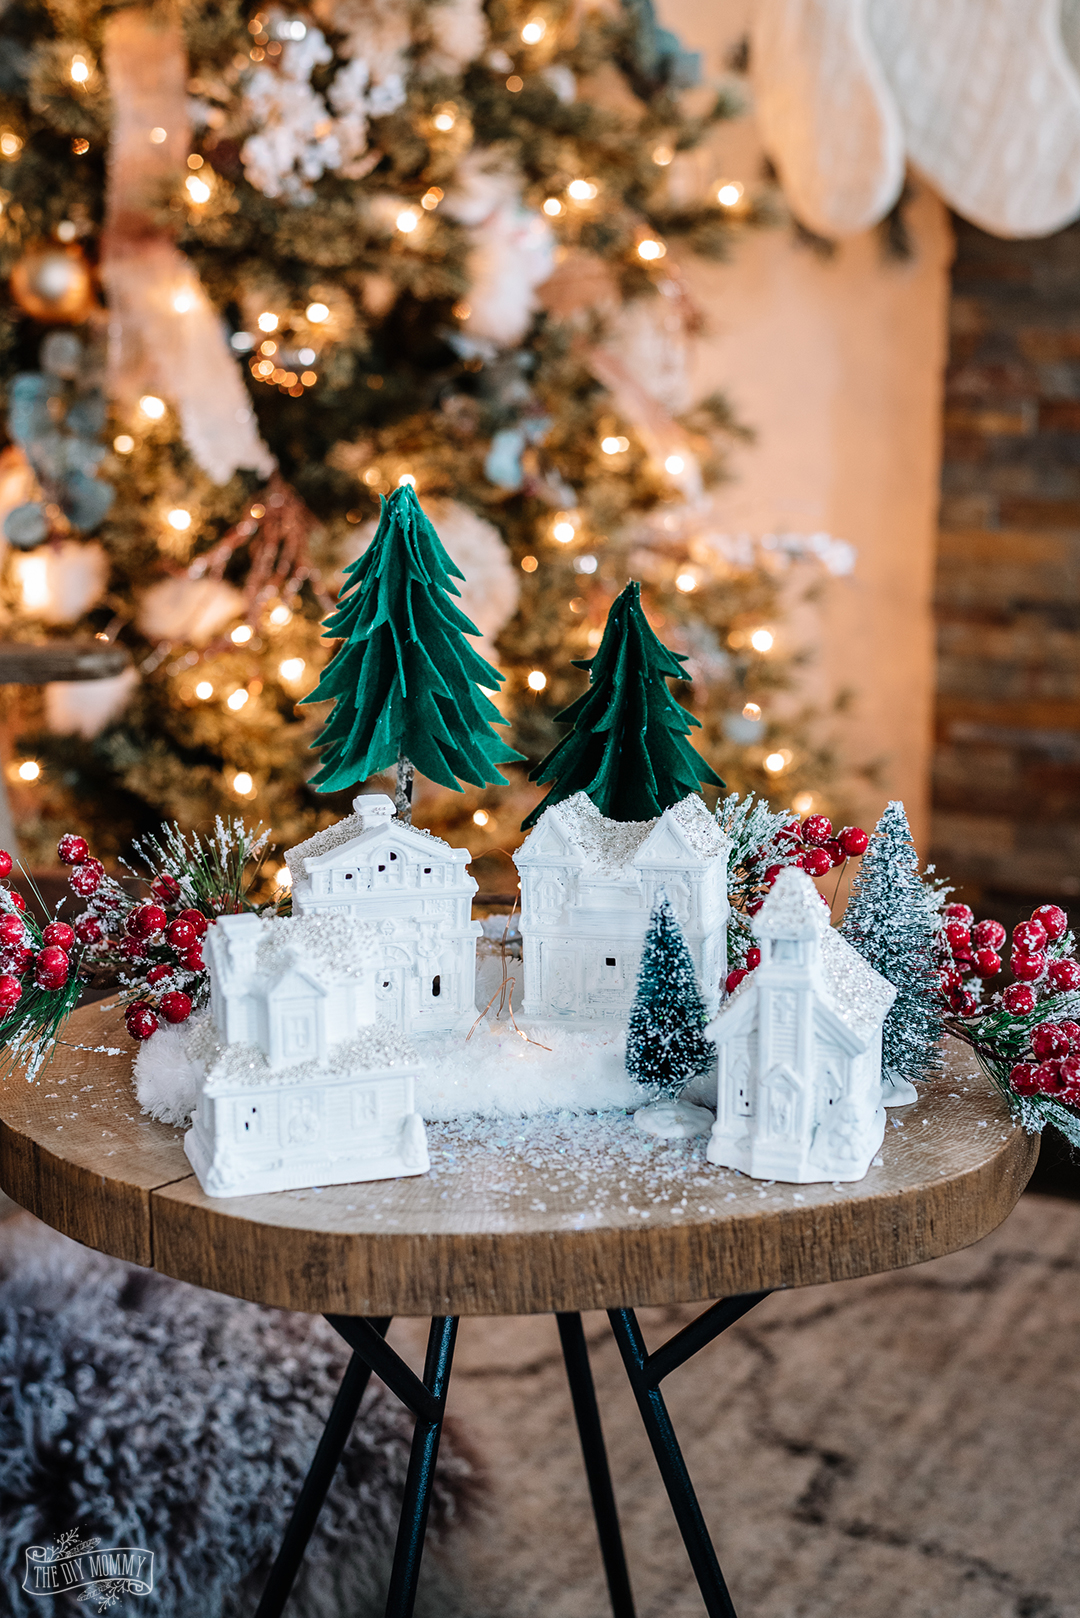
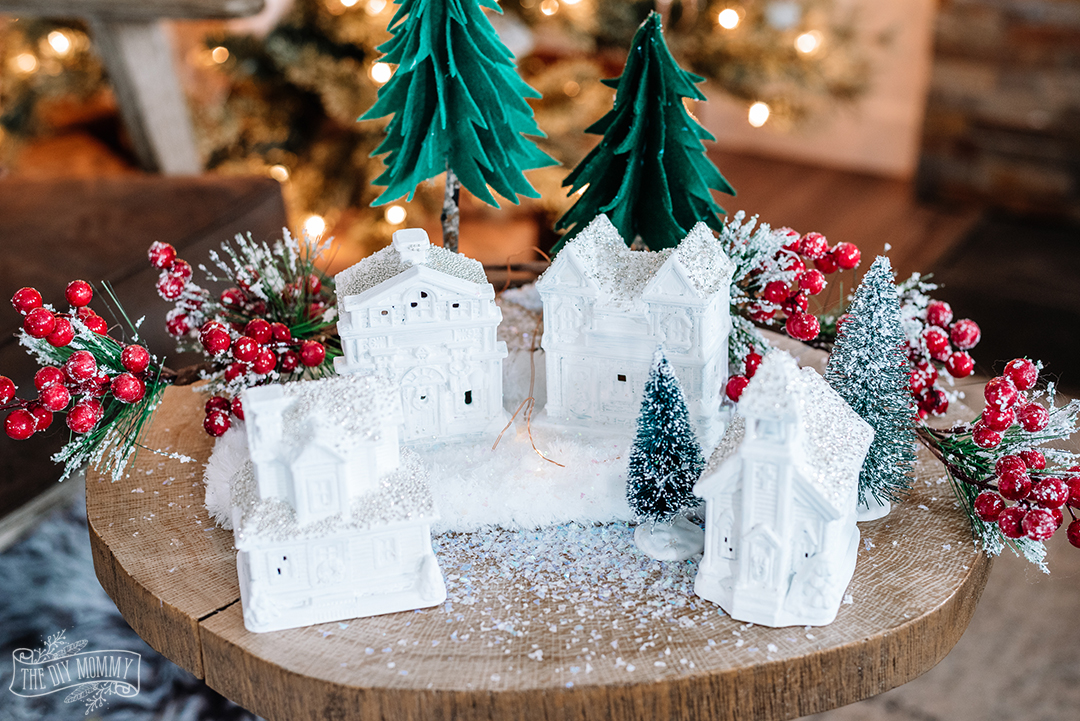
Learn how to make a DIY Dollar Tree Christmas village from $1 items from the dollar store, acrylic paint, Mod Podge and glitter. Turn a plain looking Christmas village into an elegant display on a budget.
This project is part of the Seasonal Simplicity blog hop hosted by The Happy Housie, so after you read my post make sure to see all of the other DIY Christmas ideas linked at the bottom!
I love a pretty, classic Christmas village for decor at Christmas time, but the elegant-looking ones can be expensive. With some simple supplies and an hour, I was able to turn some $1 Dollar Tree Christmas Village pieces into something you might find in an expensive boutique!
Here’s how to make an elegant Dollar Tree Christmas village:
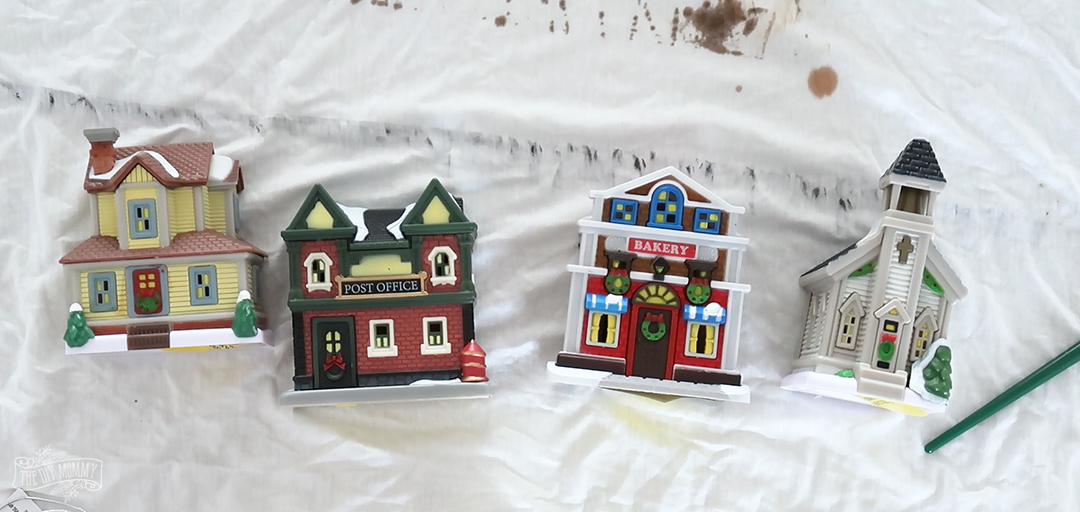
Find the simple, plastic buildings in the Christmas decor section at Dollar Tree. Dollarama has similar pieces as well.
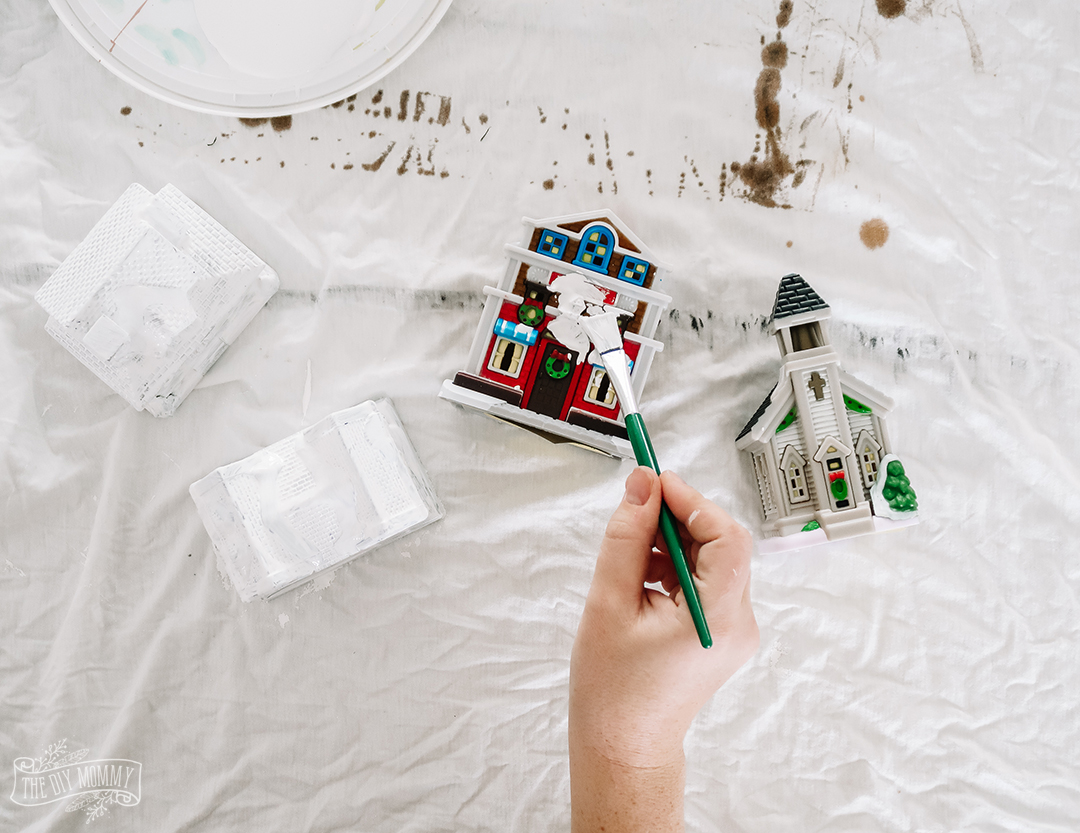
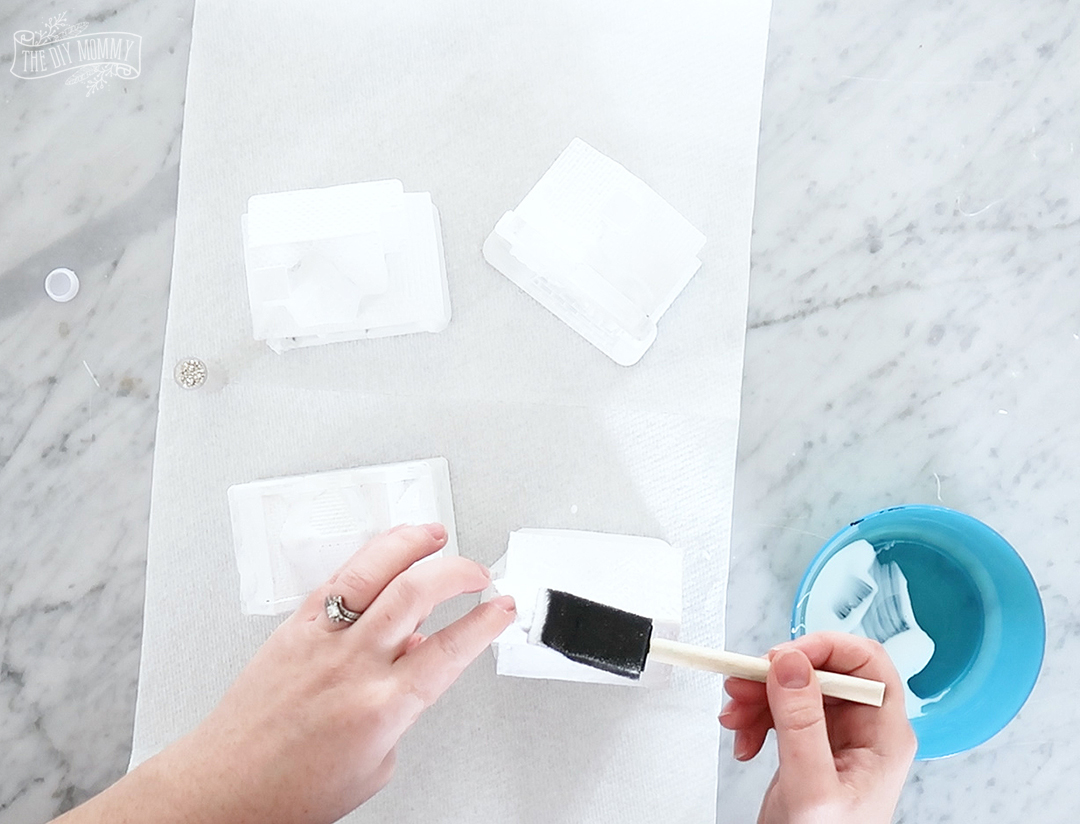
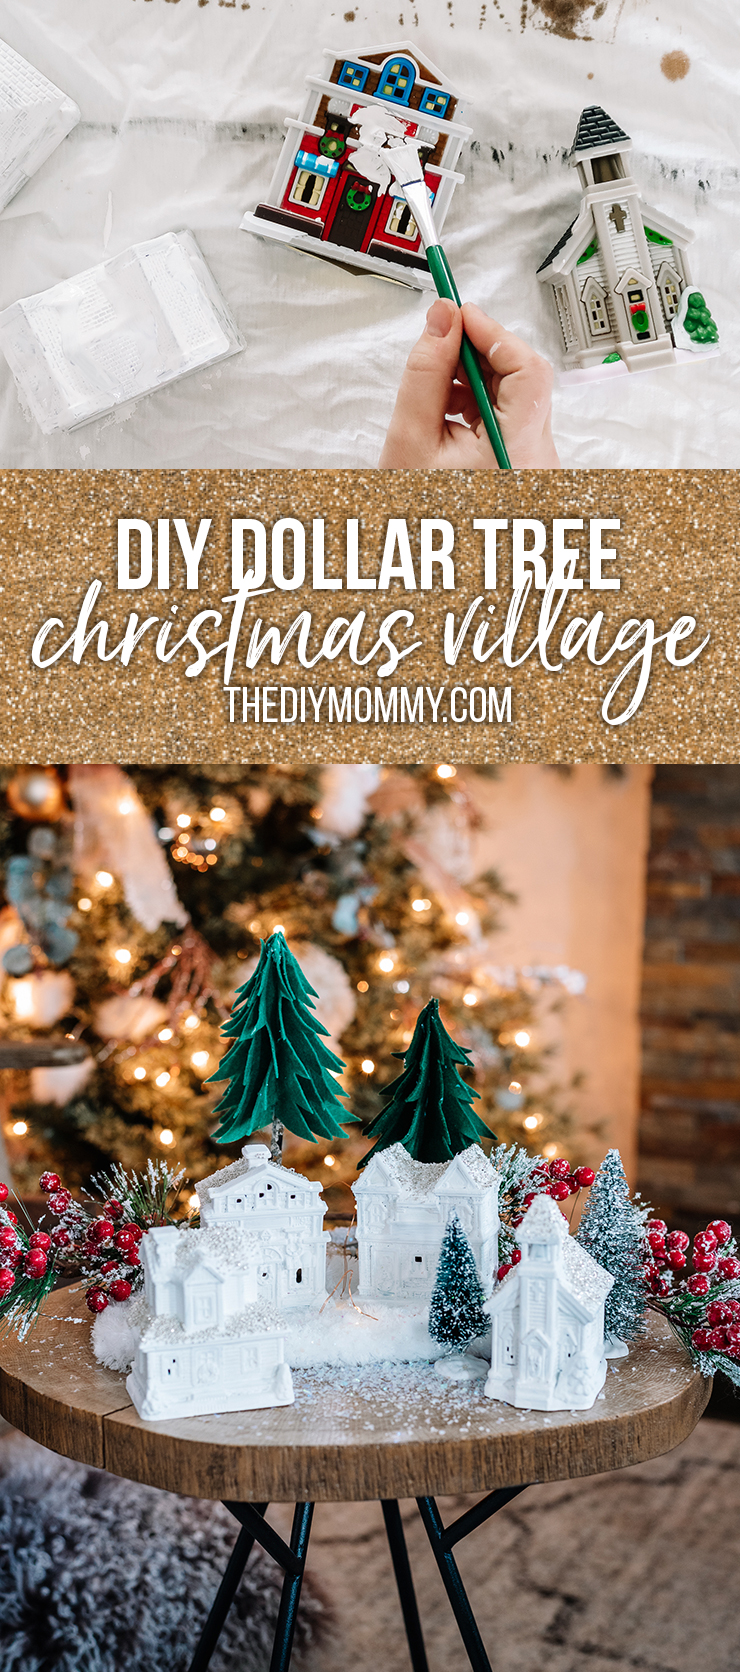
Use white acrylic paint from Dollar Tree, and paint all of the buildings with at least two coats of paint. There’s no need to be too careful – making these look a little distressed creates a beautiful farmhouse look.
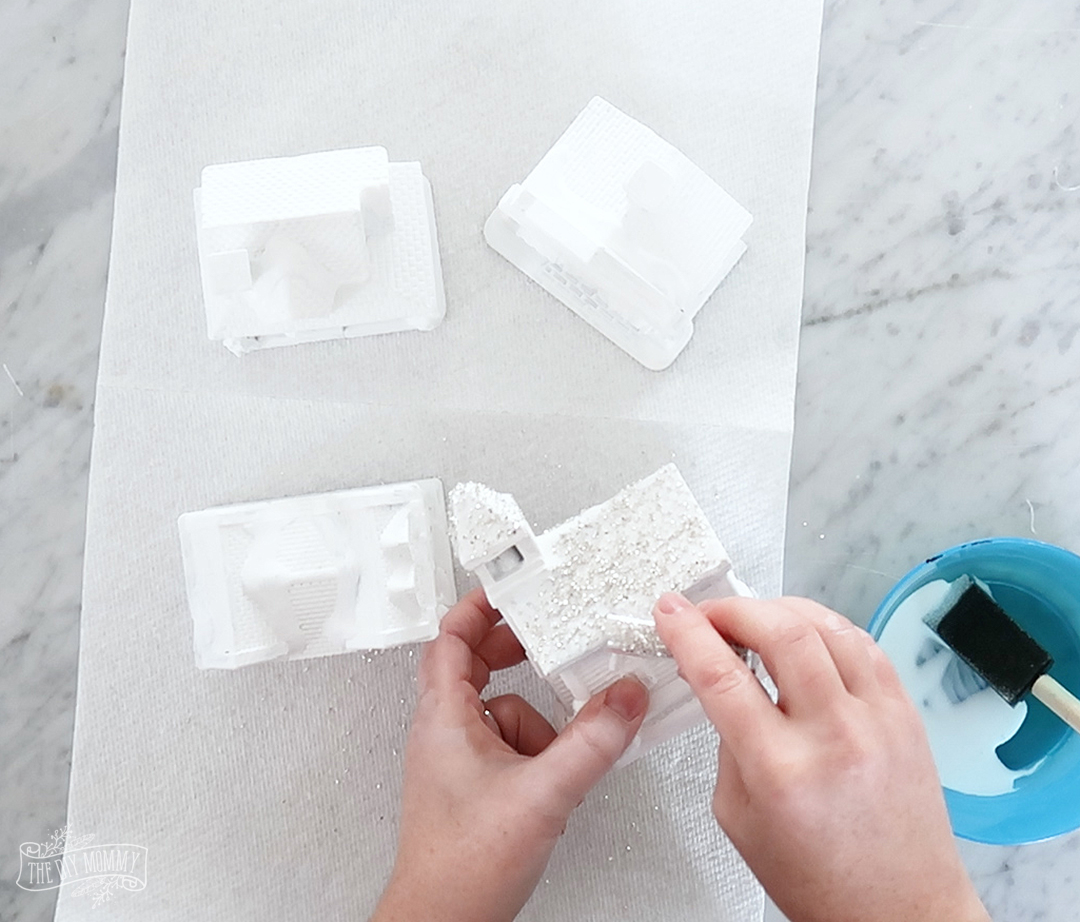
Once the paint is completely dry, brush some Mod Podge onto the roofs of the buildings with a foam brush.
Sprinkle glitter, micro beads, or small metallic flakes onto the Mod Podge and press them in place onto the roofs.
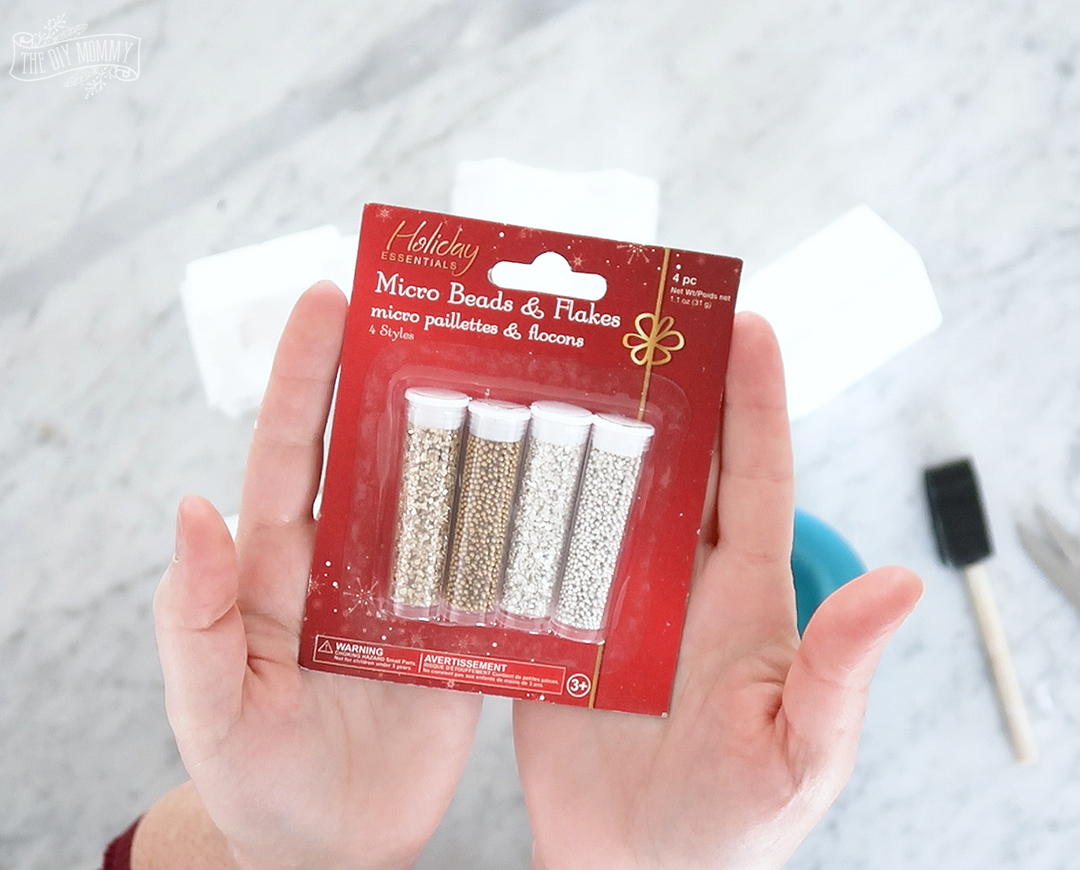
I found this pack of Micro Beads & Flakes at Dollar Tree, and the flakes remind me of the expensive german glitter finish you might find at an expensive decor store!
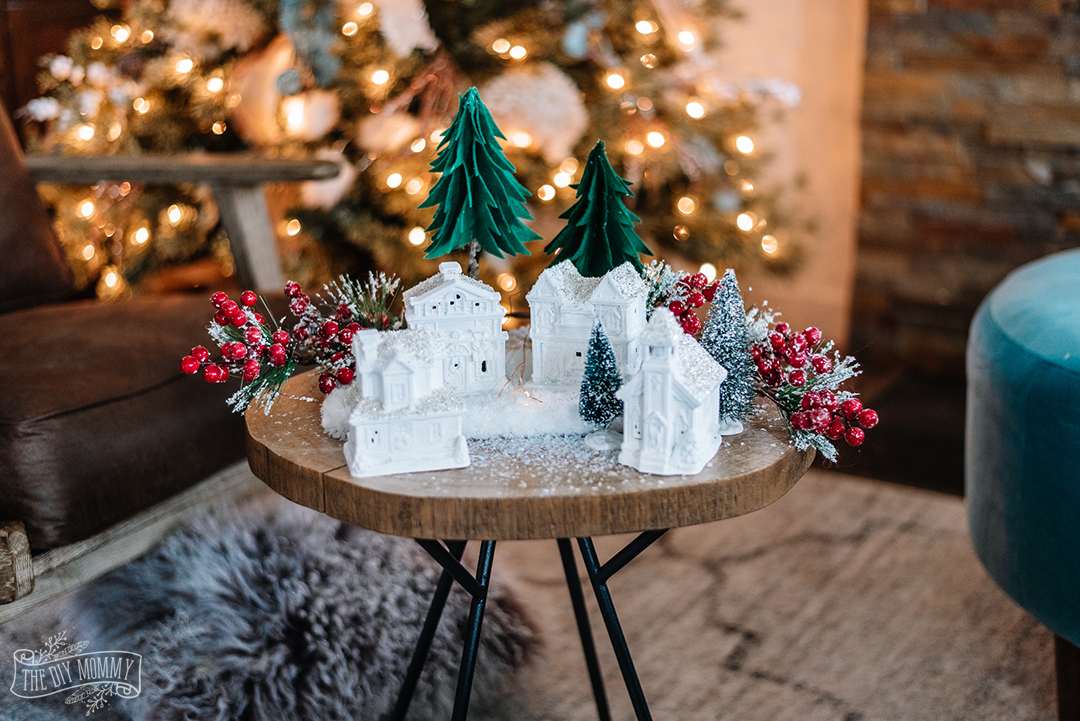
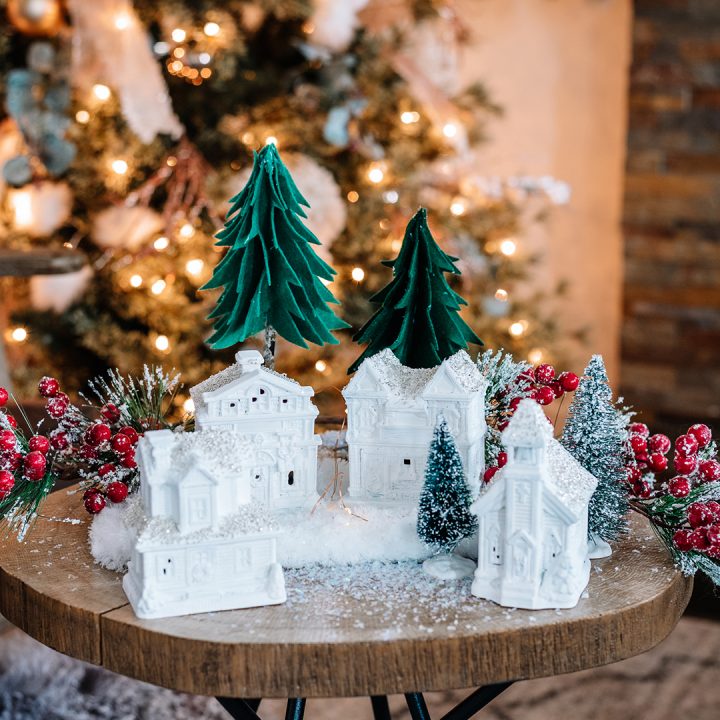
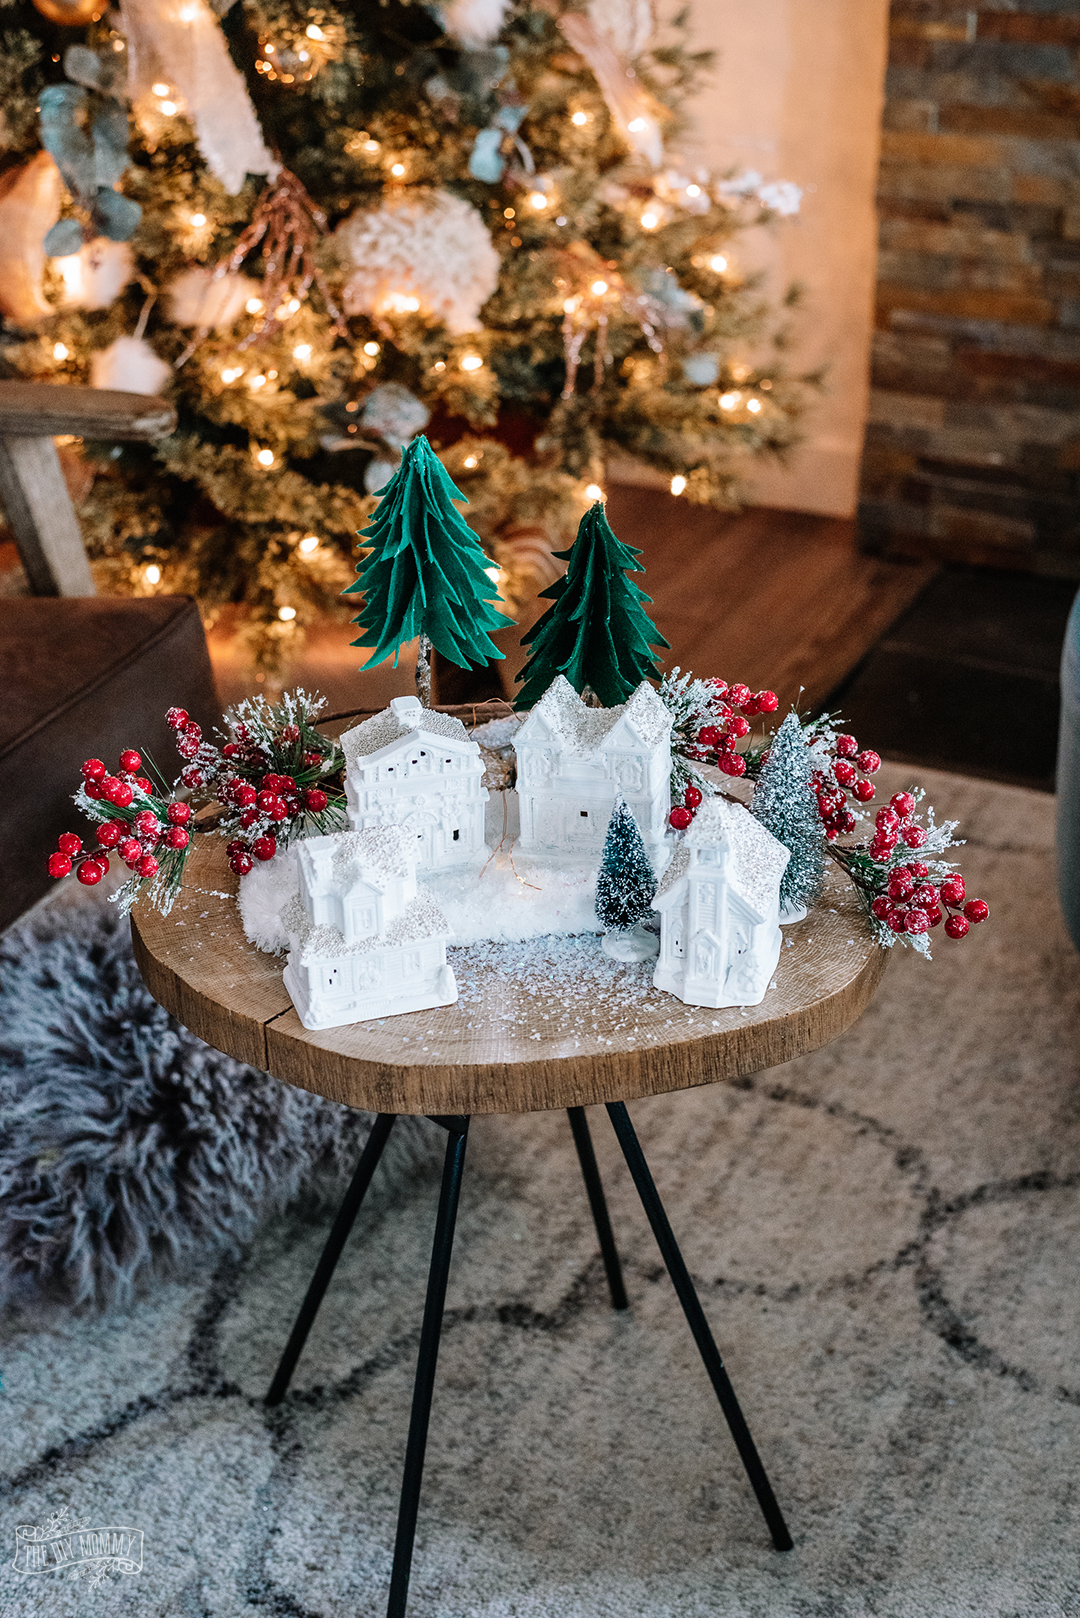
I set my finished village up on a side table in my living room, and used a Dollar Tree microfiber mop head as snow, lit the display up with fairy lights, and used DIY trees and dollar store greenery to add some colour.
Elegant DIY Dollar Tree Christmas Village
Materials
- Plastic buildings
- White acrylic paint
- Mod Podge
- Glitter, micro beads, or small metallic flakes
Tools
- Foam brush
- Paint brush
Instructions
1. Find the simple, plastic buildings in the Christmas décor section at Dollar Tree. (Dollarama has similar pieces as well).
2. Use white acrylic paint from Dollar Tree, and paint all of the buildings with at least two coats of paint.
3. Once the paint is completely dry, brush some Mod Podge onto the roofs of the buildings with a foam brush.
4. Sprinkle glitter, micro beads, or small metallic flakes onto the Mod Podge and press them in place onto the roofs.
Notes
I set my finished village up on a side table in my living room, and used a Dollar Tree microfiber mop head as snow, lit the display up with fairy lights, and used DIY trees and dollar store greenery to add some colour.
This is such an easy and cheap way to create an elegant Christmas village display on a budget! I love how this project turned out.
More Dollar Tree Christmas Craft Ideas
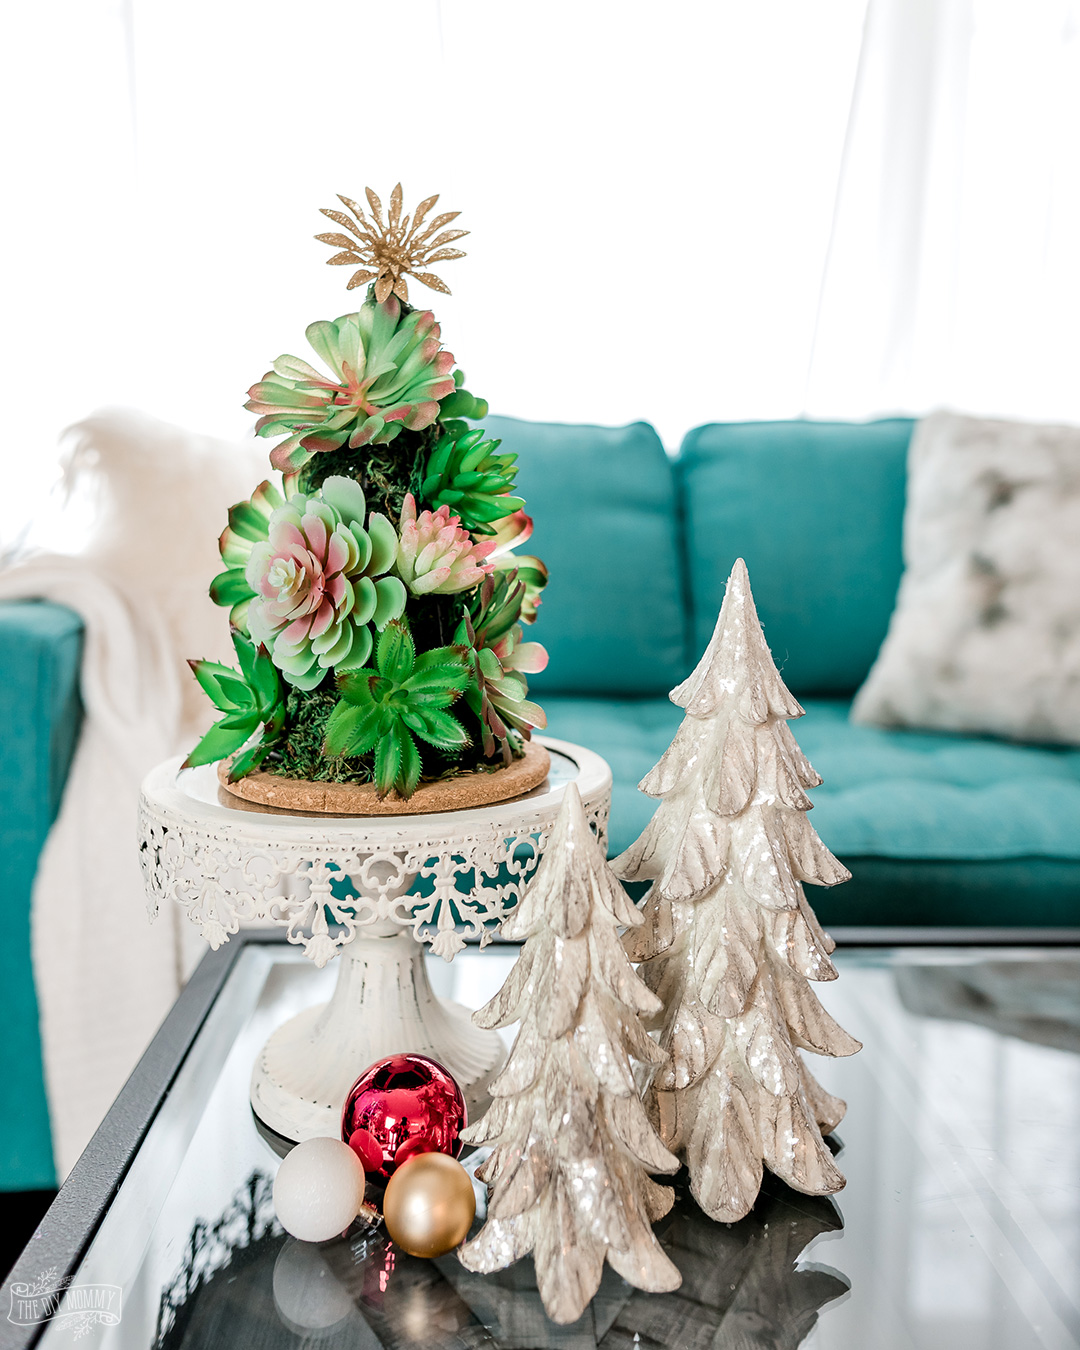
DIY Dollar Tree Succulent Christmas Tree
This DIY Dollar Tree succulent Christmas tree is simple to make, and only costs a few dollars in supplies.
Make a DIY Christmas Countdown Calendar With Dollar Store Supplies
Come make a lovely DIY Christmas countdown calendar with dollar store supplies that you can use this Holiday season. I’ll show you how to make one that won’t cost you much, but that will match your decor perfectly!
PIN ME:
Classic Christmas Light String Garland DIY at The Happy Housie
DIY Hydrangea Christmas Wreath at Two Twenty One
Chunky Knit Vase DIY at Craftberry Bush
Holiday Place Card Wreaths with Printable Tags at Tatertots and Jello
Easy Christmas Star Garland Gift Topper at The Handmade Home
DIY Winter Wonderland Snow Globe Forest at a Pretty Life
DIY Cotton Ball Wreath at Hallstrom Home
DIY Faux Etched Christmas Mirror at Confessions of a Serial DIYer
DIY Christmas Book Craft Project at Happy Happy Nester
DIY Christmas Place Setting Name Tag at She Gave it a Go
Elegant DIY Dollar Tree Christmas Village at The DIY Mommy
DIY Safety Pin Christmas Angels at Zevy Joy
DIY Wooden Advent Calendar at Jenna Kate at Home
DIY Holiday Gift Wrap at My Sweet Savannah
How to Make a Modern Christmas Wreath at Cherished Bliss
DIY Giant Pine Wreath at Love Create Celebrate
Paint by Numbers Printable Christmas at Rambling Renovators
DIY Winter Wreath at The Turquoise Home
Christmas Art Work at Life is a Party
Dollar Tree Rustic Glam Christmas Wreath at All Things With Purpose
DIY Vintage Whitewashed Nutcracker at Rooms FOR Rent
DIY Drum Tree Collar at Sincerely, Marie Designs
Line Art Christmas Tree DIY Acrylic Sign at Lemon Thistle
Snowball Cookies in a Jar at Clean & Scentsible
DIY Pink Ombre Ornament Wreath at We’re the Joneses




I love the village in white, Christina! I pinned it to my holiday board. So pretty!
xoxo
This is so pretty!! I love a quick and easy Dollar Tree DIY.
These are so cute and look so fun to do!
This is so cute Christina! the glitter and beads is a nice festive touch that I don’t think I would have thought of!
Wow! What a dramatic change and so simple. Thanks for sharing. I guess I need to make a trip to the Dollar Store to see what I can transform.
Oh yeah, I feel now that Christmas is around the corner, just a clever way to make a great decor! I think I will try it to only add the white on the top so it looks like it is under snow, but it is miraculous this way too.
I thought the houses looked better before she painted them white?
Paint is like magic…so cute now! xoxo
Soo cute ! I will be doing the same thanks !