DIY Fall Cutting Board with a Cricut
This post may contain affiliate links · This blog generates income via ads
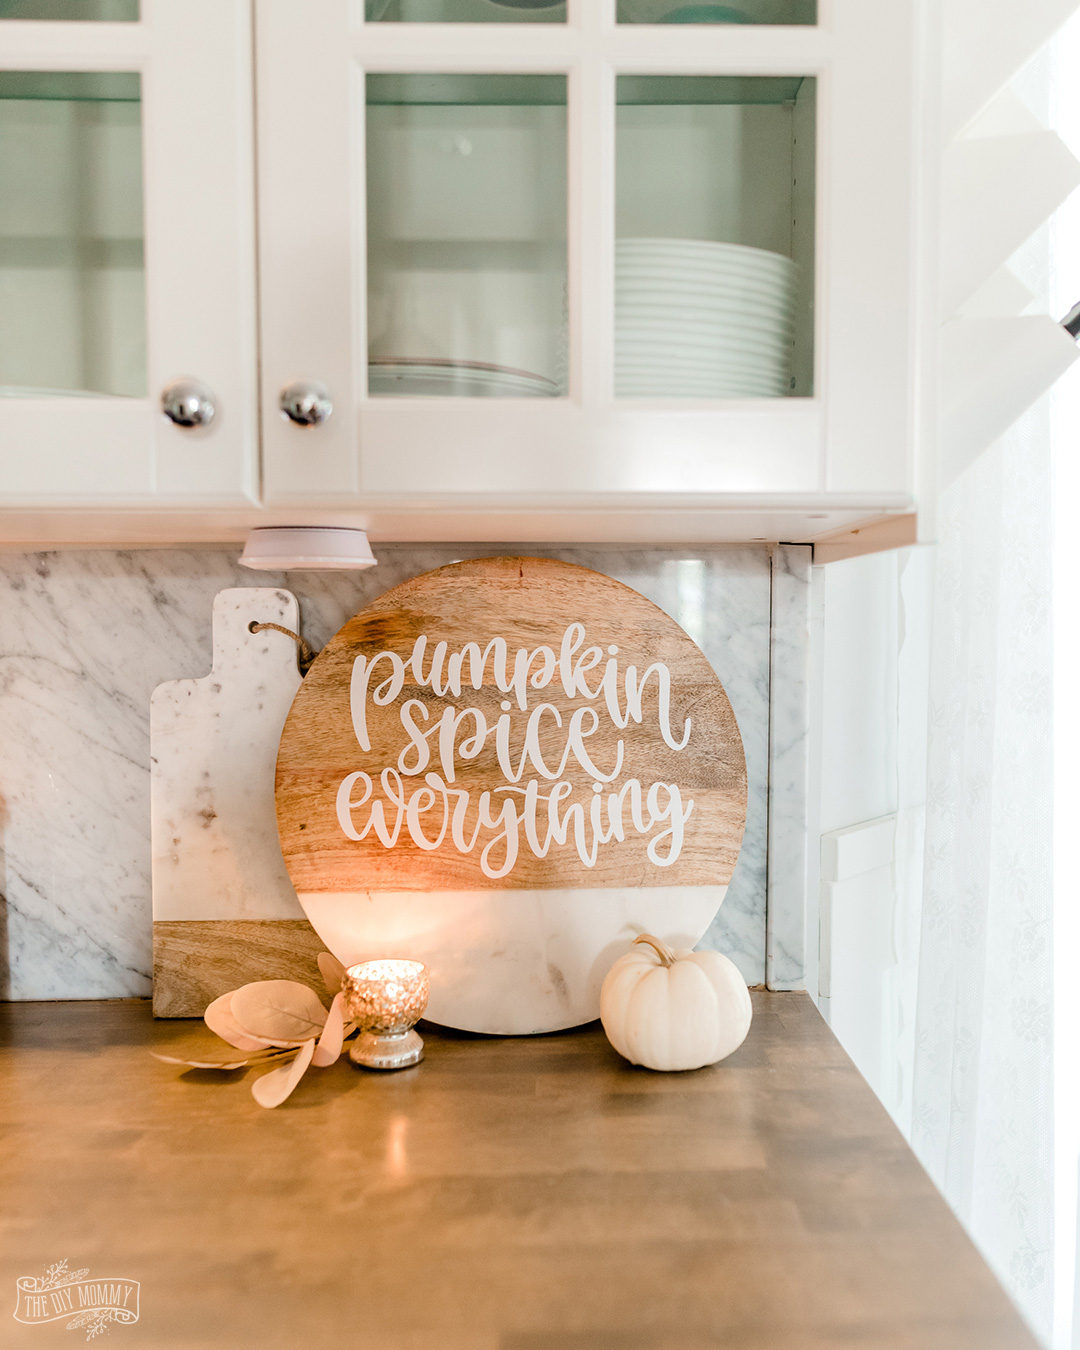
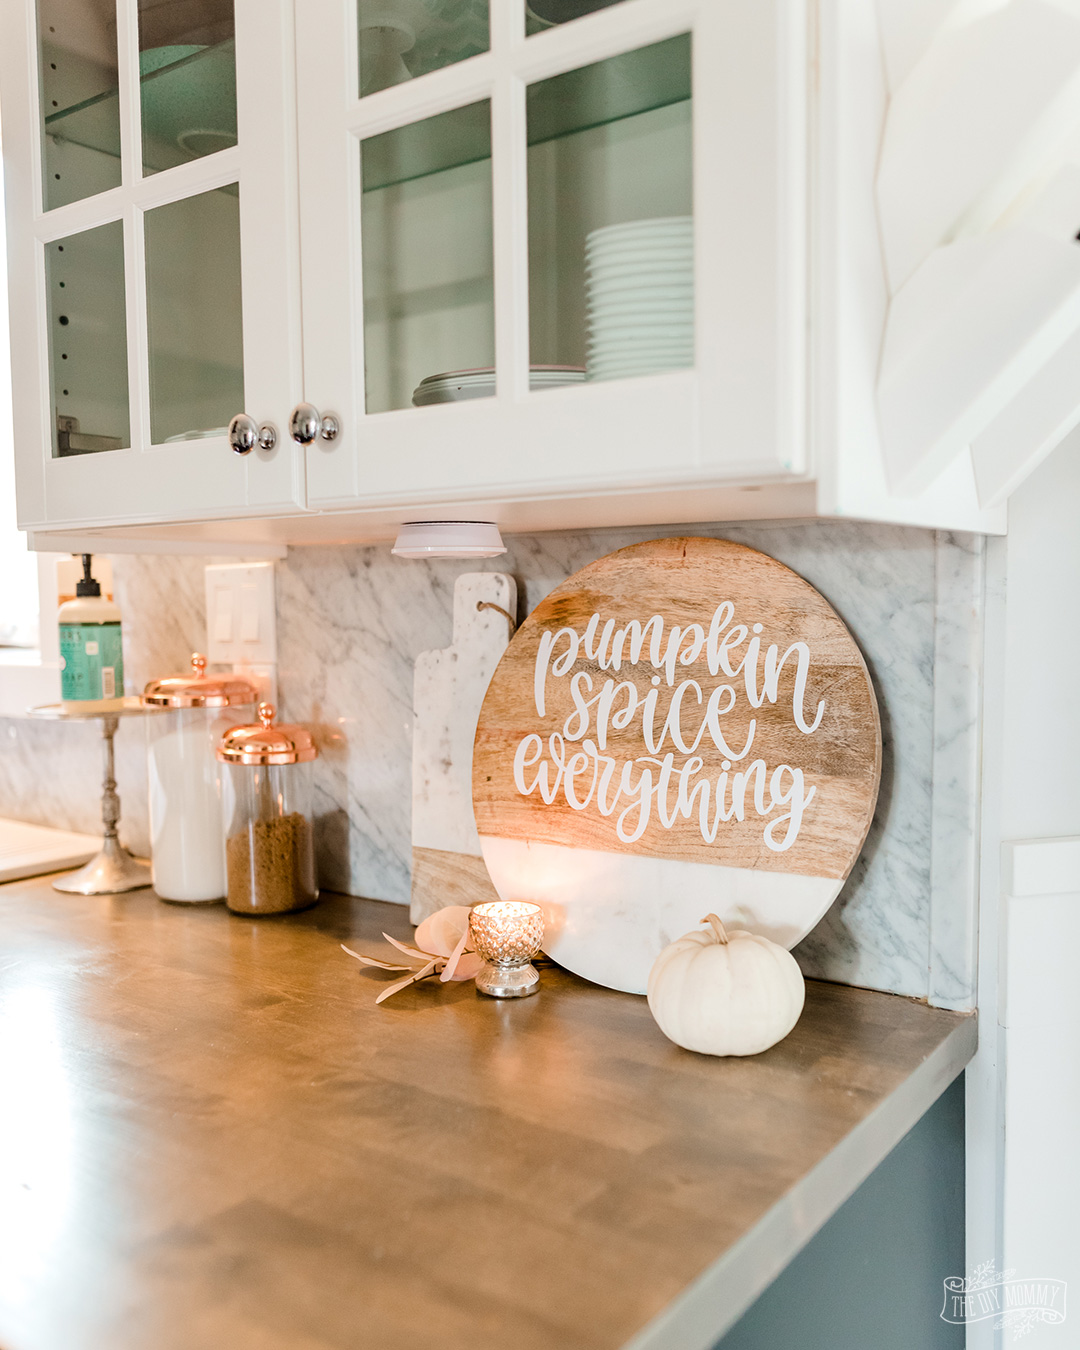
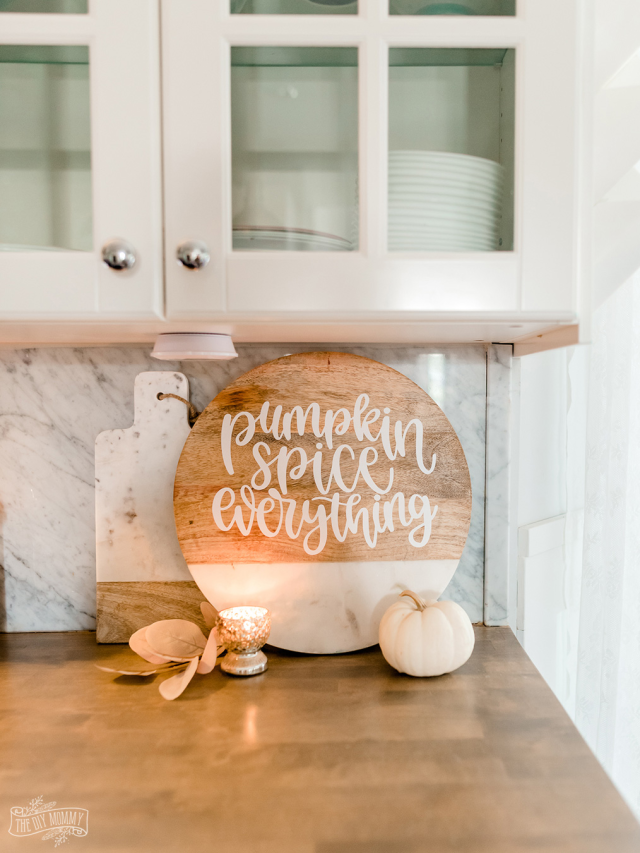
Want an easy way to decorate for Fall? Learn how to make a simple DIY Fall cutting board with a Cricut!
This blog post is part of a seasonal blog hop – Seasonal Simplicity – hosted by The Happy Housie. Make sure to check out all of the other Fall DIY ideas from my blogging friends linked at the bottom of this post!
If you’re looking for a simple craft for Fall, this is one of my favourites! It instantly turns a plain cutting board into seasonal decor (and you can remove the decal when you’re ready for something new). All you need for this DIY is a round wooden cutting board, a Cricut machine and some removable white vinyl.
How to make a DIY Fall cutting board with a Cricut
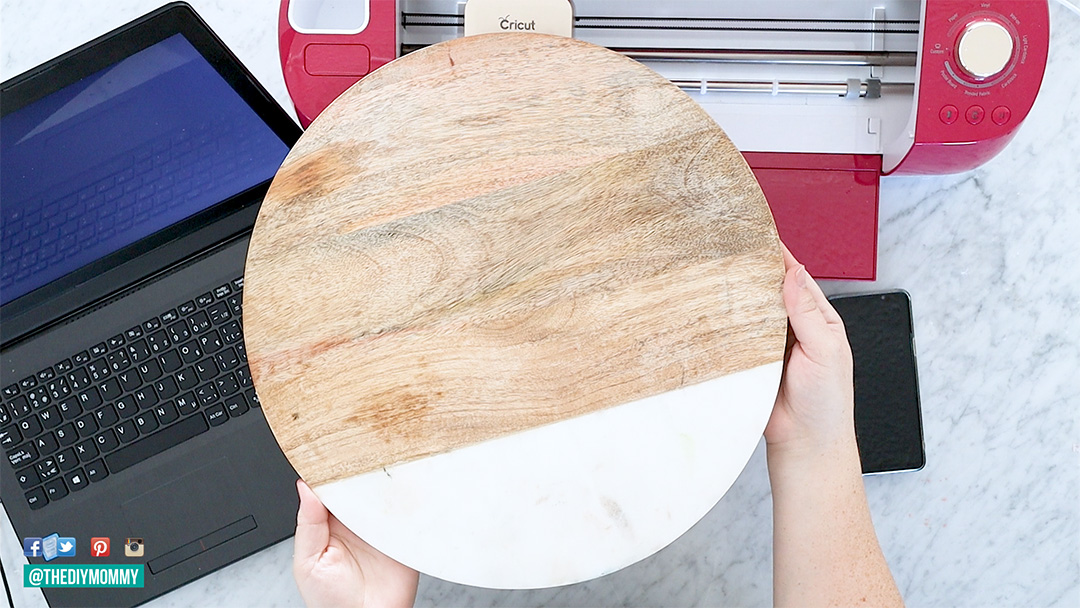
Start with a large wooden cutting board. Mine is a round shape that’s about 12″ in diameter with a marble bottom. I found it at Walmart a couple of years ago.
Next, open up Cricut Design Space and create a new project. Click on the “Images” menu and find your favourite Fall text image to use for your cutting board and insert it into your project. The image I used is called Pumpkin Spice Everything Text #MC7025FF. Resize the image so that it fits on your board with about an inch of room around it.
(New to Cricut? Learn all about this smart cutting machine and how to use it right here!)
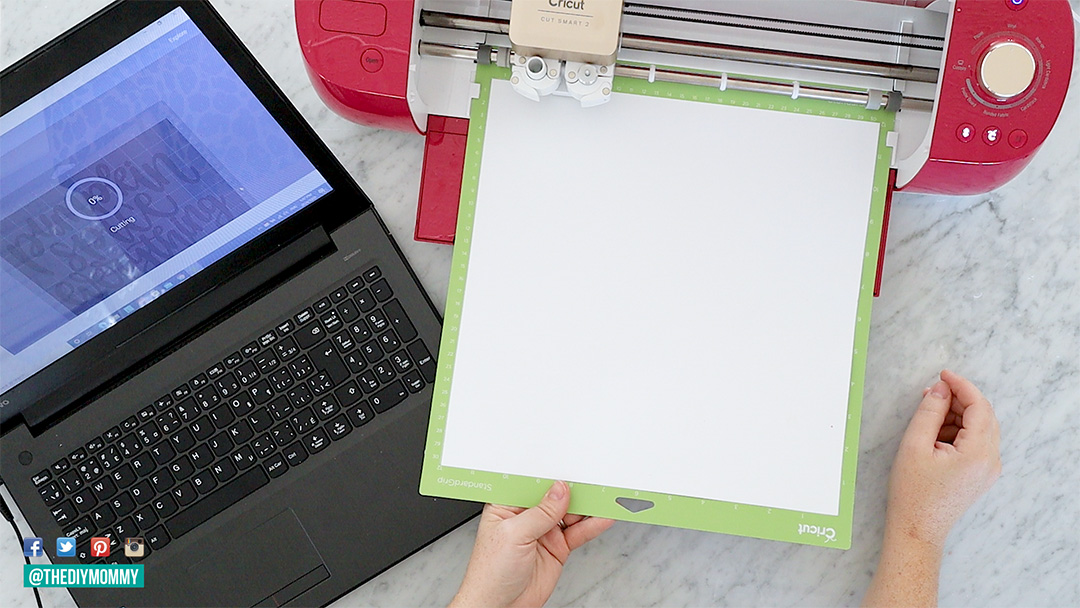
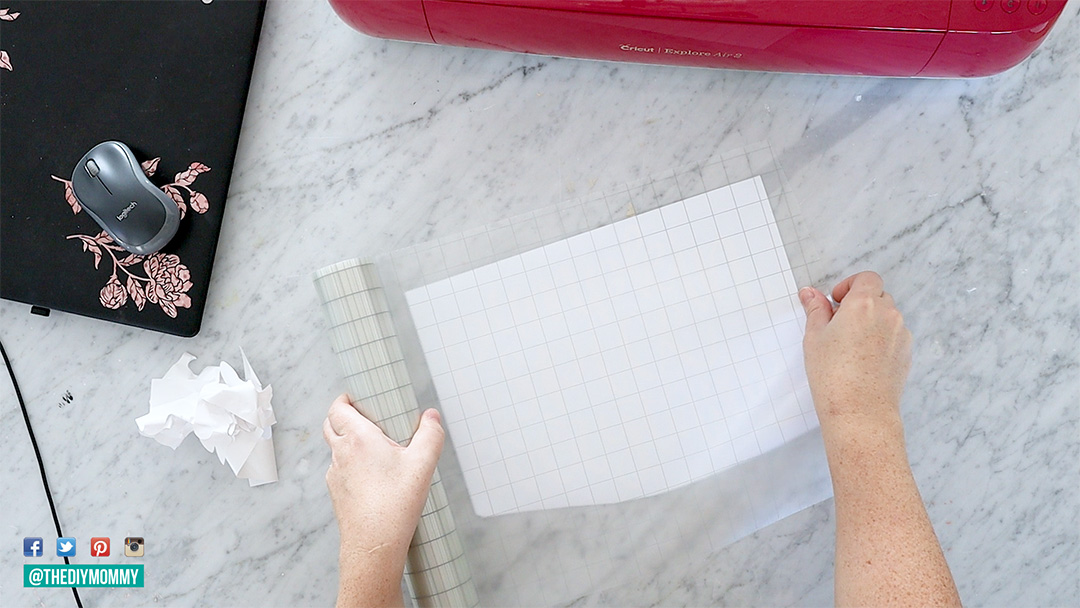
Place some removable white vinyl onto your Cricut mat, and then send your design to your Cricut machine. I’m using my Cricut Explore Air 2 to cut this project. Once your design is cut onto your vinyl, weed away any excess vinyl.
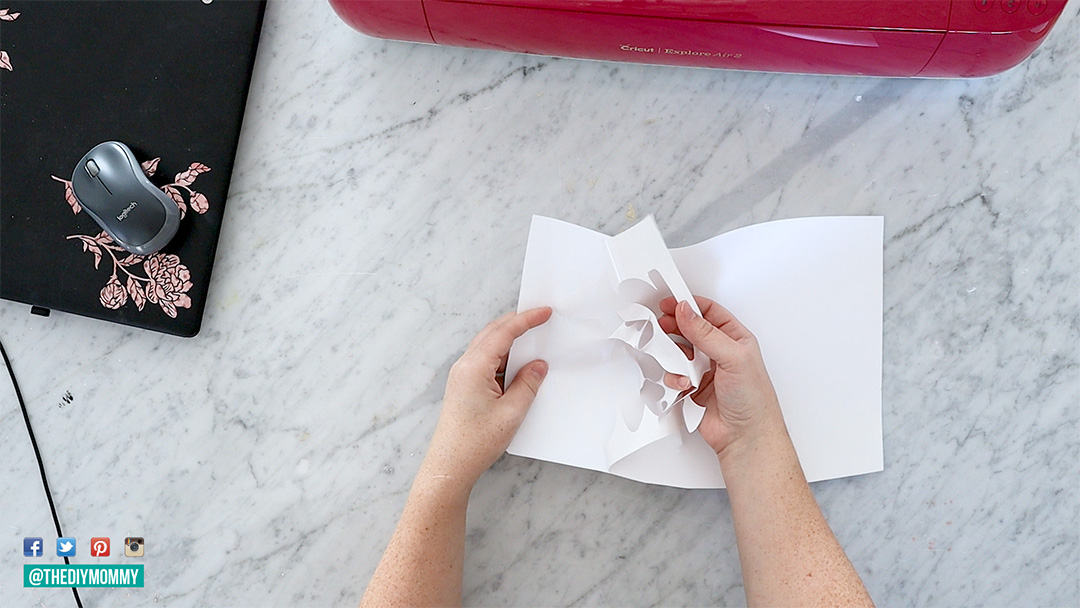
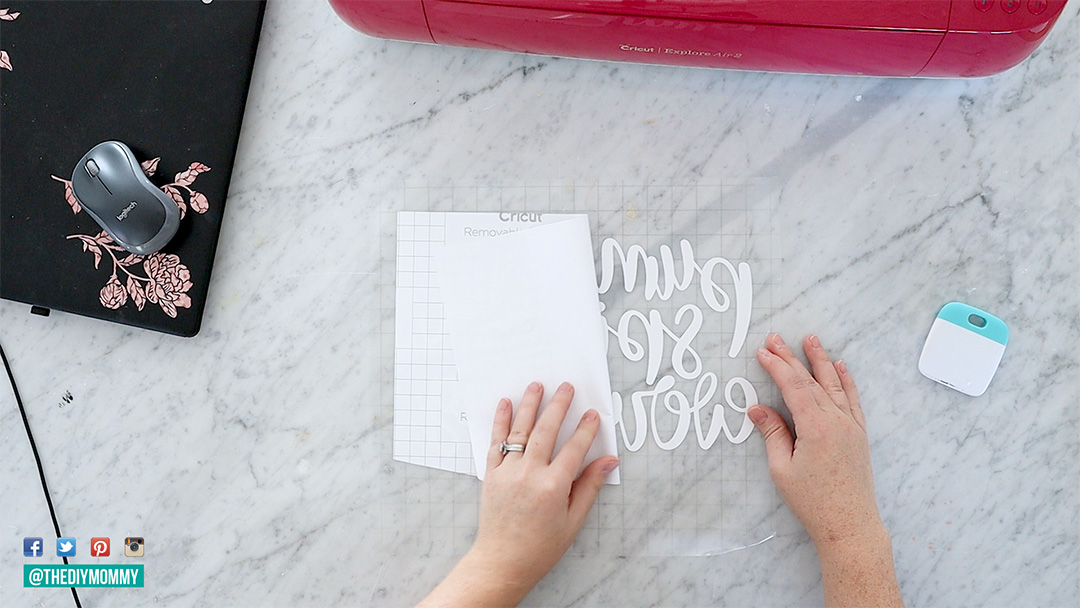
Place some transfer tape on top of your design and smooth it down.
Flip the design over, and carefully remove the vinyl’s backing.
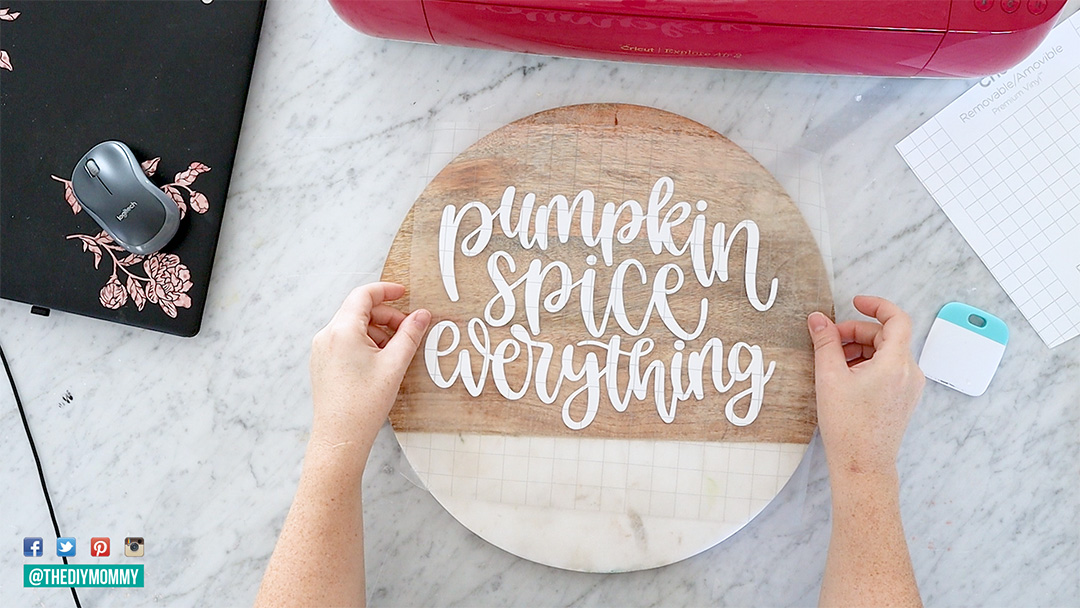
Center the design on your cutting board and smooth it down. I chose to have mine slightly higher on my board so that it wasn’t on the marble portion.
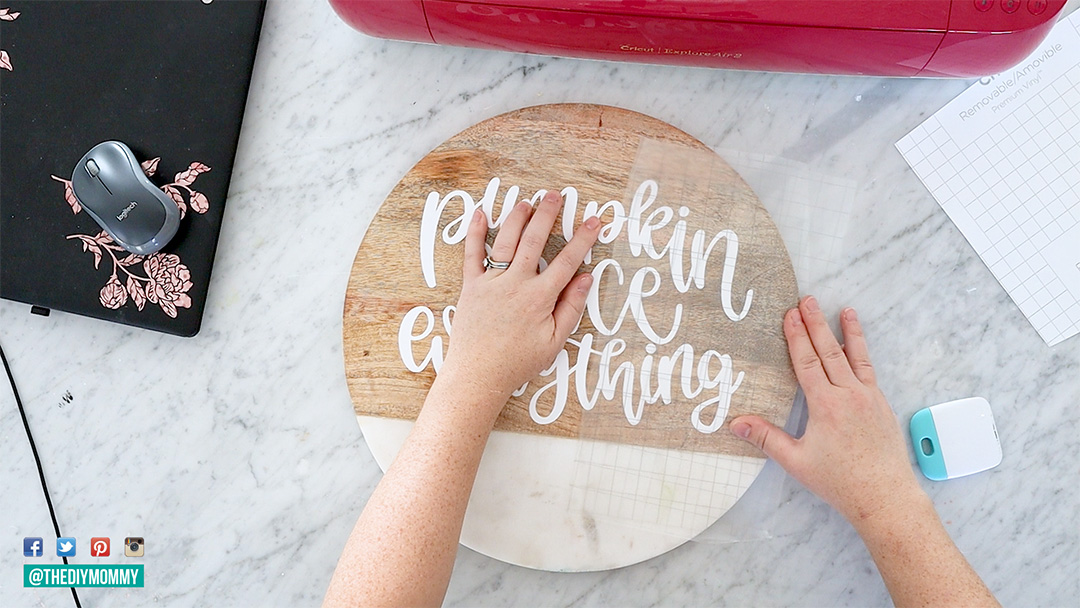
Finally, carefully remove the transfer tape and your simple DIY Fall cutting board is complete!
I love using this as seasonal kitchen counter decor because it doesn’t take up too much space. I can also flip the cutting board over and use the reverse side, then wash it and prop it back up as decor again! Since the vinyl is removable, it’s easy to take off the design and do something different later. What do you think of this simple DIY?
For more Cricut DIY ideas, click right here!
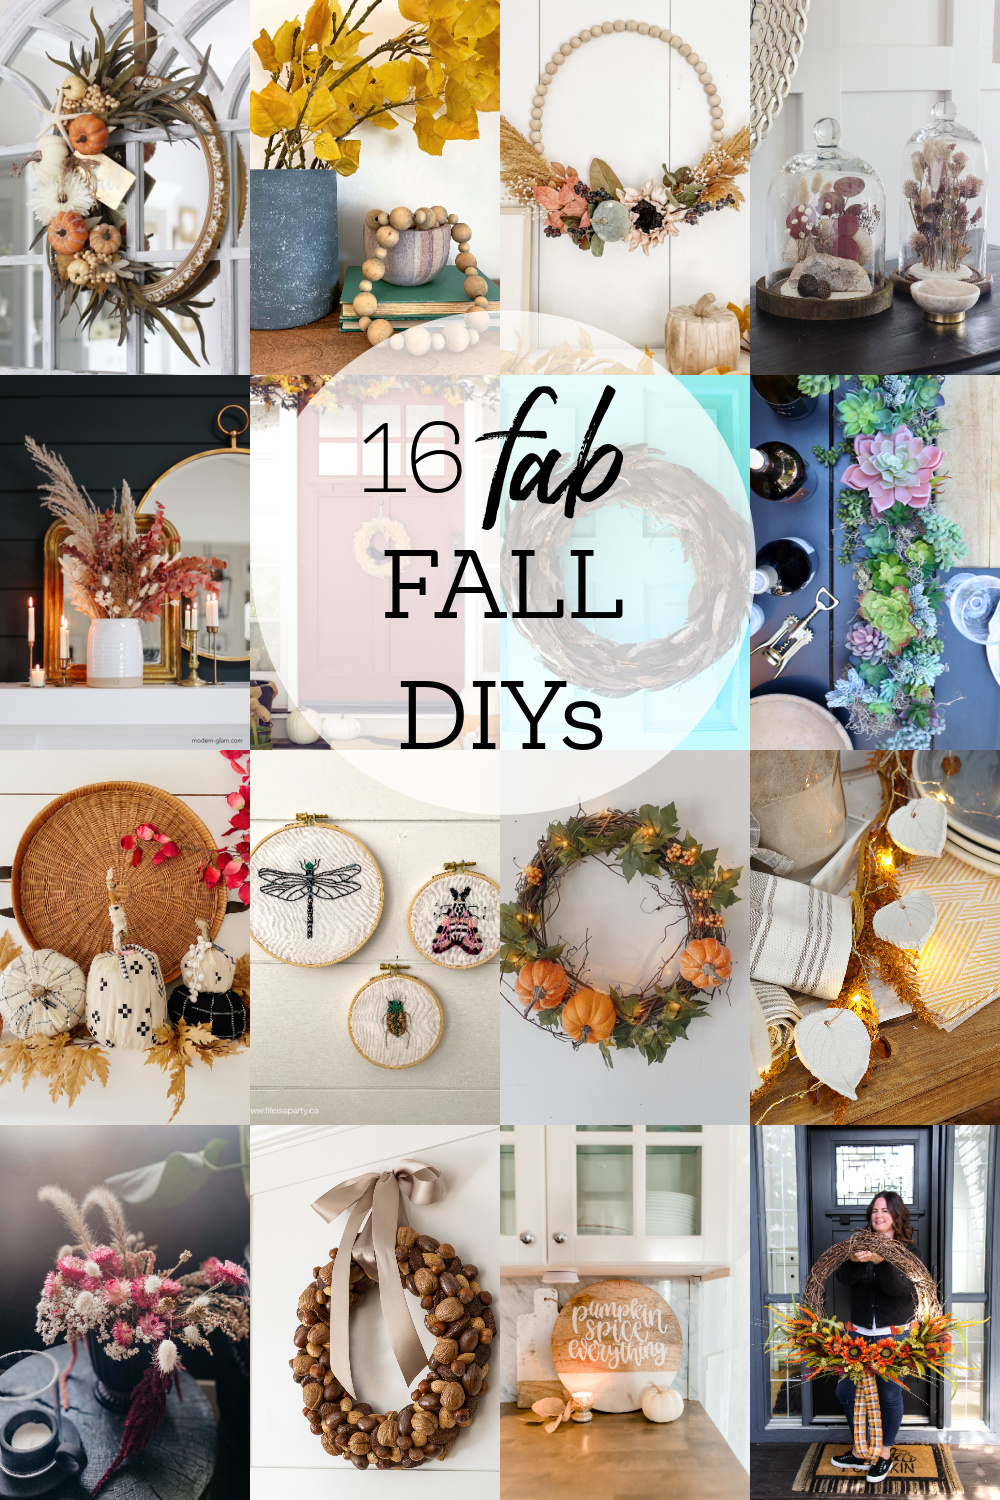
This week I’m joining some of my talented blogging friends for the Fall Seasonal Simplicity Series. Today we are sharing our Fall DIY and Craft ideas with you! Be sure to check out all of the beautiful inspiration by visiting the links under the images below.
DIY Textured Vase at The Happy Housie
DIY Fall Frame Wreath at Confessions of a Serial DIYer
Dried Floral Cloche at Deeply Southern Home
Fall Wreath How-to at Hallstrom Home
Fall Dried Flower Arrangement at Modern Glam
Elevated Toilet Paper Pumpkins Free Craft at Tatertots and Jello
DIY Inexpensive Fall Wreath at The Happy Happy Nester
How to Make a Fall Wreath at A Pretty Life
Air Dry Clay Leaf Twinkle Lights at Clean & Scentsible
Embroidery Insects at Life is a Party
Dried Florals for Fall at Lemon Thistle
DIY Feather Wreath at Dans le Lakehouse
DIY Fall Wreath Tutorial at She Gave it a Go
How to Make a Succulent Table Runner at My Sweet Savannah
DIY Fall Harvest Nut Wreath at Sincerely, Marie Designs
DIY Fall Cutting Board with a Cricut at The DIY Mommy
PIN ME:



I love this 🙂 What a great DIY!
So quick and easy! Great idea!
This is so clever! I love that you can easily update it too! XOXO
I love this cutting board. Perfect for fall but I love that you can still change it up.
Is there a way to make the vinyl per mantle adhered to the cutting board & other surfaces?