How to Make Stickers with Cricut (or without!) + Free Encouragement Stickers to Print
This post may contain affiliate links · This blog generates income via ads
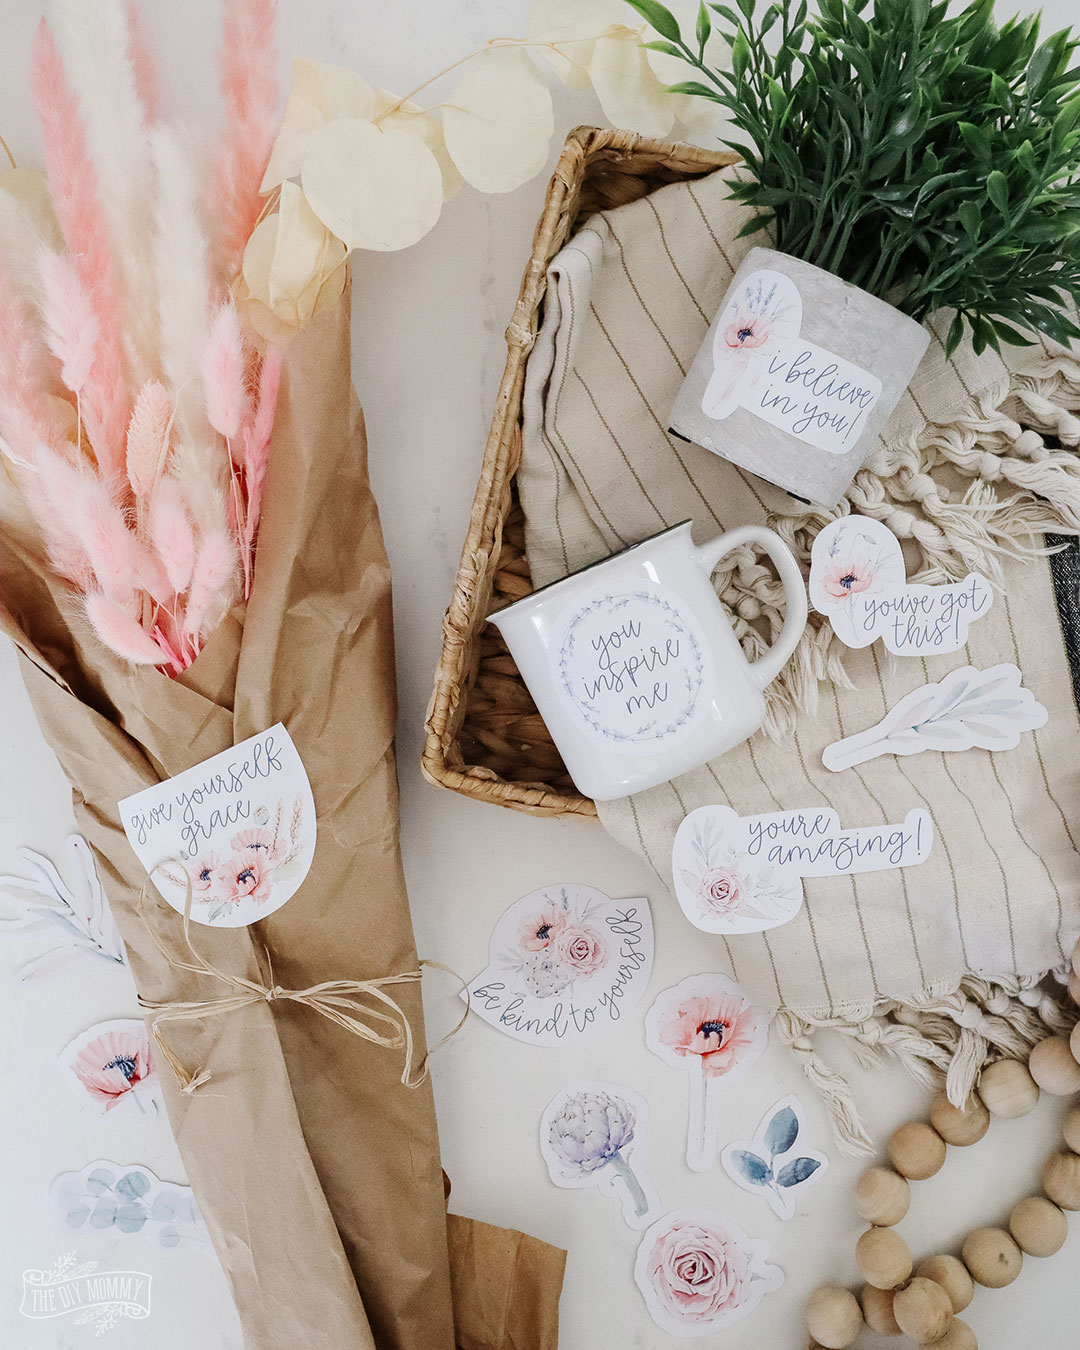
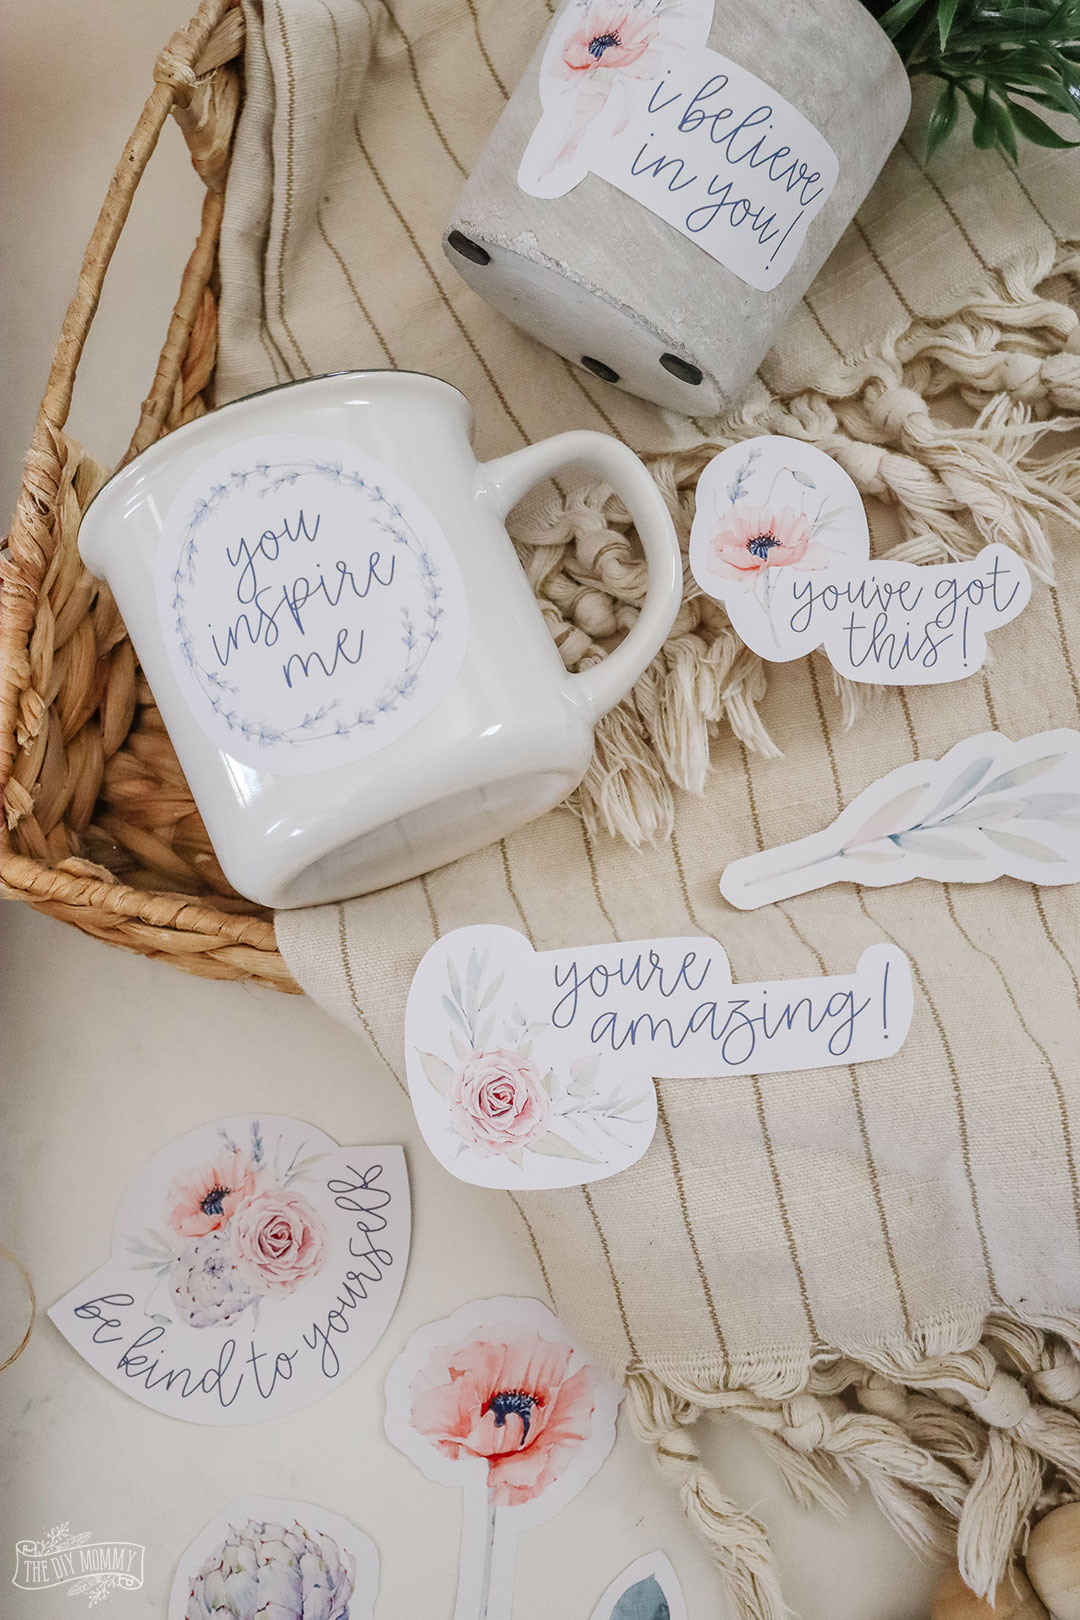
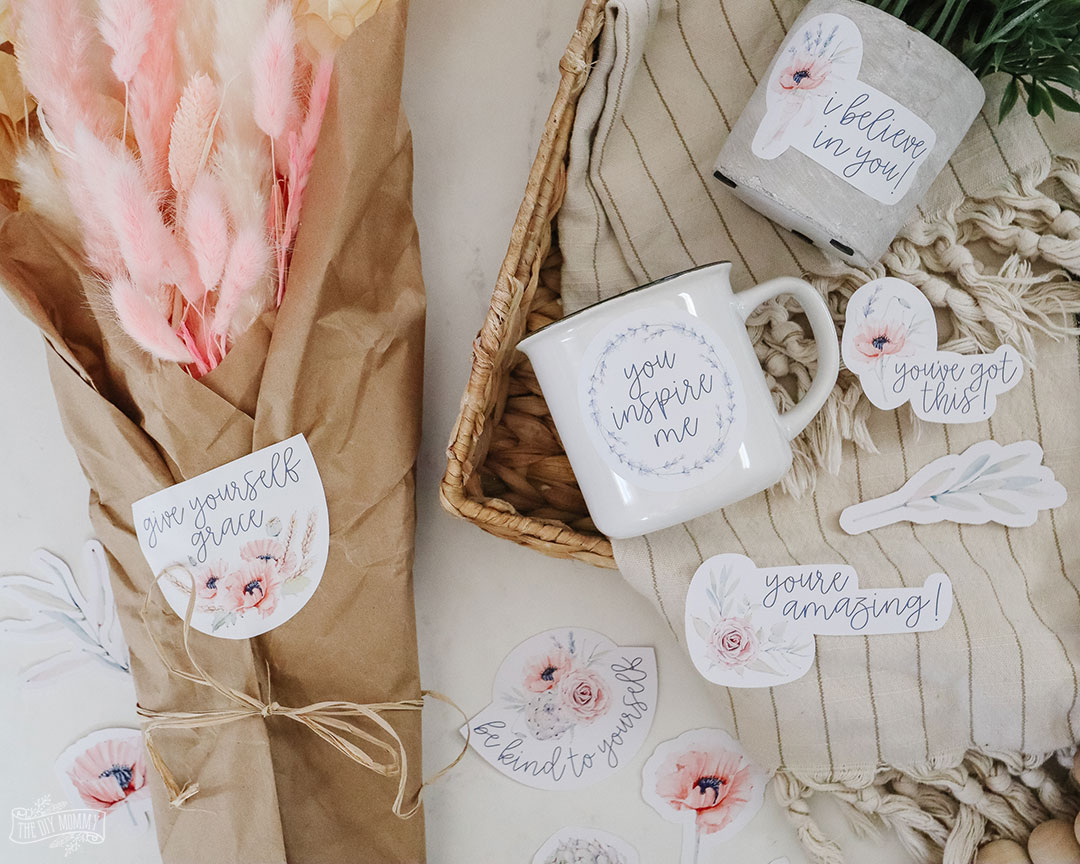
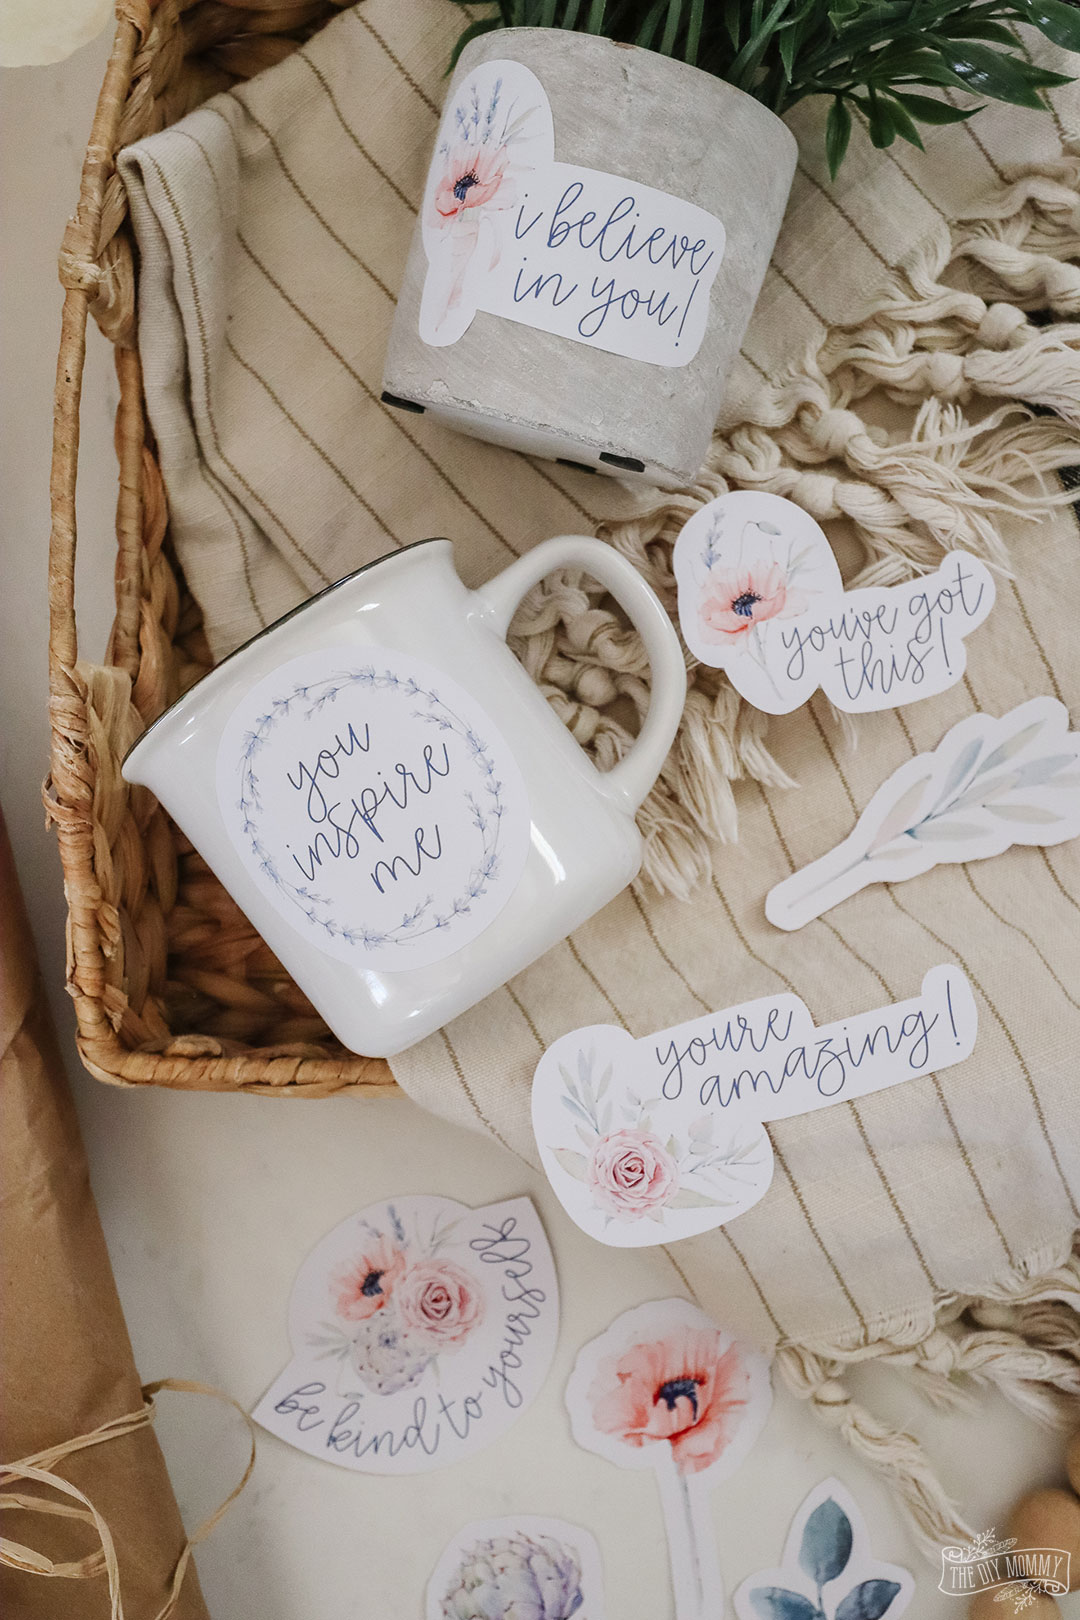
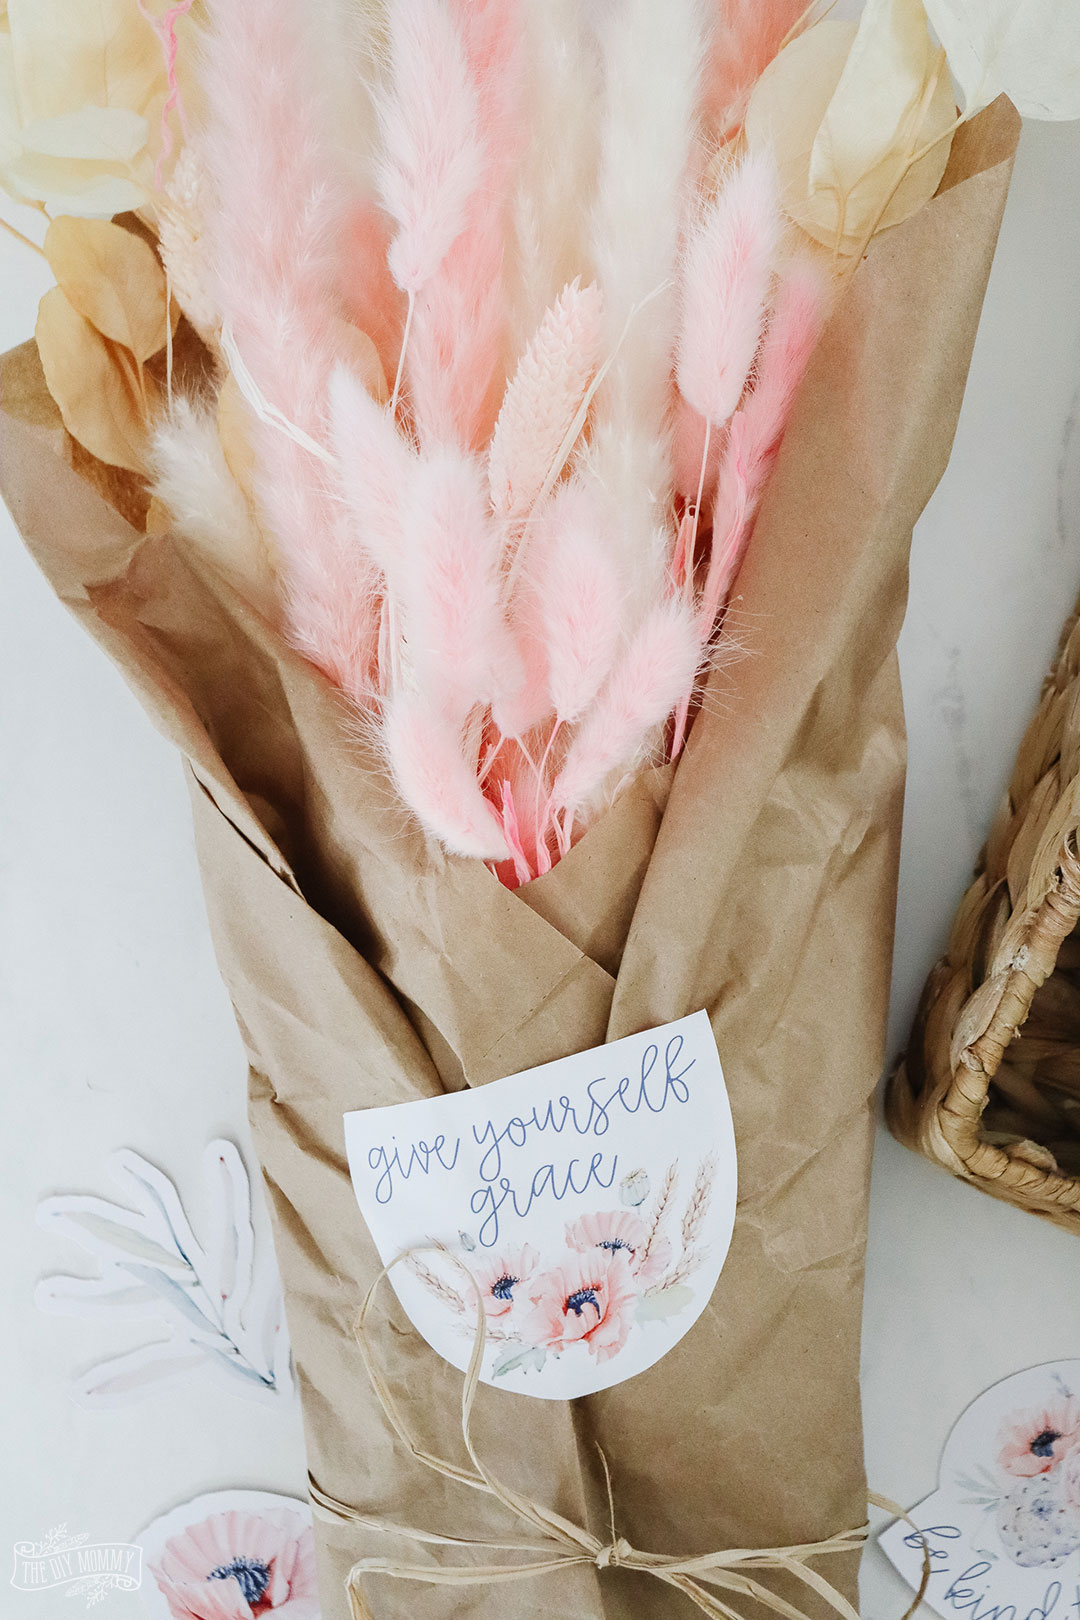
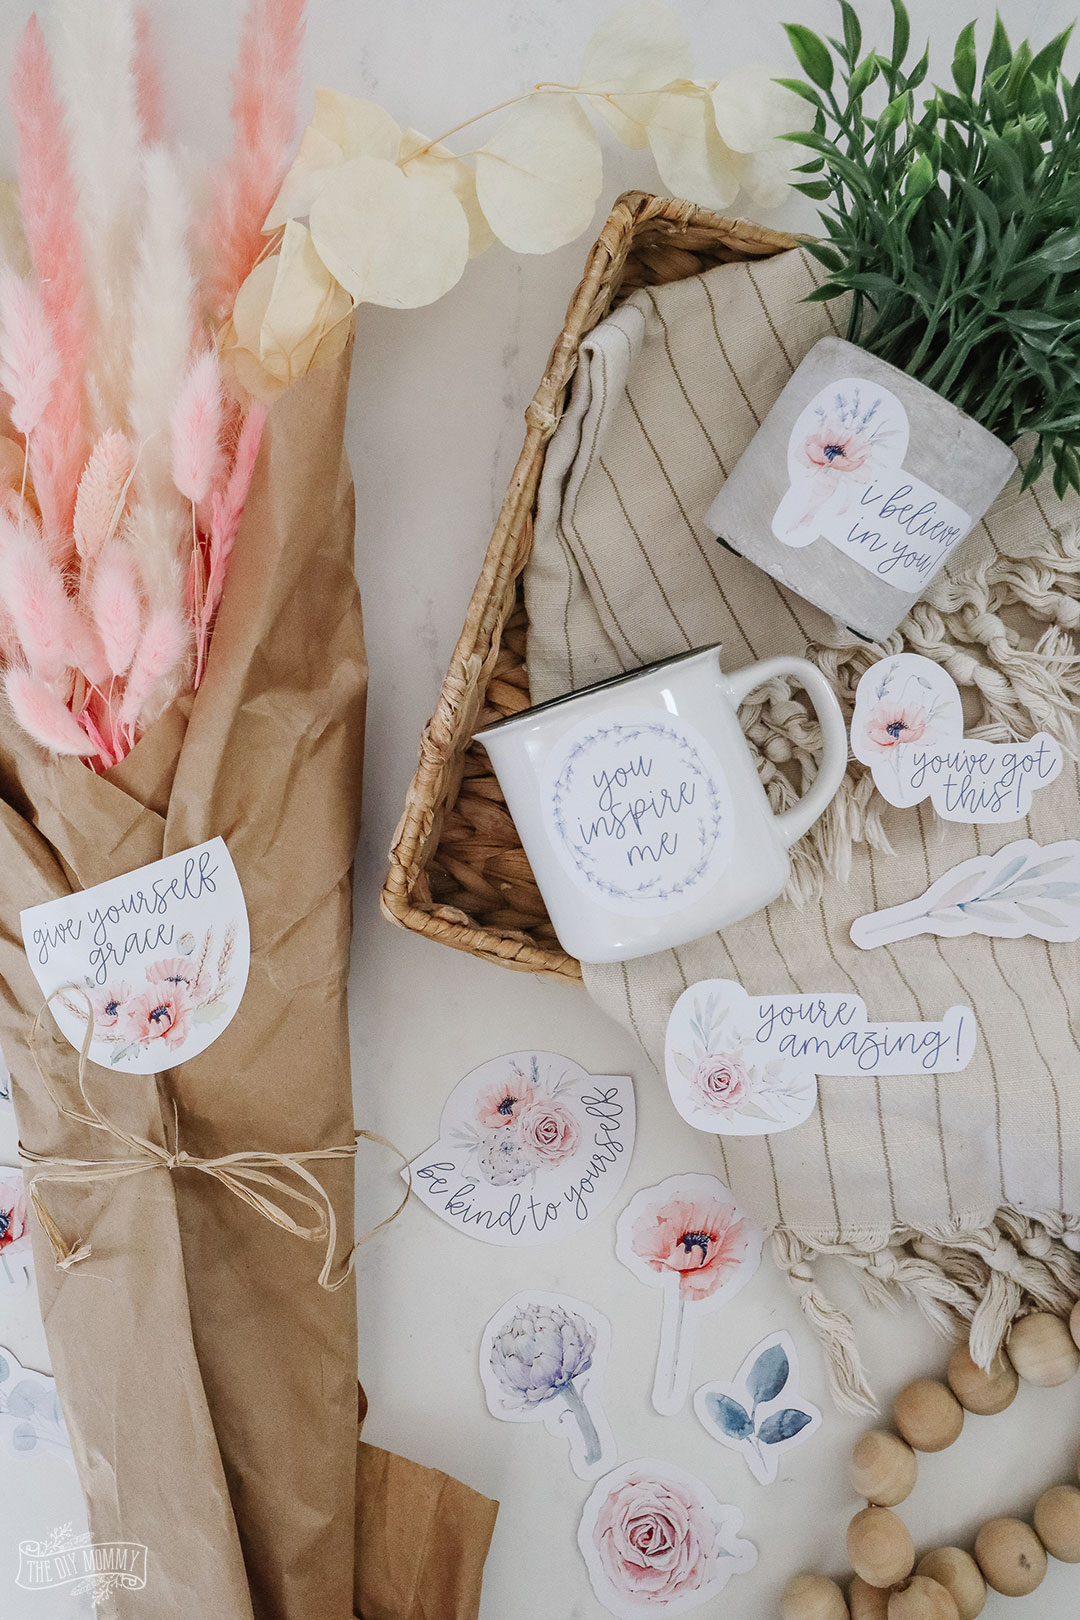
Let me show you how to make stickers with Cricut (or without!) and give you some pretty floral encouragement stickers as a free file you can print at home. These are simple to make, and they’re a great addition to a gift for a loved one this season.
Every little word of encouragement has been so life-giving to me lately, so I thought I needed to focus on doing the same for those around me. So many of us are facing difficult times right now, and kind words can go a long way.
Whether you have a Cricut or not, you can easily print and cut these floral encouragement stickers at home and use them to decorate gifts and cards for your friends. They’d even be cute to give as a whole set to someone who might need to read all these words of encouragement!
Today’s blog post is in collaboration with some of my favourite blogging friends. Before I share my DIY stickers, have a look at their gorgeous paper creations:
More Paper Crafting Ideas
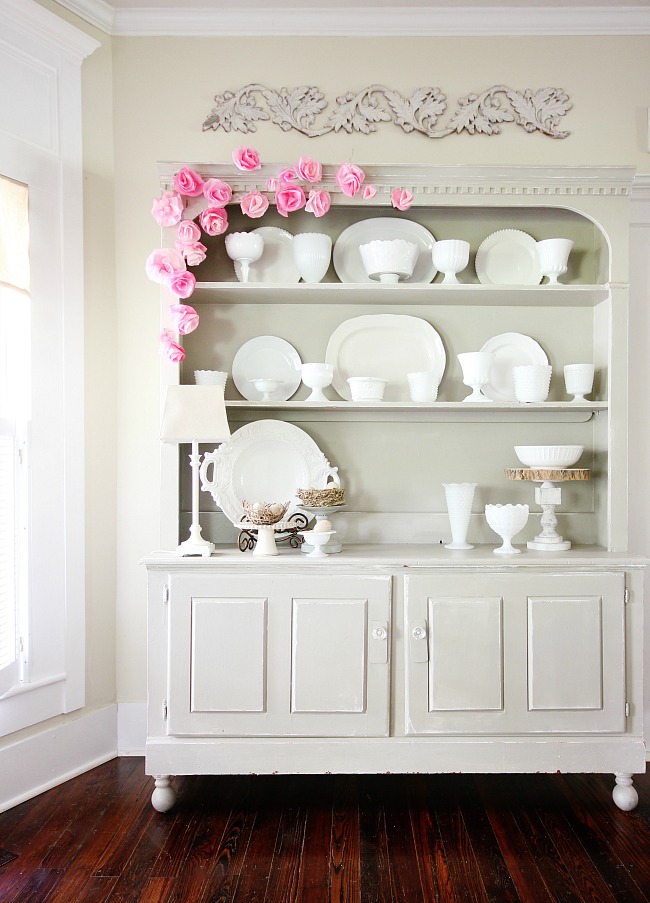
9 Creative Ideas to Decorate Your Home with Paper
Here are 9 simple, creative ideas to transform your home with paper. How to make a paper bowl, paper flowers, even a paper wreath and so much more.
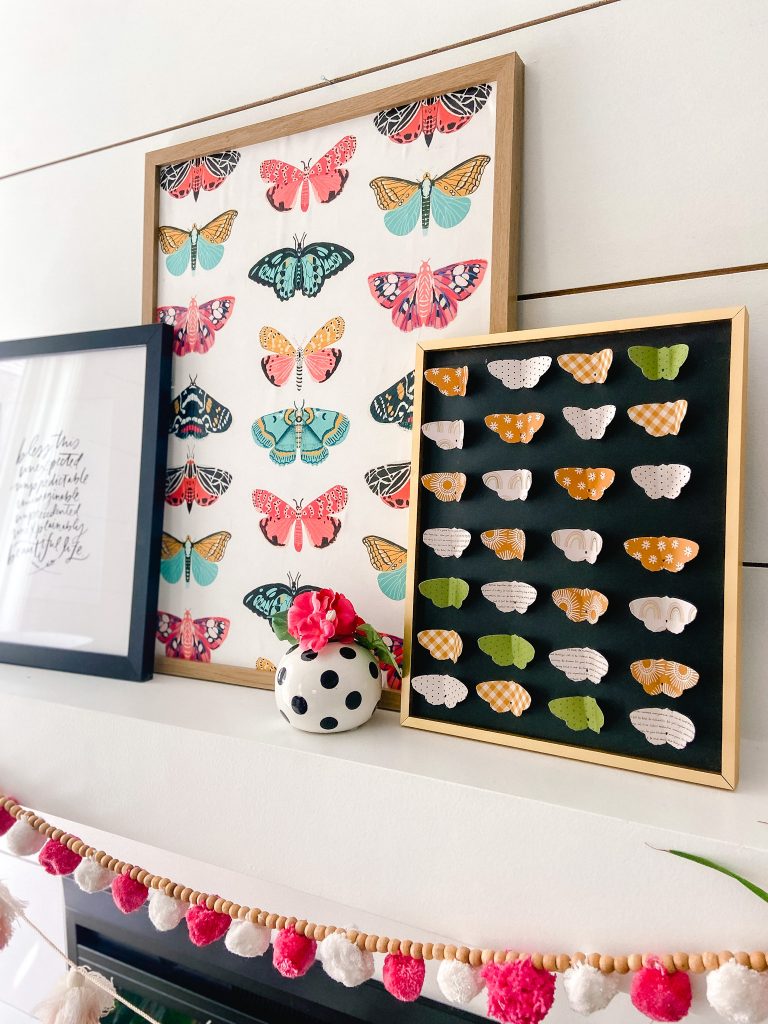
Butterfly Paper Specimen Art and Mantel
Use scrapbook paper and a butterfly die cut to create three-dimensional and whimsical specimen art for a summer mantel!
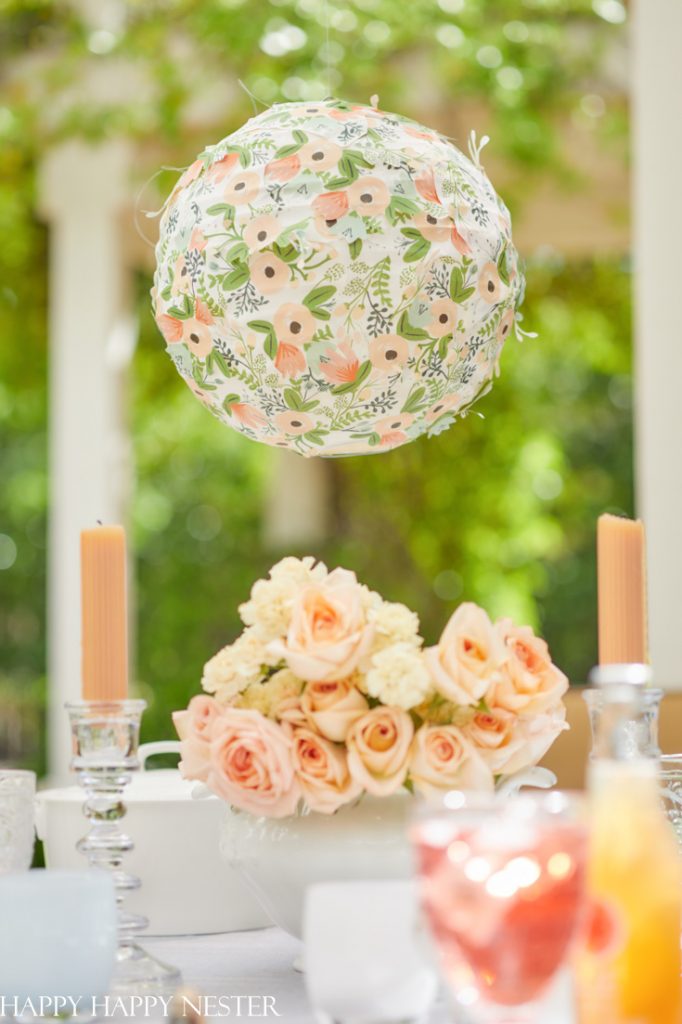
How to Decorate a Paper Lantern DIY
Learn how to decorate a paper lantern in this DIY post. Brighten up your outdoor dining table with this cute summer accessory.
Learn how to use Paper Clay to make an adorable lavender inspired clay pot! This is a perfect craft for all ages.
Now, let me show you how to make stickers at home with a Cricut (or by hand)
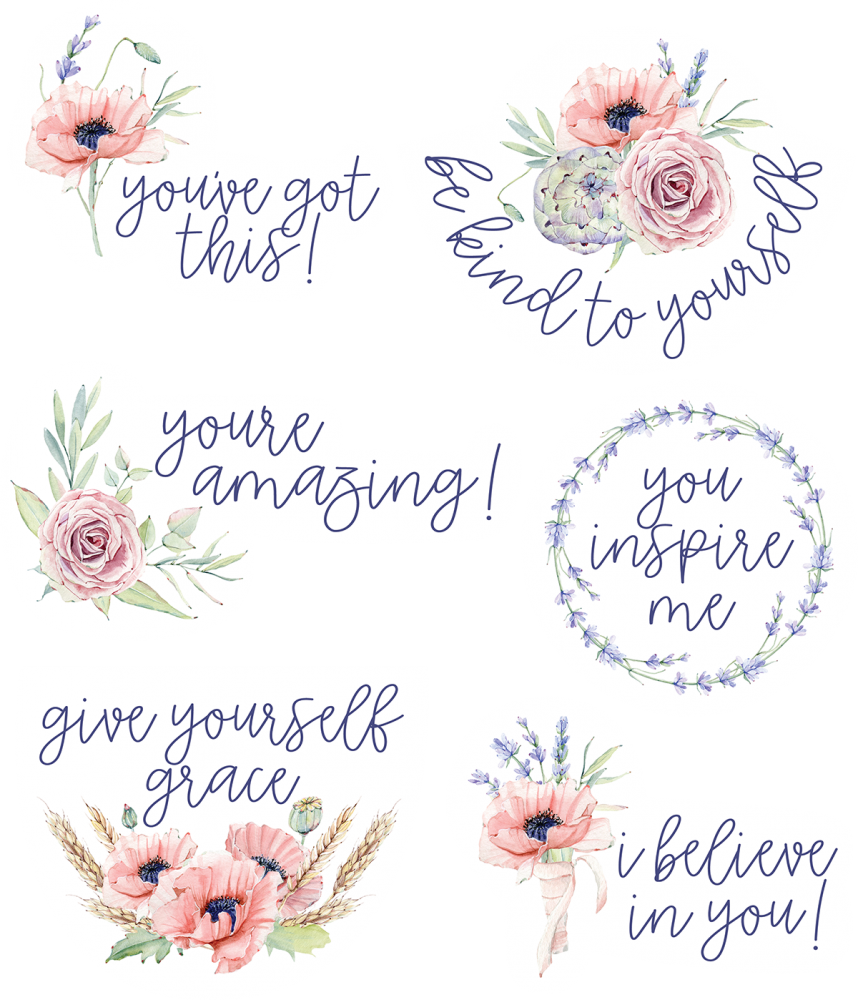
Begin by right-clicking on the PNG image below and saving it to your computer (for personal use only, please):
If you are making stickers without a Cricut, simply print these out on sticker paper, and cut them out in whatever shapes you’d like. You can resize this image to fit on a standard 8 1/2″ x 11″ piece of sticker paper, or make the image smaller and put 2 or more images on one sheet of sticker paper to make smaller stickers.
How to make stickers with a Cricut
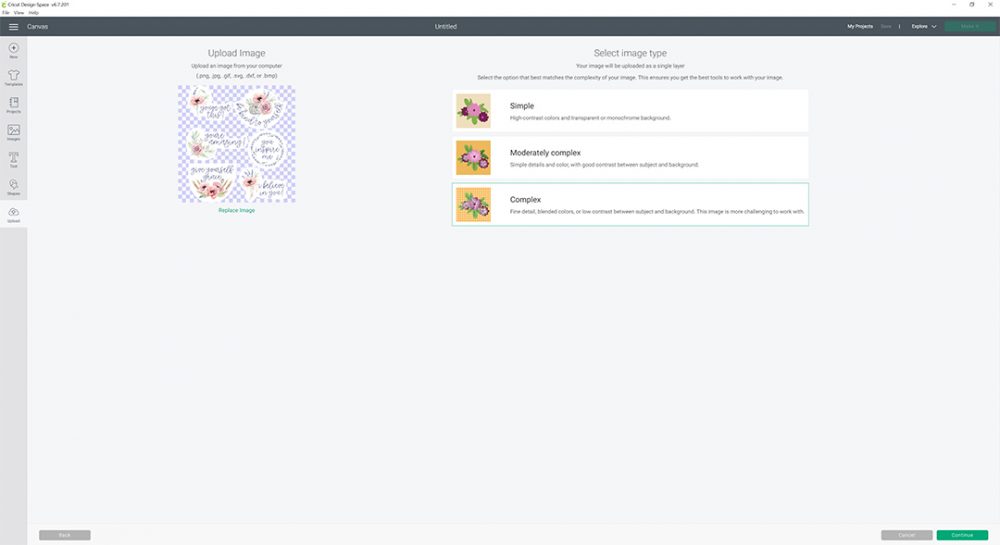
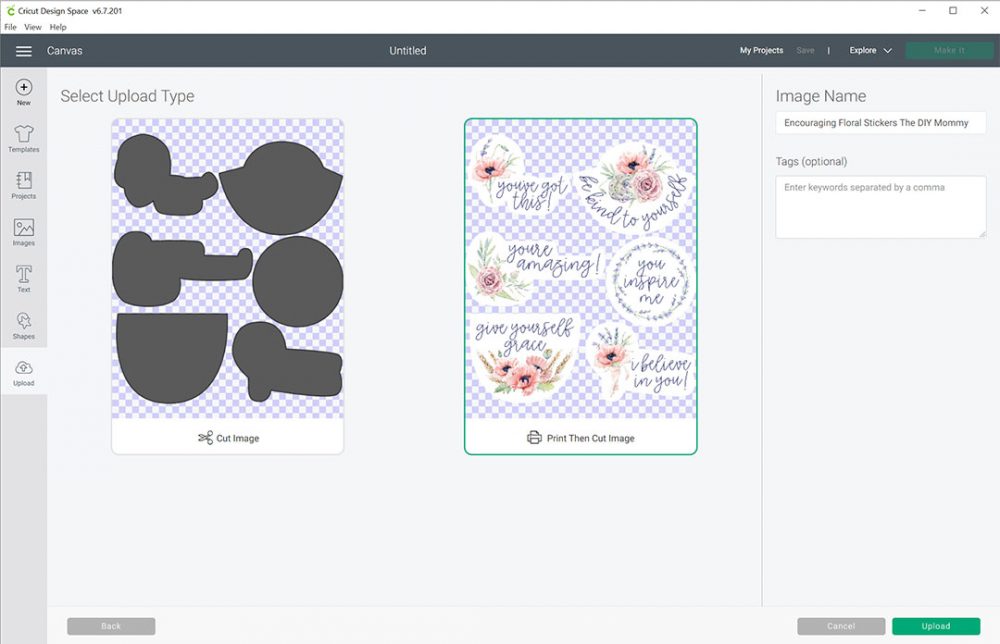
If you want to cut these with a Cricut machine, first create a new project in Cricut Design Space. Then, click “Upload” on the bottom left side. Locate & upload this sticker image that you’ve saved to your computer and then click the “Complex” option on the right.
Click “Continue”, and then choose the “Print then cut image” option. Click “Upload”.
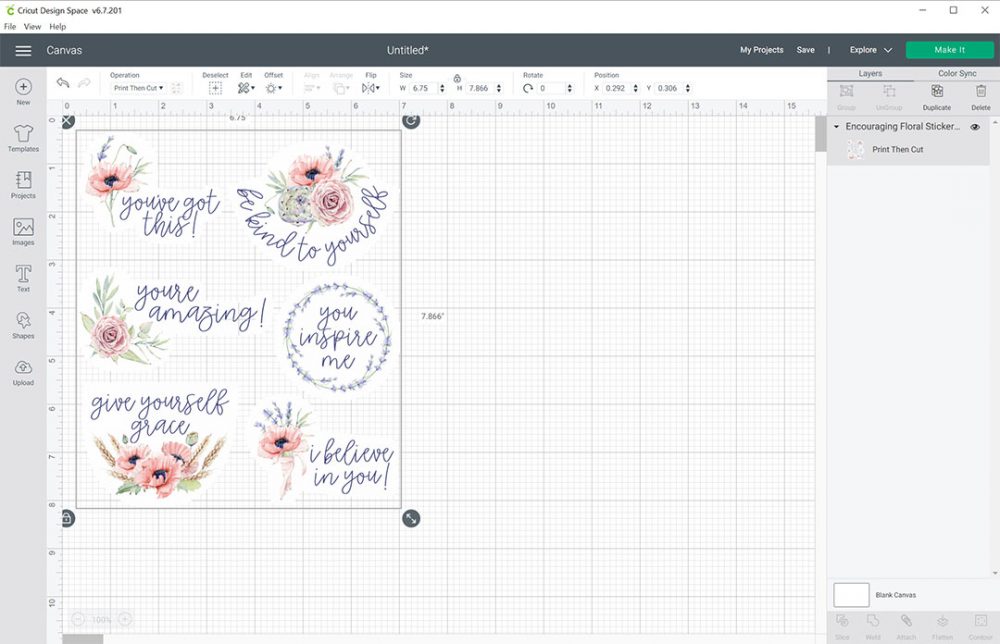
Now, you should see your uploaded image on the bottom. Select it and click “Insert Images”.
Your sticker image is now in your project and you can resize it to whatever size you’d like. The maximum size allowed for the Cricut Print & Cut feature is 6.75″ x 9.25″, so I resize this to 6.75″ wide.
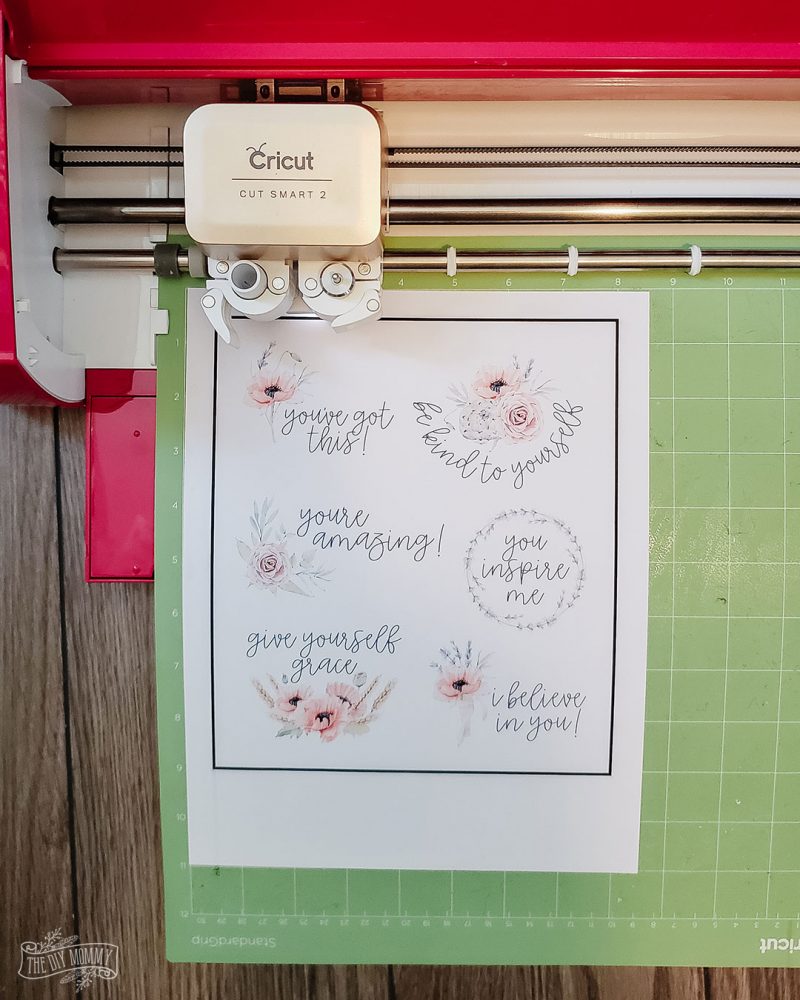
Next, you can click “Make It”, and Design Space will walk you through how to first print these with your printer onto printable vinyl and then feed the printed sticker sheet into your Cricut for it to cut the stickers.
What material is best to make stickers with Cricut?
I love Cricut’s printable vinyl which you can purchase right here. It’s relatively smooth, and works well with most inkjet printers.
Which Cricut is best to make sticker?
You can use the print and cut feature on either the Cricut Explore Air 2 or the Cricut Maker, so either of those machines are ideal for sticker making.
If you wish to make these stickers waterproof, I have seen people put a sheet of clear vinyl over their sticker paper before cutting it with the Cricut. I haven’t yet tried that technique myself, but it looks like a great way to make your stickers more water resistant!
I hope you enjoy these stickers and have the chance to share these words of encouragement with someone who needs them this week.
Enjoy creating your stickers!

These are adorable! They would make cute magnets as well… Oh, the possibilities are endless!