Cricut Explore 3 Review (everything you need to know about this new smart cutting machine!)
This post may contain affiliate links · This blog generates income via ads
The new Cricut Explore 3 smart cutting machine has just been released! I’ve given it a try, and today I want to share what I think of the machine and everything you need to know to start using it. Here’s my official Cricut Explore 3 review!
Dislosure: This blog post is sponsored by Cricut. All opinions are my own.
Cricut’s latest smart cutting machines – the Explore 3 and Maker 3 – have just arrived on the scene and I had the opportunity to try out the Explore 3! After using the machine for a few weeks, I’m here to answer all your questions on it and show you how I’ve used it so far. Let’s get started!
First, what’s a Cricut machine?
A Cricut is a smart cutting machine that can cut several different materials for your craft projects like paper, vinyl, and cardstock. Some Cricut machines can even cut thin wood, leather, fabric and more. I wrote another blog post ALL about this, and you can read it right here.
When did the Cricut Explore 3 come out?
This newest Explore Air machine was released just last month – June 2021 – and is the latest addition to the Explore family. You can buy it on Cricut’s site right here (I’m a fan of the bundles for the best bang for my buck)!
The Cricut Explore 3 vs Cricut Maker 3
While I’m a big fan of the Maker line for cutting materials like fabric, crepe paper and thin woods, I use my Explore machine more. I find myself making mostly vinyl, iron-on and paper projects, and the Explore 3 is perfect for those jobs. The Explore is a little more compact and has a lower price point.
Here’s a quick comparison of the machines:
- Max material width: 13 inches for both
- Max cut length: 12 feet for both
- Material compatibility: 100+ for the Explore 3 vs 300+ for the Maker 3
- Tools: 6 for the Explore vs 13 for the Maker 3
- Both compatible with Smart Materials (more on that below)
- Price: around $399 for the Explore 3 vs around $549 for the Maker 3
What are the new features of the Cricut Explore 3 machine?
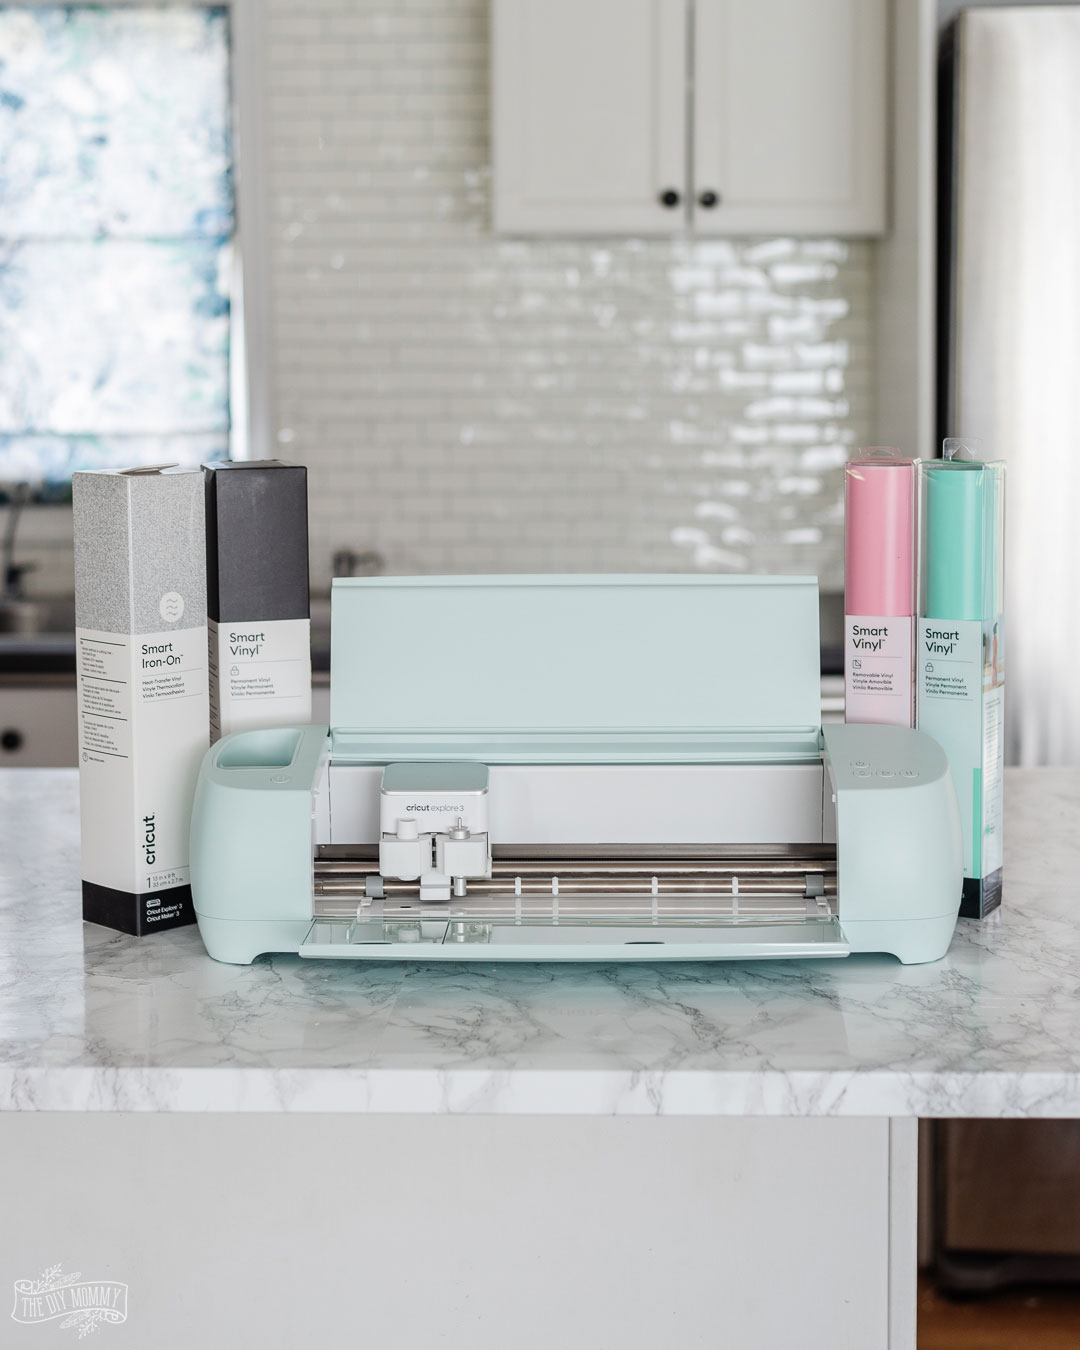
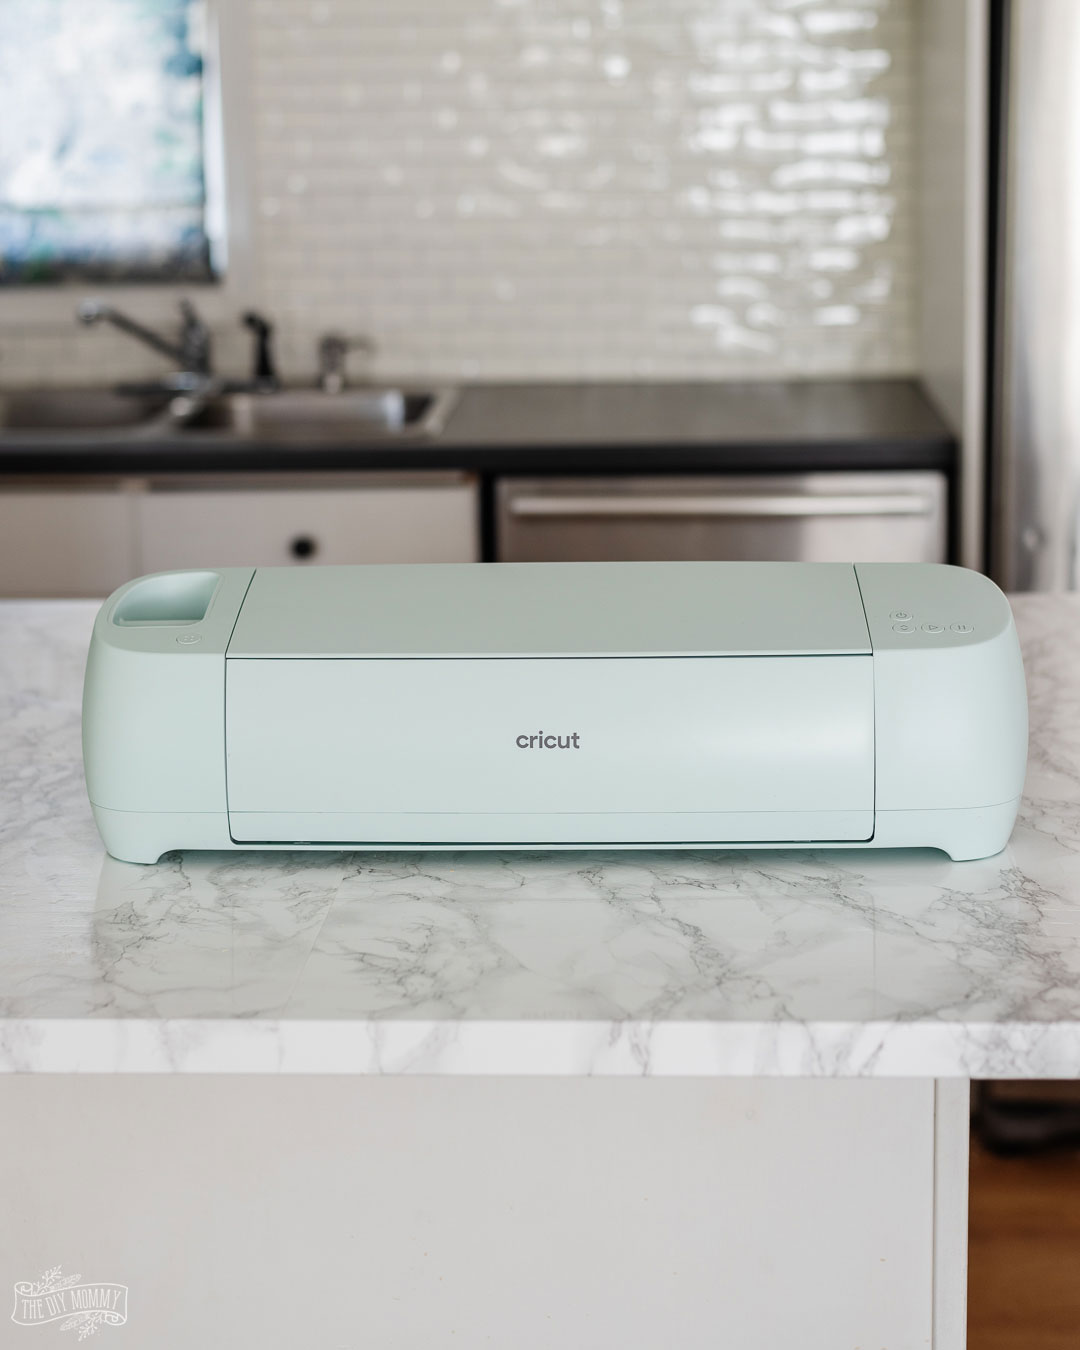
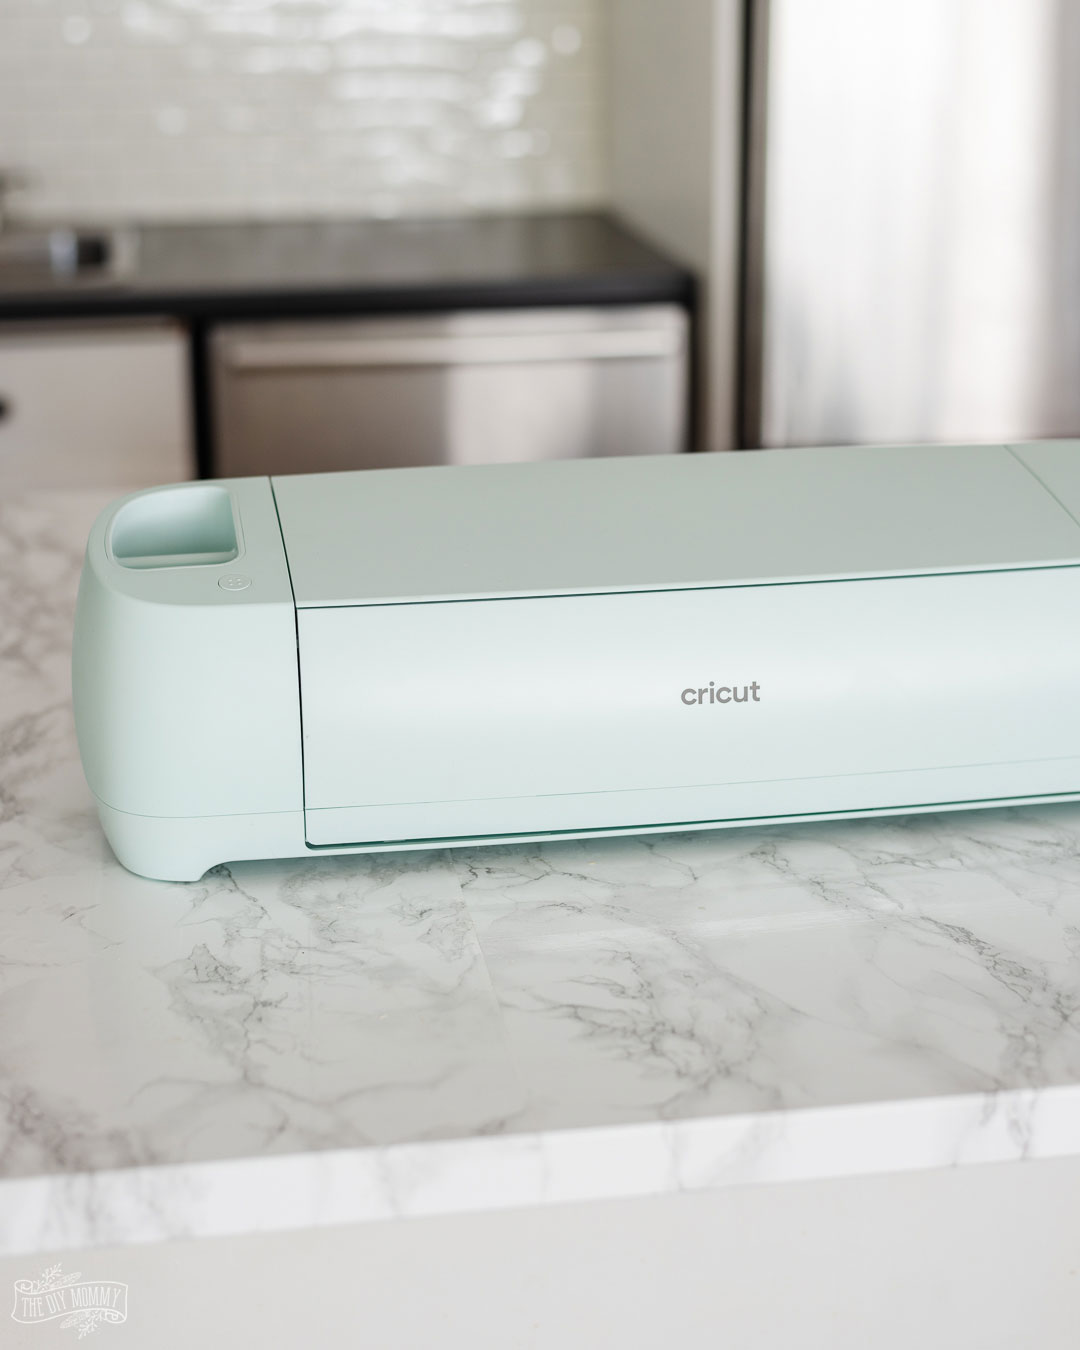
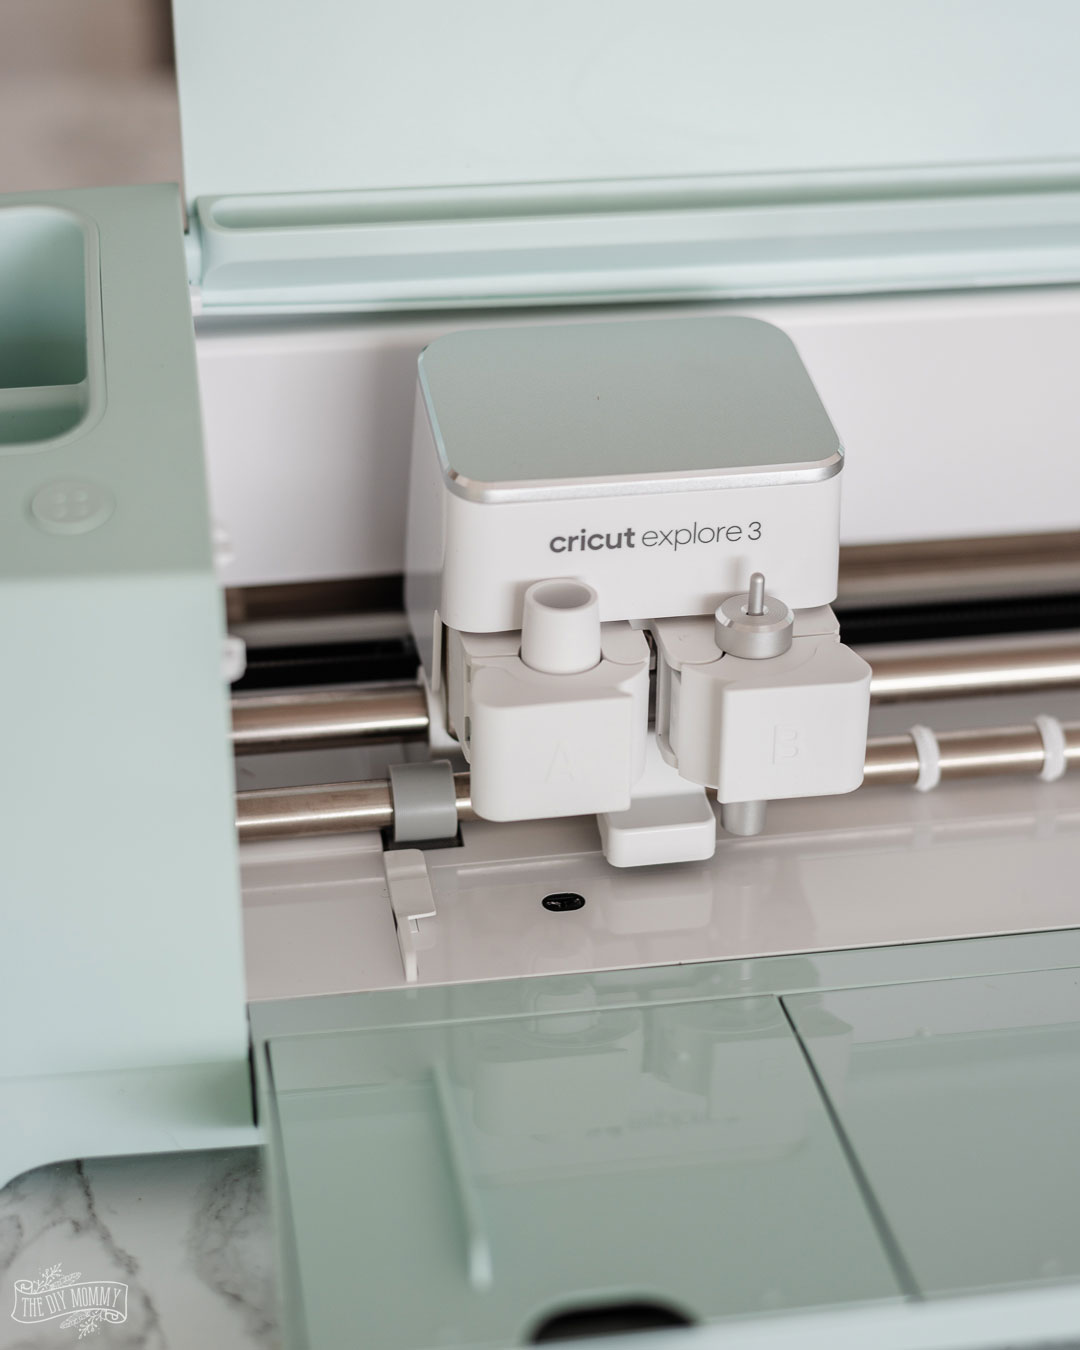
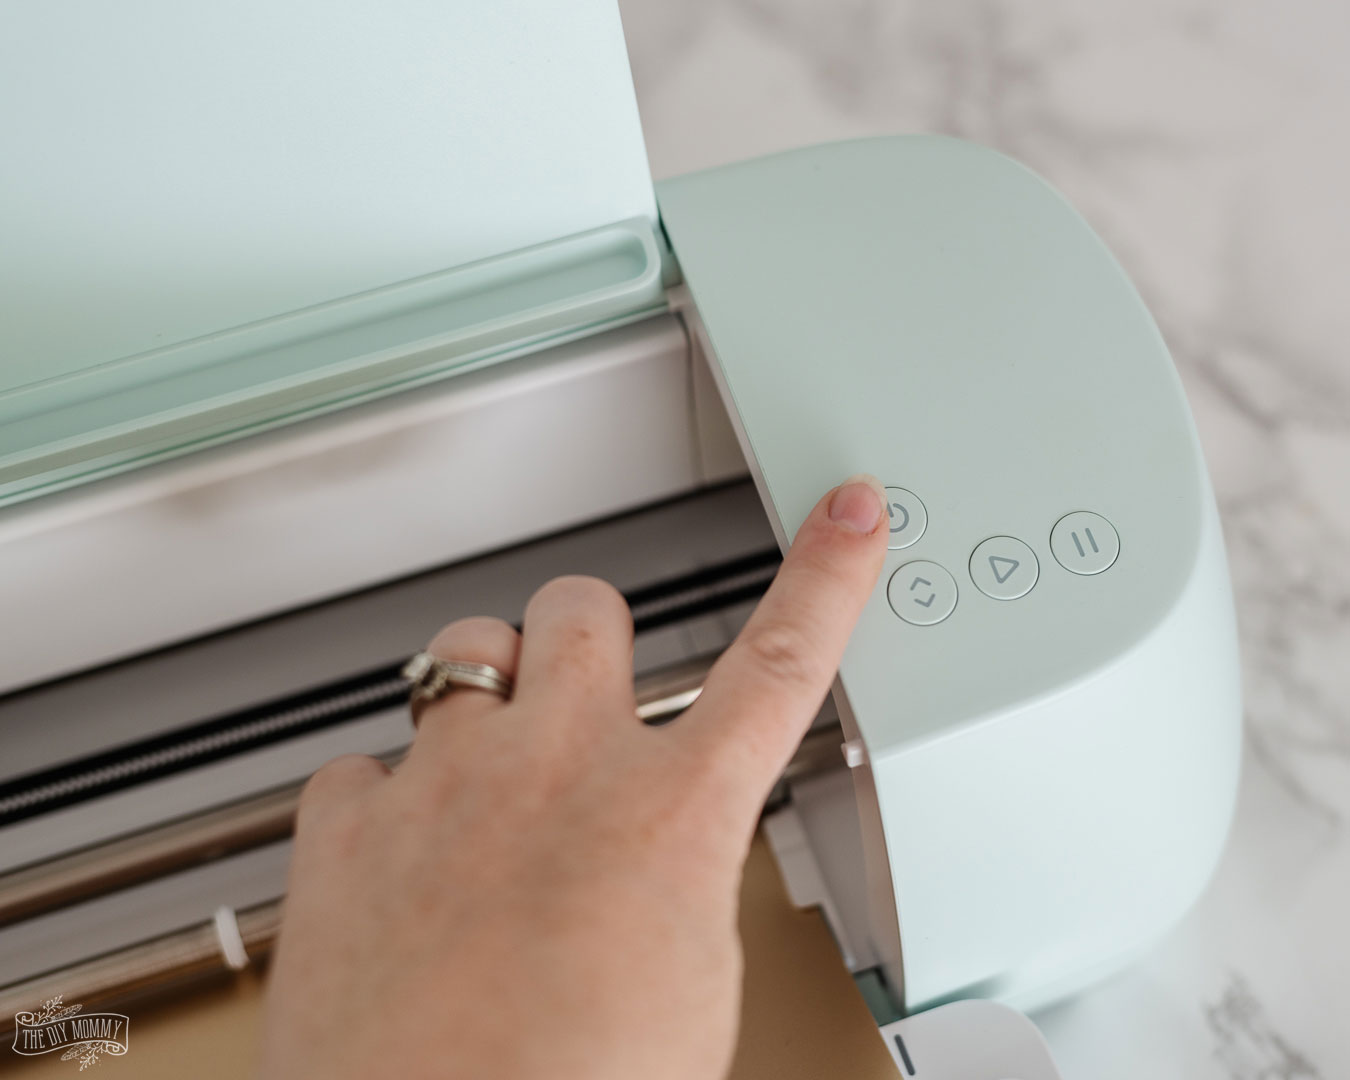
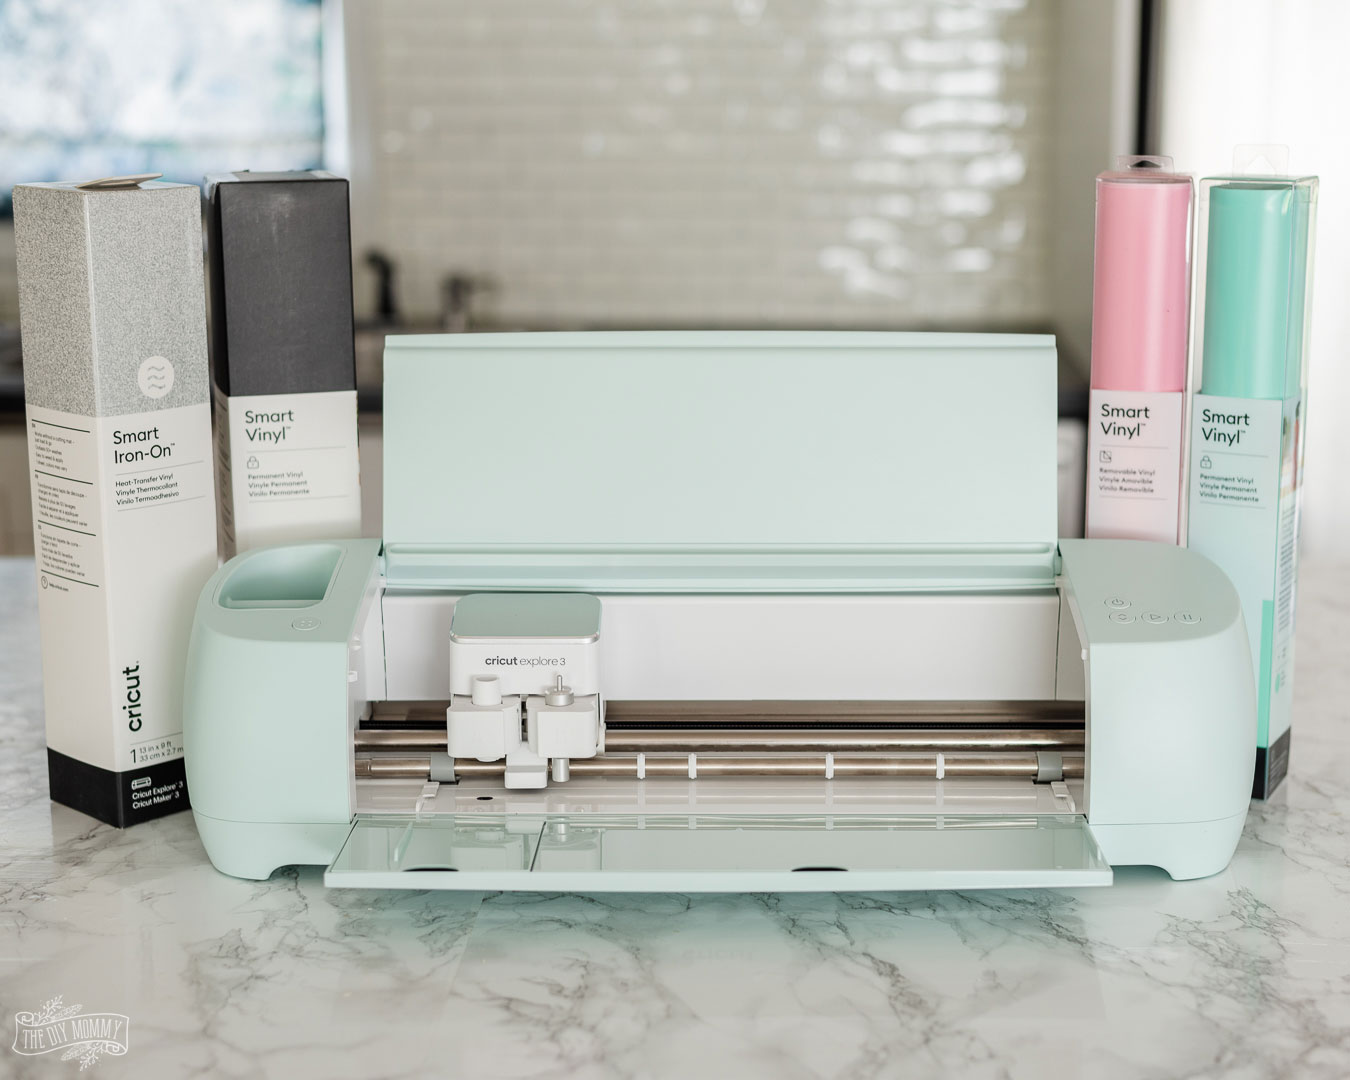
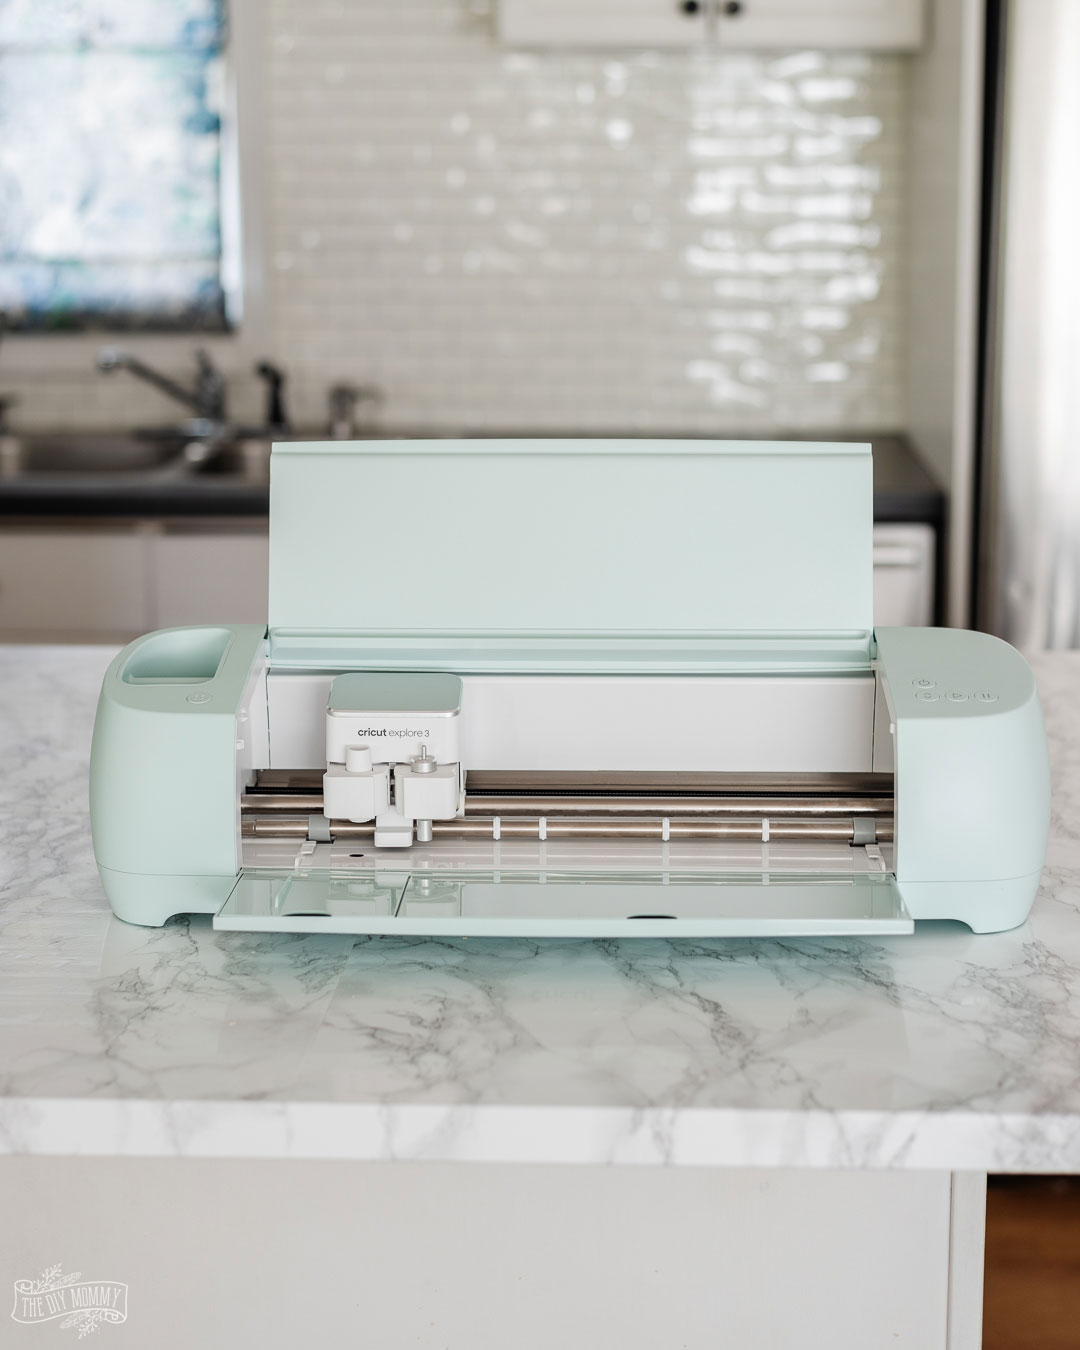
The first thing I noticed when unboxing the Cricut Explore 3 was that it didn’t have a materials dial like the Explore Air 2. Instead, you’re able to choose the material you’re using right from the Cricut Design Space app. If aesthetics matter to you (I admit they do to me!), the machine has a gorgeous matte finish in a beautiful mint green colour.
Which materials can you cut?
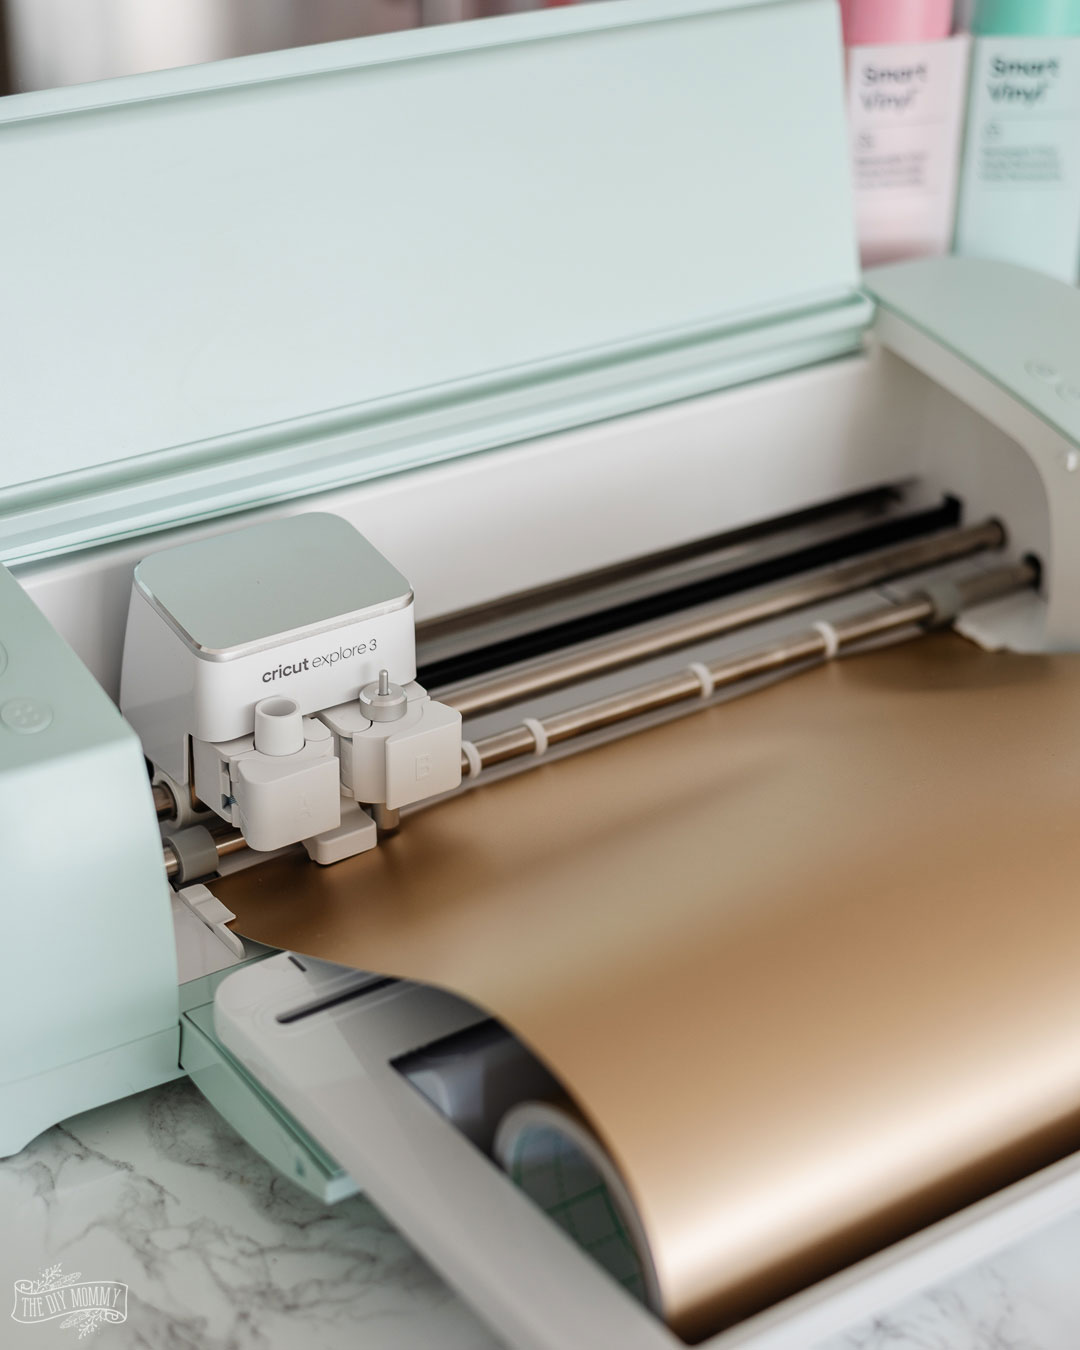
You can cut 100+ materials with the Cricut Explore 3 including cardstock, vinyl, HTV (iron-on vinyl), and poster board. What I was most excited about is the addition of using Smart Materials with this machine. I had been able to use them with my Cricut Joy in the past, but now I can use large format Smart Materials for super fast prep, cuts, and to make extra-long projects.
What are Smart Materials?
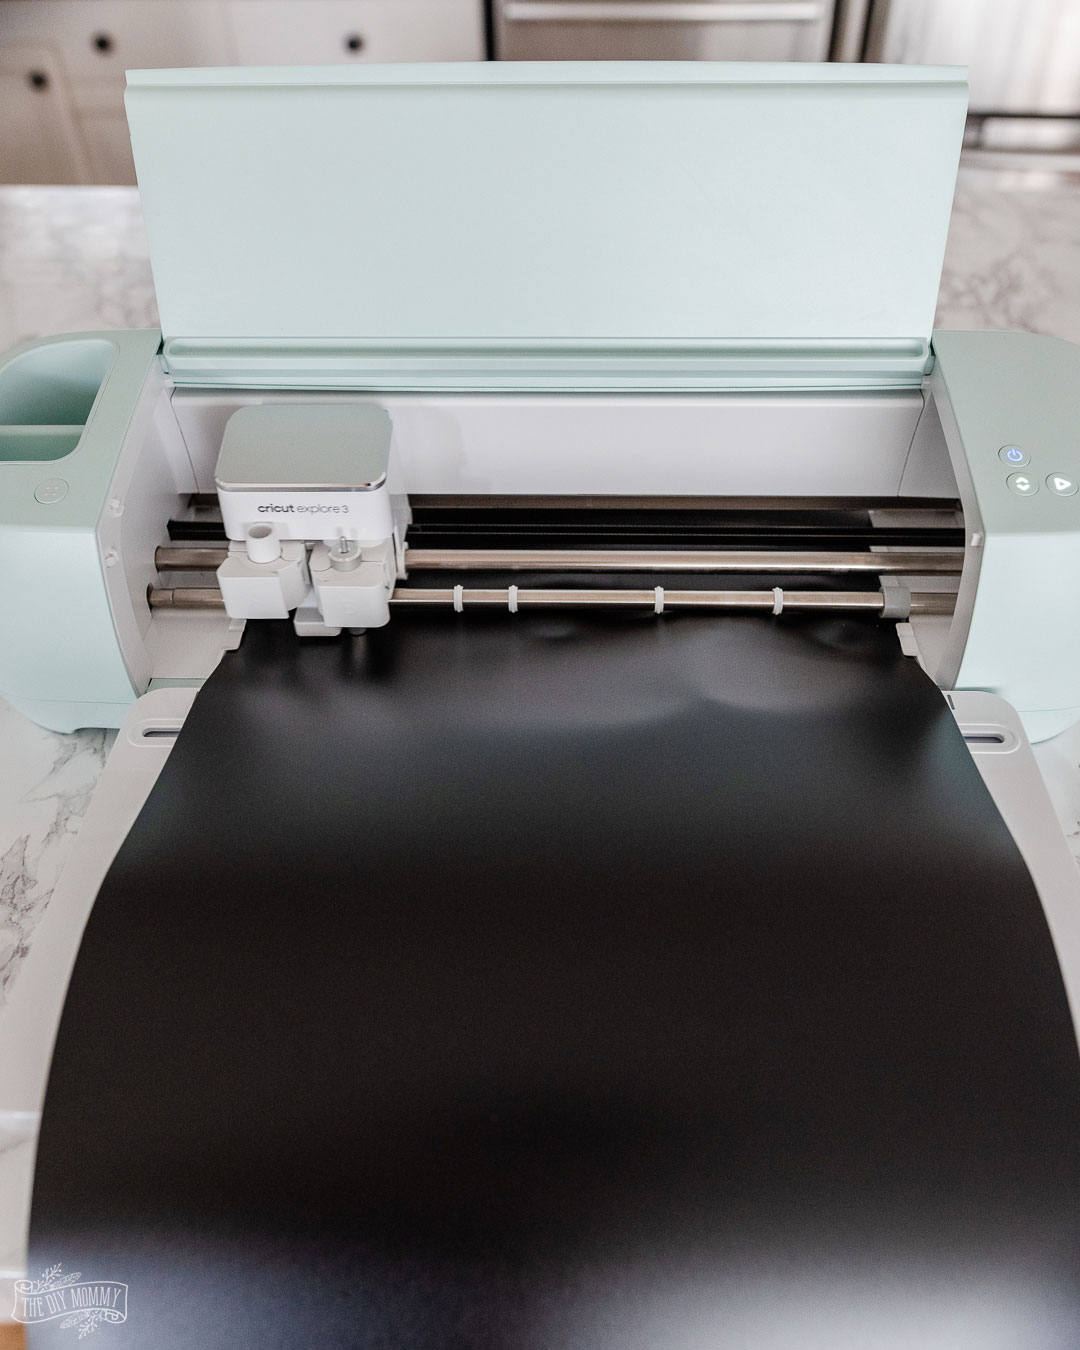
Unlike Cricut’s classic materials like Permanent Vinyl and Iron-On Vinyl etc, the Smart Materials require NO MAT making cutting quicker and easier than ever. You can buy the materials in rolls up to 9 feet long, load them in your Explore 3 and GO! This is my favourite feature of the machine. The Smart Materials include:
- Smart Iron-On in a wide variety of colours and finishes,
- Smart Vinyl in both permanent and removable,
- and Smart Paper Sticker Cardstock for paper projects without the hassle of glue
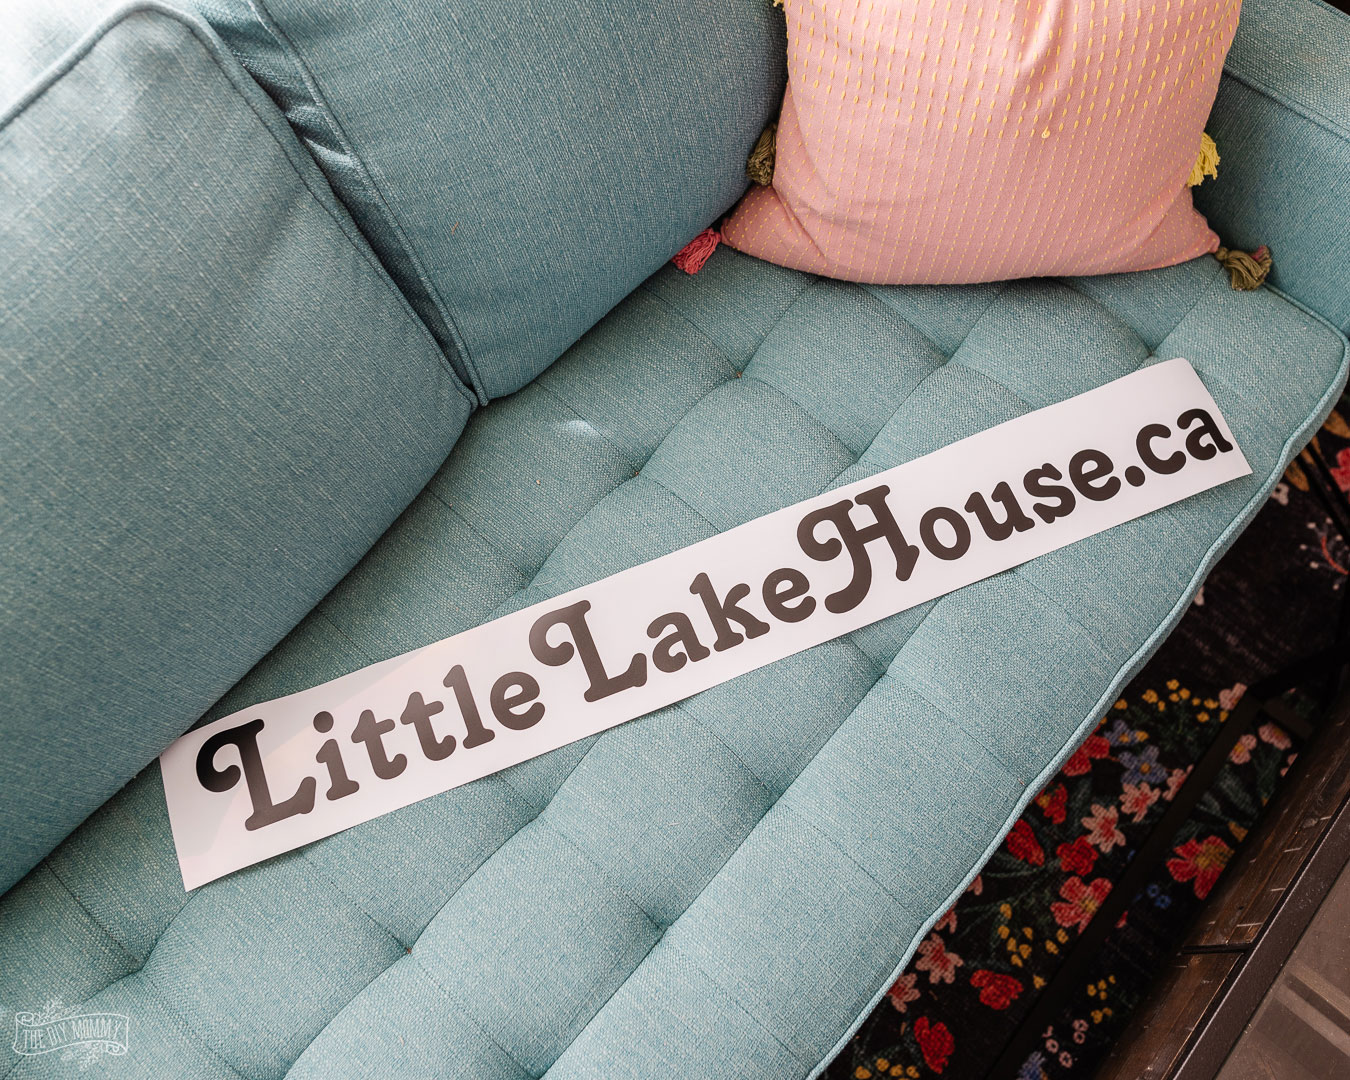
The ability to create longer/large designs with the Smart Material is great for projects like stencils for painted rugs, making long iron-on designs for home decor, and creating large decals. I used Smart Vinyl to create a 3 foot long decal for our kayaks at our lake house rental.
What’s the difference between Cricut Explore 2 and 3?
I was also BLOWN AWAY by how quickly the Explore 3 cuts Smart Materials. It’s 2 times faster than the Explore Air 2 when cutting Smart Materials, which is important to me as I’m often under a time crunch when crafting!
The speed of the machine, the ability to cut Smart Materials to create larger projects, and the sleeker look make it a nice upgrade from the Cricut Explore Air 2. (Though the Explore Air 2 is a fab machine, and I still recommend that one, too.)
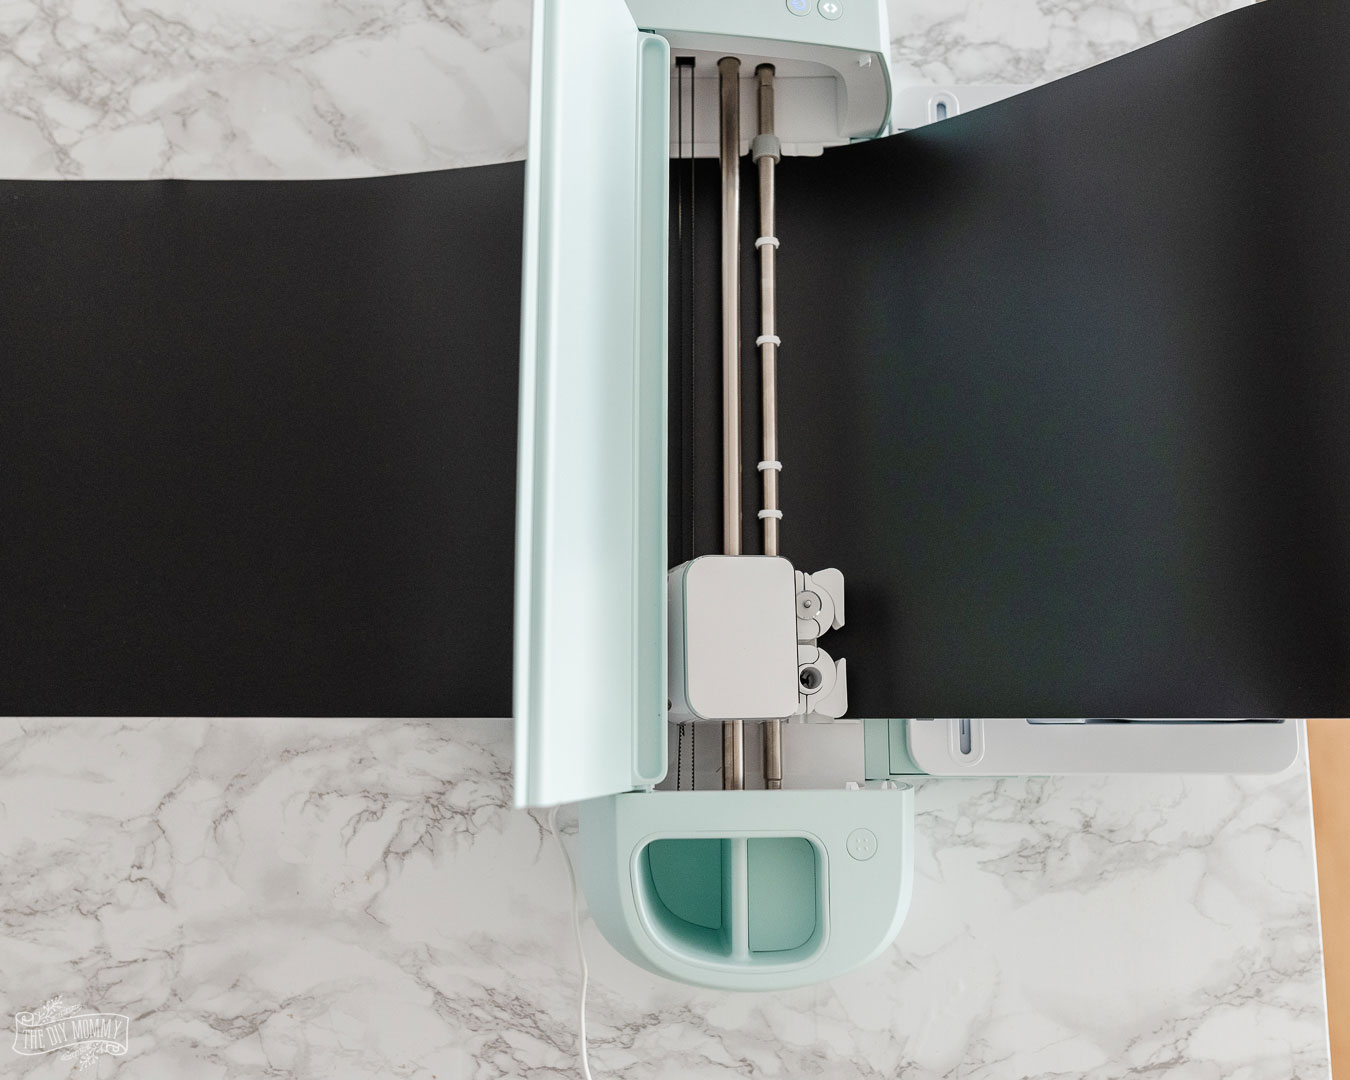
It only took me 15 minutes to create this 3 FOOT LONG decal for the kayaks at our little lake house. I opened up the Design Space app on my phone, used the font “Tango” to create my design, and made sure that it measured 36″ long.
I sent the design to my new Explore 3 and used Permanent Smart Vinyl in black. The speed the machine cut out my design was incredibly fast. I was able to use the new Cricut Roll Holder to keep my material aligned for a super precise cut.
It also has a built-in trimmer so I could trim the vinyl at the end!
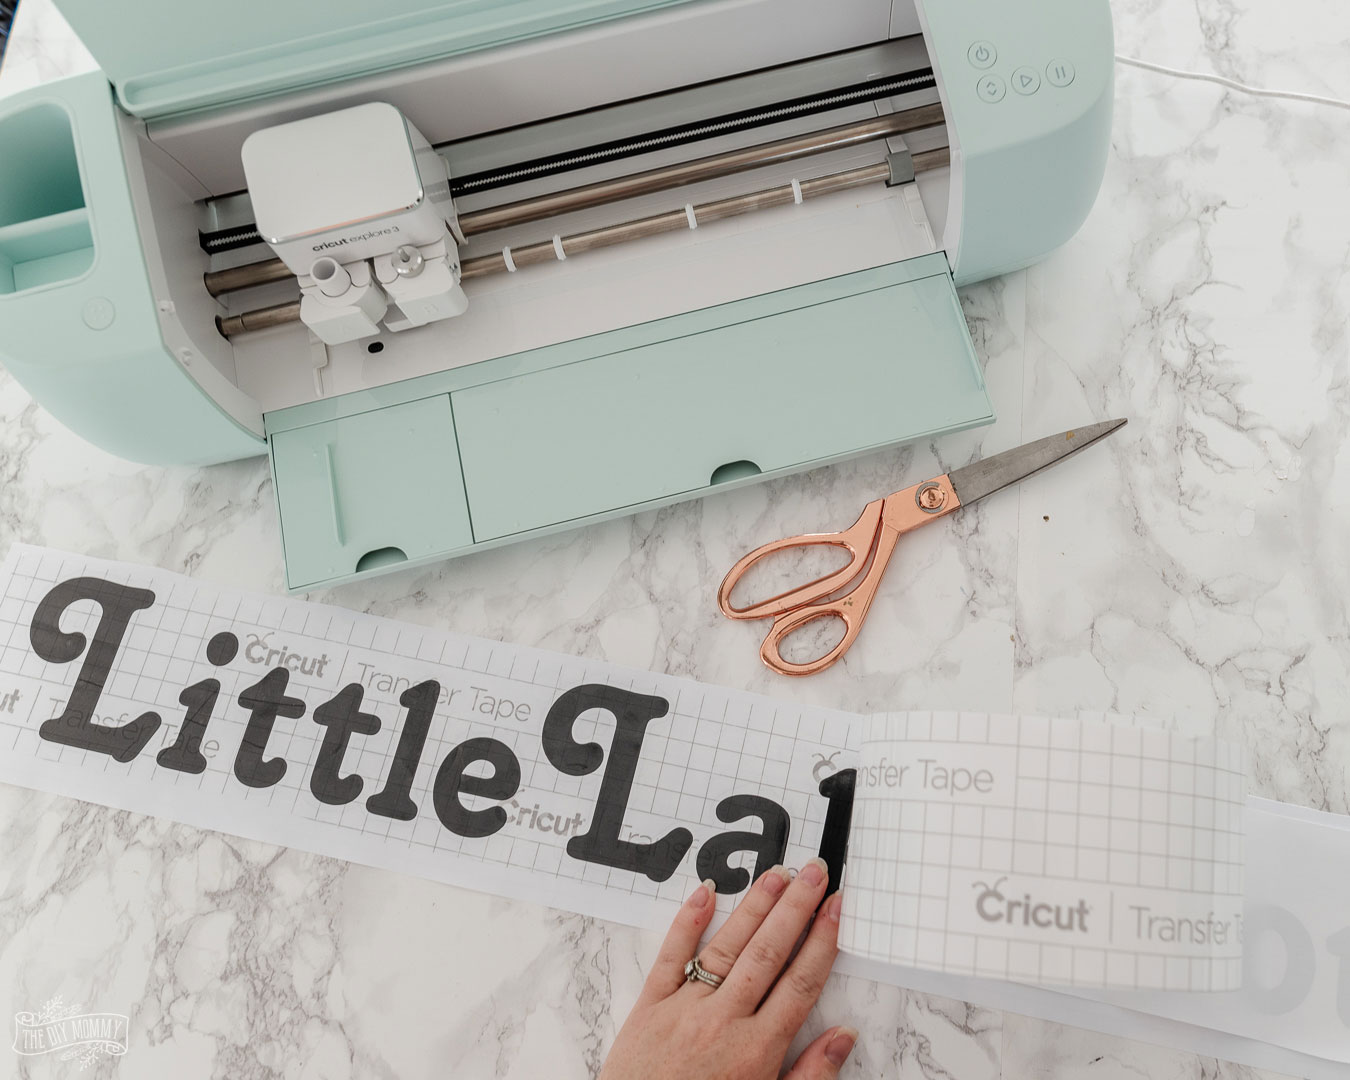
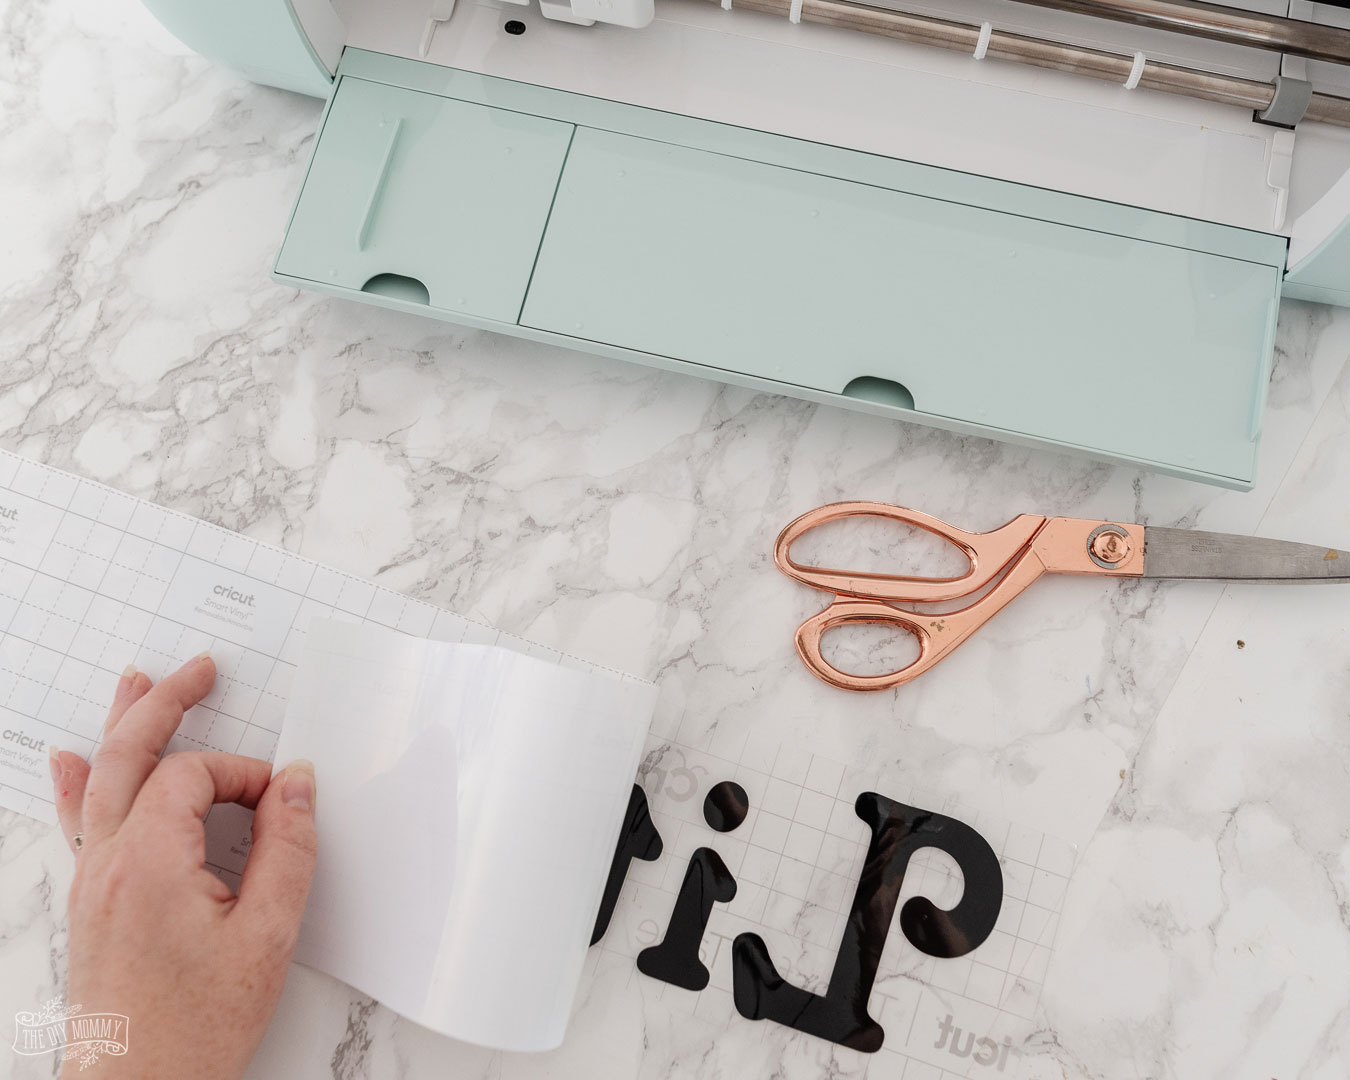
After the decal was cut, I weeded out the excess vinyl and applied Transfer Tape to the design.
Then I applied the decal to my kayak, removed the Transfer Tape and it was all done. So easy! With the Cricut, you can design a project from scratch like I did, or you can pick a ready-to-make project from Cricut Design Space!
Cricut explore air 3 tutorials for beginners
If you’re looking for a beginner’s project tutorial for the Cricut Explore 3, check out my YouTube videos:
- Cricut Design Space Tutorial for Beginners
- Get familiar with Cricut’s software and start designing your project ASAP
- 7 CLEVER WAYS to use a CADDY ORGANIZER! *organization & home decor with Cricut personalization!*
- Watch me use the Explore 3 for the first time as I create simple decals with Smart Vinyl
Now tell me: Are you considering buying either the Explore 3 or the Maker 3? Which feature are you most interested in?

