How to Make an Easy DIY Coffee Bar Sign with a Cricut
This post may contain affiliate links · This blog generates income via ads
Let’s make an adorable DIY coffee bar sign with a Cricut Joy! I love how this turned out, and it’s so easy to make.
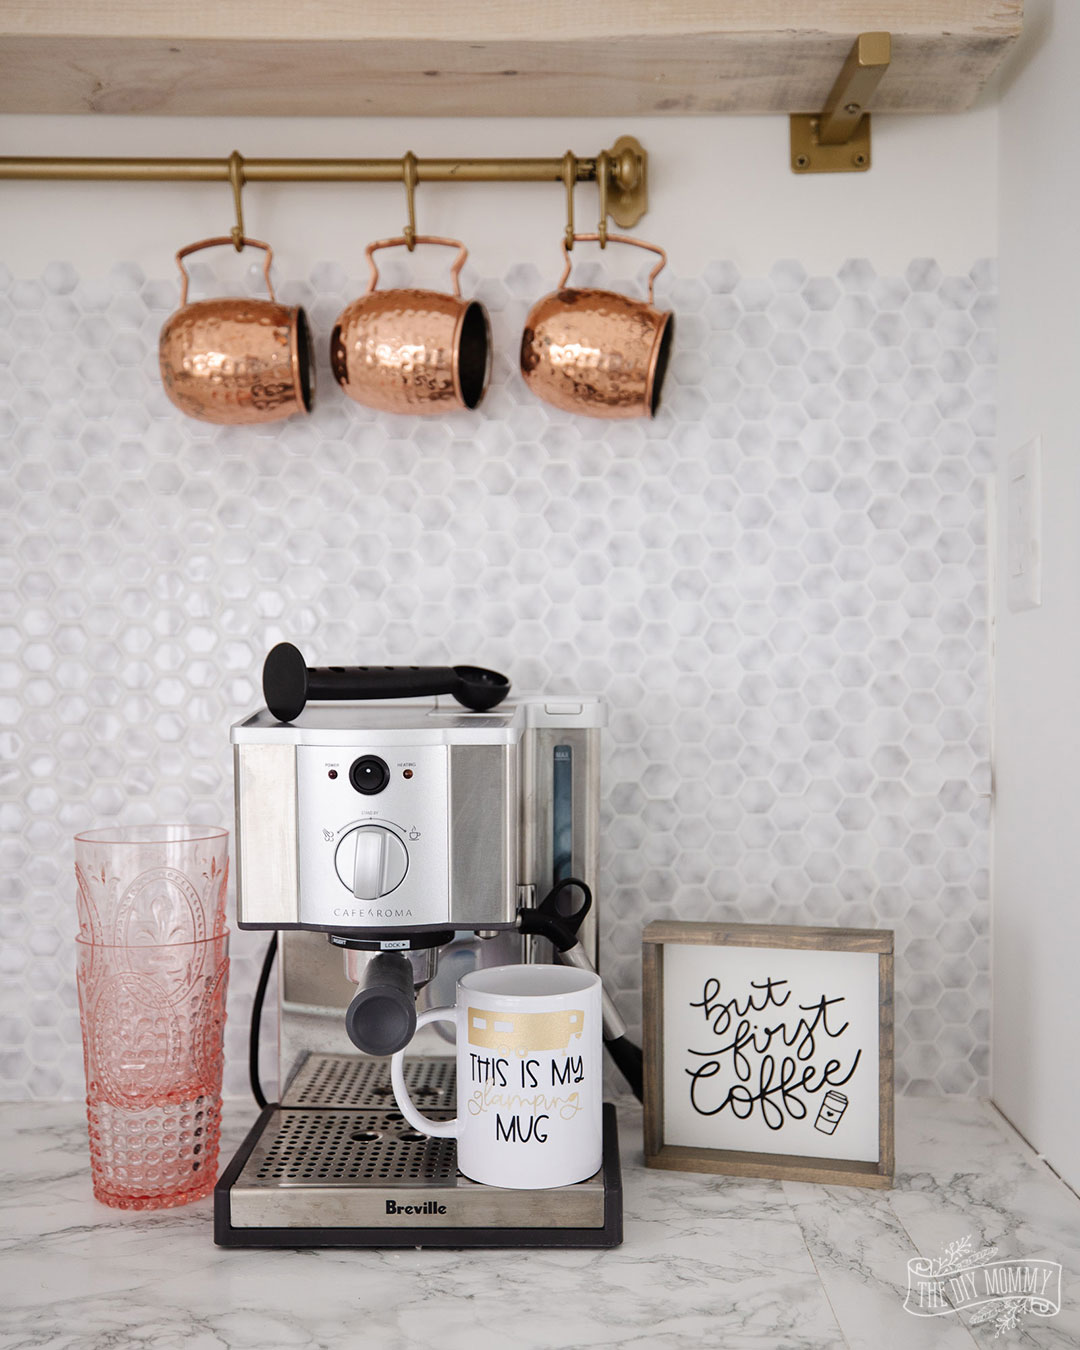
Coffee bars have been huge in home decor lately. Making coffee at home saves a lot of time and money, and creating a special little coffee nook a fun project! I have a coffee bar at my house, in our RV, and in both of our vacation rentals so our guests can enjoy the experience too. You can check out our Little Lake House kitchen with a coffee bar right here!
Creating a coffee bar in your home
A coffee station doesn’t have to be over-the-top. It can consist simply of your coffee maker, your favourite coffee syrups, and a tiered tray with mugs. If you have the room, you can add a shelf over top, hooks on the wall to hang mugs, and a larger selection of syrups and sugars. The options are endless!
You can have a coffee bar on a kitchen counter, on a dining room sideboard, or I’ve even used a bar cart for a moveable coffee station!
A cute DIY coffee bar sign is a great addition to a home coffee bar without taking up too much space. In today’s tutorial, I’ll show you how I’ve made a modern coffee bar sign with a dollar store canvas and my Cricut Joy.
If you don’t have a Cricut, you could make a similar sign with letter stencils or letter stickers.
How to make a coffee sign
Materials:
- wooden 11 x 14″ canvas from Dollarama (find similar ones here on Amazon)
- white latex or acrylic paint
- Cricut Joy (or you can use any Cricut machine)
- Cricut Permanent Smart Vinyl in Black
- Cricut Transfer Tape
Preparing the sign
Start with a Dollarama wooden canvas. These are basically wooden frames with a thin wooden backing and they’re fantastic for so many different crafts! They’re perfect for making a wooden sign without having to make the frame from scratch. If you find that your wooden canvas feels rough, give it a quick sand with 220 grit sandpaper for a smoother finish.
To begin, use some white latex paint to paint the inside of the canvas. You can use painter’s tape to mask off the edges. Now, you can paint or stain the frame a different colour, or choose to leave the frame a natural wood like I did.
Creating the design
After the paint dries, open up Cricut Design Space and start a new Project. For this sign, I’m using a simple and modern coffee image. However, if you have more of a farmhouse style you can choose something that works for you! You can find the image I used in my Cricut Design Space Project right here.
Alternatively, you can upload your own JPG, PNG or SVG file into Design Space. There are a lot of free images available to use online like this sweet SVG I used in another coffee sign!
(P.S. If you don’t have a Cricut, you can skip all the next steps. Instead, use letter stencils or stickers to create a similar sign. You can find these at the dollar store, on Amazon, or at a craft store like Michaels.)
Next, use the size tool in Design Space to make the image 4.45″ wide. This is the maximum the Cricut Joy can cut.
Cutting the design
Now send the project to your Cricut Joy by clicking “Make It”. I recommend using Cricut’s Permanent Smart Vinyl in black for a modern look. I love the simple contrast of black vinyl on a white sign. If you’re doing the same, click “Without Mat – for Cricut Smart Materials Only”. Then click “Continue” and choose the material you’re using from the list.
After the Joy cuts out the Coffee sign letters, unload the material from the machine. Weed away any excess vinyl. I use Cricut’s tools to pull off any extra vinyl between the letters and images in my design, but you can also use your fingers!
Next, cut Cricut Transfer tape to size, peel it off the backing and smooth it over the Coffee sign art. Use Cricut’s smoothing tool or a credit card to ensure the transfer tape is well adhered to the vinyl.
After the transfer tape has been applied, peel both the transfer tape and design off of the backing. I flip my design upside down and carefully roll the backing off of the trasnfer tape & vinyl design.
Finishing the sign
Now’s the fun part! Place the design onto the painted frame and then carefully peel off the transfer tape. You can use a measuring tape for this step to ensure that your design is centered in the frame.
If you want to seal the design, you can use a thin layer of Mod Podge over the whole thing. I don’t usually seal my signs because I find they don’t get much wear & tear.
Styling your coffee bar
To style your DIY coffee bar sign, you can simply rest it on the counter or tabletop near your coffee bar or you can mount it on the wall with Command Strips. I think my modern sign is the perfect addition to our Little Lake House coffee bar, and all of the coffee lovers that visit our cabin seem to enjoy it too!
Watch my YouTube video below for a step by step video tutorial on how to make this DIY sign:
I hope you enjoyed this DIY inspiration for your own coffee station. Happy crafting!
PIN ME:


