How to Paint a Piece of Furniture in 3 Hours
This post may contain affiliate links · This blog generates income via ads
I wish you all lived near me so that we could grab a latte, head to the city and do some furniture bargain hunting together! It’s one of my most favourite things to do. I love hitting up antique shops, thrift stores, and garage sales to see what sorts of treasures I can find for a great price. One great place to find furniture bargains right now? The Brick Tent Sale! It’s happening right now at Brick stores across Canada, and it’s such a great place to find furniture, mattresses, electronics and appliances that have been deeply discounted. I hit up the Tent Sale at my local South Edmonton Brick store last week and found a gorgeous piece – the most beautiful, curvy little chest that was begging for a DIY paint job! Let me show you what I did to it, and how I gave it a fun makeover in less than 3 hours.
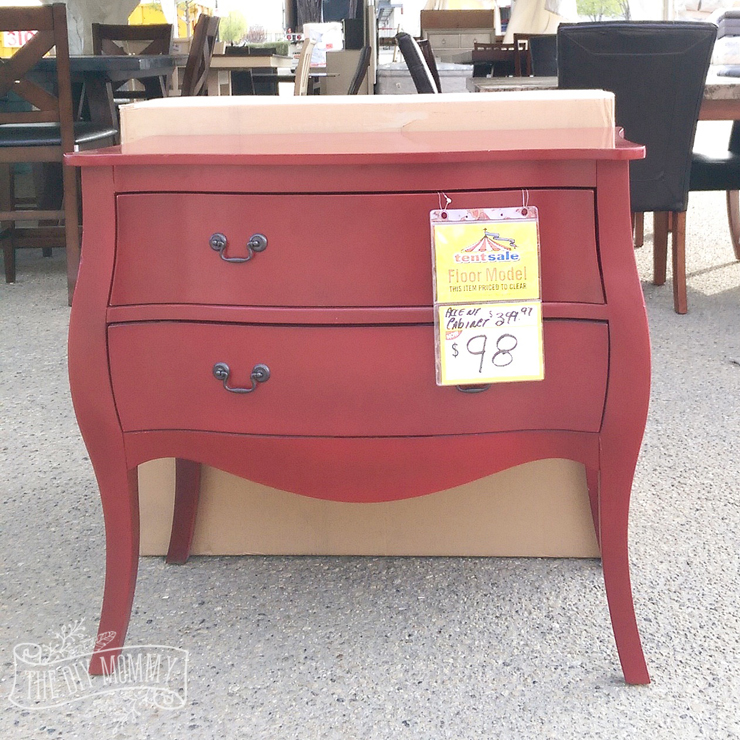
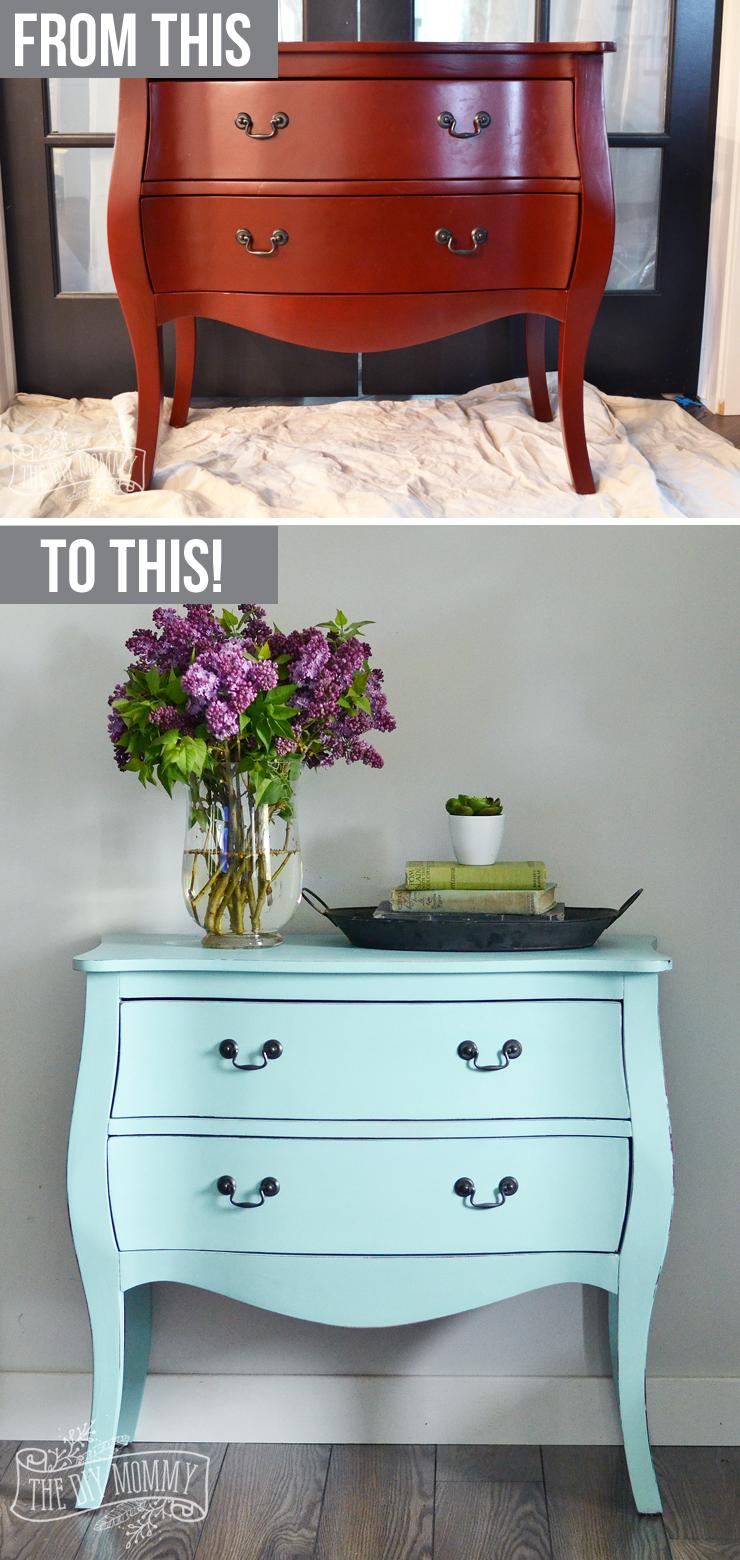
Here’s what I started with:
This adorable chest was 75% off! How could I let this guy go? For this price, this piece was definitely eligible for a DIY treatment. The Brick Tent Sale features pieces like this that are floor models and scratch and dent items. Some pieces have no visible flaws but they’re still discounted, while others (like this chest) had a few nicks and scratches that could easily be fixed or painted over.
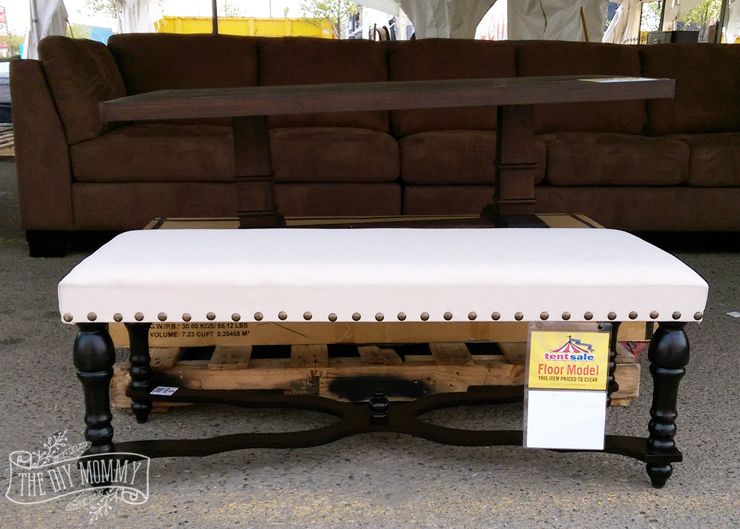
I also had to grab this pretty bench that was half price. I adore the nail head trim, and could totally see this at the foot of our master bed. I’m deciding if I want to paint the legs… they could look really neat with a bit of a DIY treatment too!
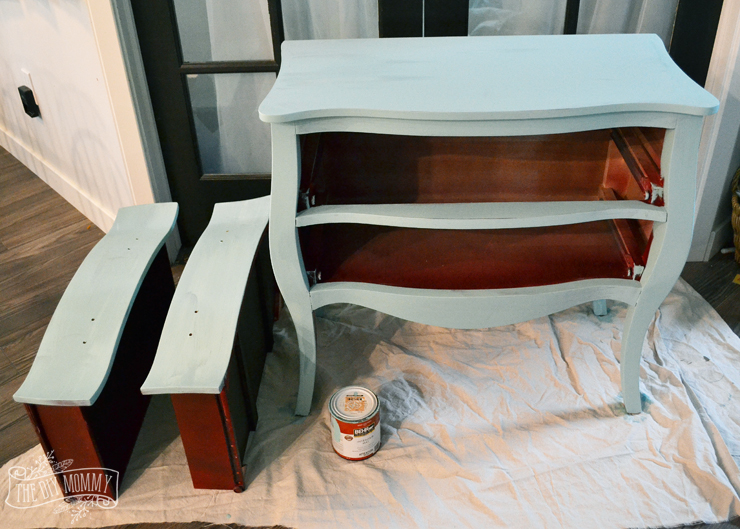
One day this week, I had a 1.5 hour window of kidless time to paint. I quickly mixed up a batch of DIY chalk style paint using this recipe and a can of flat latex paint I had on hand. It’s a lovely aqua colour and I threw in a bit of charcoal coloured paint to tone it down a little. I wiped down the chest, and used a regular paint brush to paint the DIY chalk style paint over the entire piece. I managed to do 2 coats in my small window of time – this type of paint dries REALLY quick!
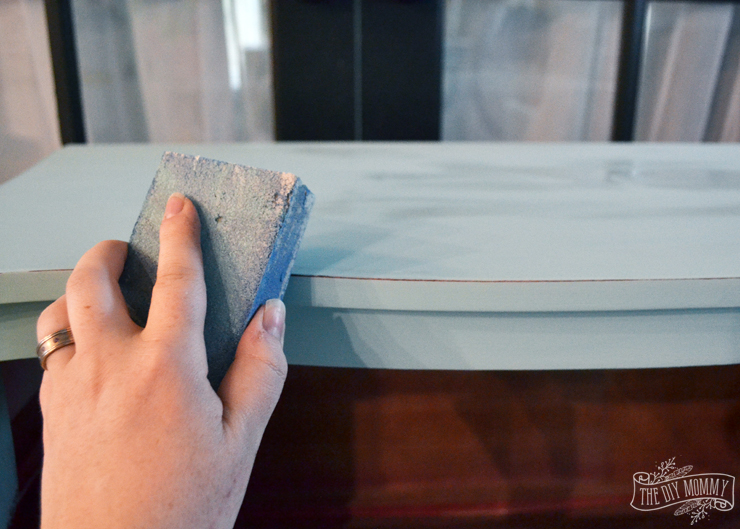
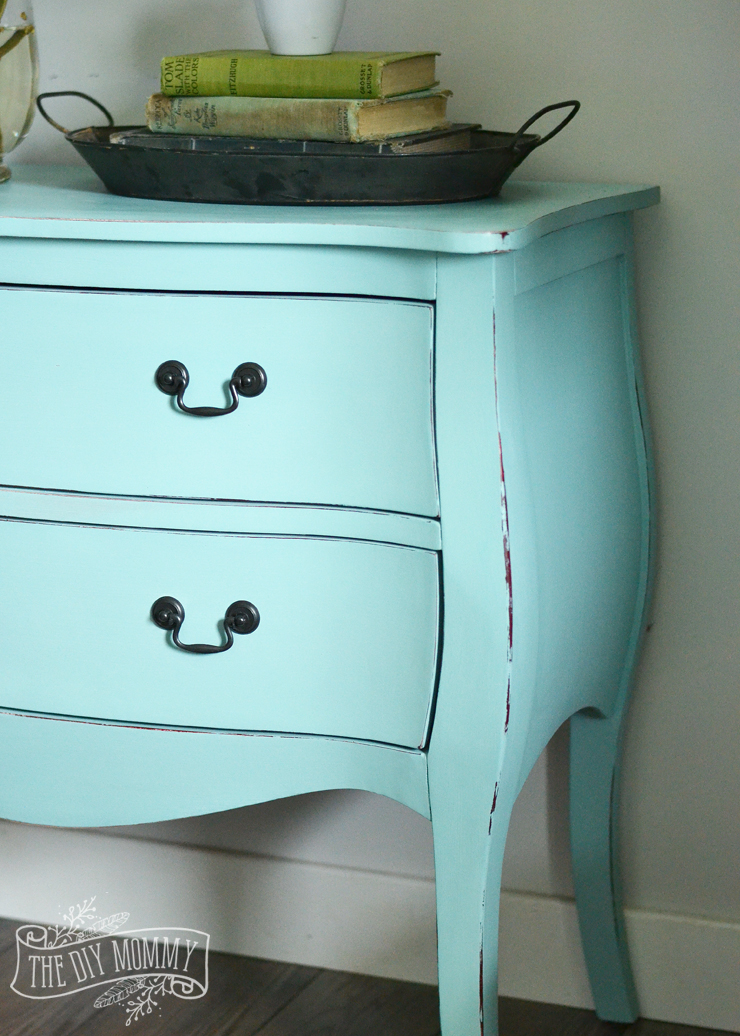
Once the paint was dry, I sanded some of the paint off of the edges of the chest to give it a slightly distressed look. When I saw this original deep red colour of the chest, I immediately envisioned it peeking through a robin’s egg blue colour like this! The contrast is so pretty.
Distressing a piece slightly like this is also a great way to work with a piece of furniture that’s a little scratched or dented. You’re playing up the distressed parts of the furniture by giving it a vintage look.
The final touch was sealing the piece with some FAT Wax Beeswax Polish I had on hand.
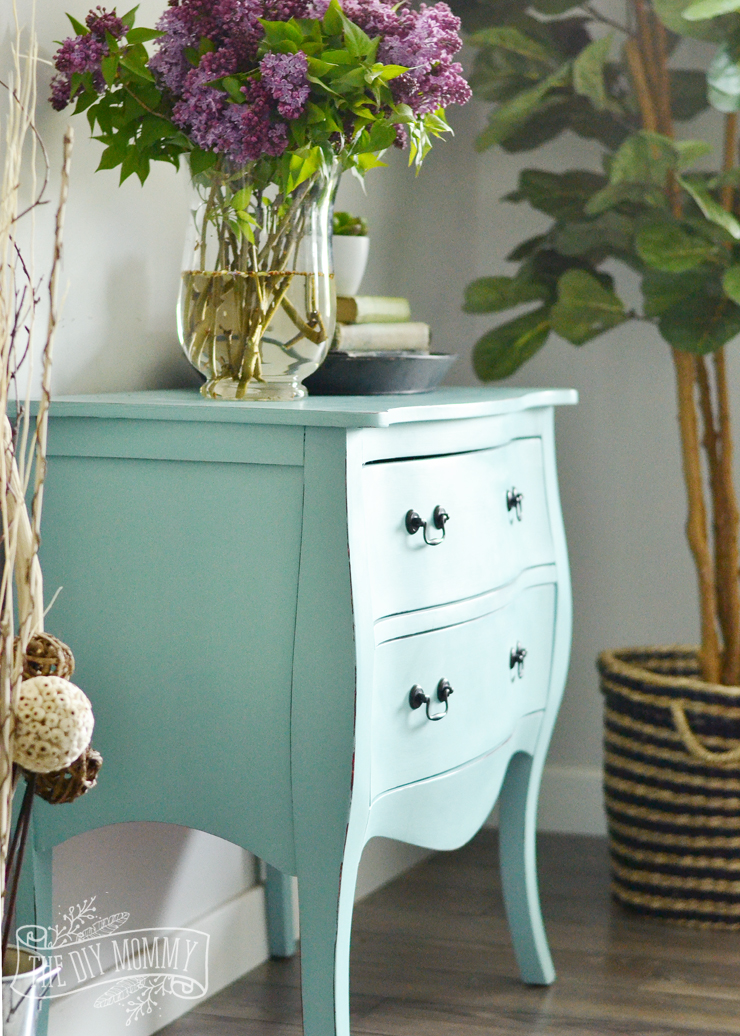
I think the final result is just so pretty! This curvy little chest is now one of my favourite colours, and it looks so unique and gorgeous. The chest was such a great deal and this paint treatment only took me a few hours – it was 100% worth it!
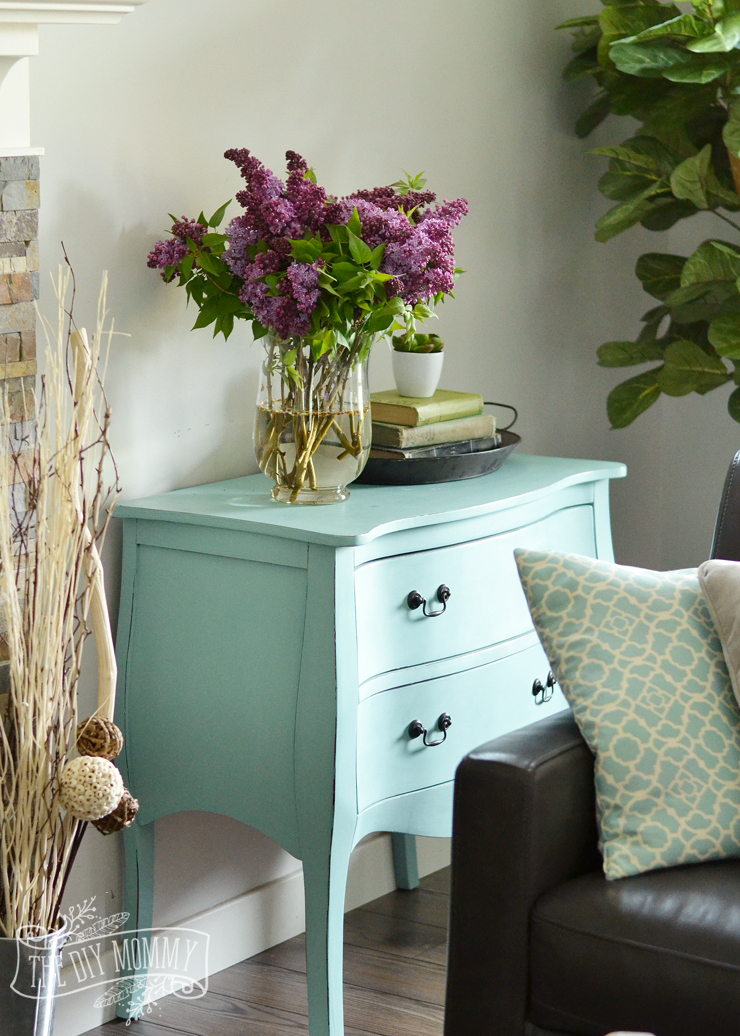
I’ve tucked this guy beside our sofa in the living room to house magazines and books.
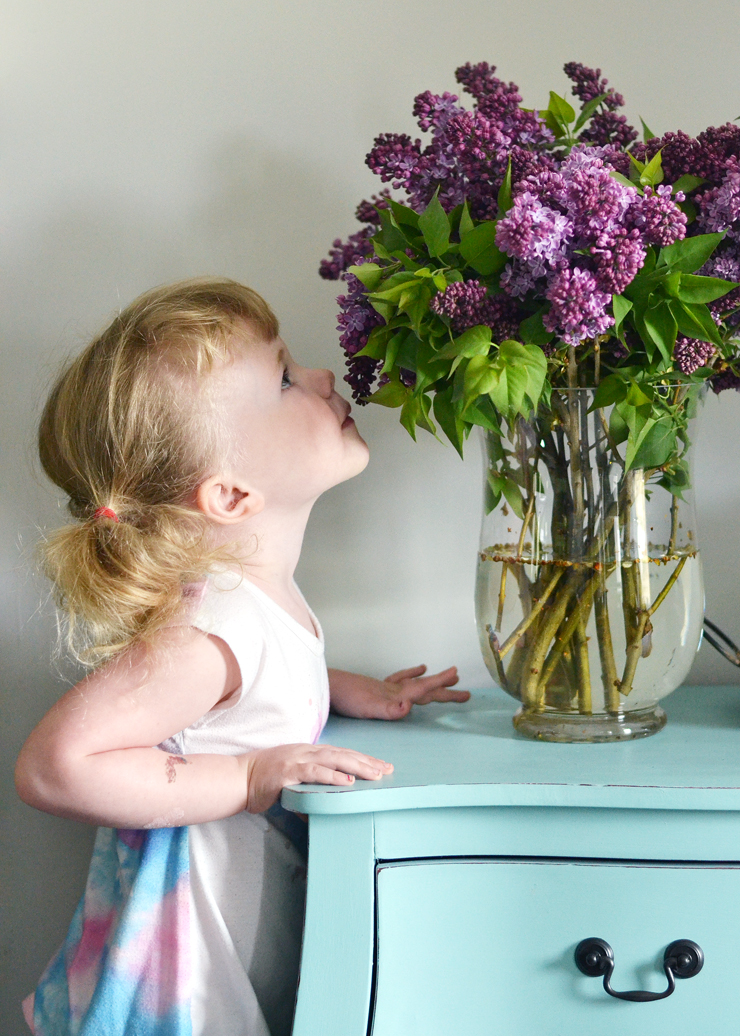
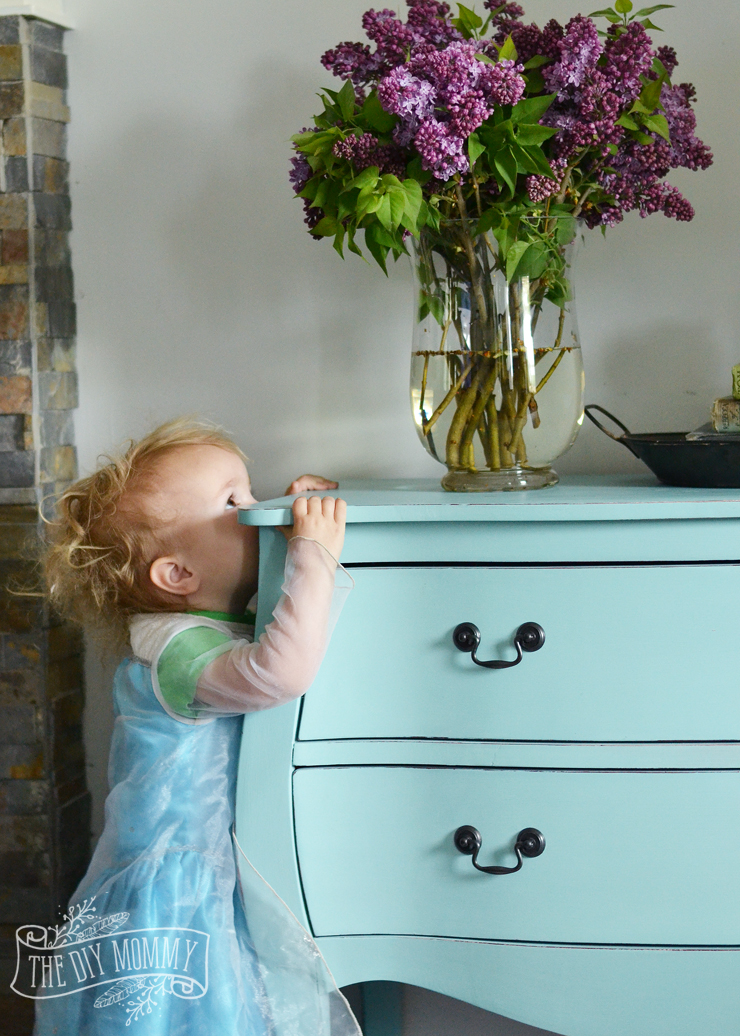
Our lilacs are blooming early this year, so I also had to dress up this piece with a huge vase of them!
If you want a unique and well-made piece of furniture for your space, I’d definitely recommend hitting up The Brick’s Tent Sale this week. There are some fabulous things to snatch up and refinish (or leave as-is!). When I was there last week, I was also drooling over some of the beautiful tables and top-of-the-line refridgerators that I saw under the tent!
Happy bargain hunting!
Pin Me:
Disclaimer: This post is sponsored by The Brick. As always, all of the opinions here are my own. I only recommend companies that I use and love myself.



Called the colour! LOL It looks beautiful! Very attractive piece!
Yes, you sure did. 😉 You know me and my aquas/teals/turquoises/mints!
Absolutely beautiful Christina! I love the color! Great styling as well.
This is a beautiful transformation! The color you picked is great. I am feeling the itch to get my paint brushes back out. It’s been far to long since I have painted a piece of furniture!
Thanks, Nikki! I really love painting furniture – it’s such an easy way to make a huge difference.
This is a gorgeous upcycle. I love this color you mixed it is so calm and tranquil. And to do it in 3 hours is also very brave of you. I’m still on my first coat for a table I’m doing and it is taking me forever, maybe because I procrastinate. I’m hosting a new link party, Sweet Inspiration and would love to have you join us. It runs Friday till Tuesday.
Thanks so much, Mary!
Hello!
You did such an incredible job! Love the color! I’m thinking of buying a small dining table set that I would like to paint. So many people are saying to sand first. But I LOVE that you painted without sanding. Does chalk paint stick better than regular paint?
Thanks!
Lisa
Thank you, Lisa! Christina loves transforming pieces with paint. We will say its a good obsession 🙂
Chalk paint acts like a self primer in most cases and requires little to no preparation and really just needs a clean surface to adhere to. A latex paint usually needs a primer and prep work for the paint to adhere (sanding and cleaning). We have found that the chalk paint offers such a pretty milky finish that is gorgeous to distress.
What color did you use?
Heya Cheryl,
Christina made her own chalk paint. For the latex portion of the paint she used an aqua colour (http://www.valsparatlowes.ca/en/search/deep-link/5007-7A.jsp) and she threw in a bit of charcoal coloured paint to tone it down a little. She had these paint left over from painting her house 🙂
The chalk paint recipe is listed in the post ?